Okra is a highly nutritious fruit with a plethora of health benefits. This low-calorie treat is packed with fiber and essential vitamins and minerals. Including okra in your diet can support healthy pregnancy, bone strength, immune function, skin health, and weight loss.
Due to its impressive nutritional profile and health benefits, okra is often referred to as ‘green ginseng’, denoting its valuable contribution to overall wellness.
Okra is versatile and can be prepared in a variety of ways, including stir-frying, boiling, salads, and egg rolls. One of the simplest and most delicious methods is boiling, which retains the crispness and nutritional benefits of okra while making it tender and tasty.
Many people make the mistake of trimming the stems before boiling okra, or even halving the pods. These methods can result in a sticky, unappetizing mess. To avoid this common pitfall, it’s crucial to follow the correct preparation and cooking techniques.
**Selecting the Best Okra**
When purchasing fresh okra, take the time to choose each pod carefully. Look for bright green pods with a shiny appearance and fine, silky hairs on the surface. Avoid any pods with bruises, signs of insect damage, or crushed ends.
Opt for pods that are medium-sized, ideally no longer than 8 cm. Longer pods tend to be older and more fibrous. Additionally, avoid overly soft pods, as they may be past their prime.
A handy trick is to try snapping the stem end of the pod. If it breaks easily, the okra is likely young, tender, and crisp. If it’s difficult to snap, the okra is probably older and will be tougher to chew.
**Boiling Okra the Right Way**
Start by thoroughly washing the okra pods to remove any dirt or residue. Gently rub each pod to dislodge the fine hairs. Then, soak the okra in a bowl of salty water for about 15 minutes. Rinse them again in clean water.
Bring a pot of water to a rolling boil. Add a small amount of cooking oil and a pinch of salt to the water. Gently place the okra pods into the boiling water, cover the pot, and wait for the water to return to a boil. Allow it to boil for approximately 3 minutes, then turn off the heat and remove the pods with a slotted spoon.
To retain the vibrant green color and crispness of the boiled okra, immediately plunge the pods into a bowl of ice-cold water. This step also helps to halt the cooking process, ensuring the okra remains tender yet crisp.
Once the okra has cooled, it’s now safe to trim the stem ends. This simple step makes a significant difference in the texture and appearance of the boiled okra, reducing the chances of a sticky, unappetizing mess.
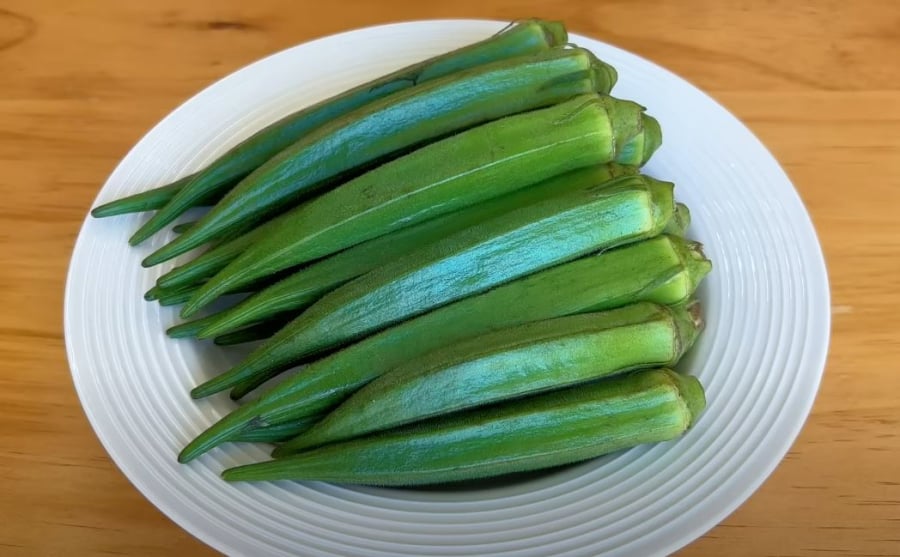
Choose okra pods with vibrant, bright colors.
Select okra pods that are of moderate size, preferably not longer than 8 cm. The larger and longer the pod, the more mature and fibrous it tends to be. Avoid overly soft pods.
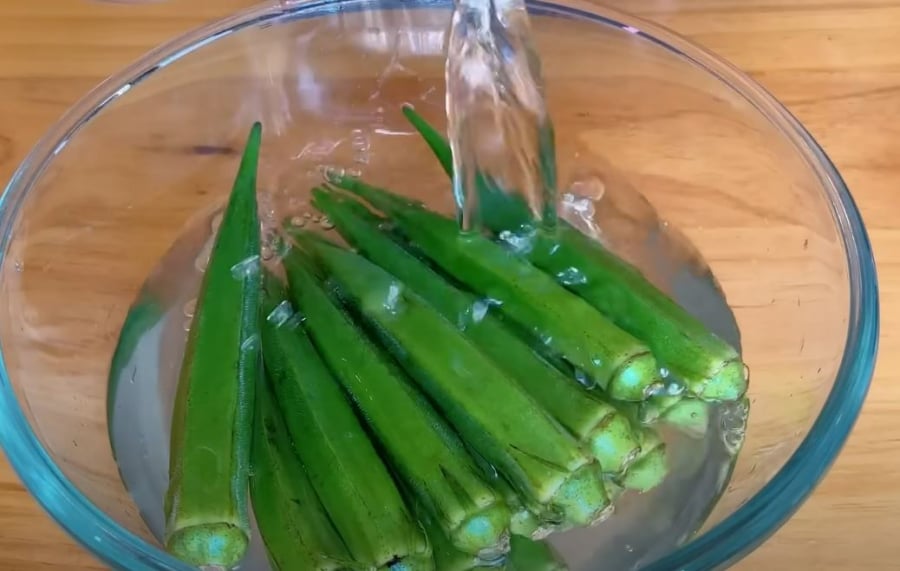
Wash okra thoroughly before boiling.
After washing, soak the okra in salted water for about 15 minutes, then rinse again with clean water.
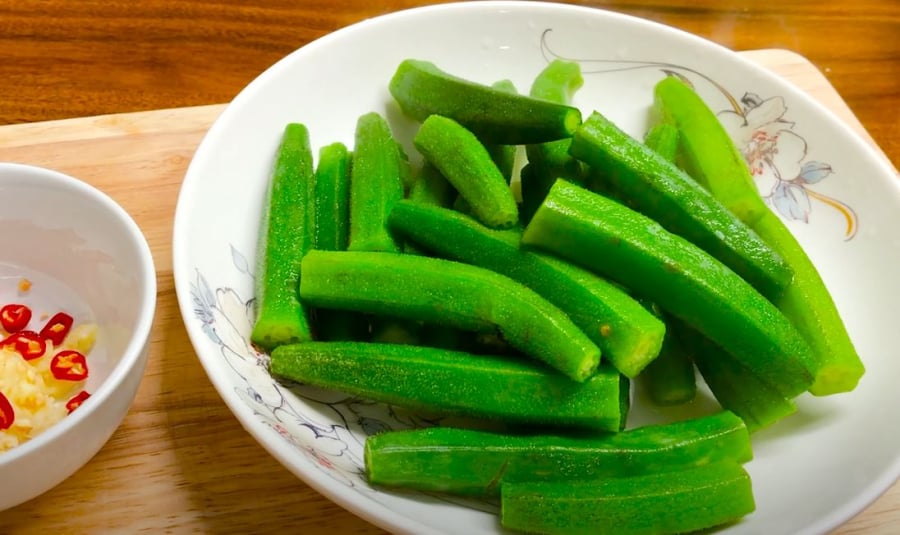
Plunge the boiled okra into ice-cold water before arranging them on a plate.
Once the okra has cooled, trim the stem ends to prevent stickiness and improve the overall eating experience.


