


For iPhone users, iOS offers the ability to customize fonts with a few simple steps.
Why is font customization important?
Changing fonts not only makes your phone unique but also enhances readability. A suitable font can make text easier on the eyes, reducing eye strain when reading information.
Install fonts through apps
Step 1: Download a font app
To get started, download a font app from the App Store. Popular options include iFont, AnyFont, or Font Diner. These apps offer a diverse collection of fonts to choose from, allowing you to select according to your personal taste.
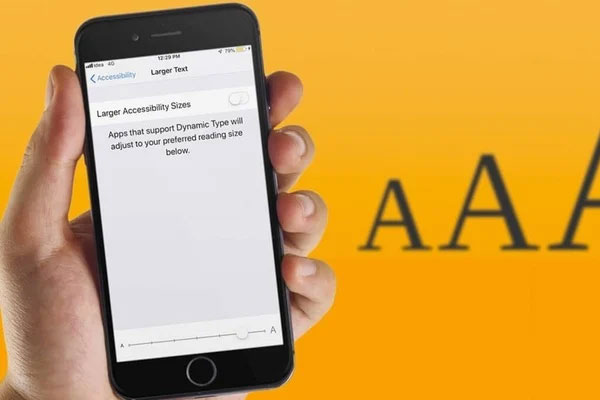 Guide to installing fonts on iPhone. (Illustration)
Step 2: Install new fonts
Once you’ve downloaded and installed the app, open it and follow the specific instructions within the app to install new fonts. Typically, you’ll need to download the fonts and confirm the installation through your iPhone’s settings.
Step 3: Manage font settings
After downloading fonts, you can manage them by going to “Settings” -> “General” -> “Fonts” on your iPhone. Here, you’ll find a list of installed fonts, and you can preview and manage them.
Using fonts in applications
Once you’ve successfully installed new fonts, you can start using them in supported apps on your iPhone. Some apps like Pages, Keynote, or Word usually allow you to change fonts to make your documents stand out.
Some notes on font installation
Compatibility: Not all apps support custom fonts. Check the compatibility of the font with the apps you frequently use.
File size: Some fonts can take up a significant amount of space on your device, so be mindful when installing multiple fonts simultaneously.
Security: Ensure that you download fonts from trusted sources only. Avoid unknown websites to maintain the safety of your device.
According to VTCnews
“How to Remove Private Data from Photos Taken on Your iPhone”

For those wanting to maintain their privacy, iOS 15 offers the ability to remove or alter the location of photos taken with its metadata viewing feature. This provides users with an added layer of security and control over their personal information.
“Fixing the ‘Nearby Supermarket’ Feature Not Working”

“Near Me” is a feature that allows users to easily find the closest supermarket on our website. However, sometimes this feature may not work as expected. To address this issue, we have created a helpful guide with simple steps to ensure you can always locate your nearest store.
The Masterclass in Eradicating Photos from Your Apple Devices

For iPhone and iPad users, the concern of permanently deleting photos from their devices is a pressing one. The process of doing so, however, eludes many.
“How to Turn Off Post Notifications on TikTok”

Sometimes, those pesky and unnecessary TikTok notifications can be a real nuisance. But fear not, as this article will guide you through a simple process to banish those interruptions for good.
The Secret’s Out: Uncover the Hidden Song Identifier on Your iPhone

As an iPhone user, you can easily discover new songs to add to your playlist with a simple built-in feature.


