How to Troubleshoot the U14 Error on a Panasonic Washing Machine
Panasonic washing machines are highly regarded for their exceptional quality and a wide range of models and features. However, users may occasionally experience the U14 error without knowing how to resolve it.
The U14 error is a common issue that can occur during the water supply process of a washing machine. Specifically, this error indicates a lack of water supply to the drum, delayed water supply, or weak water flow. When this issue arises, the Panasonic washing machine will display the U14 error code and flash its indicator light.
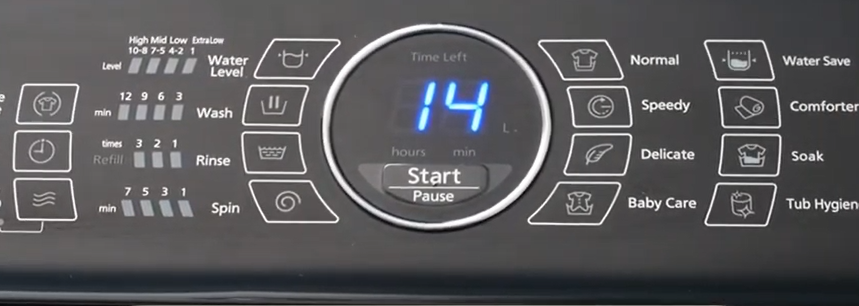
Exploring the Two Reasons Why a Panasonic Washing Machine Displays a U14 Error Code
No Water: Container is Empty or Supply Valve is Locked
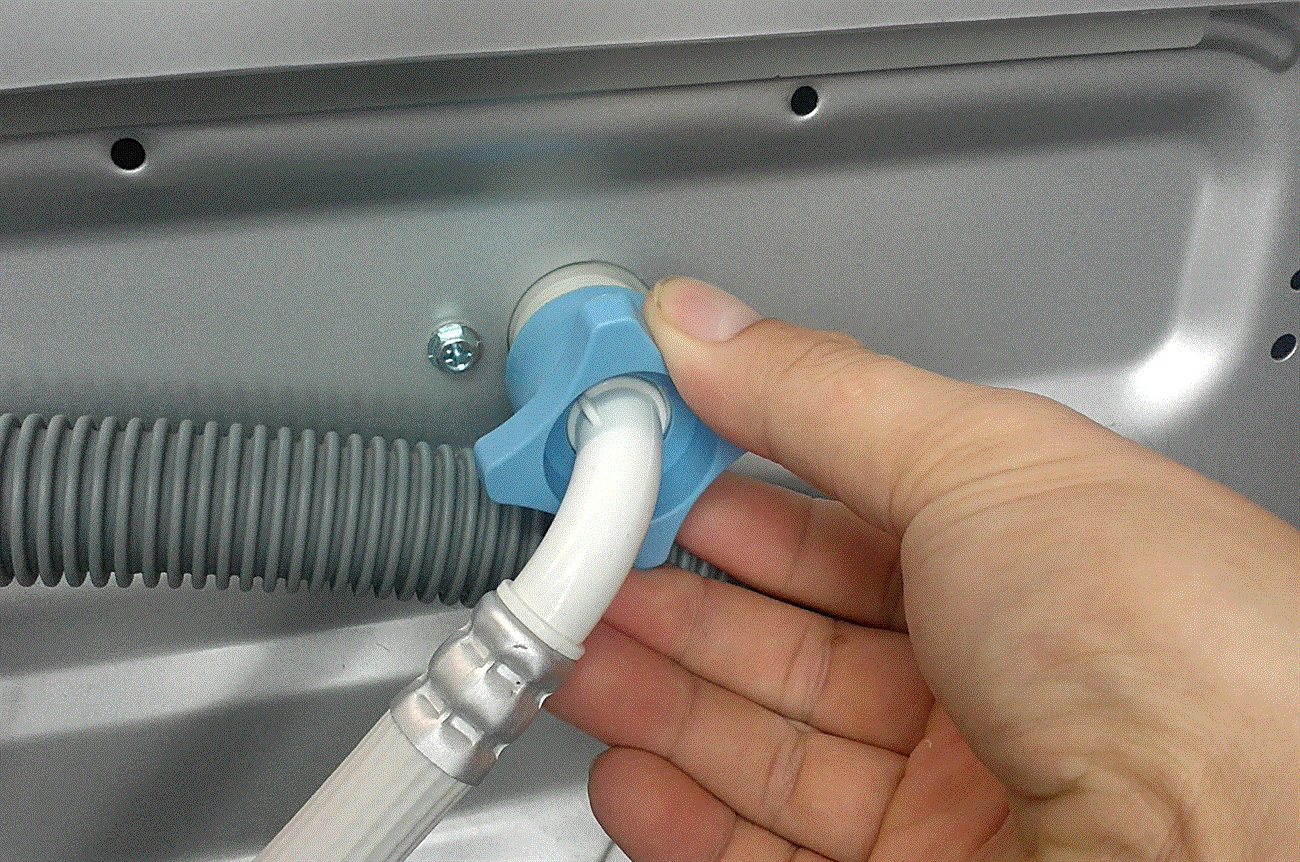
The U14 error code indicates a malfunction in the water supply cycle of the washing machine. One common cause is the water container or supply valve being locked, resulting in insufficient water supply for the subsequent washing steps. As a result, the U14 error code will be displayed.
Shortages of Water Widespread in Certain Areas of the Country
If the water container and the water supply valve are both open, yet a U14 error continues to display on your Panasonic washing machine, the issue could potentially stem from a weak water supply. In such cases, the water may be flowing into the drum too slowly and weakly, causing the machine to mistakenly perceive a lack of water and subsequently display the U14 error code.
Unclogging Water Supply Valve Filter and Drainage Pipe Hose System
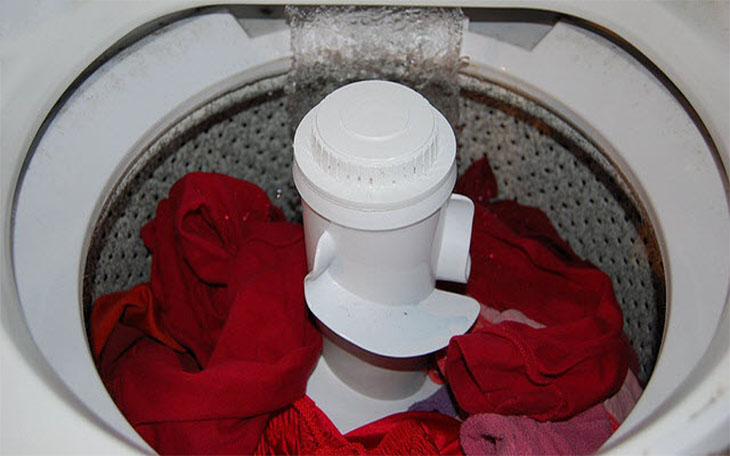
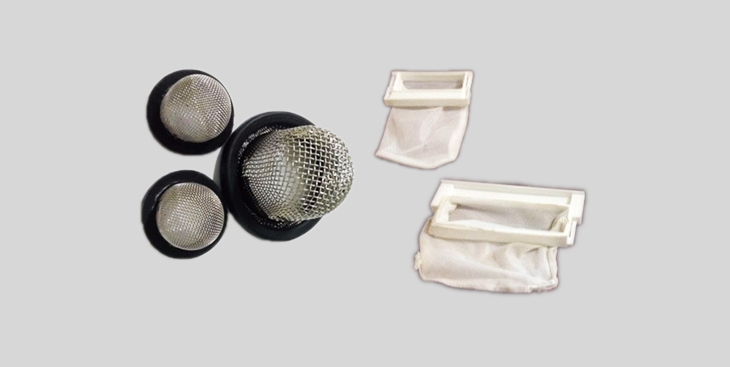
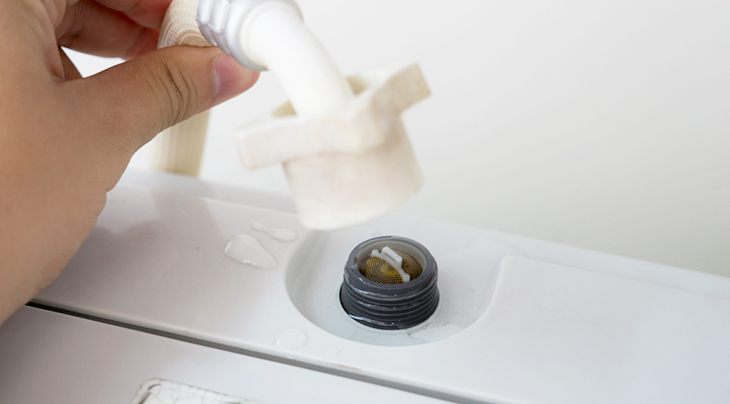
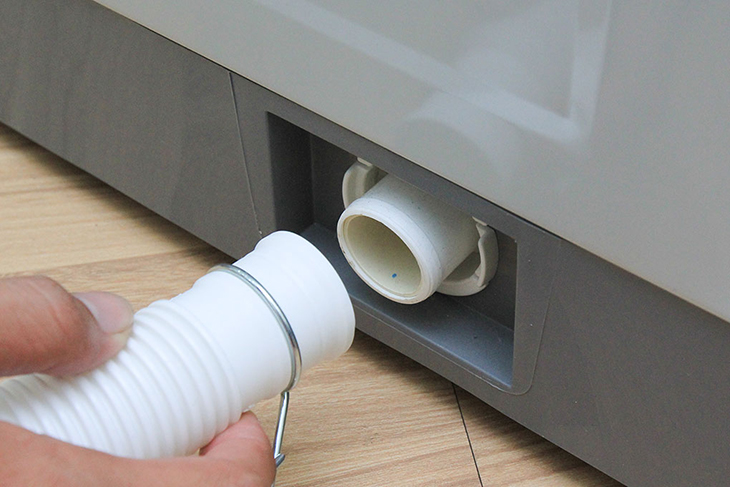
One of the frequent yet challenging causes leading to the U14 error on washing machines is the obstruction in the water supply valve filter or the drainage pipe. This issue arises when the filter of the water supply valve or the drainage pipe becomes dirty or covered in moss, resulting in disruption to the water supply process of the washing machine.
Repair Work on Broken Water Supply Valve Finished
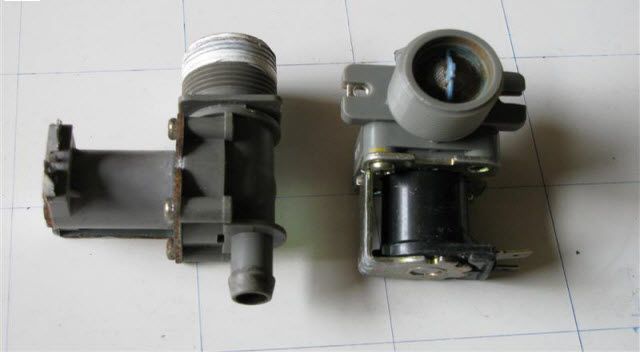
Panasonic washing machines may experience occasional malfunctions after prolonged use, such as issues with the water supply valve or a broken solenoid coil, leading to the inability to function properly.
Control Circuit Malfunction Causes Space Probe to Fail
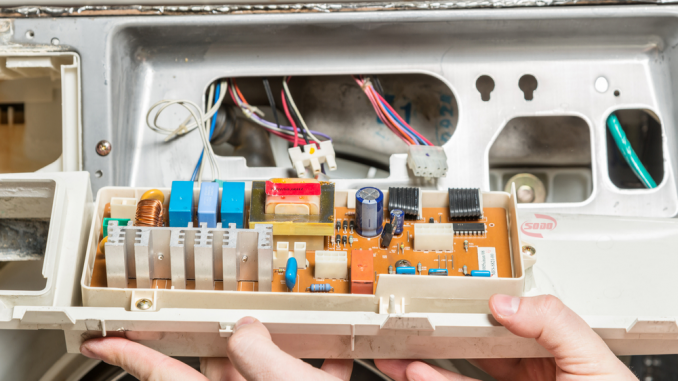
A malfunctioning control circuit poses a significant issue that not only triggers the U14 error on Panasonic washing machines but also prompts multiple other error codes. This problem stems from a faulty control circuit board that affects the machine’s processing chips, resulting in error messages being displayed on the washing machine’s screen.
Troubleshooting the Panasonic U14 Washing Machine Error in 3 Easy Steps
Verifying Lock and Unlock Status of Water Container and Supply Valve
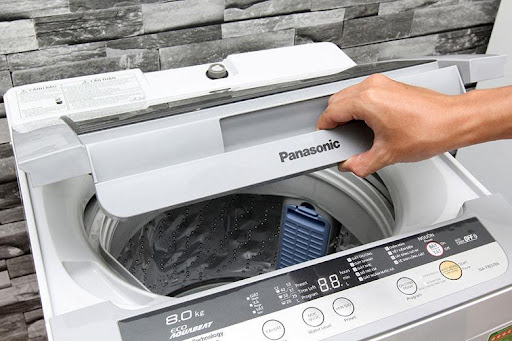
To resolve the U14 error, which occurs when the water supply process is disrupted, it is crucial to first check the lock/unlock status of the water container and water supply valve. Taking this initial step can help identify if the container contains water and if the water supply valve is unlocked. If either is not the case, it is necessary to unlock the valve and fill the container with water before proceeding with the washing process.
Verifying the Water Supply Availability
If your washing machine is displaying the U14 error due to weak or slow water supply, there are a few steps you can take to resolve the issue:
- First, check the drain valve in the container to ensure the water flow is not weak. If it is, proceed to the next step.
- Ensure that the position of the washing machine is not lower than the container. If it is, adjust the positioning accordingly.
- If the water flow remains weak, consider installing a booster pump to increase the water supply and resolve the problem.
Cleaning the Filter Screen and Drainage Pipe: Step 3
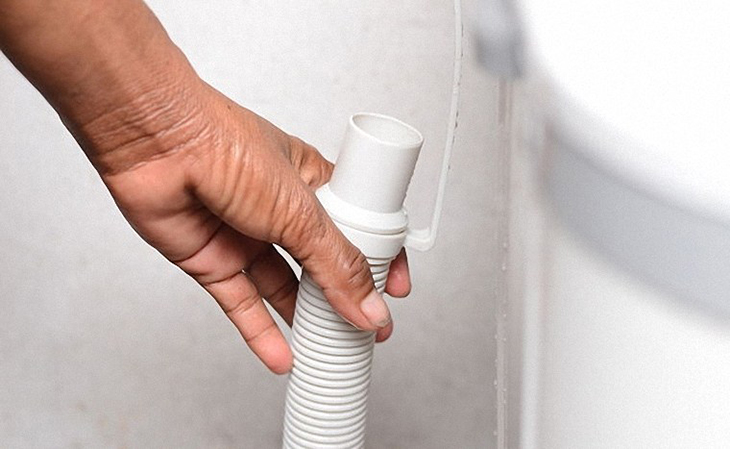
The U14 error may occur as a result of a blocked filter screen and drainage pipe. To resolve this issue, it is recommended to thoroughly flush and clean both components to ensure a consistent and strong water flow. It is also advisable to follow the manufacturer’s guidelines for regular maintenance of the filter screen to prevent future occurrences of this problem.
Verifying the Water Supply Valve – Step 4
When the water supply valve is functioning correctly, it will exhibit signs of vibration and emit a small sound. However, if the solenoid valve or the coil of the water supply valve is damaged or weak, it will prevent the valve from drawing water and cause it to cease functioning.
To test the functionality of the water supply valve, please follow these steps:
1. Set your multimeter to the X10 resistance measurement range.
2. Connect the multimeter probes to the two plug holes of the water supply valve.
3. If the multimeter displays a resistance reading, it indicates that the water supply valve is functioning properly.
4. On the other hand, if there is no resistance reading, it confirms that the water supply valve is faulty.
5. In that case, please contact the warranty center for a replacement unit.
Verifying Correct Wiring in the Control Circuit: Step 5
To determine if there is an issue with the control circuit board, begin by checking if it is supplying power to the water supply valve. If the power supply is functioning properly, it indicates that the control circuit board is not the source of the problem. However, if the power supply is disrupted, it can be deduced that the control circuit board is defective and requires repair or replacement.
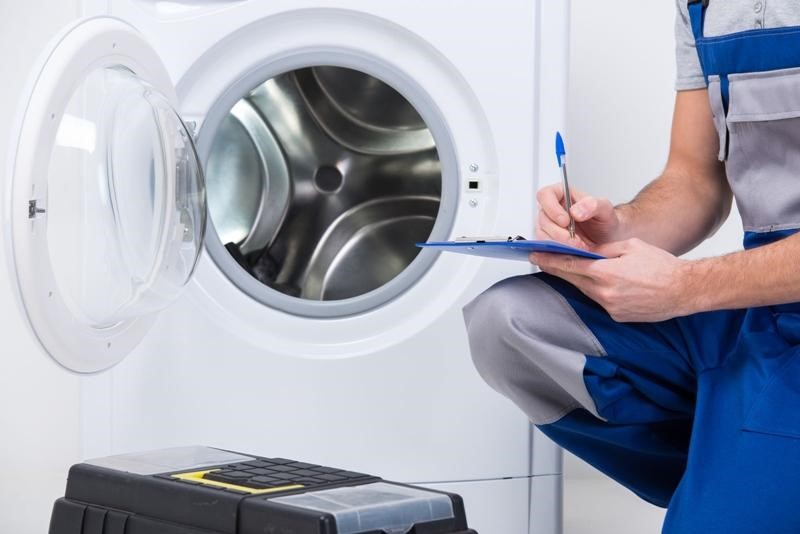
- First, ensure that the washing machine is turned off and unplugged from the power source.
- Check the wiring connections to ensure they are secure and not damaged. If any wires are loose or broken, they will need to be repaired or replaced.
- Verify that the drain hose is not clogged or kinked. Clear any obstructions or straighten any kinks in the hose.
- Inspect the water inlet valve filters for any blockages and clean them if necessary.
- Next, turn on the washing machine and run a test cycle to check if the U14 error has been resolved. If the error persists, consider contacting our support team for further assistance.
If you have any additional questions or need further assistance, please leave a comment below and our support team will be happy to help you.


