Achieving healthy and supple skin involves more than just applying masks; it requires a thoughtful approach that begins with understanding some fundamental rules. Firstly, it is essential to start with a clean canvas by thoroughly cleansing your face to remove any dirt, grime, and excess oil. Exfoliation plays a crucial role and should be done 1-2 times a week to get rid of dead skin cells and deeply cleanse your pores. To enhance the effectiveness of your routine, consider steaming your face to open up your pores and facilitate better absorption of nutrients. Follow up with a toner to balance your skin’s pH levels and prepare it for optimal absorption of the mask’s nutrients.
Sheet Masks
Once you take the sheet mask out of its package, gently unfold it and carefully place it on your face, ensuring it fits snugly and covers all areas. Take extra care to avoid the delicate eye area as the skin around the eyes is thinner and more sensitive, requiring special attention. Set a timer for approximately 15-20 minutes, adhering to the instructions on the package.
To boost absorption, gently massage your face with your fingertips or use a roller made of quartz or jade. You can also utilize any remaining essence in the mask package to massage your neck, shoulders, and hands. When removing the sheet mask, do so gently and avoid tugging at your skin. If your skin has absorbed most of the essence, there is no need to rinse afterward.

Gently remove the sheet mask without tugging at your skin.
Sleeping Masks
Sleeping masks are an excellent choice for overnight skin nourishment. You can use them in two ways:
Instant Hydration: Apply a thick layer of the sleeping mask to your skin and leave it on for about 15-20 minutes before rinsing it off with water. This method instantly softens and brightens the skin, making it a perfect pre-makeup step.
Overnight Nourishment: After your regular skincare routine, apply a sufficient amount of the sleeping mask to your face and gently massage it in a clockwise direction. Pay special attention to the areas around the eyes and mouth to reduce wrinkles. There is no need to rinse; simply leave the mask on overnight.
Wash-off Masks
Step 1: Before applying a wash-off mask, ensure your face is clean and dry. Spread the mask evenly across your face, avoiding the eye area. You can also try multimasking, which involves using different masks for various facial areas. For example, the T-zone tends to be oilier with larger pores and acne, while the U-zone is drier and more prone to dark spots, so you can choose masks tailored to these specific concerns.
Step 2: After applying the mask, you may want to add a thin layer of a sheet mask to lock in moisture and enhance absorption.
Step 3: Leave the mask on for approximately 15-20 minutes (following the product instructions) and then rinse it off with warm water. Follow up with a splash of cold water to tighten your pores and firm your skin.
Step 4: Finish with your regular skincare routine, especially a moisturizer to seal in the absorbed nutrients.
Clay Masks
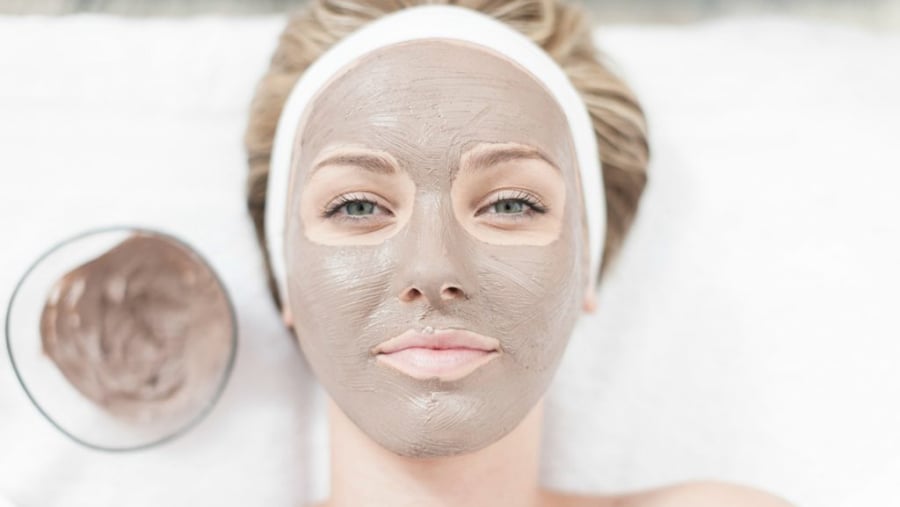
Clay masks offer a deep cleansing and detoxifying treatment for your pores.
Phase 1: When the clay mask is still wet, your skin absorbs the beneficial nutrients and minerals.
Phase 2: As the mask starts to dry, the clay works to draw out impurities and cleanse your pores.
Phase 3: Once the mask is completely dry, it begins to pull moisture from your skin, which can lead to dryness and irritation.

Clay masks provide an excellent deep cleansing experience for your pores.
Therefore, the ideal time to remove a clay mask is when it is partially dry but still slightly damp, ensuring your skin retains its moisture.
The Ultimate Guide to Mastering the Art of Masking: A Step-by-Step Ritual for Glowing Skin
The type of mask therapy you choose depends on your skin’s unique needs. For dry skin, a hydrating and moisturizing treatment is essential to revitalizing and nourishing the complexion. Inflamed skin will benefit from a soothing and calming mask, while a deep-cleansing option is ideal for a thorough purification.


