


Fried shallots are an indispensable ingredient in many Vietnamese dishes, adding a crunchy and savory touch to dishes such as xôi xéo (sticky rice with mung beans), canh bún (rice vermicelli soup), bánh cuốn (steamed rice rolls), and bún riêu (crab and tomato soup with vermicelli rice noodles), to name a few.
Slicing the Shallots: Horizontal vs. Vertical
The traditional way of preparing shallots for frying involves slicing them horizontally by hand. This technique results in aesthetically pleasing round shallot rings that, when fried, emit a more potent aroma and tend to be crispier. However, hand-slicing shallots has its drawbacks, including eye irritation from the shallot’s sulfur compounds and the challenge of achieving uniform slices. Thin slices may burn easily during frying, and aggressive stirring can lead to breakage. On the other hand, thicker slices may not attain the desired crispness.
Shallots have a longitudinal and transverse cellular structure. Horizontal slicing disrupts more cell connections, releasing a greater amount of the shallot’s volatile oils. This results in a stronger aroma and crispier texture when fried.
However, a downside of horizontal slicing is that the shallot’s core is divided into small pieces. During frying, aggressive stirring can cause these pieces to separate, leading to broken rings, and if unattended, they may burn quickly.
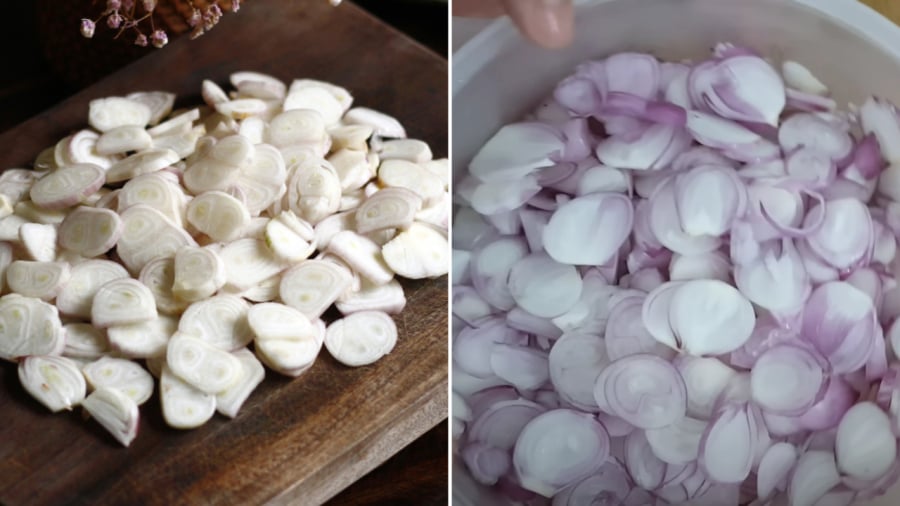
Slicing shallots horizontally and vertically each have their unique advantages and disadvantages.
The Case for Vertical Slicing
Slicing shallots vertically has the advantage of maintaining the integrity of the shallot slices, resulting in larger pieces that are less prone to breakage compared to horizontal slices.
However, vertically sliced shallots may not be as aromatic or aesthetically pleasing. This is because vertical slicing disrupts fewer cellular connections, releasing less of the shallot’s volatile oils, which are responsible for both flavor and fragrance.
Nowadays, many opt for using shallot-slicing machines, which save time and effort in food preparation. These machines produce uniform slices and can handle large volumes.
The choice between horizontal and vertical slicing ultimately depends on personal preference and the desired outcome in terms of appearance, texture, and flavor.
Tips for Crispy, Golden Fried Shallots That Stay Fresh
– Selecting and Slicing Shallots
When purchasing shallots, choose firm bulbs that feel heavy for their size. The outer skin should appear slightly dry and flaky, indicating that the shallot is sufficiently mature and dry.
To minimize eye irritation while slicing shallots, chill them in the freezer for about 10 minutes beforehand. Additionally, keep a fan running nearby to blow air horizontally, which helps dissipate the irritating vapors.
– Frying with Chicken or Pork Fat
For enhanced flavor and aroma, fry your shallots in chicken or pork fat. Chicken fat, in particular, imparts a tantalizing aroma and gives the shallots a vibrant golden color.
– Temperature Control is Key
Frying shallots requires careful temperature management to avoid burning and bitterness. Begin by heating your oil or fat over high heat. A good indication of the right temperature is when you see small bubbles forming around a wooden chopstick held above the oil’s surface.
You can also test the oil’s readiness by dropping in a few shallot slices; if they float to the top immediately, the oil is ready. Reduce the heat to medium before adding the rest of the shallots.
Initially, refrain from stirring the shallots to prevent breakage. Once the surfaces of the shallot slices appear dry, gently stir them from the edges toward the center to ensure even browning and prevent clumping.
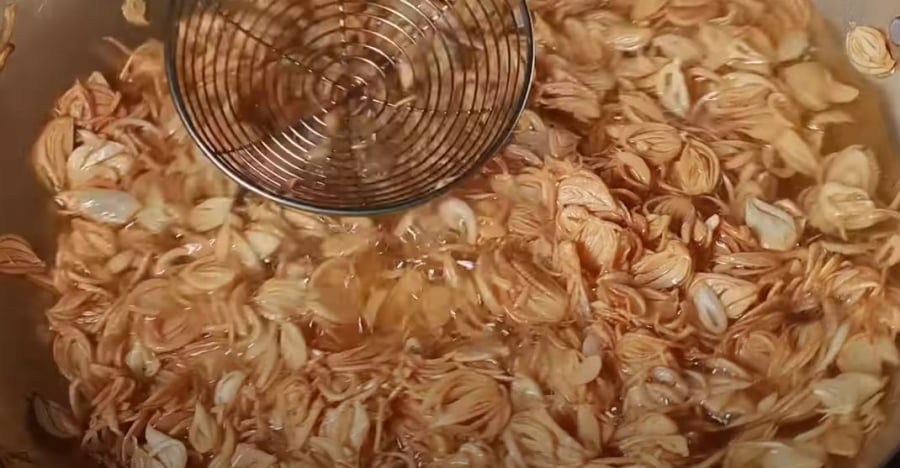
Temperature control is crucial when frying shallots to prevent burning.
– Knowing When to Remove the Shallots
Keep a close eye on the shallots as they fry. When you notice that the bubbles in the oil are becoming smaller and less vigorous, and the shallots appear slightly golden and feel dry to the touch, it’s time to remove them from the oil. The residual heat will continue to cook the shallots, resulting in a deeper golden color.
Avoid waiting until the shallots turn a deep golden brown before removing them, as they will continue to darken and may become bitter.
– Storing Your Fried Shallots
After removing the shallots from the oil, drain them on a wire rack or paper towels to remove excess oil. Gently toss them occasionally as they cool to ensure even crispness. Once completely cooled, transfer the shallots to an airtight container for storage.
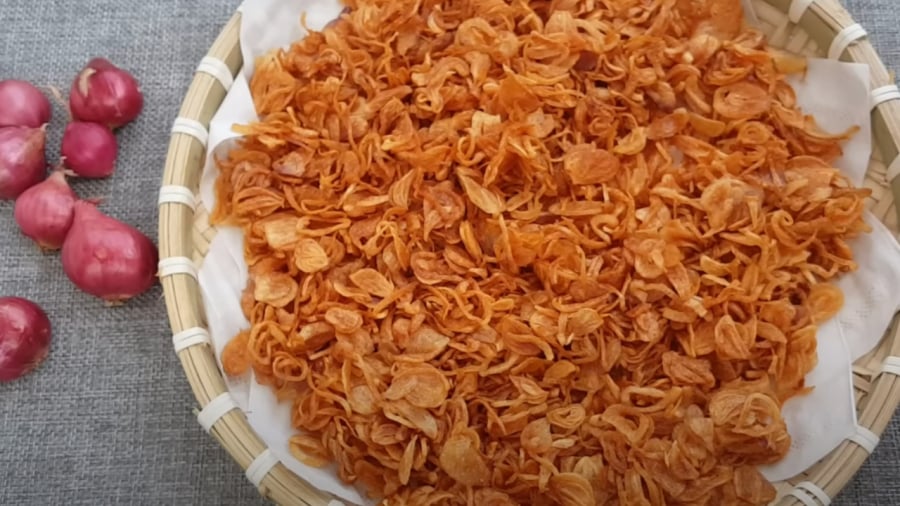
Fried shallots should be allowed to cool completely and drain excess oil before storing.
If you’ve made a large batch, consider dividing the shallots into smaller portions and storing them in airtight containers in the freezer. When needed, simply take out a portion and thaw it in the refrigerator.
The oil used for frying can also be saved and reused. Once it has cooled completely, pour it into a clean jar or container. This flavorful oil is excellent for stir-frying, cooking rice, or adding a savory touch to dishes like fried rice or xôi (sticky rice).
No more worrying about those pesky drips and spills when you try this simple trick

Is it true that no matter how fast you try to scoop, the water will still spill from the pot to the bowl? So what should you do?
12 Delicious Vietnamese Recipes for a Perfect Family Day Celebration

For those seeking the perfect accompaniment to a Vietnamese family meal, the Cooking Tips section presents a selection of scrumptious yet simple rice dishes. With these nourishing and wholesome recipes, you can bring comfort and an extra special something to the dinner table.


