


Entering an incorrect password multiple times can lead to your iPhone temporarily locking up. If you input the wrong password consecutively, your iPhone will eventually auto-erase all data and enter a disabled state.
Why Does Your iPhone Become Disabled?
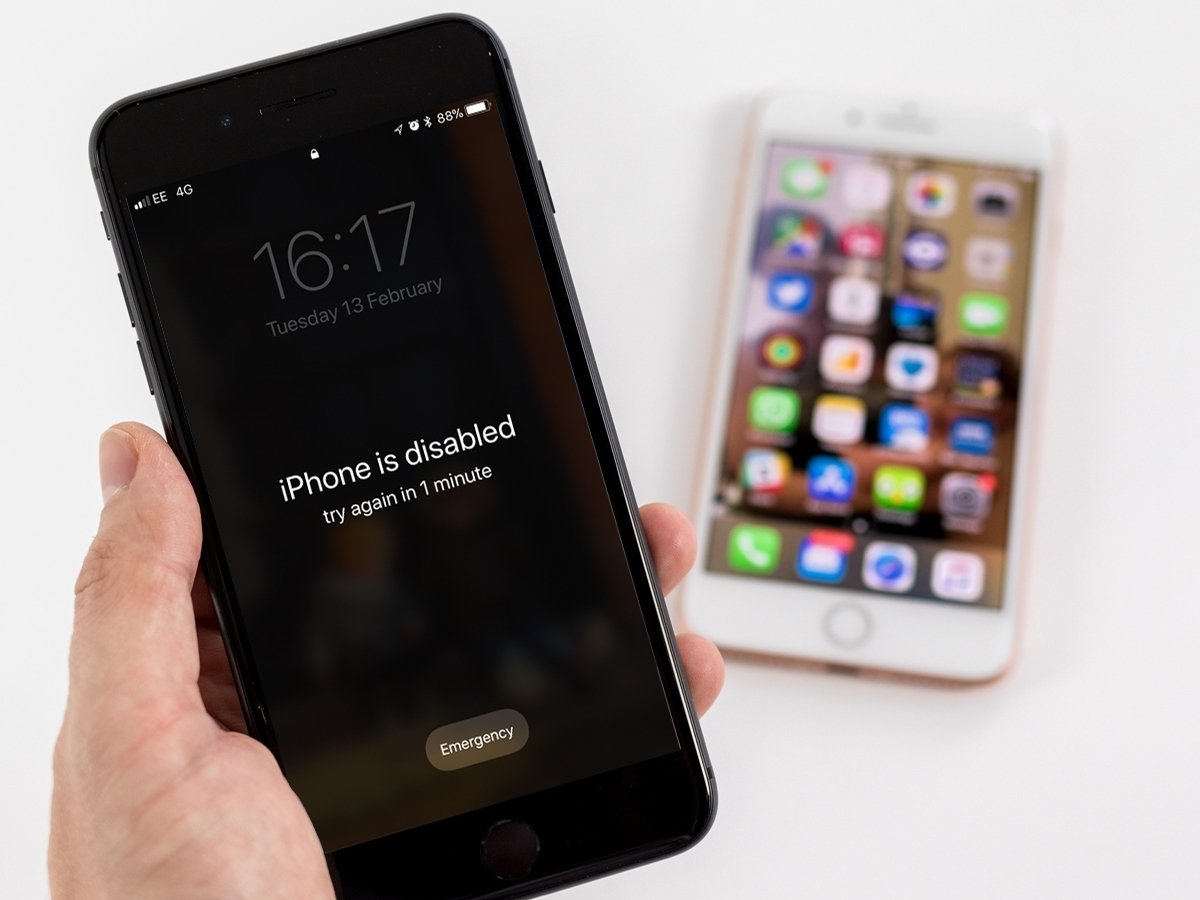
Forgetting your iPhone unlock password and entering it incorrectly multiple times will result in your device being disabled. Here’s how it typically unfolds:
– 5 consecutive incorrect attempts: iPhone is disabled for 1 minute.
– 7 consecutive incorrect attempts: iPhone is disabled for 5 minutes.
– 8 consecutive incorrect attempts: iPhone is disabled for 15 minutes.
– 9 consecutive incorrect attempts: iPhone is disabled for 60 minutes.
– 10 or more consecutive incorrect attempts: iPhone is disabled, and you’ll need to restore it.
How to Unlock Your iPhone Using iTunes
Don’t panic if you find yourself in this situation. There are several quick and straightforward solutions to resolve this issue without spending money at phone repair centers. Here’s how to fix the “iPhone is disabled” error:
– Scenario 1: iPhone Has Never Been Connected to iTunes on Any Computer
+ Step 1: Connect Your iPhone to a Computer
Use a USB – Lightning or USB – Type C cable to connect your iPhone to a computer and turn it off.
+ Step 2: Enter DFU Mode and Restore Your iPhone
Open iTunes on the computer. You’ll see a notification saying, “iPhone is disabled.” To proceed:
1. Press and hold both the Power and Home buttons for a few seconds.
2. Release the Power button but continue holding the Home button to enter DFU mode.

Entering DFU Mode on Your iPhone
Wait for iTunes to detect your iPhone in recovery mode. You’ll see a notification stating, “iTunes has detected an iPhone in recovery mode. You must restore this iPhone before it can be used with iTunes.” Click OK to continue.
– Scenario 2: iPhone Regularly Connects and Syncs with iTunes on a Computer
+ Step 1: Connect Your iPhone to iTunes
Connect your iPhone to iTunes on your computer using a cable. Then, press the Back up Now button to create a recent backup of your iPhone data.
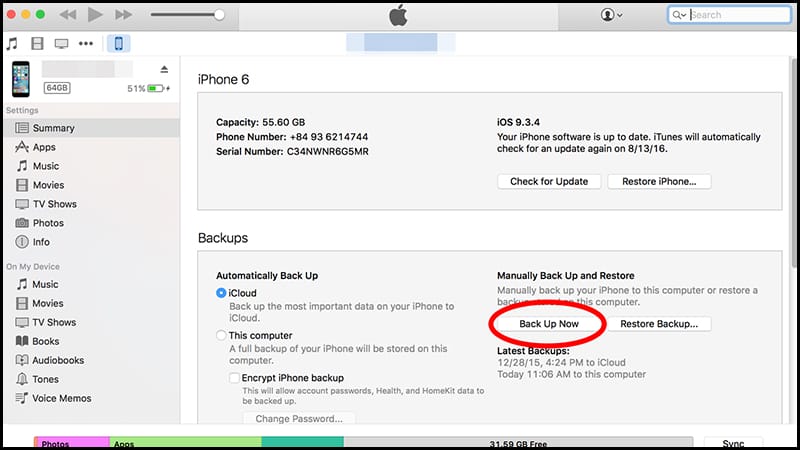
Backing Up Your iPhone Data
+ Step 2: Restore Your iPhone Data
Once the backup is complete, press the Restore Backup button and select the latest backup available.

Restoring Your iPhone Data
After restoring the backup, enter your correct iCloud account credentials to log into your iPhone.
Unlocking Your iPhone via iCloud
This method is successful if you have the “Find My iPhone” feature enabled on your device. Here’s how to do it:
– Step 1: Access iCloud.com
Go to iCloud.com and log in using your Apple ID account credentials.

Logging into Your iCloud Account
– Step 2: Erase Old Data and Restore from Backup
1. Select Find iPhone.
2. Choose All Devices and select your iPhone by name.

Finding Your iPhone Device
3. Select Erase iPhone to delete all data. Your iPhone will reset, and you can then restore it from the latest backup.
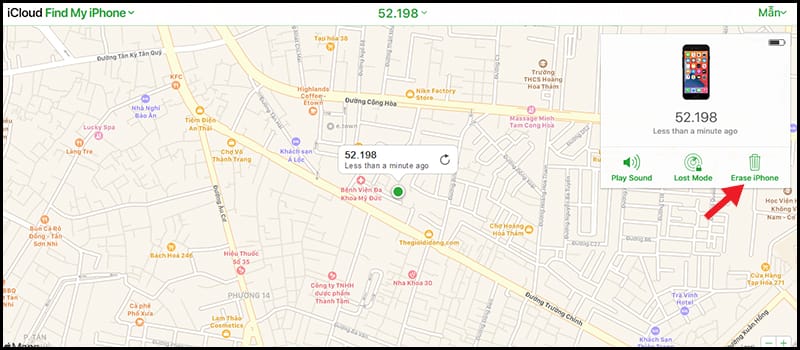
Erasing iPhone Data to Initiate the Reset Process
Unlocking Your iPhone Using Recovery Mode
If the above methods don’t work, you can try using Recovery Mode to restore your iPhone. However, note that this will result in data loss.
Step 1: Power off your iPhone and disconnect it from your computer.
Step 2: Press and hold the Home button, then connect your iPhone to the computer. After a few minutes, you’ll see the “Connect to iTunes” message on your iPhone screen. At this point, release the Home button.
Step 3: On your computer, click OK, and then click the Restore iPhone button. Follow the previous backup instructions to restore your data.
Using the 3uTools Application to Unlock Your iPhone
If you’re unable to restore your iPhone via iTunes, you can try using the 3uTools application, which offers a similar function with a simpler process:
Step 1: Download the latest version of 3uTools.
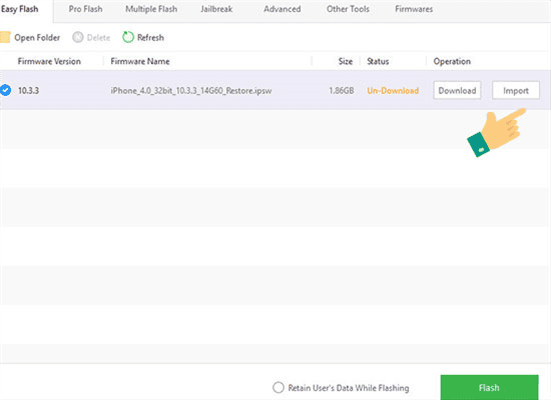
Step 2: Open the application and select Flash & JB.
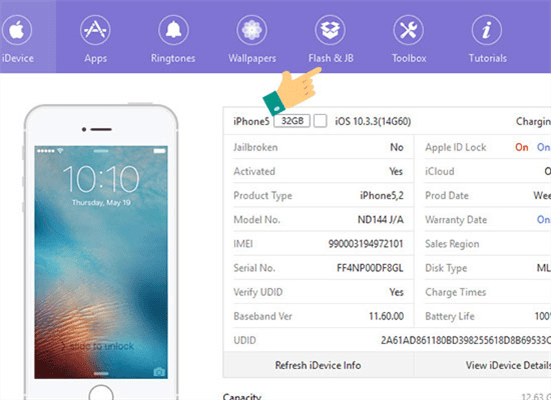
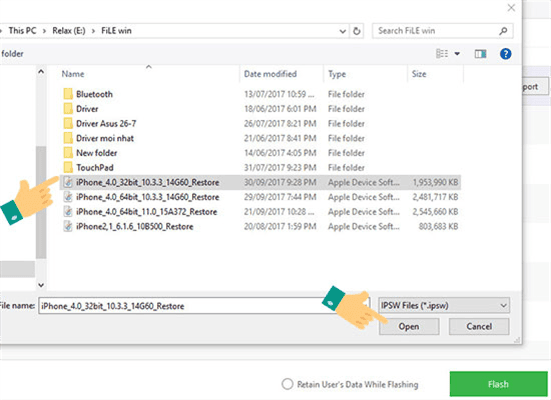
Step 3: Choose a Firmware version that Apple hasn’t activated. If you’ve previously downloaded the firmware, select Import.
Select the version you want to restore and click Open.

If you haven’t downloaded the firmware, click Download. Once the download is complete, click Flash.
Downloading and Flashing the Firmware
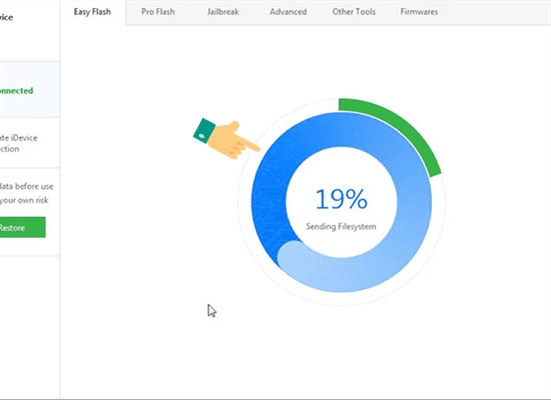
Step 4: The application will display the restore process’s progress. Wait until it reaches 100% completion.
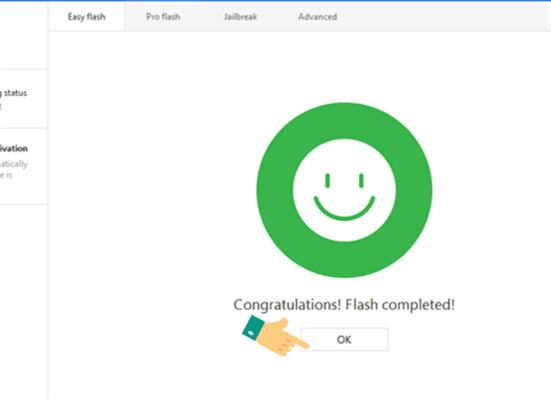
Step 5: Once the process is complete, you’ll see a “Completed” message.
I hope these instructions help you successfully restore your iPhone. Good luck!
Note: 3uTools is a third-party application, so use it with caution. During the restore process, ensure that you don’t unplug the cable or close 3uTools. Additionally, remember to sign out of iCloud before restoring to prevent any unwanted issues.
Best wishes!
Transfer Videos from Computer to iPhone with Quick and Easy Methods

Transferring videos from a computer to an iPhone can make it easy and convenient to enjoy your favorite movies or large video files on the go. In this article, we will guide you through 6 simple ways to transfer videos to an iPhone with minimal fuss.
How to Transfer Photos from iPhone to Computer Using iTunes? Is it Complicated?

Transferring photos from iPhone to computer via iTunes is a method that helps you to reduce the time compared to using other ways to extract photos. In today’s article, FPT Shop would like to invite you to learn about the simplest way to copy photos from iPhone to computer via iTunes.
How to Unpair Apple Watch: 3 Different Methods to Disconnect Your Devices Quickly

Unpairing an Apple Watch from an iPhone has been stated by users to be a fairly straightforward process, although it does require several steps to complete, and it can be done in several different ways. We at FPT Shop will now explore this process further in the article below.
Restore iPhone with iTunes: The Foolproof Guide for Seamless Success

Restore your iPhone with iTunes to quickly factory reset it, fix common errors, and regain a smooth user experience. For a step-by-step guide on how to restore your iPhone using iTunes, refer to this article.
Transfer Data from iPhone to Computer – Discover 5 Effortless Ways

There are many reasons why you might want to transfer data from your iPhone to your computer. Perhaps you want to create a backup of your phone’s important data, free up space on your iPhone that’s full of photos and videos, or share data like PDFs or Word docs. Whatever the reason, here are five simple methods you can try the next time you need to get the job done.


