Elevate your growing business with G Suite and unlock a plethora of valuable features. Even if you’re just starting, G Suite will lend your business a professional and reliable image in the eyes of your customers.
Discover how easy it is to register for the latest G Suite 2020 with this step-by-step guide.
Your G Suite Registration Companion
For those eager to experience the G Suite package, Google has provided a straightforward registration process outlined below.
However, direct registration comes with certain limitations. For instance, you can only trial the service for 14 days with a maximum of 10 users. To continue, you’ll need to create your MX records and pay via credit card, and you won’t be able to export invoices or receive support in Vietnamese during your use.
You have two options: follow the guide below to set up G Suite on your own, or contact matma.vn, Google’s authorized partner in Vietnam, to sidestep any potential errors or limitations that may arise from direct registration with Google.
Navigating the G Suite Registration and Activation Process
Step 1: Get Ready
Before embarking on your G Suite registration journey, ensure you have the following:
- A registered domain name. If you haven’t chosen one yet, now’s the time!
- Login credentials for managing the DNS page for each of your users, including the login link, account name, and password.
- A list of business email addresses you wish to create.
- Your business phone number and email address.
- A Visa Debit card for payment after your 14-day trial period concludes.
Step 2: Access the Registration Gateway
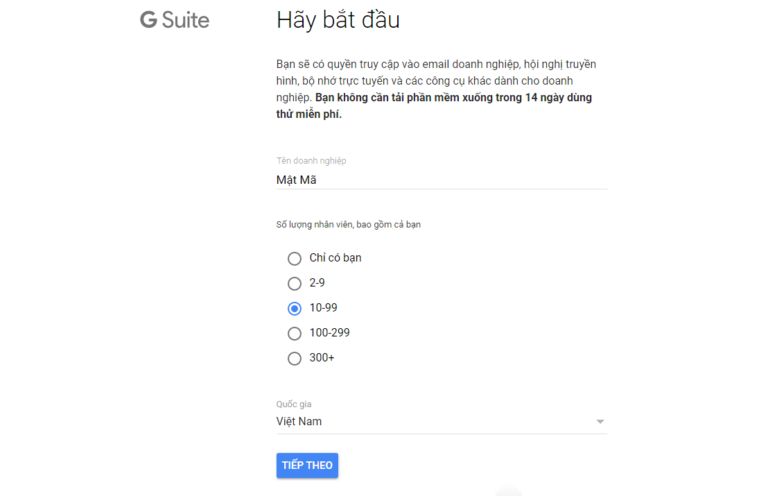
Visit the G Suite registration link at https://gsuite.google.com/signup/basic/welcome, and kickstart your journey by filling in your business name and the number of users. Don’t forget to click NEXT!
Step 3: Share Your Contact Details
In this step, you’ll be asked to provide your contact information. Simply fill it out and select NEXT to move forward.
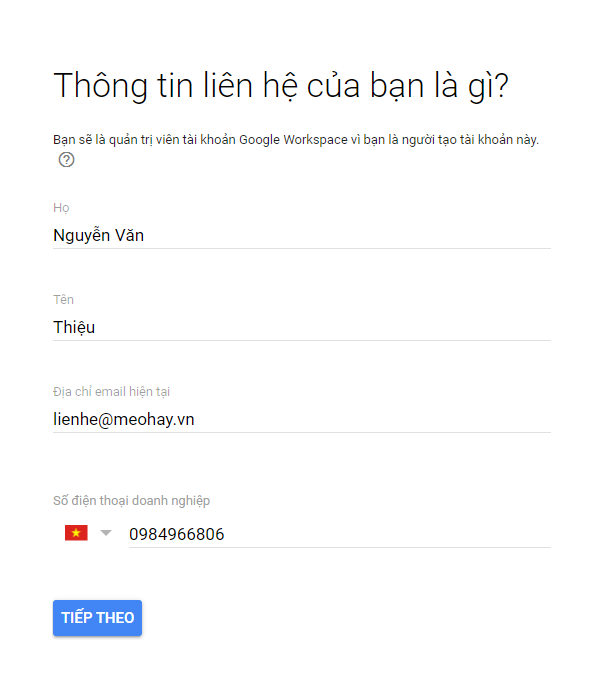
Step 3: It’s all about making connections – share your contact information.
Step 4: Domain Name Decision
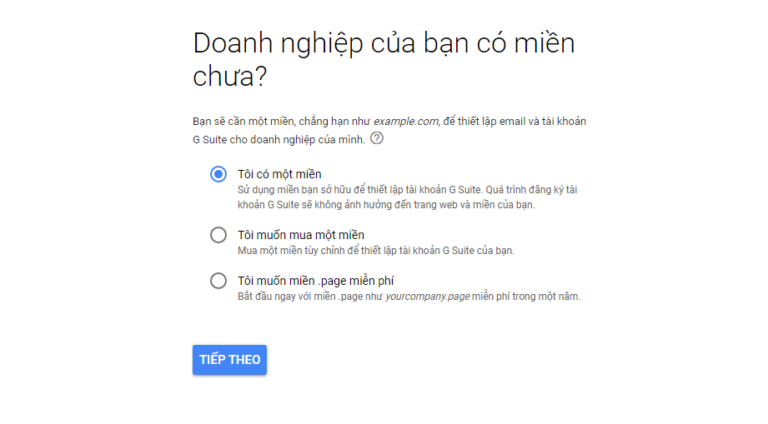
Here, you have a choice to make. If you already own a domain name, choose I HAVE A DOMAIN. Otherwise, opt for I WANT TO BUY A DOMAIN.
Step 5: Domain Name Declaration
Enter your chosen domain name and click NEXT to proceed.
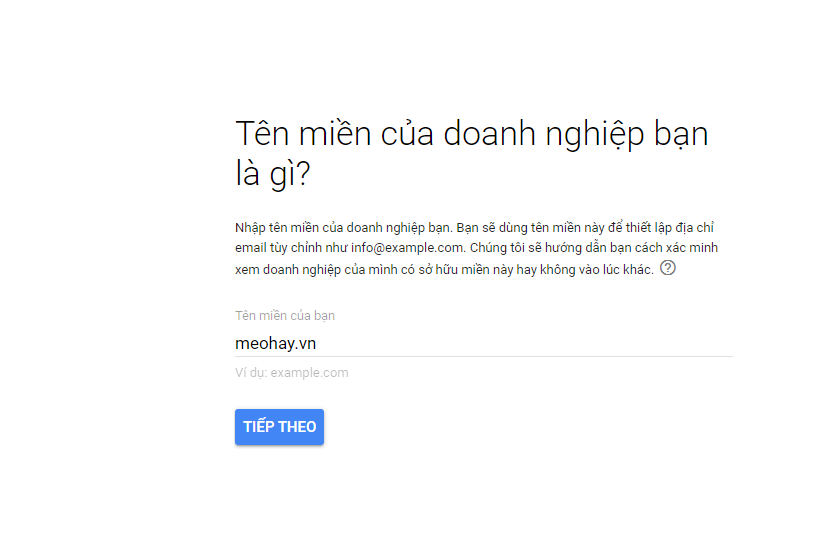
Step 5: Share your domain name – it’s your digital address.
Step 6: Account Setup
You’re almost there! Simply select NEXT to move closer to your G Suite account.
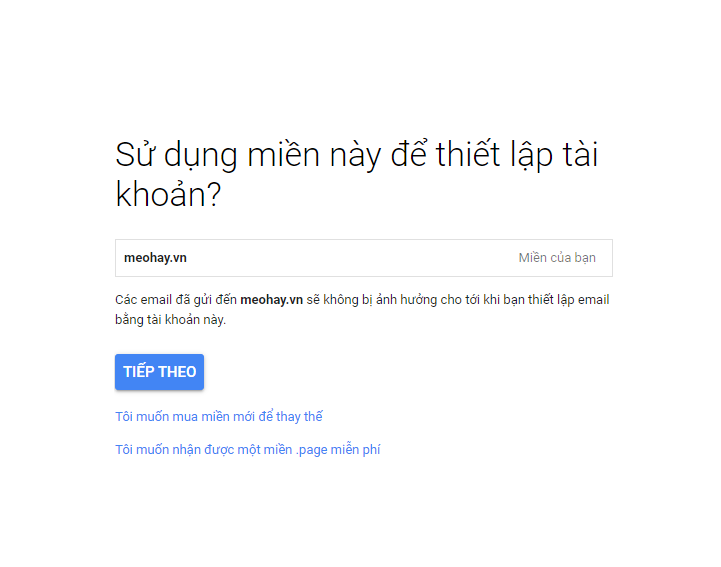
Step 6: Setting up your account – the key to your G Suite kingdom.
Step 7: Idea Exchange
Google wants to know your preferences. Choose according to your needs and watch your G Suite experience become more tailored.
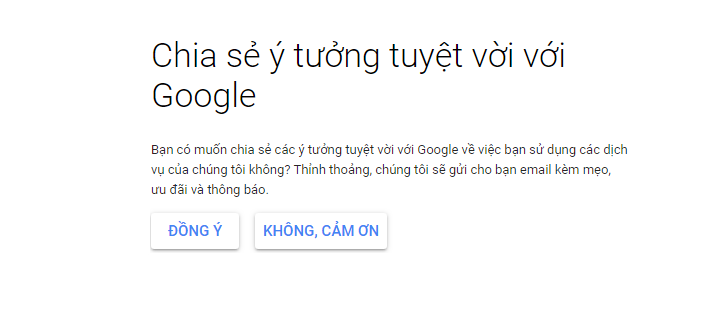
Step 7: Share your ideas and shape your G Suite journey.
Step 8: Login Credentials
Fill in your login information, but don’t forget the crucial step of verifying your humanity by clicking I’M NOT A ROBOT.
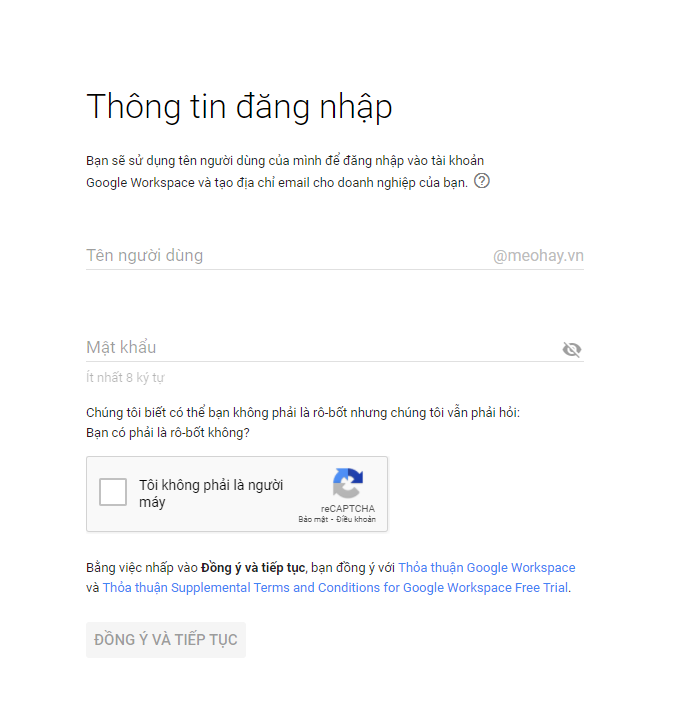
Step 8: Log in and embrace your new G Suite identity.
Upon completion, you’ll be greeted by a notification screen confirming your successful registration.

Congratulations! Your G Suite account is now active.
Now, it’s time to set up your account. Click START to add the users you wish to include.

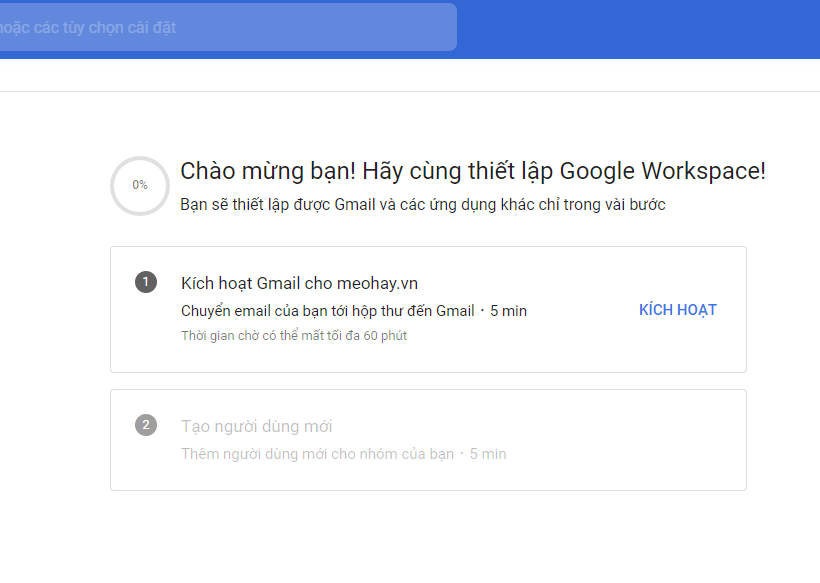
Click ACTIVATE to begin your Gmail email service activation journey.
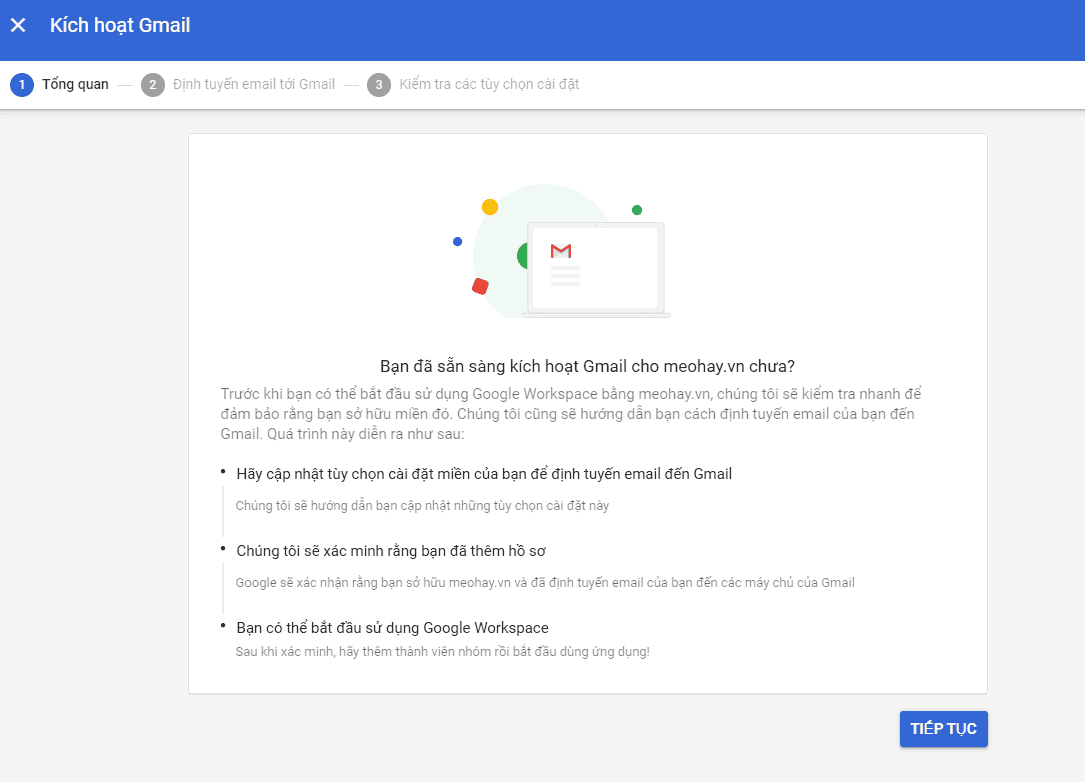
Continue on to verify your domain ownership and solidify your digital presence.
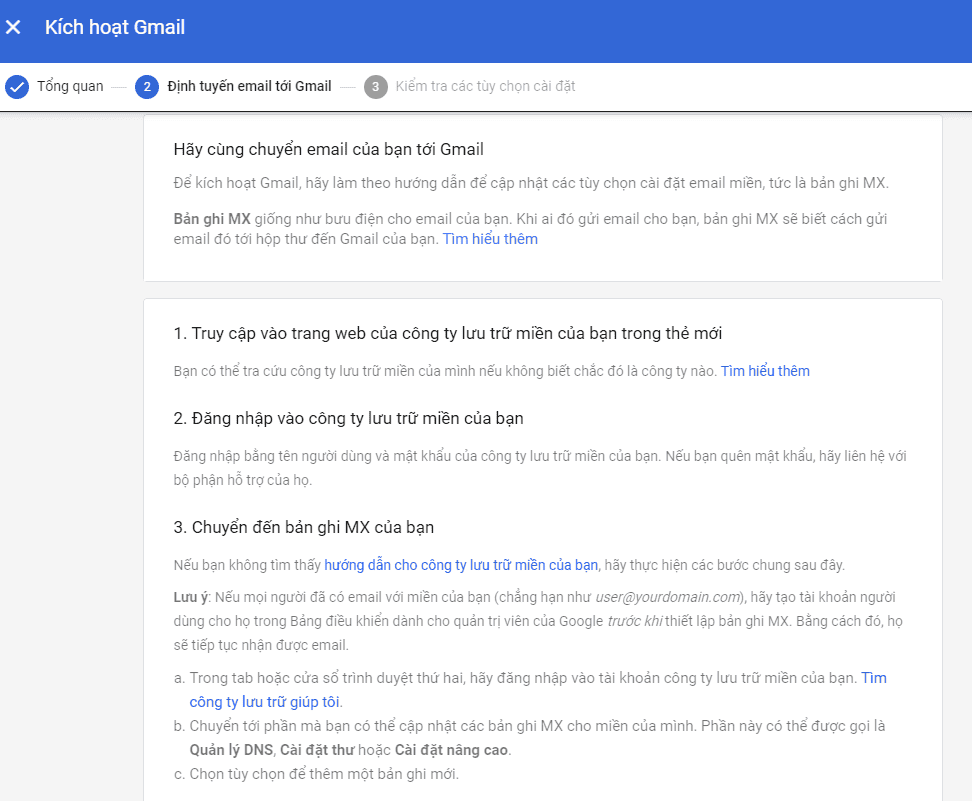
Step 9: Verify Your Domain Ownership
To solidify your digital presence, verify your domain ownership by following these steps:
- Check the email you provided to Google to access your G Suite administrator account.
- Navigate to the Admin.google.com page and select START SETUP -> VERIFY DOMAIN -> BEGIN VERIFICATION.
- Create a TXT (Record) with the following details:
- Name: @
- Record type: TXT
- Value: Paste the TXT value copied from the Google page.
- Save the file and return to Admin.google.com. Click VERIFY in the bottom left corner. If all goes well, you’ll see a green status indicator, confirming your successful domain name verification.
Step 10: Verify Email and Celebrate
Return to the G Suite registration page and select VERIFY DOMAIN & SETUP EMAIL to conclude the process.
Now, you may be interested in exploring alternative ways to create a free business domain email. Both Microsofr and Zoho Mail offer similar services with high stability, so feel free to investigate those options as well.
Note: The change request process can vary in duration, ranging from 30 minutes to several hours or even up to 24 hours. This variation depends on the speed at which the server updates the DNS management system. If you require support during this process, don’t hesitate to contact the administrator where you registered your domain name.
With this guide, you now possess the knowledge to register for G Suite with Google. Remember, after your 14-day trial, continued usage requires payment information via credit card. Head over to http://admin.google.com/ -> select INVOICE/PAYMENT -> pick the G Suite package that suits your needs -> enter your card details, and Google will handle the rest, deducting fees automatically as they become due.
In the realm of email services, Zoho Mail stands as a notable alternative to G Suite, offering similar features such as spam filtering, high security, and separate domain emails for businesses. What sets it apart is its significantly lower cost, providing a budget-friendly option for those with more limited resources.
We hope that this article has equipped you with the insights you need during your decision-making process. May your digital endeavors be marked by success and satisfaction!
What is Google Workspace? A simple guide to signing up and using Google Workspace effortlessly.
Google Workspace is a comprehensive suite of tools and services designed to enhance productivity and streamline daily workflows. With a wide range of features and functionalities, Google Workspace offers users a seamless and efficient working experience. Join us at FPT Shop as we explore what Google Workspace is all about in the following article.


