Deep-fried spring rolls are a beloved dish in Vietnam, and for good reason. This seemingly simple dish packs a punch of flavor and texture that has made it a favorite among locals and visitors alike.

Spring rolls can be made with a variety of fillings to suit your taste.
The key to achieving that perfect, crispy texture lies not only in the frying technique but also in the preparation. Here are some tips to ensure your spring rolls turn out golden and delicious, just like those from your favorite restaurant:
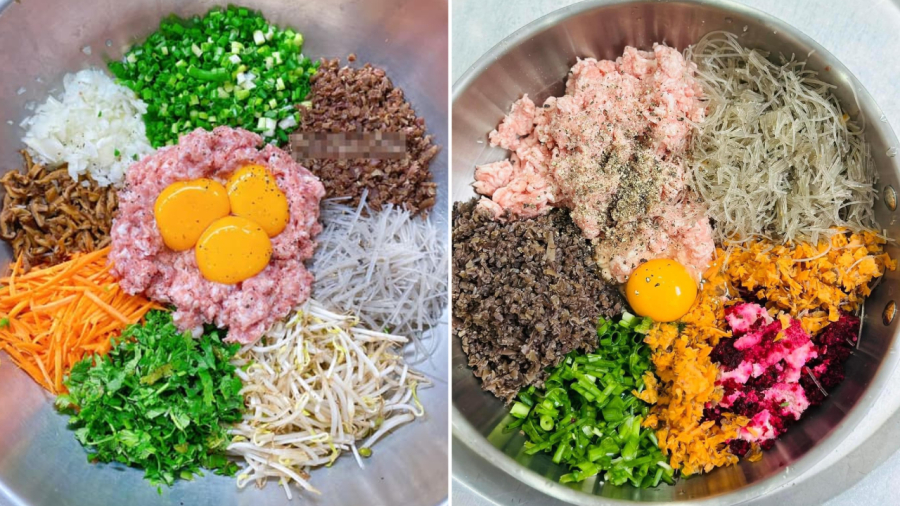
– Keep the filling dry: The filling can be customized to your preference, whether you opt for a vegetarian or meat option. For a meat filling, commonly used ingredients include ground pork, glass noodles, carrots, jicama, onion, bean sprouts, scallions, coriander, wood ear mushrooms, eggs, and either shrimp, crab, or other seafood of your choice. If you’re making vegetarian spring rolls, you can substitute the meat with dried and crumbled tofu or steamed mung beans.
– Prepare the ingredients separately: Season the meat with a small amount of seasoning powder, fish sauce, pepper, and oil. Finely chop or grate the vegetables and season them with a pinch of salt before squeezing out the excess water. You can also blanch vegetables like jicama and turnips in boiling water before chopping and squeezing out the water. This prevents the filling from becoming soggy. Soak the wood ear mushrooms and cloud ear fungi in warm water to soften them, then rinse and chop finely.
– Soak the glass noodles: For the glass noodles, soak them in water at around 104-113°F (40-45°C). Avoid using water that is too hot, as it can make the filling mushy. Cold water, on the other hand, will make the filling tough. Drain the soaked noodles and cut them into smaller pieces.
– Mix the filling: Once you have prepared all the ingredients, mix them together, adding a moderate amount of egg to bind the filling. Be careful not to add too much egg, as it can cause the filling to become watery, leading to bursting during frying and a soggy texture.
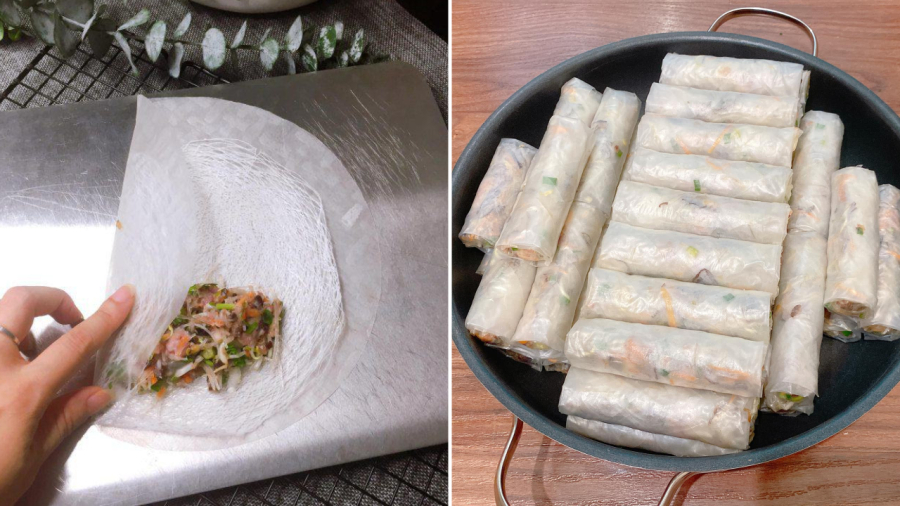
– Wrapping the spring rolls: There are different types of spring roll wrappers available. To ensure a crispy texture and prevent bursting, use two layers of regular spring roll wrappers or one layer of a regular wrapper and one layer of a lacy/web-like wrapper. You can also use popiah or ram wrapper sheets.

Avoid wrapping the spring rolls too tightly to prevent bursting.
Place a whole wrapper on a flat surface, add half to one-third of another wrapper on top, and then spoon a moderate amount of filling onto it. Wrap it evenly but not too tightly, as the filling will expand during frying. If desired, brush a little egg white on the edge of the roll to seal it shut.
– Chill the spring rolls: Instead of frying the spring rolls immediately after wrapping, place them in the refrigerator for about 20 minutes. This helps the rolls firm up and ensures a crispier texture when fried.
– Glaze for color: For that golden, crispy finish, brush the spring rolls with a thin mixture of diluted sugar water or diluted vinegar. Alternatively, some people brush the rolls with beer for added flavor and crispness.
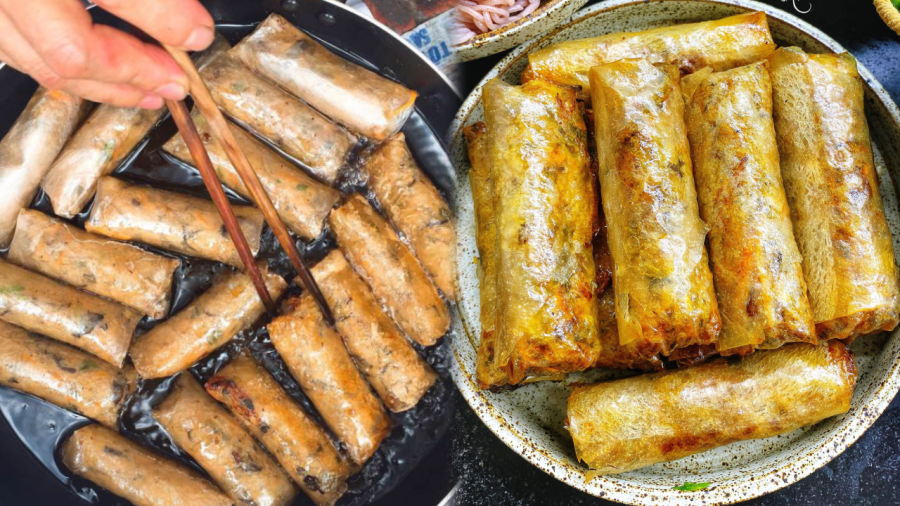
– Double frying: One of the secrets to achieving that perfect crispness and avoiding oily spring rolls is to fry them twice. For the initial fry, use medium heat and remove the rolls once the wrapper turns a light golden color. If you plan to eat them immediately, proceed to the second frying. Otherwise, let them cool completely before storing them in an airtight container and freezing them (using parchment paper between layers to prevent sticking).

Double frying ensures crispiness and prevents oil absorption.
When you’re ready to serve, fry the spring rolls without thawing them first. Start with medium heat to turn the wrapper a golden brown, then increase the heat to high to ensure the rolls are not greasy and to maintain their crispness.
– Drain and serve: Remove the fried spring rolls from the oil and place them on a paper towel to absorb any excess oil. This ensures the spring rolls stay crispy for longer.
Enjoy your homemade, restaurant-quality spring rolls!


