


Bean sprouts are a familiar food in many Vietnamese family meals. They are not only nutritious, packed with vitamins and minerals, but also versatile and easy to incorporate into various dishes. However, to ensure food safety, many people are now opting to make bean sprouts at home.
How to Make Bean Sprouts at Home – A Tasty and Healthy Option
1. Benefits of Making Your Own Bean Sprouts
- Food Safety: By making your own bean sprouts, you have complete control over the process, ensuring no harmful chemicals are used.
- Cost-Effective: With just a small amount of green beans, you can produce enough sprouts to feed your entire family.
- Nutrition: Homemade bean sprouts retain their freshness and optimal nutritional value.
2. Prepare Ingredients and Tools for Sprouting
Ingredients:
- 100g of green beans (choose firm, plump beans with no mold or insect damage)
- Clean water (warm water at 30-40°C is ideal)
Tools:
- A basket or tray with drainage holes
- Clean cotton towels or soft cloth
- A large basin or pot
- A plate or other lightweight object to press the sprouts
3. Simple and Quick Guide to Making Bean Sprouts at Home
Step 1: Soak the Green Beans
- Place the green beans in a basin of water and rinse thoroughly to remove any floating beans (these are likely to be defective and won’t sprout).
- Soak the beans in warm water (30-40°C) for 8-10 hours or overnight. This helps the beans expand and soften.
Step 2: Prepare the Sprouting Container
- Line a basket or tray with a clean cotton towel or soft cloth.
- Spread the soaked beans evenly on the cloth and cover them with another damp layer of cloth.
Step 3: Watering and Sprouting
- Water the beans regularly, 2-3 times a day, to keep the cloth moist. Ensure the cloth doesn’t dry out, as this will slow down the sprouting process.
- Place a lightweight object, such as a plate, on top of the cloth to gently press the sprouts. This helps them grow plump and compact.
How to Make Bean Sprouts at Home – A Tasty and Healthy Option
Step 4: Checking and Harvesting
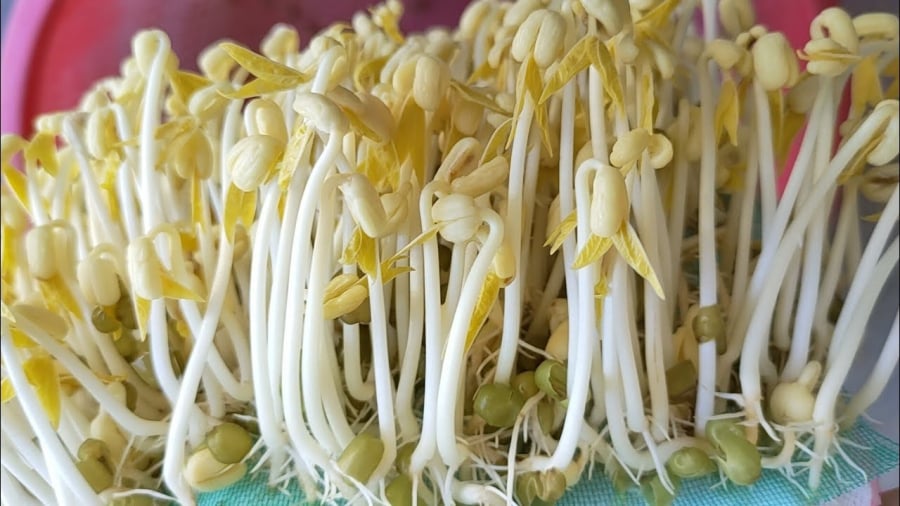
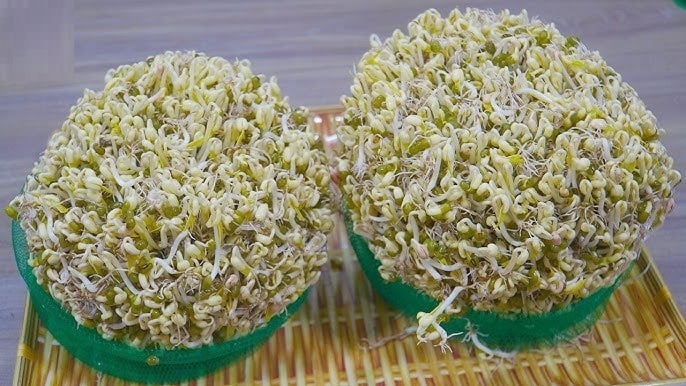
- After 2-3 days, your bean sprouts will start to grow vigorously and become plump. When they reach a length of 5-7cm, you can harvest them by gently removing the cloth and separating the sprouts.
4. Tips for Plumper, Whiter, and Sweeter Sprouts
- Maintain Moisture: Keep the cloth damp at all times to ensure optimal sprout growth. If the cloth dries out, the sprouts may become stunted and uneven.
- Avoid Light: Keep the sprouts in darkness to achieve a beautiful white color and a sweet, mild flavor.
- Gentle Pressure: Use just enough weight to press the sprouts, helping them grow plump without overly long roots.
5. Storing Your Homemade Bean Sprouts
- After harvesting, rinse the bean sprouts with cold water to remove any remaining bean husks.
- Store the sprouts in an airtight container or plastic bag in the refrigerator’s crisper drawer. They will stay fresh and tasty for 2-3 days.
6. Delicious Dishes Using Bean Sprouts
- Bean Sprout Soup: Cook with shrimp, meat, or eggs for a refreshing and cooling soup.
- Stir-fried Bean Sprouts: A quick and nutritious dish when stir-fried with beef or tofu.
- Bean Sprout Salad: Toss bean sprouts with fresh vegetables, carrots, and a sweet and sour fish sauce dressing for a low-calorie, healthy salad.
Making your own bean sprouts at home ensures a clean and safe food source while also being cost-effective. With simple ingredients and easy steps, you can enjoy plump and nutritious sprouts that enhance the flavor and health benefits of your favorite dishes. Try it today and experience the joy of creating this familiar food from scratch!
The Magic Liquid to Transform Any Fish Dish: Enhancing Flavor, Texture, and Aroma for an Irresistible Meal

With this fish stew recipe, you’ll create a mouth-watering, flavorful dish with tender meat that will leave you craving more.
The Ultimate Guide to the Unassuming Cup: How This Household Item Can Turn Hot Water into “Poison”

Introducing the potential dangers of using a subpar or improperly handled vacuum flask, this paragraph warns of the “poison” that can result from filling a substandard flask with hot water.
The Magic Cut of Pork: A Slender 3-ounce Portion with a Powerful Punch.

Pork lovers, rejoice! There’s a super nutritious and healthy part of the pig that you can indulge in without worrying about weight gain or obesity.
The Ultimate Guide to Vegetable Safety: Are You Eating Bacteria-Ridden Veggies?

An eminent food safety expert has issued a warning, urging consumers to exercise caution when eating a certain ubiquitous vegetable due to a heightened risk of food poisoning.
The Ultimate Guide to Hot Pot: 5 Dishes the Connoisseurs Never Order

When it comes to hot pot, it’s best to avoid certain foods due to their questionable quality. These foods may contain excessive additives, bleaching agents, and other undesirable substances.


