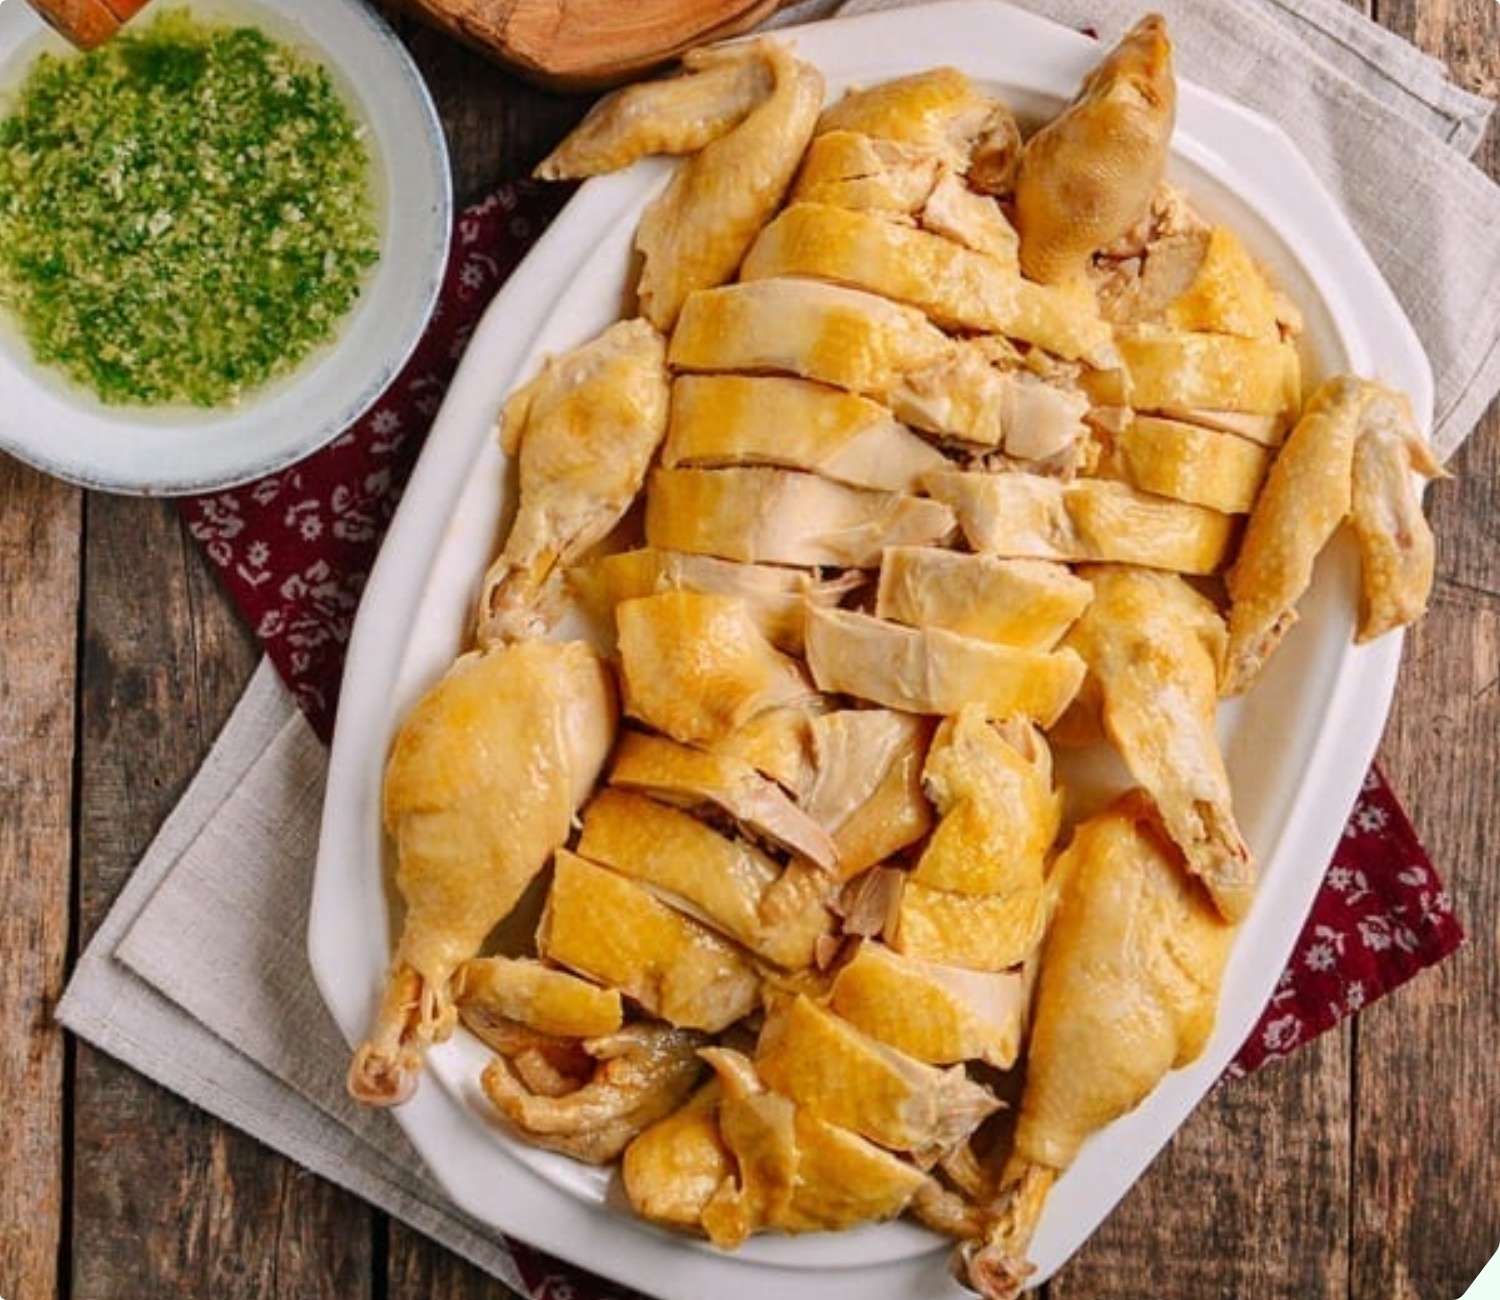
Many home cooks struggle with how to carve a whole chicken attractively. There are plenty of hilarious stories of failed attempts at chicken carving, but fear not! With these tips and tricks, you’ll be a pro in no time.
Guide to Carving a Whole Chicken
Step 1: Remove the Head and Neck
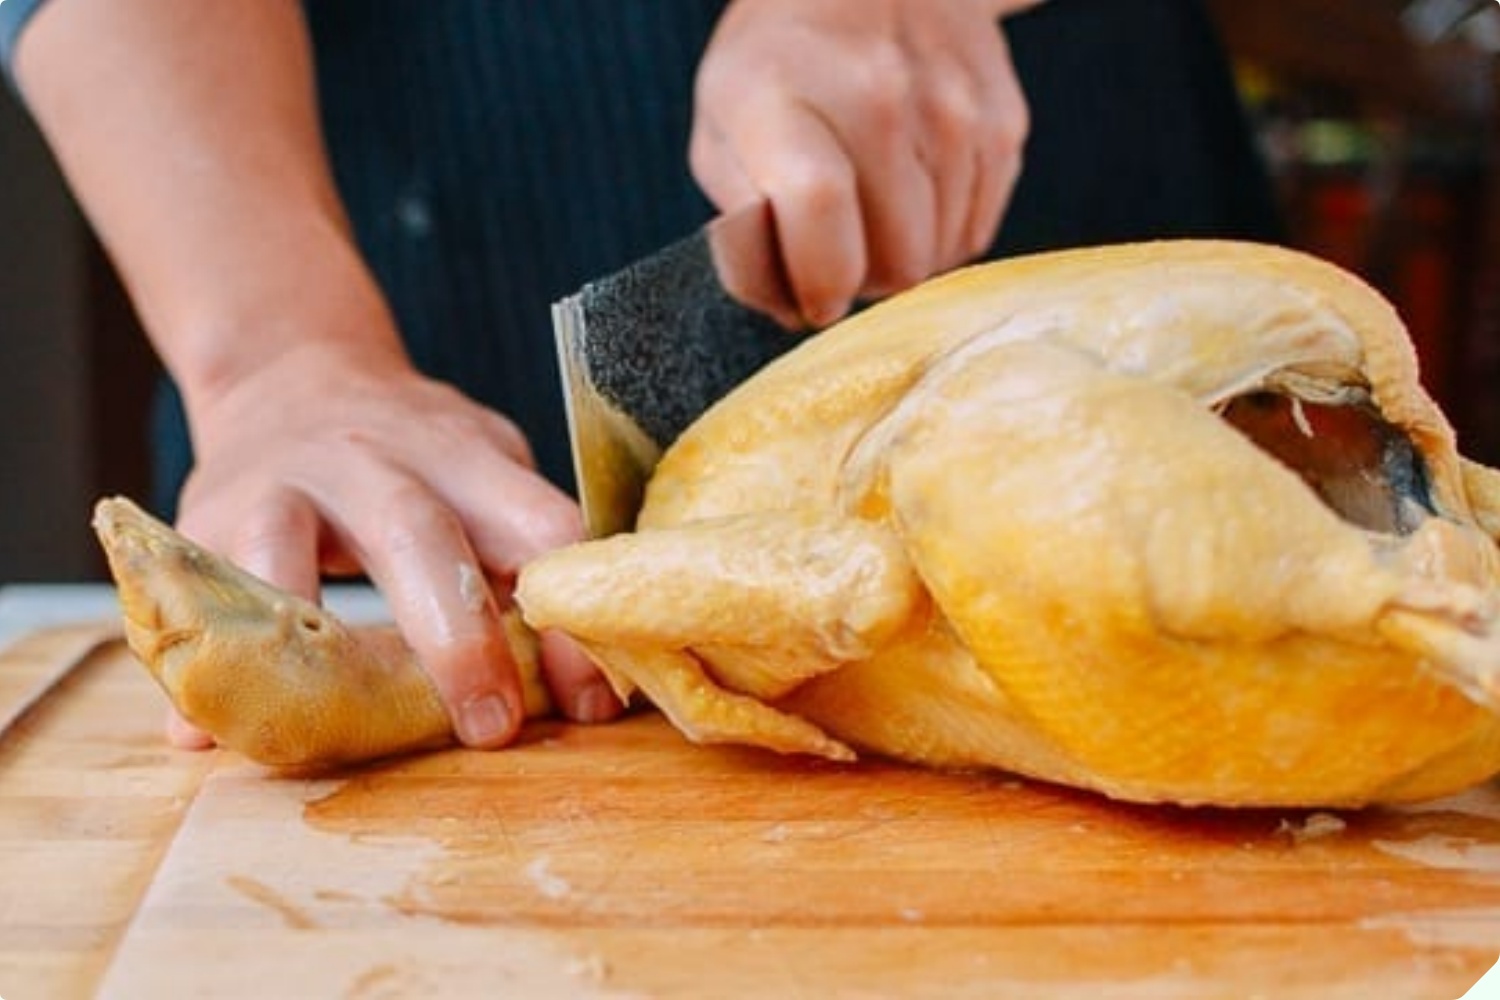
Place the cooked chicken on a chopping board. Carefully separate the neck and head from the body, then arrange them at one end of your serving platter.
Step 2: Remove the Legs
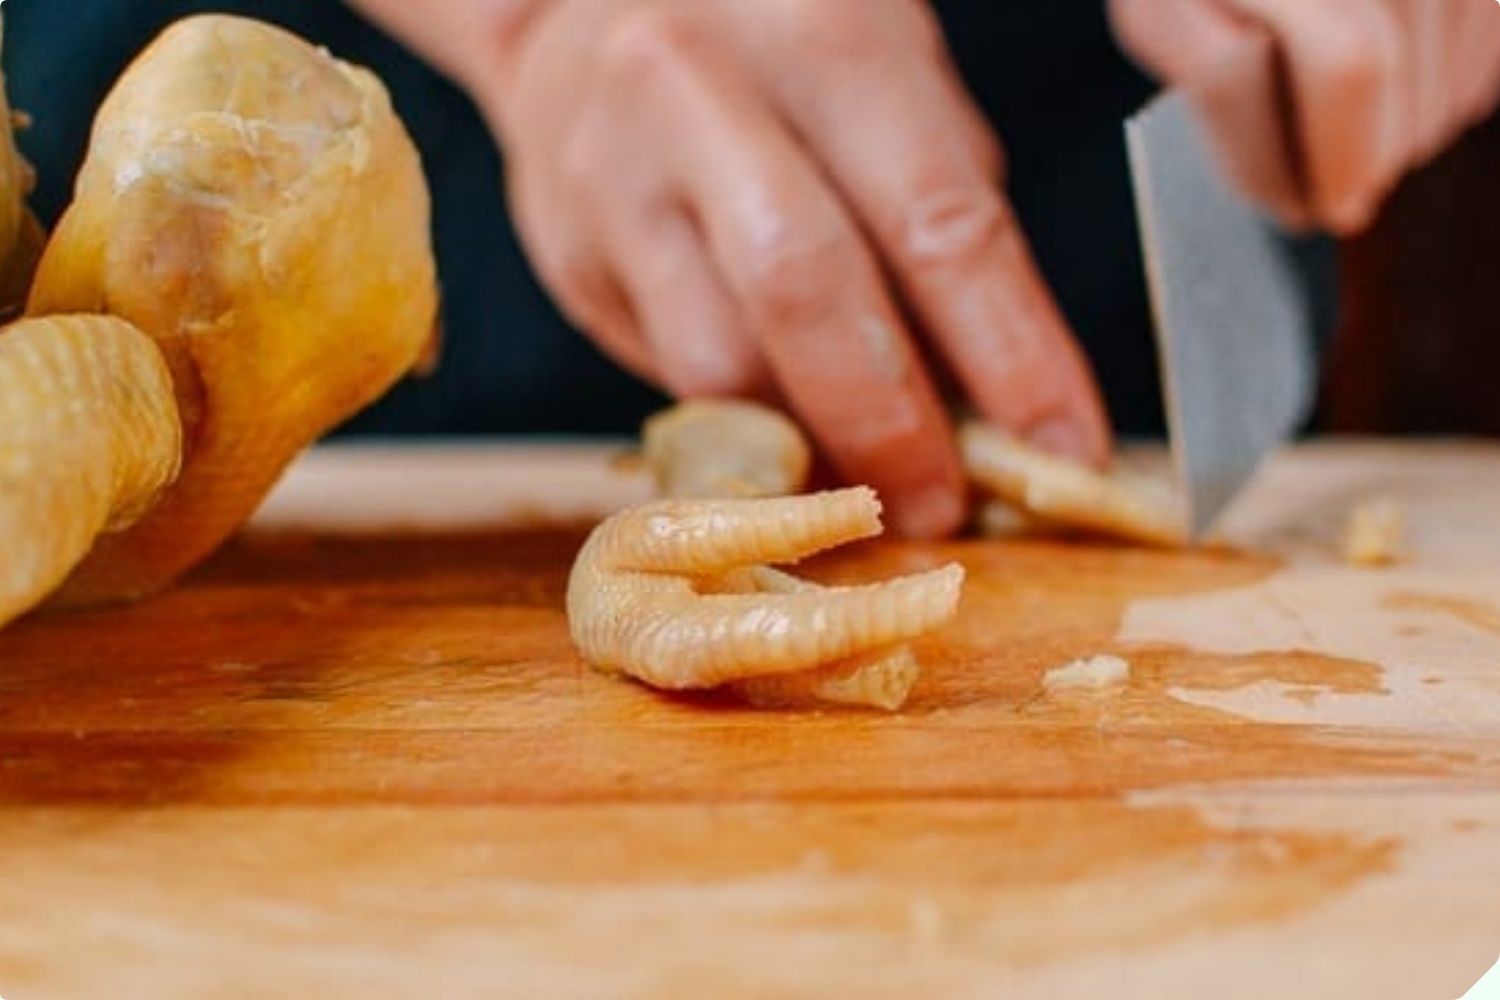
Now, remove the legs from the body. Don’t forget to trim the claws and arrange them neatly on the platter.
Step 3: Split the Chicken into Two Halves
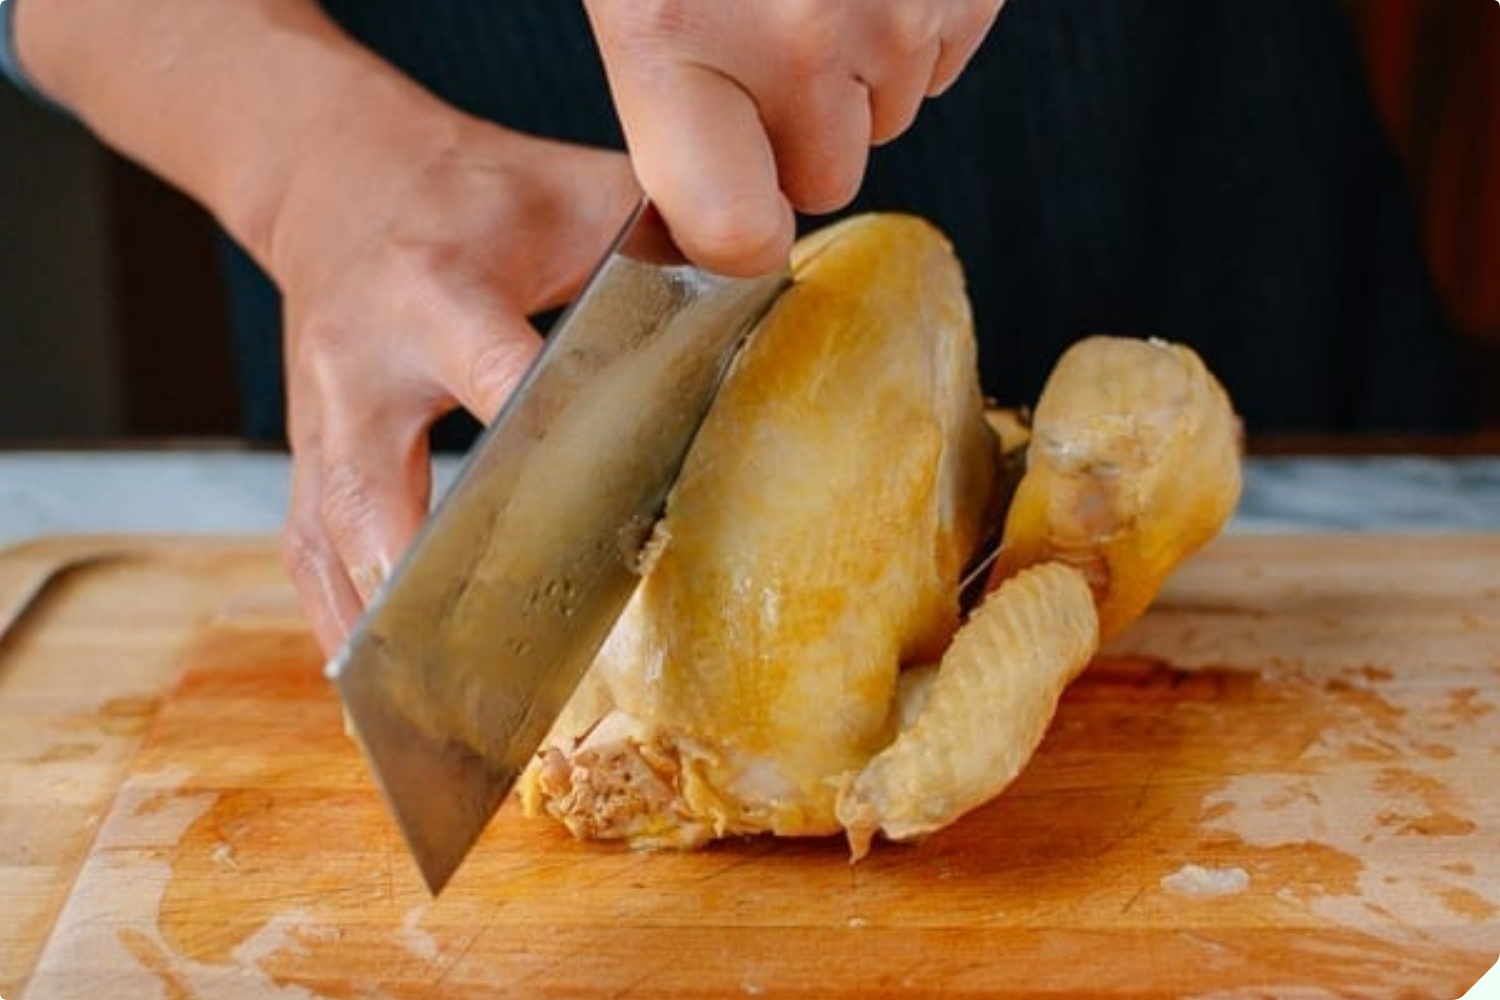
Place the breast side up and use a sharp knife to carefully split the chicken into two halves. Be cautious to avoid any injuries during this step.
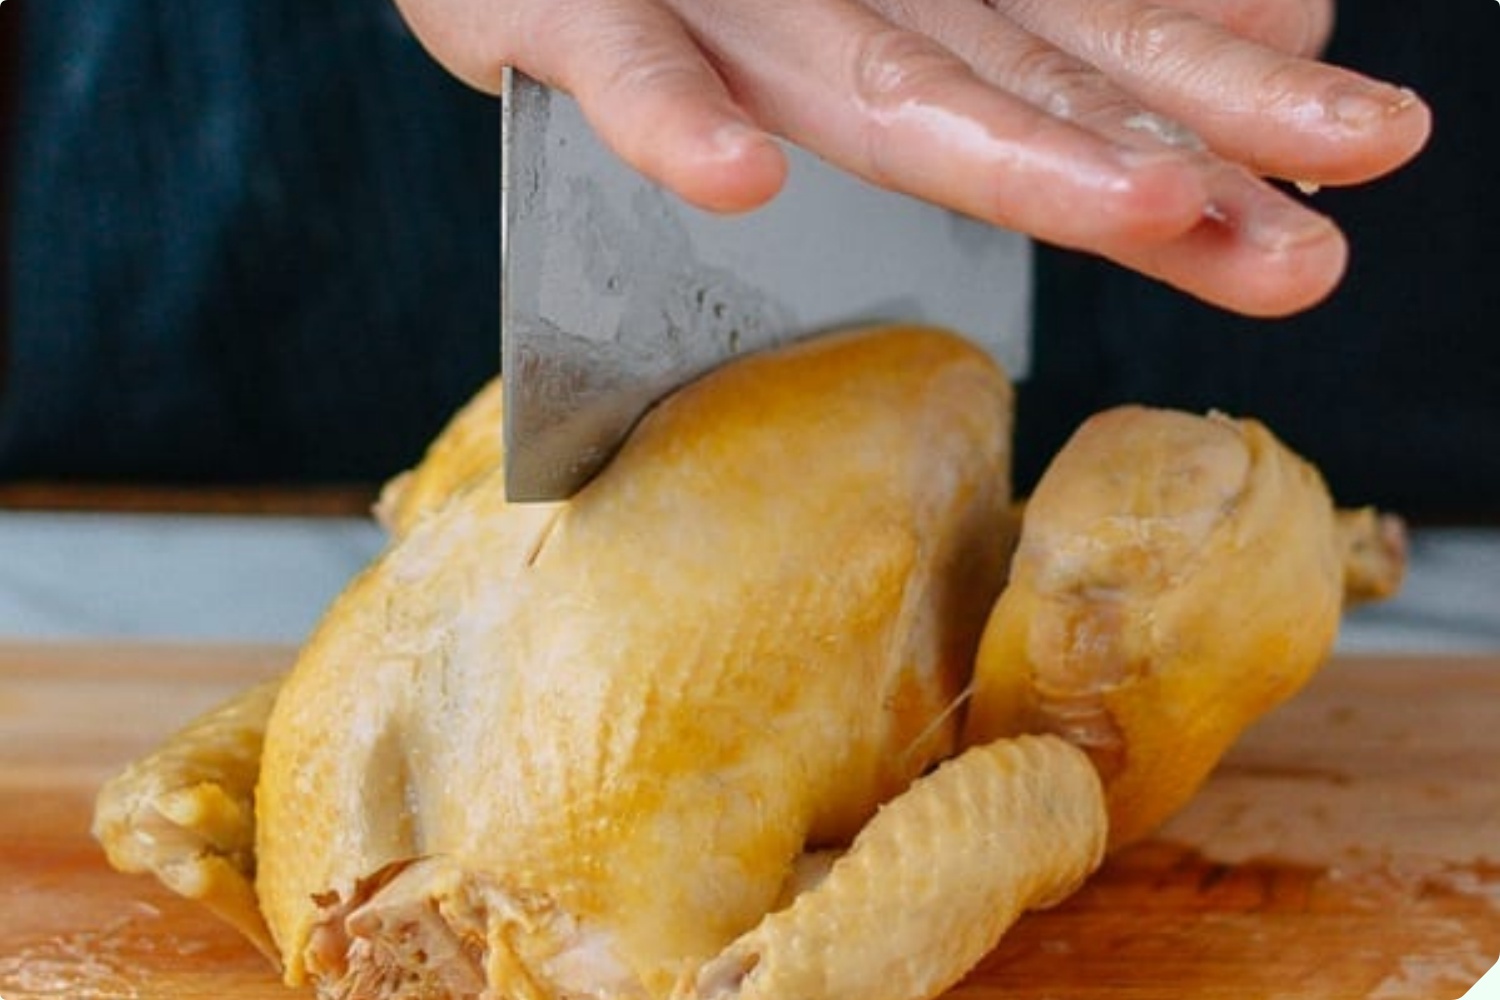
Your chicken should now be divided into two equal halves, as shown in the image.
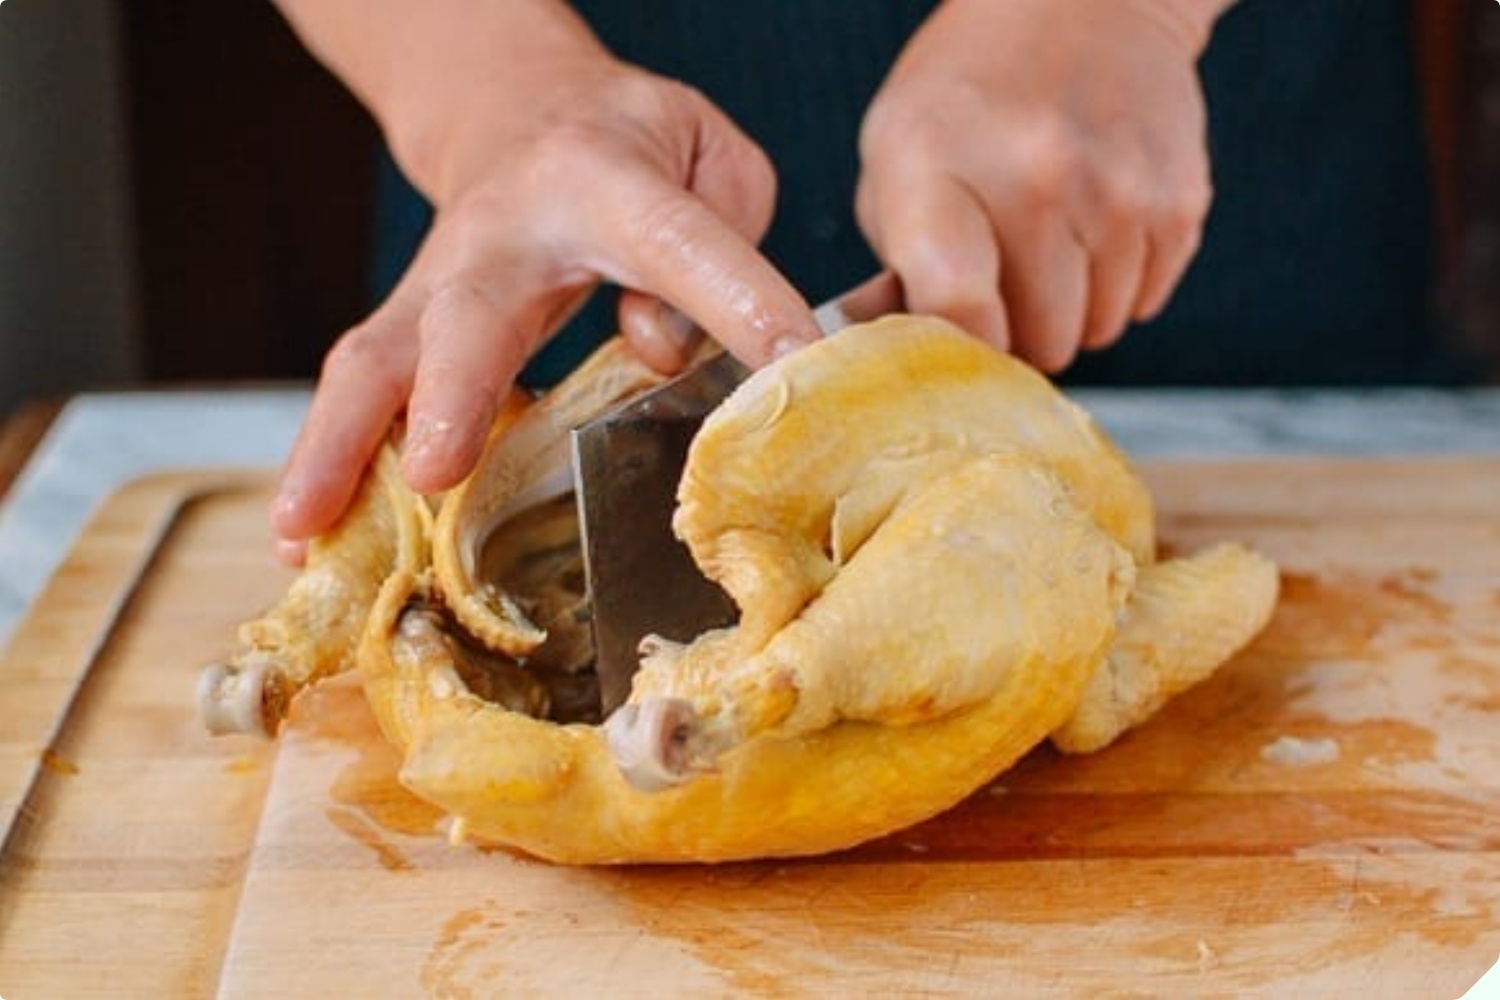
Separate the two halves and use your knife to remove the backbone.
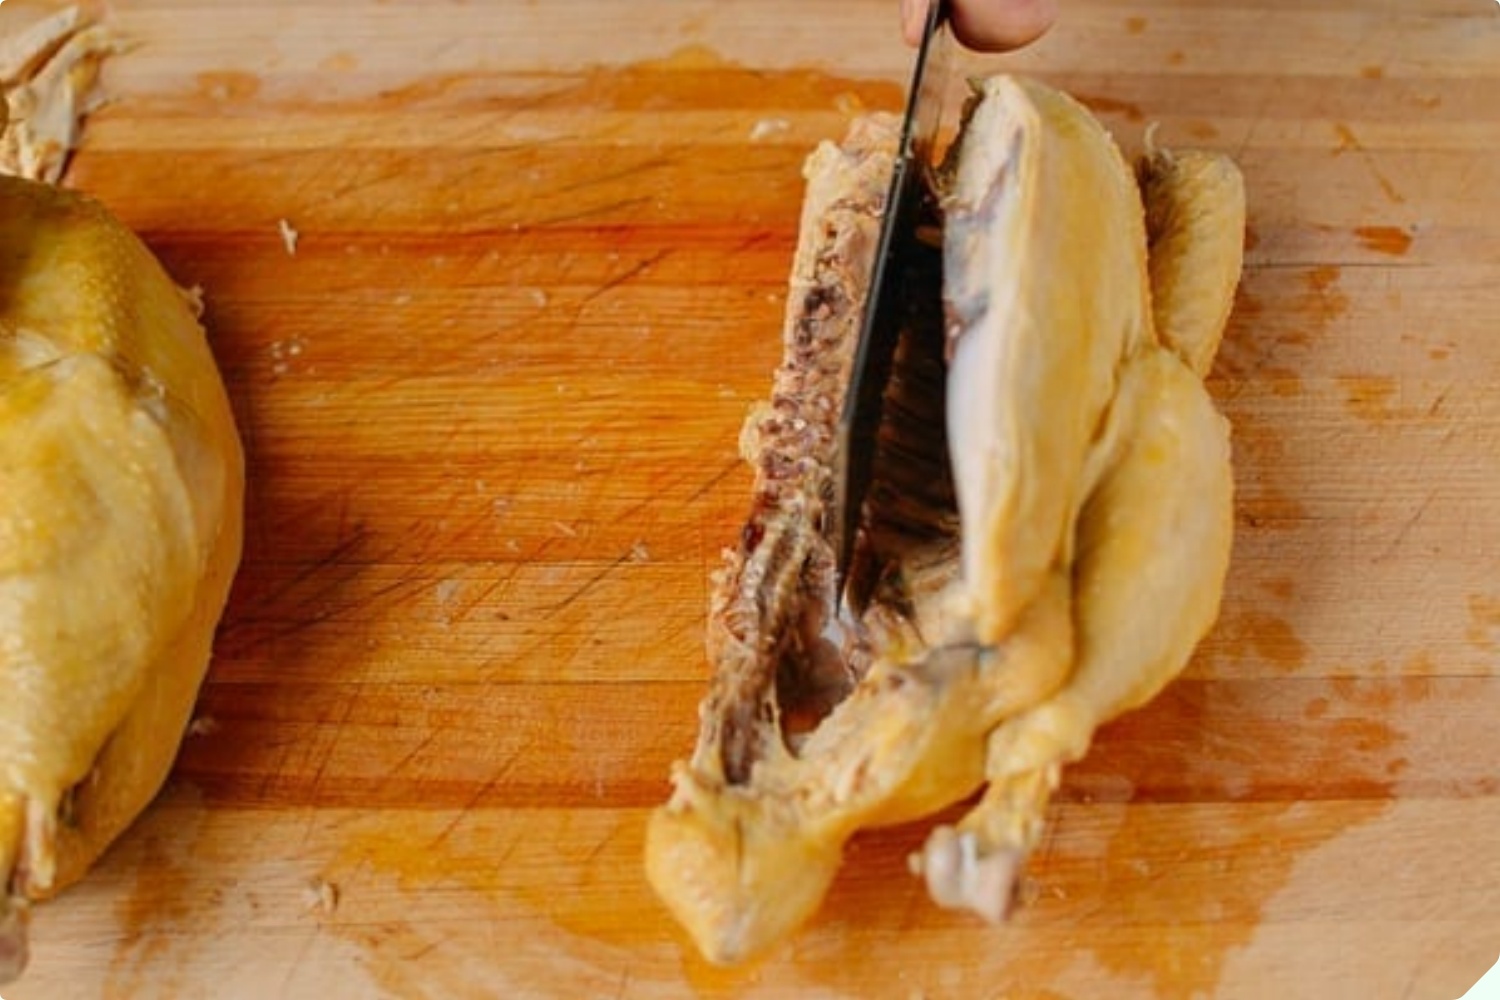
You can use kitchen shears to easily remove the backbone.
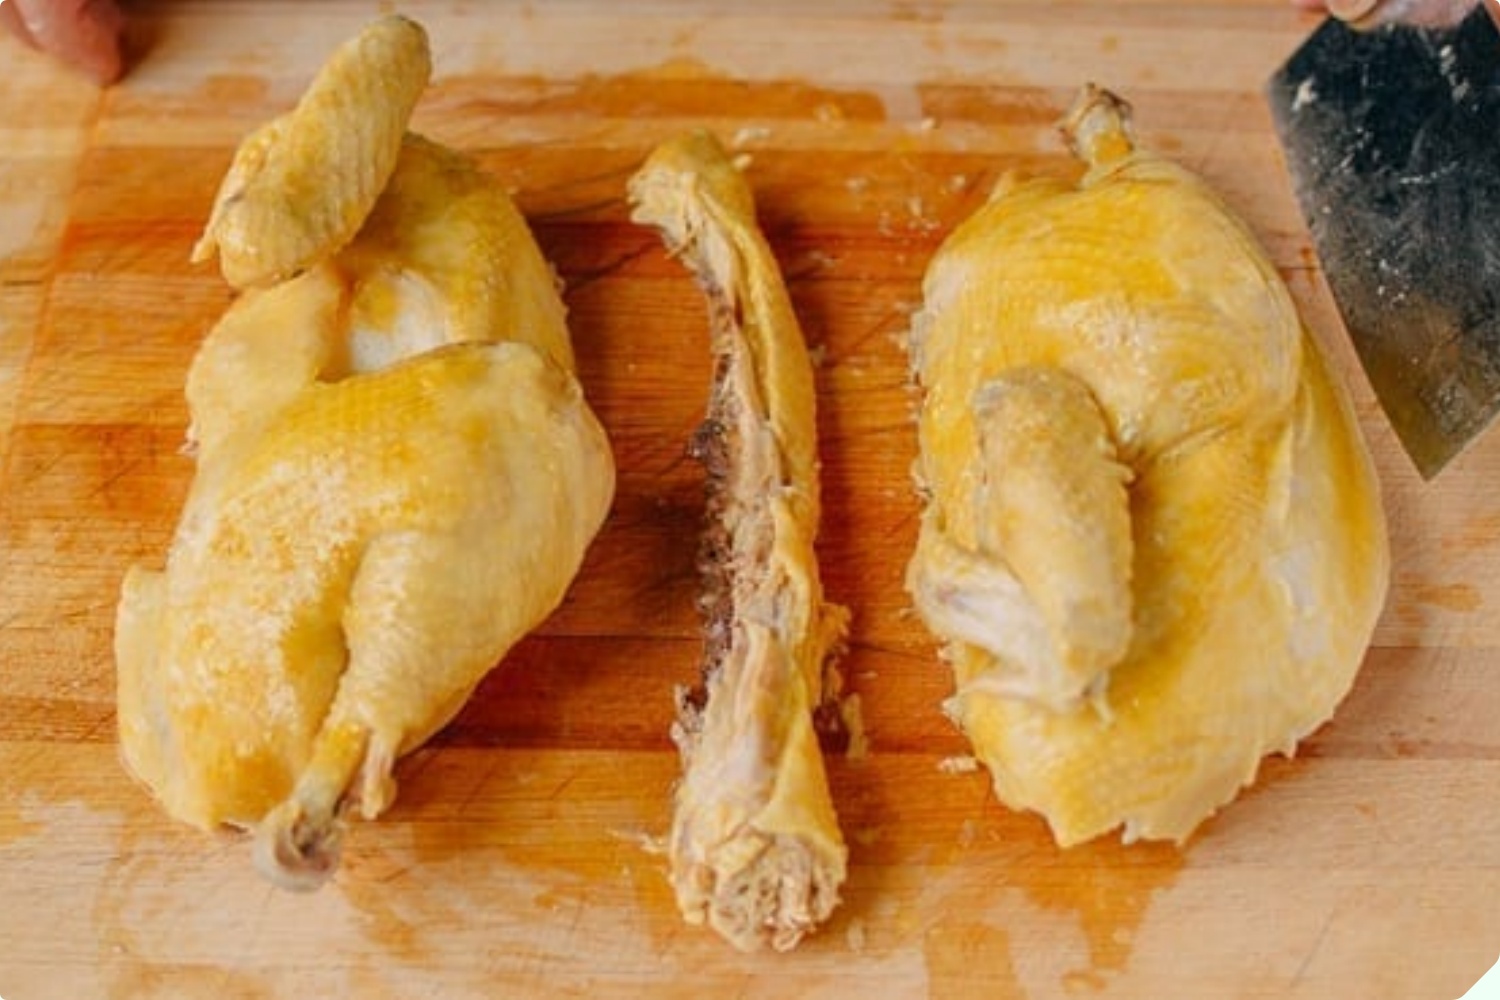
Step 4: Cut the Neck, Back, and Comb into Pieces
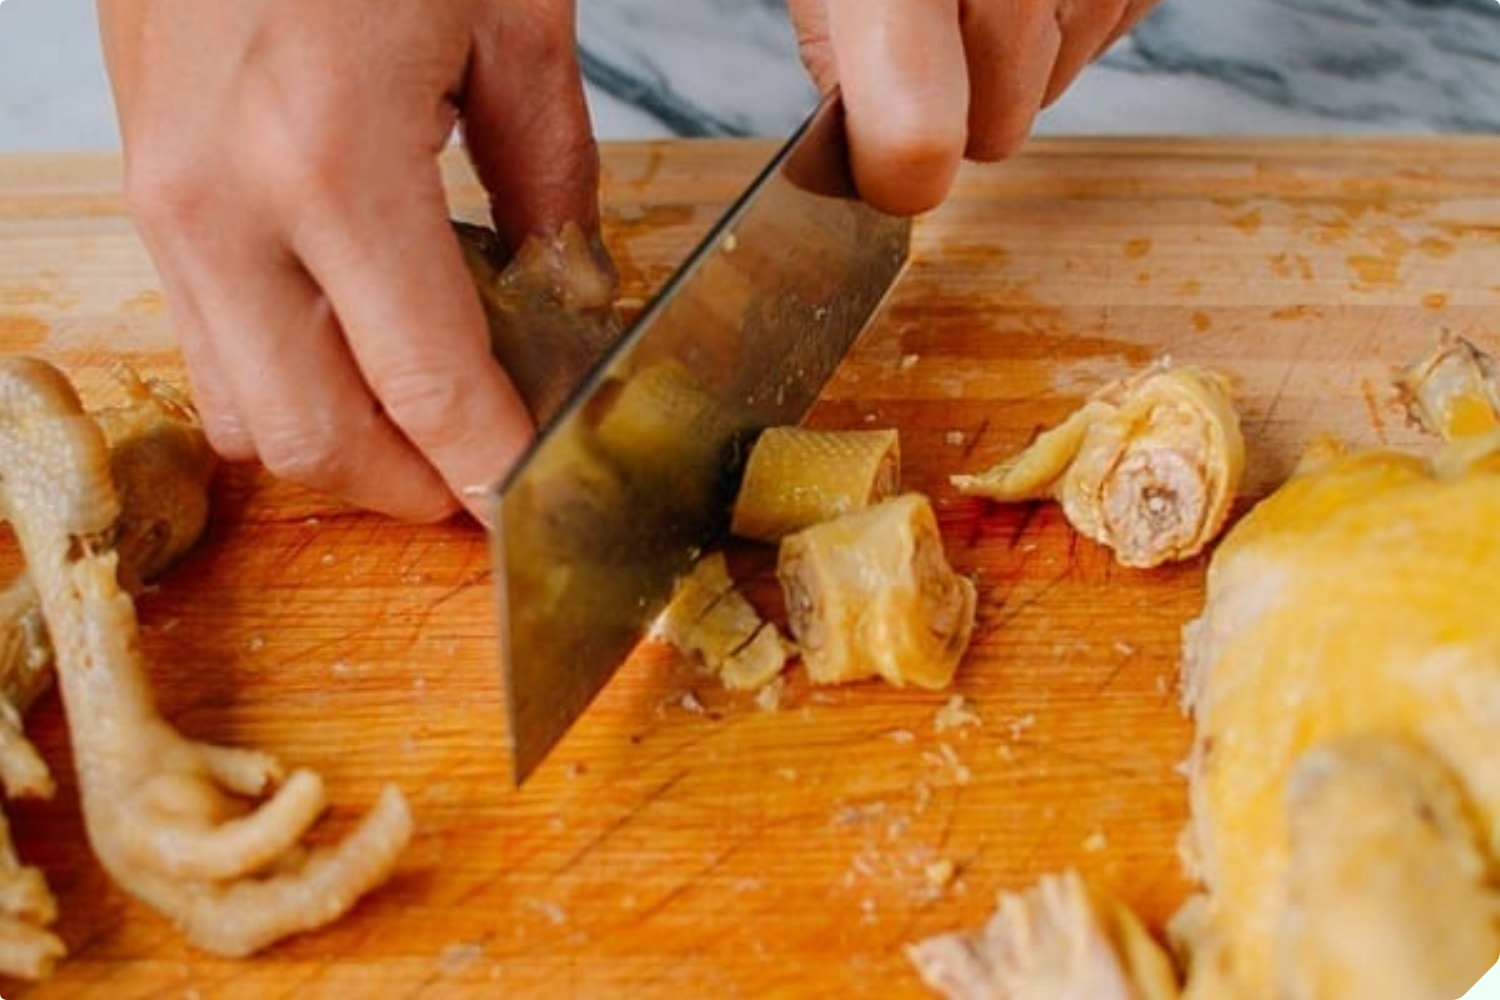
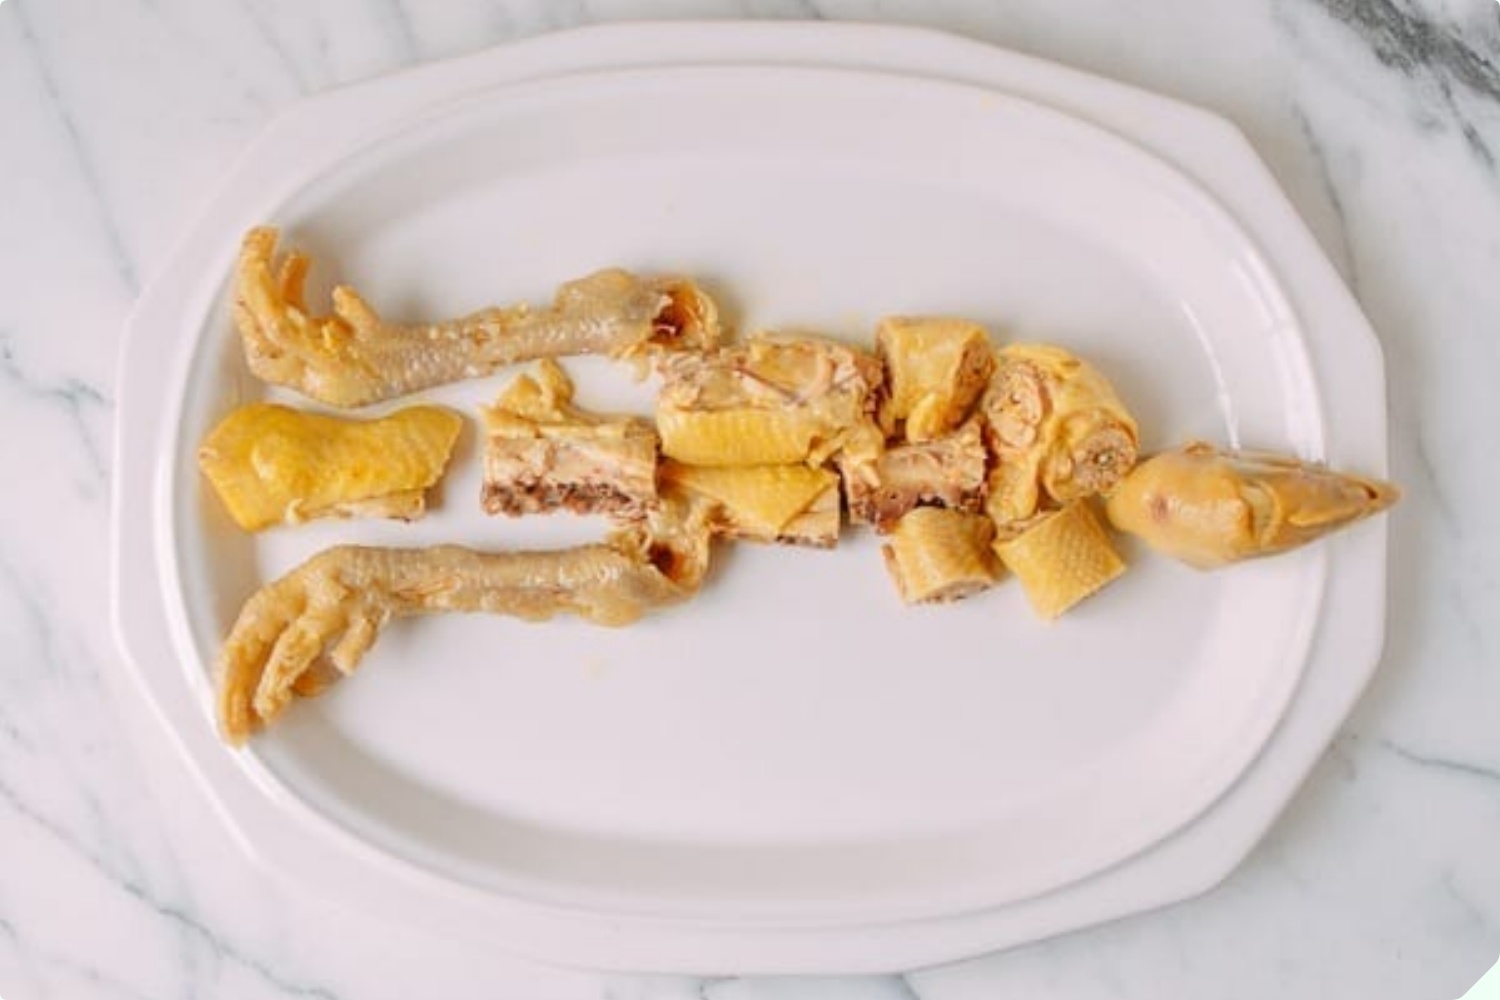
Cut the neck, back, and comb into bite-sized pieces and arrange them on the platter. Fill the space between the head and legs with these pieces.
Arrange the meat neatly in the space between the head and legs, as shown in the image.
Step 5: Separate the Thighs
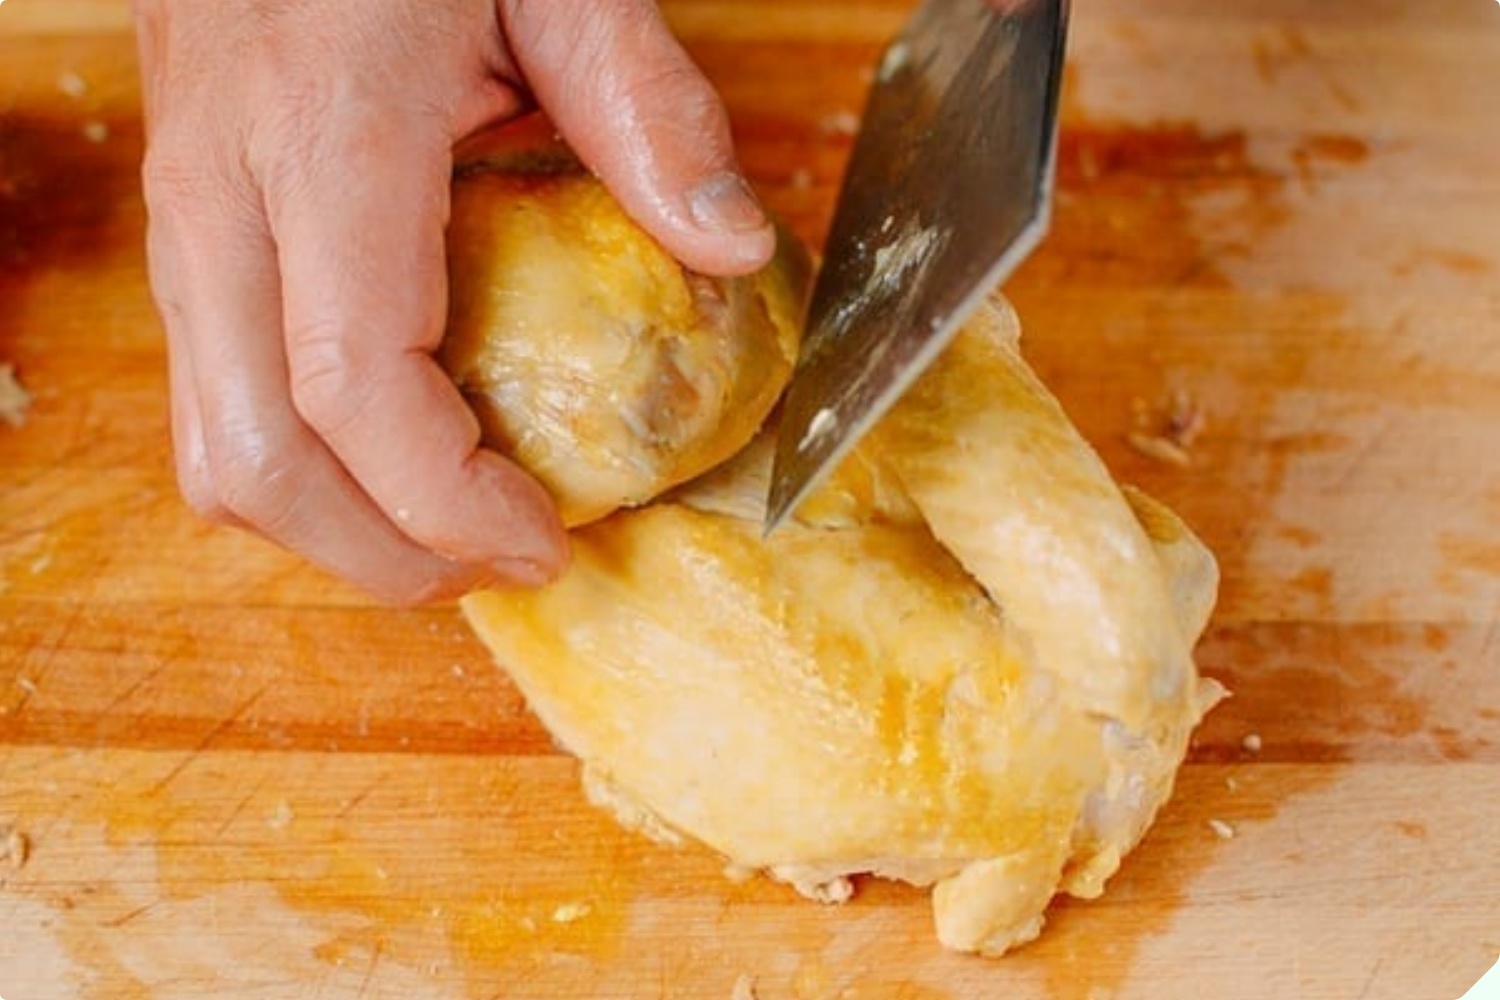
Using your knife, make a cut along the skin where the thigh meets the breast. Gently pull the thigh backwards to separate the joint. Make a small cut at the joint to help release the thigh.
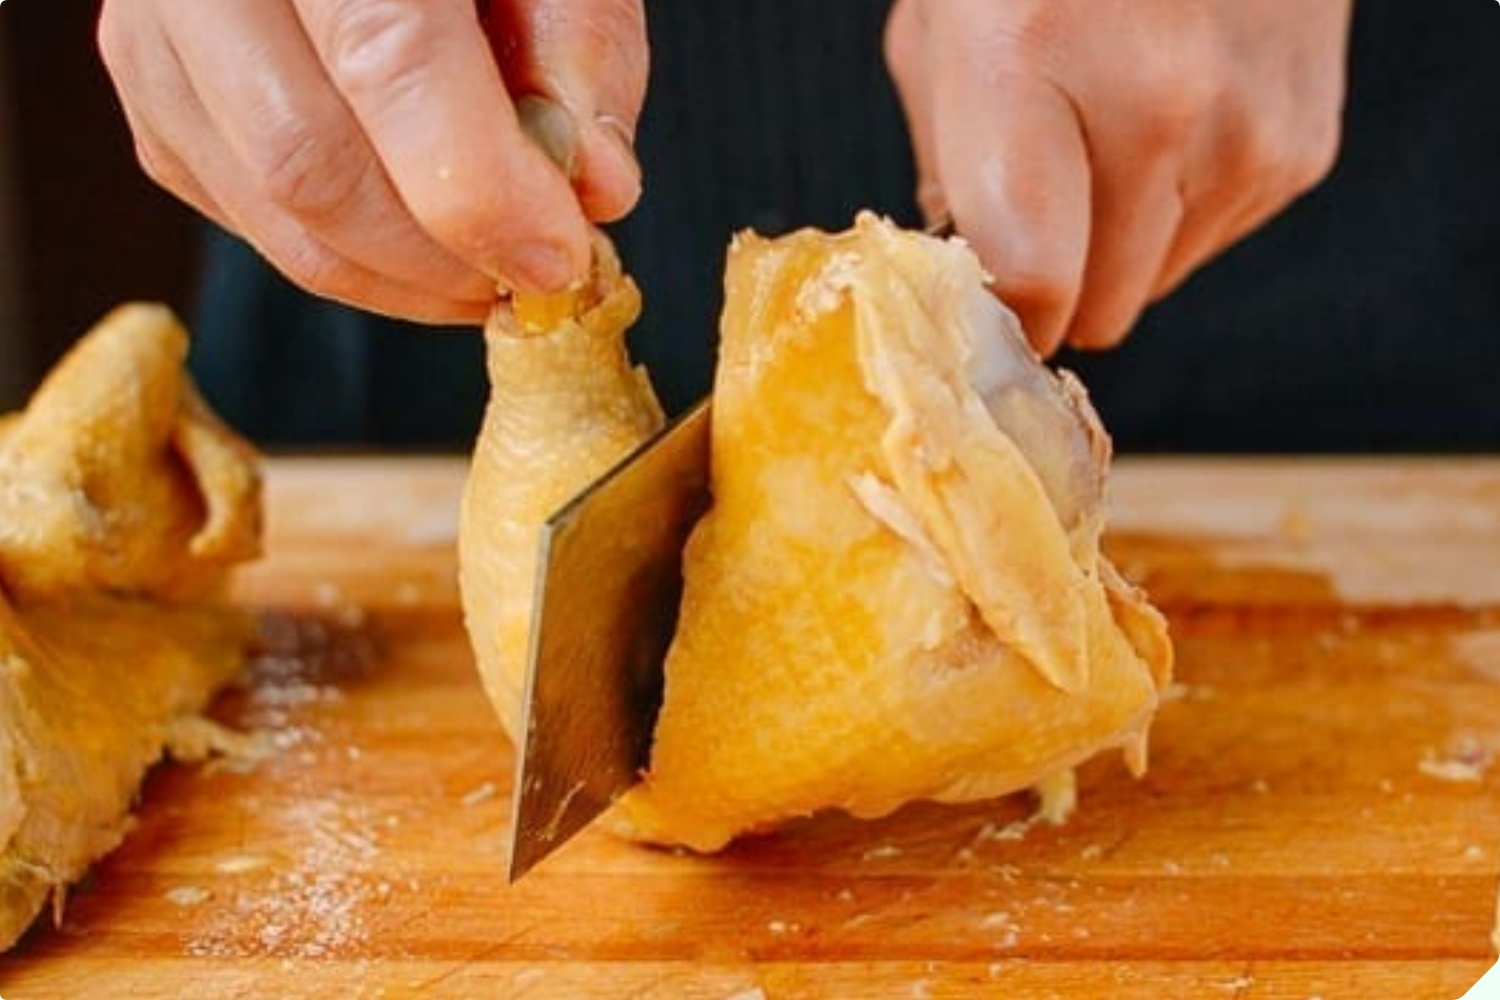
Cut the thigh on a diagonal into two equal pieces. Then, cut these pieces into bite-sized portions.
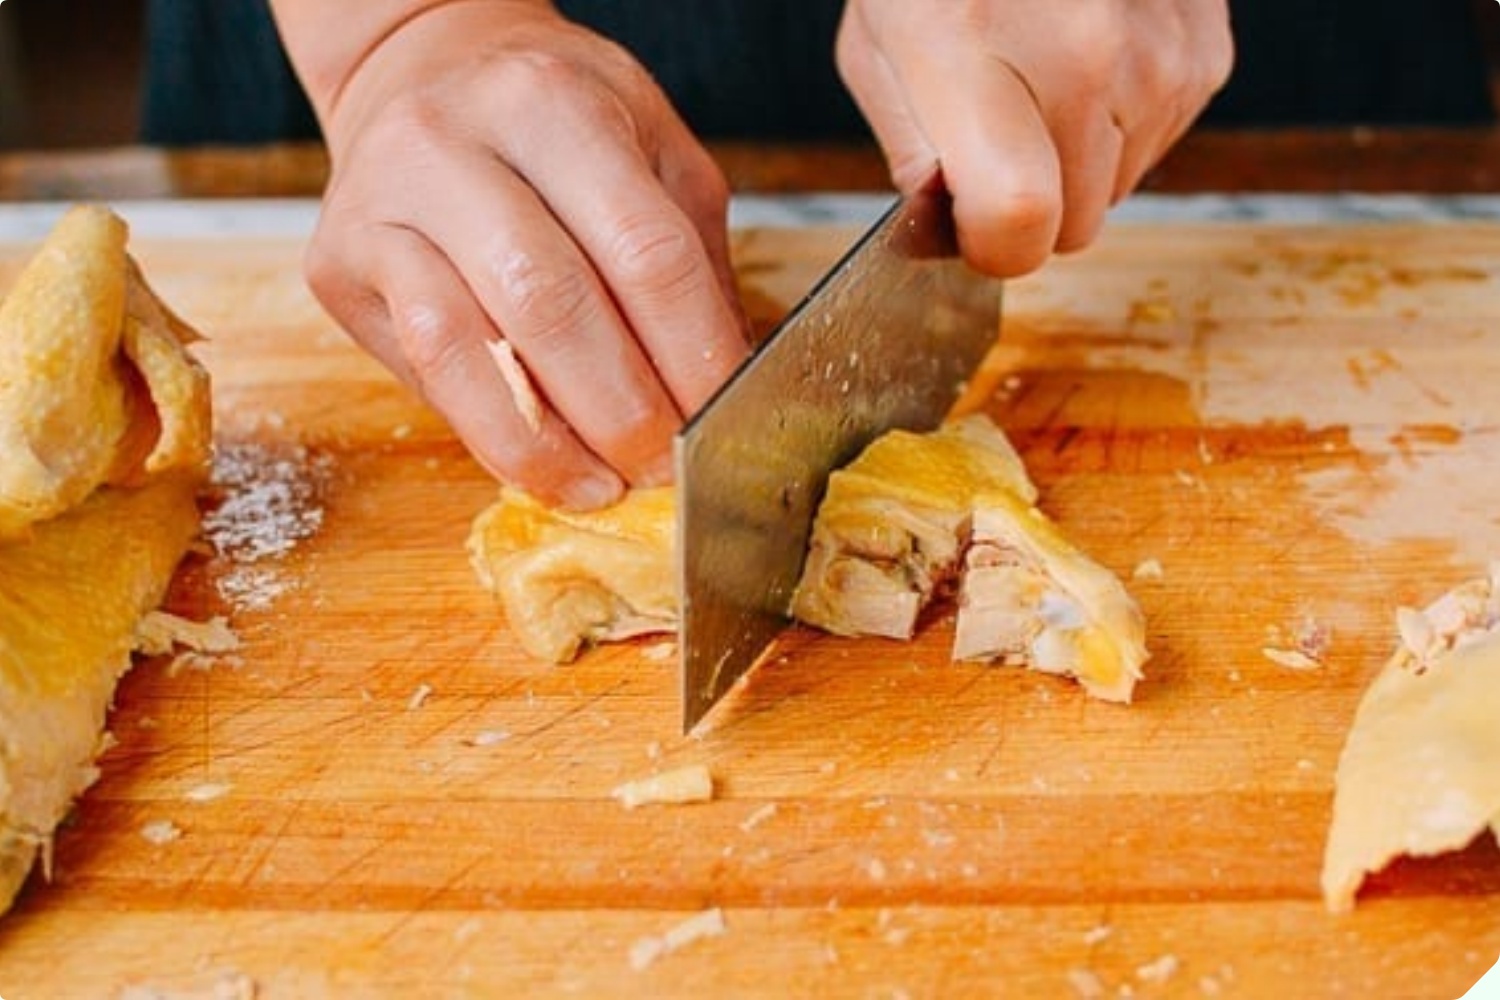
Arrange the meat neatly on the platter, positioning it next to the legs (as shown in the image). Repeat this process for the other thigh.
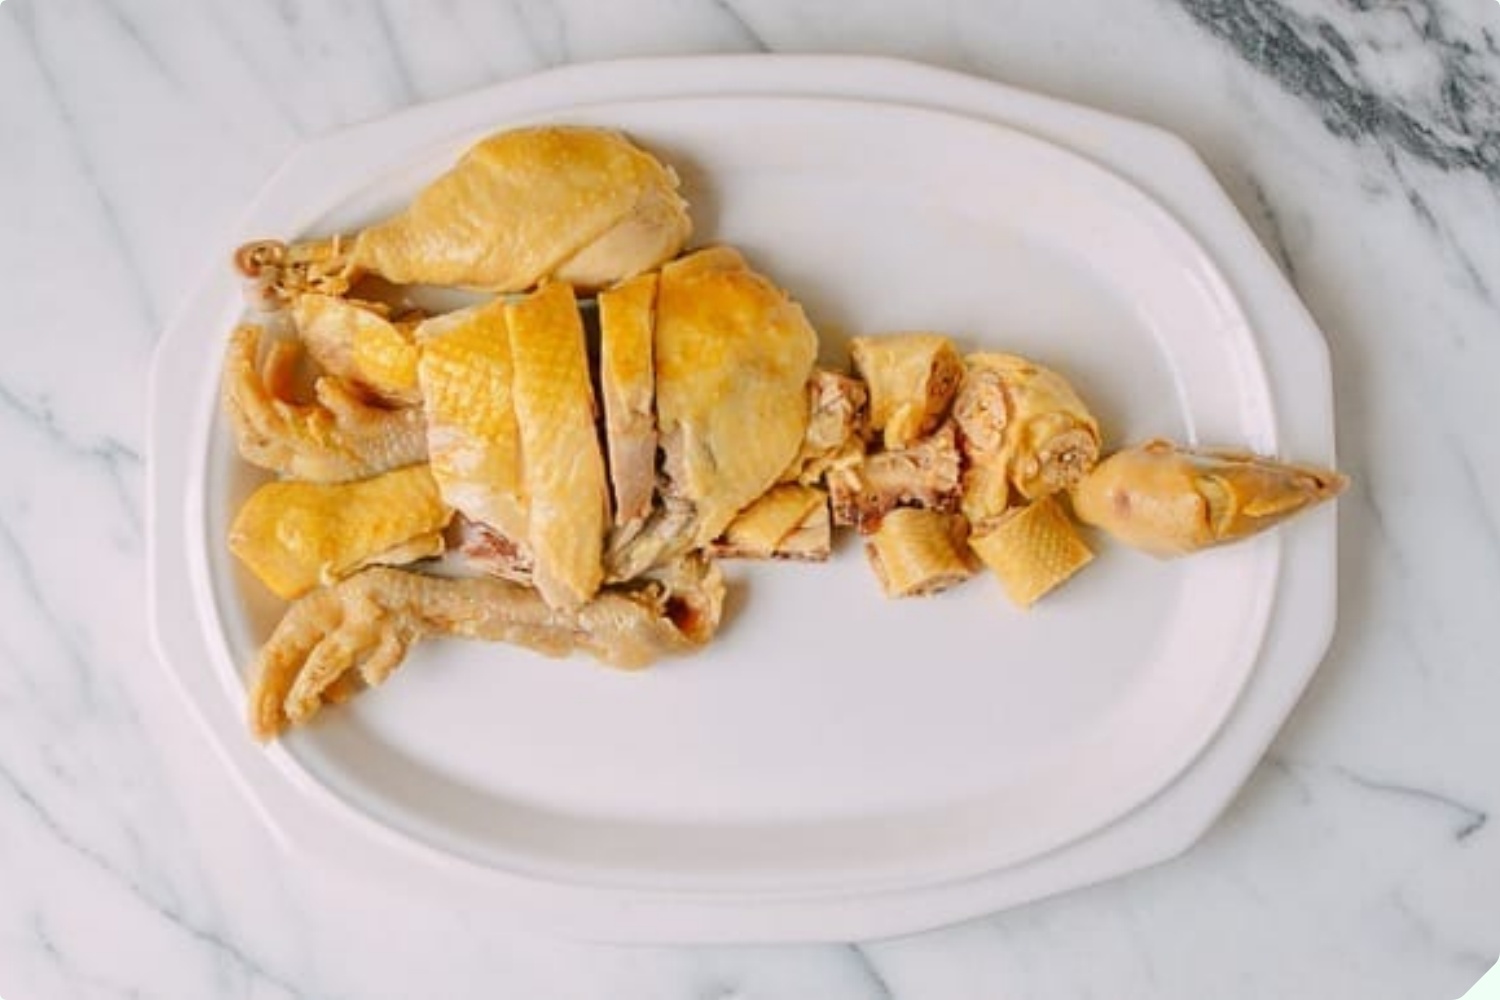
Step 6: Remove the Wings
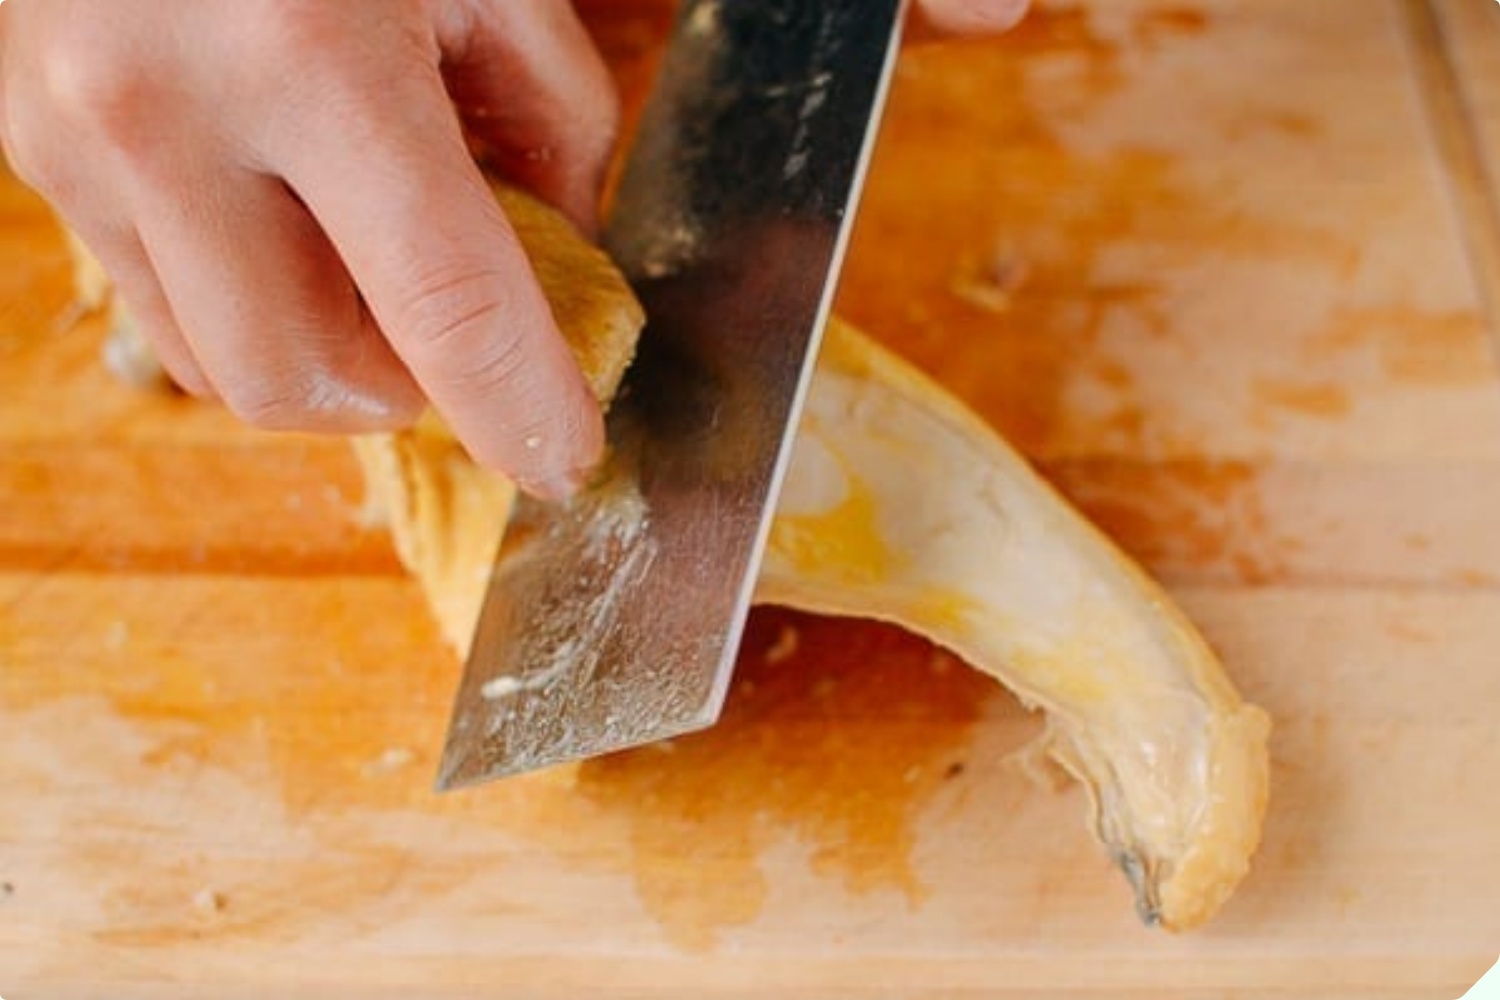
Gently separate the wings from the body. Cut the wings into three parts: the wing tip, the drumette, and the flat. Arrange these pieces next to the head on the platter.
Step 7: Cut the Breasts
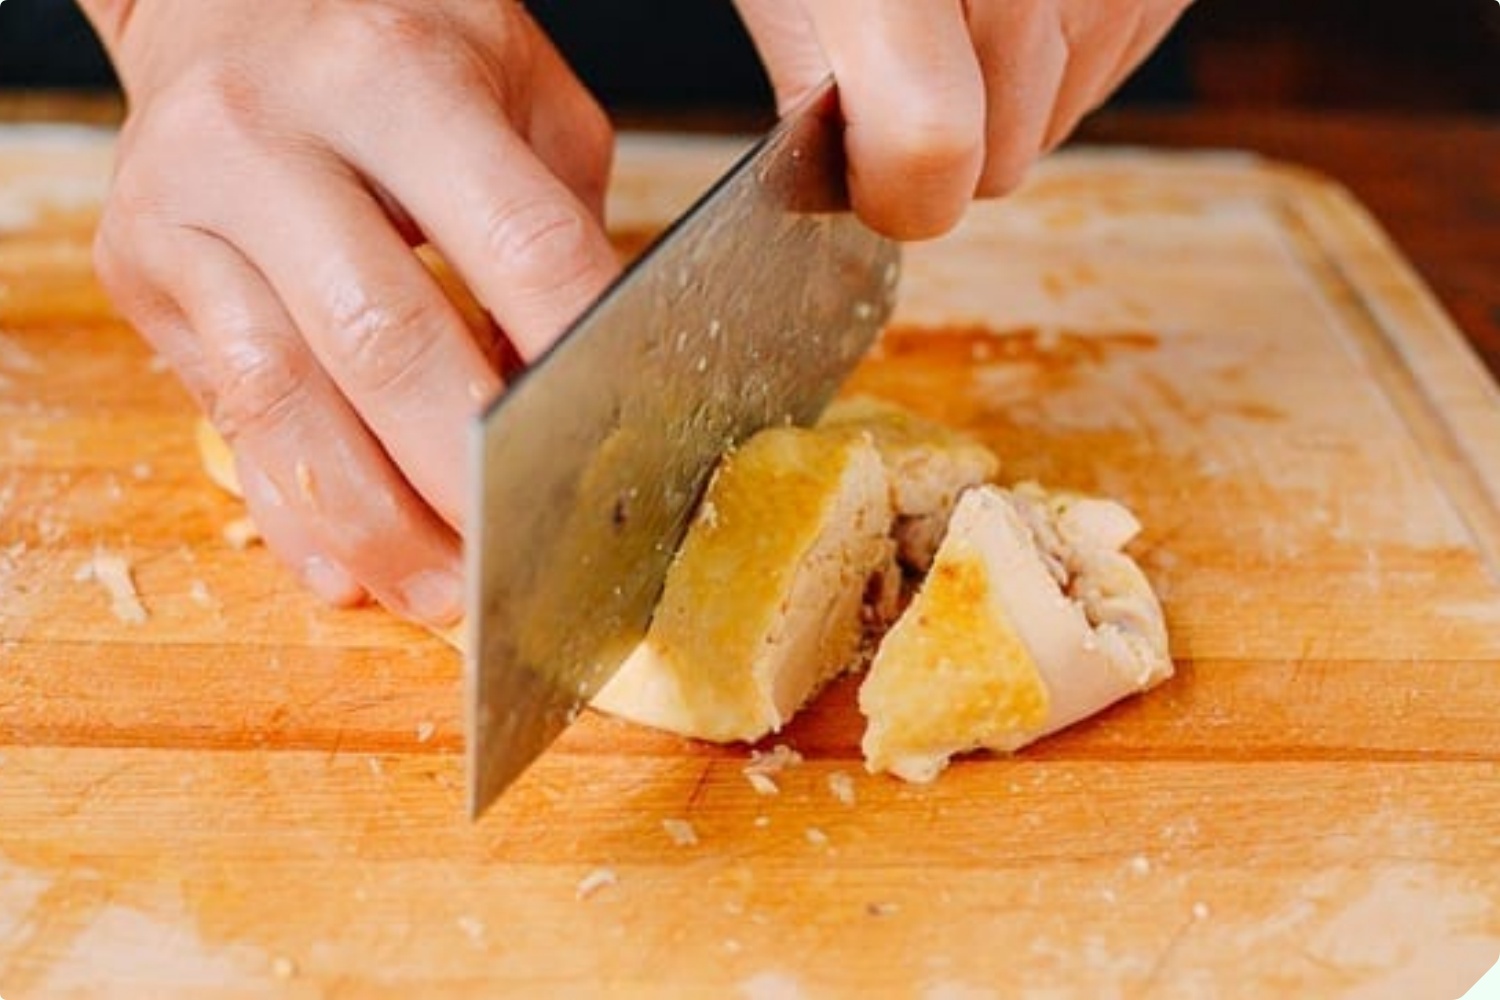
Cut the breasts into even slices. Use a firm, single stroke to ensure the meat doesn’t shred and the slices look neat and presentable.
Arrange the breast slices in the center of the platter to complete your dish.
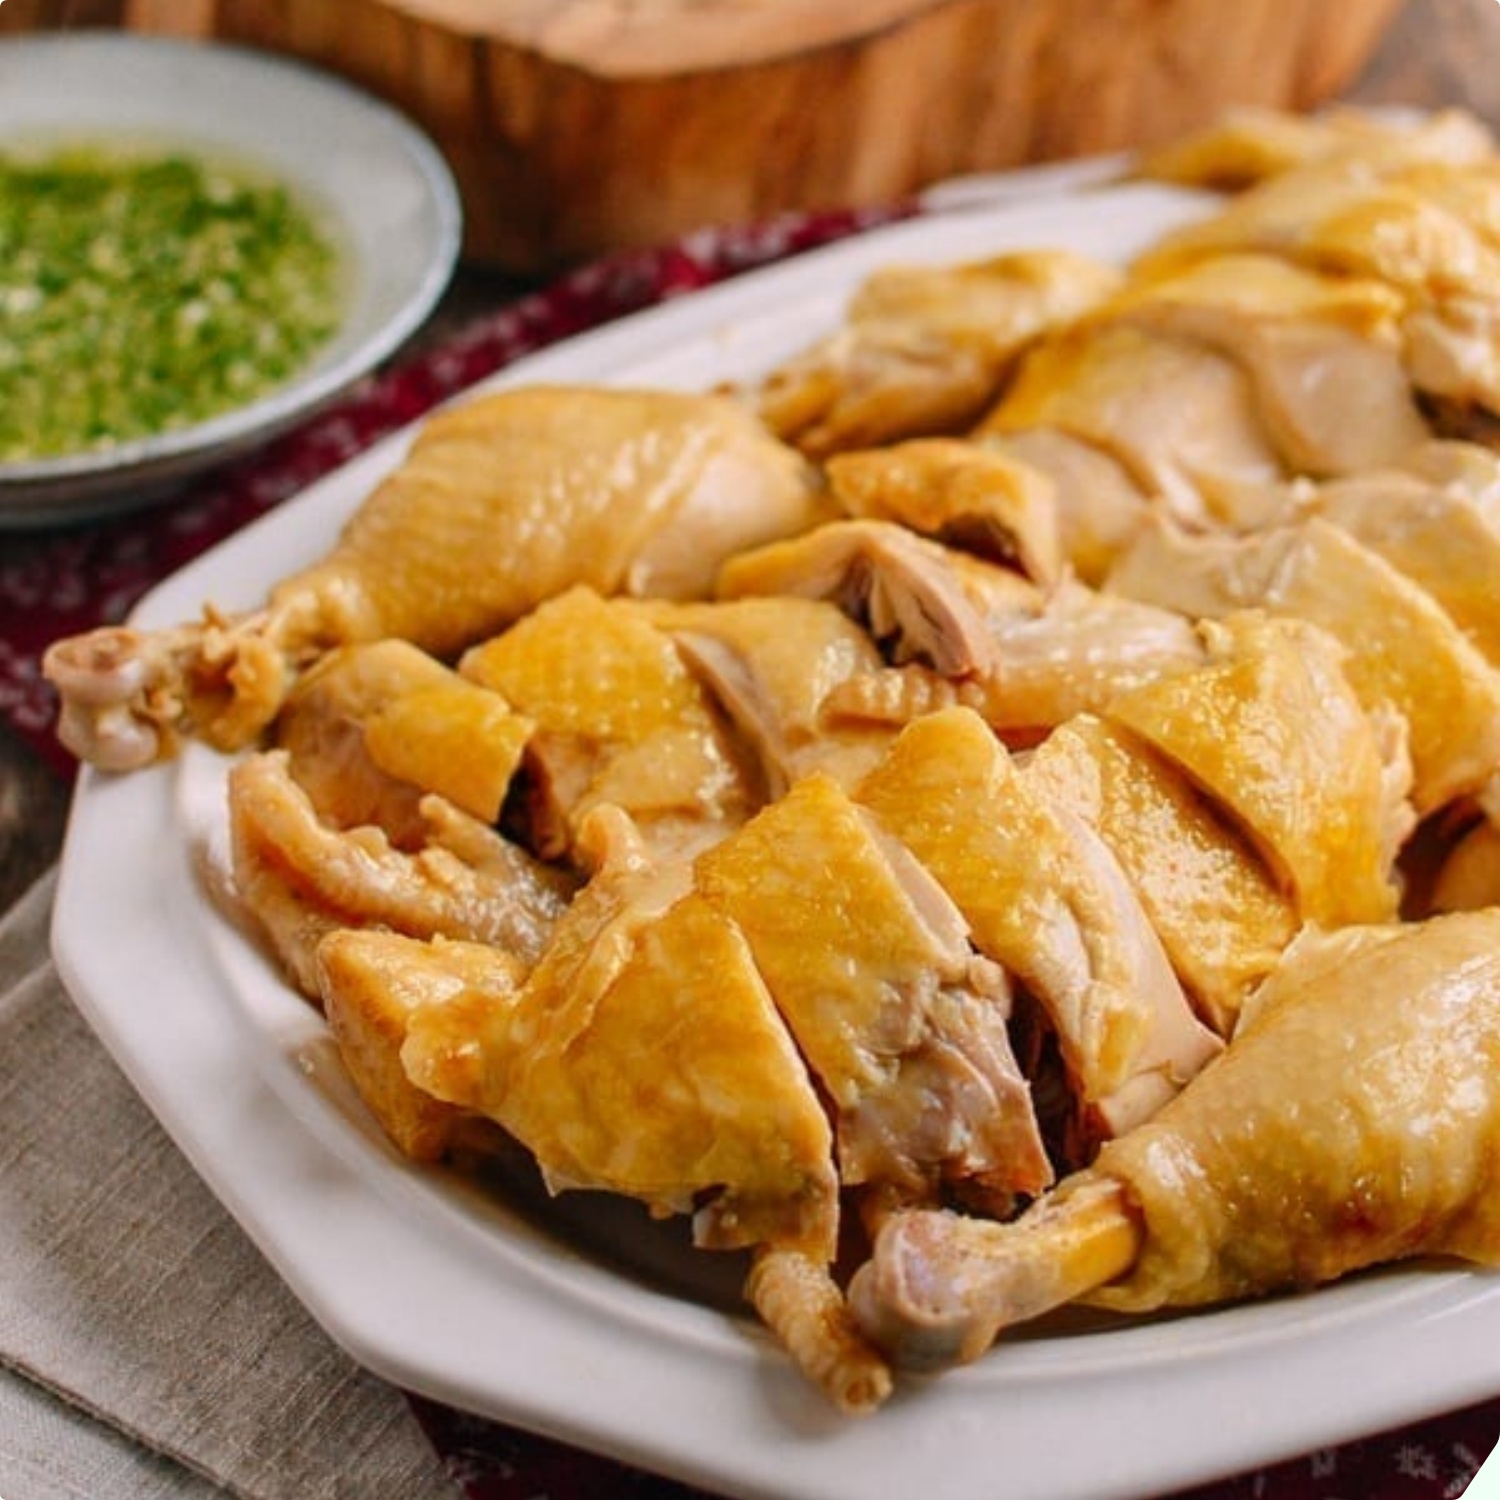
Following these steps will allow you to present a beautifully carved whole chicken on a platter, which is sure to impress your guests and family.
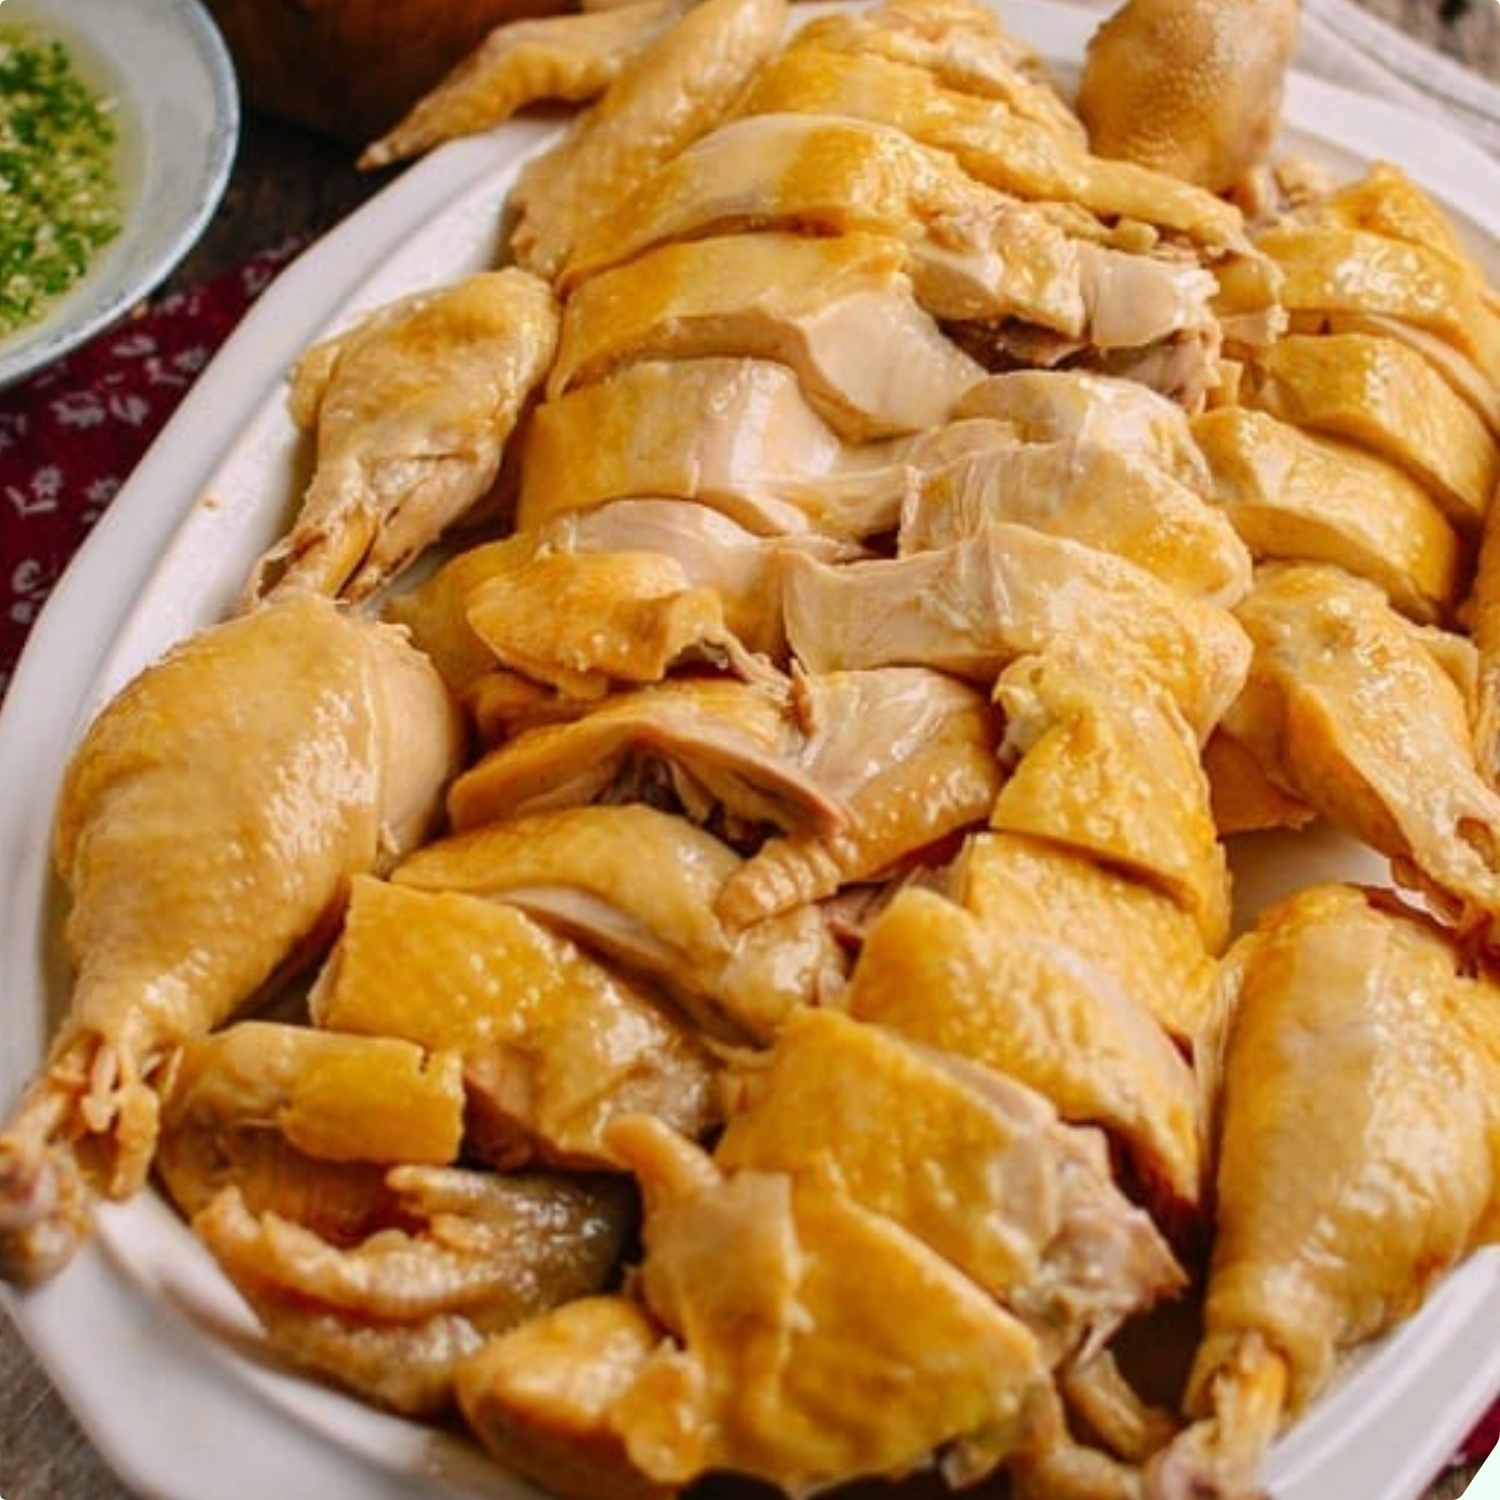
Tips for a Better Presentation
To ensure your carved chicken looks its best:
– Always exercise caution when handling sharp knives to avoid any injuries.
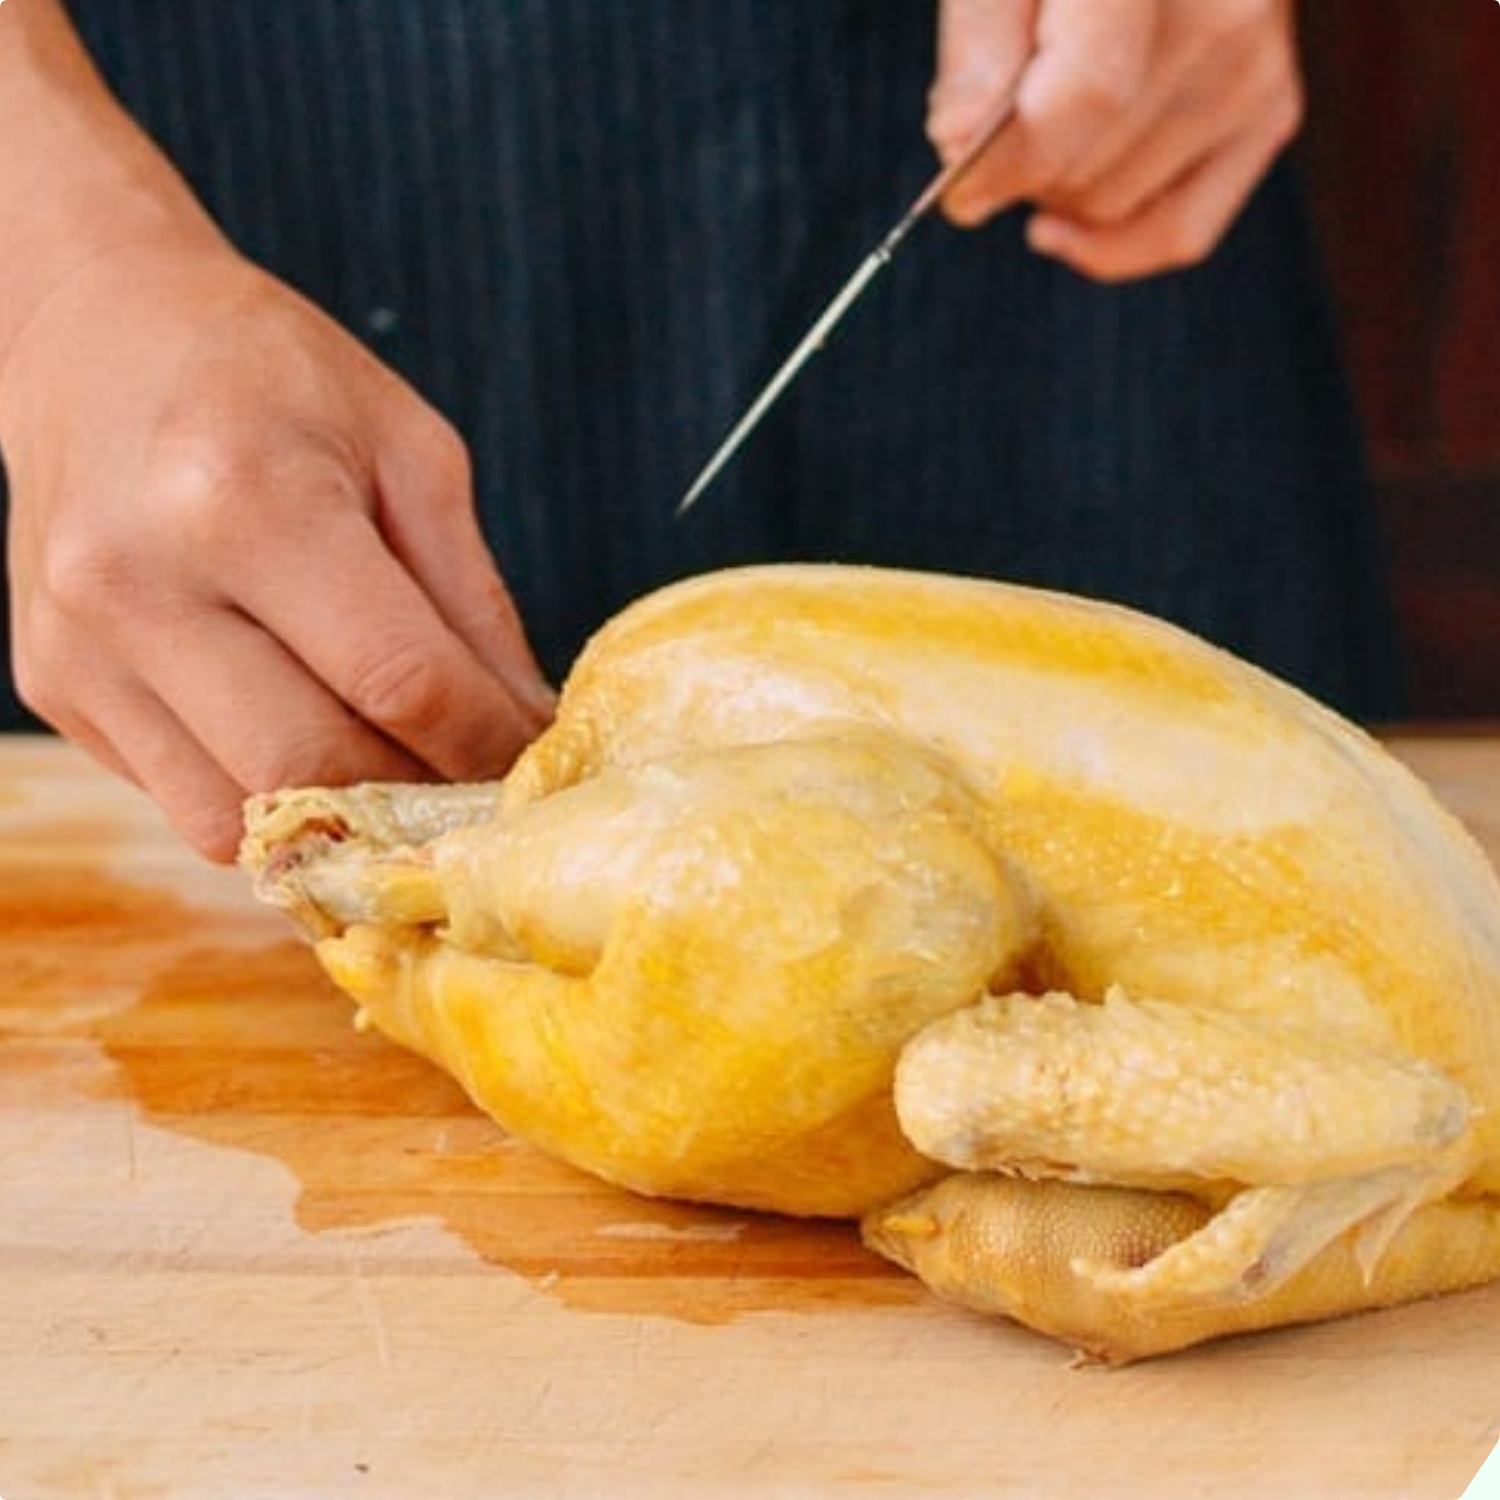
– Use a sharp cleaver and a sturdy wooden chopping board. To prevent the board from slipping, place it on a damp cloth on a flat surface.
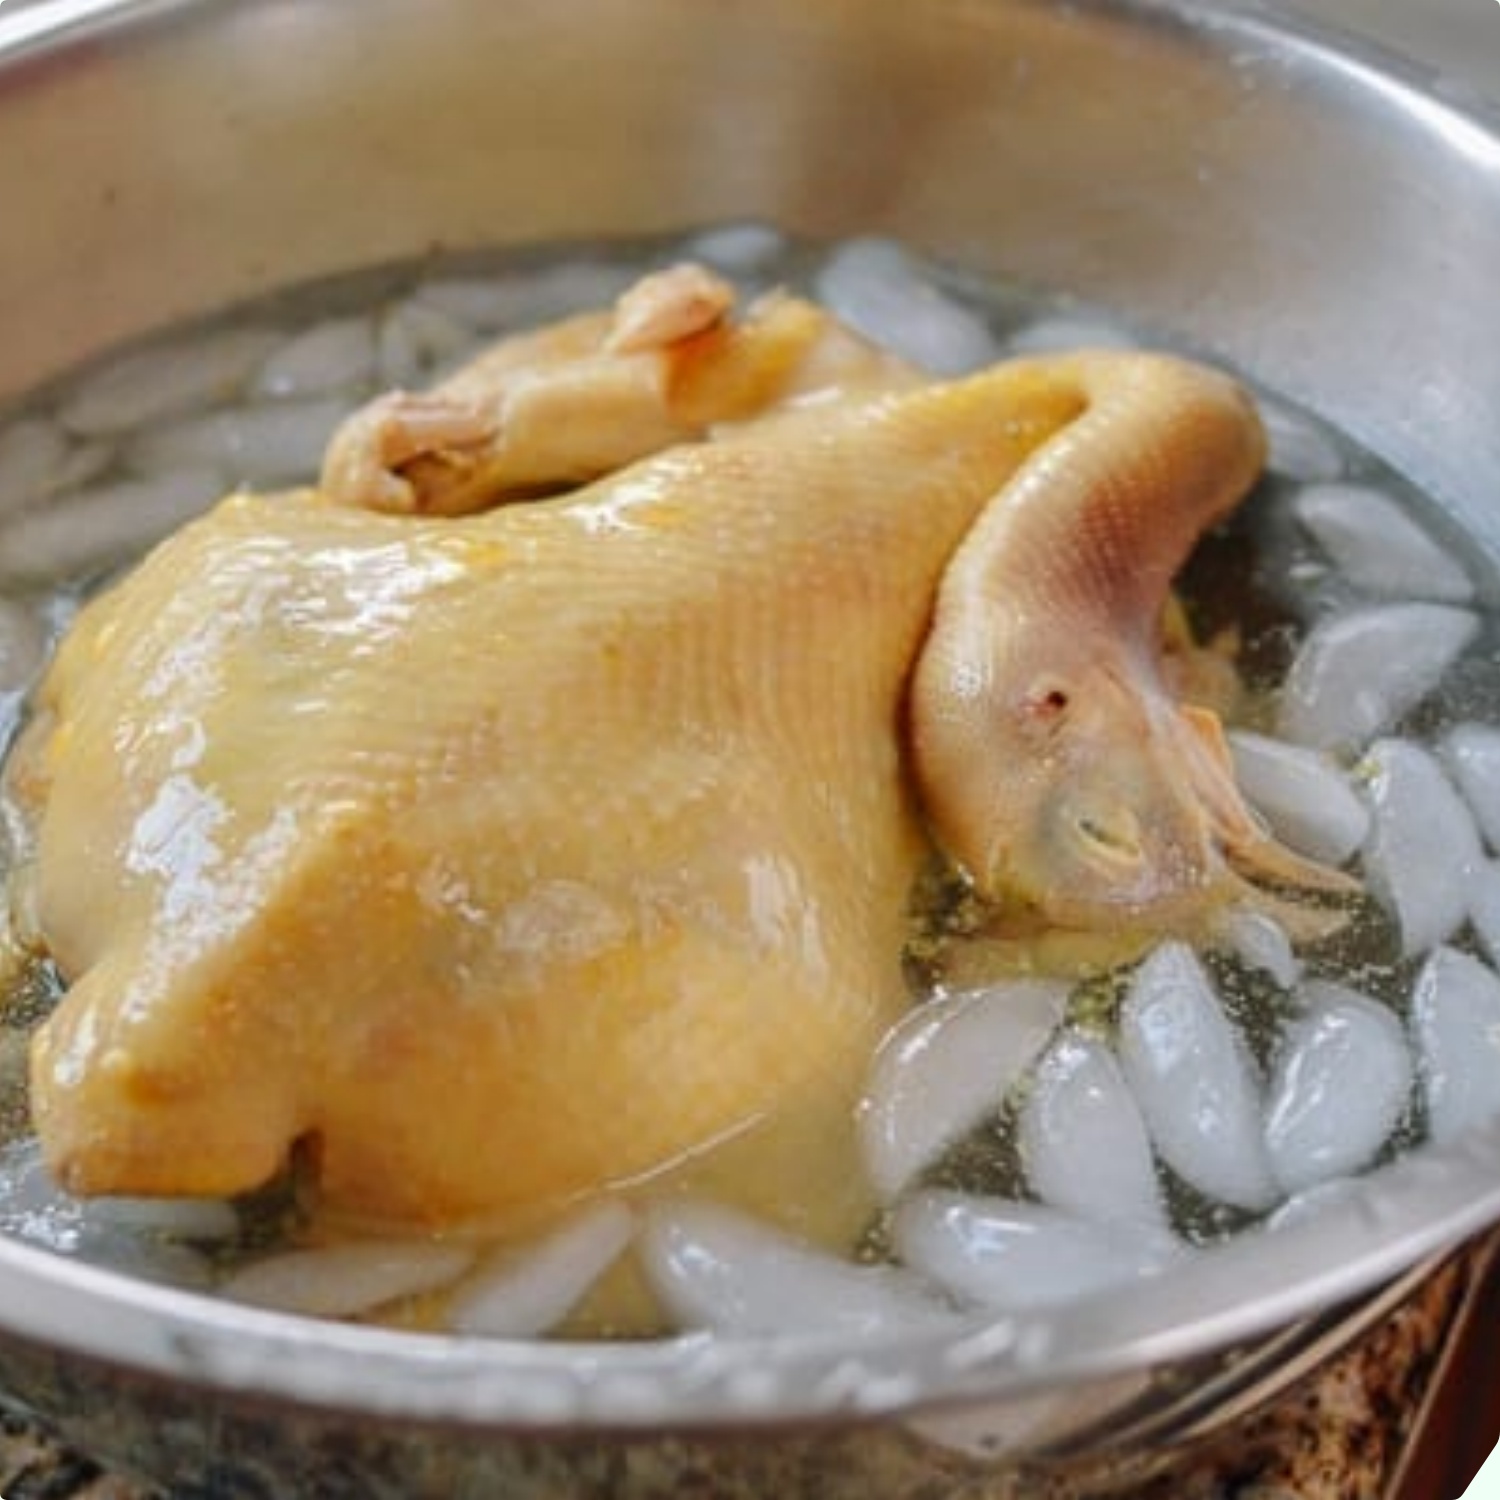
– Ensure the chicken is cooked just right—not too raw or too soft. After removing it from the pot, immerse the chicken in cold water to cool it down quickly and ensure crispy skin.
– Choose a platter that is the right size. Avoid using a platter that is too small, as the meat may fall off. Oval-shaped platters work best for presenting a whole chicken.
Now you know how to carve a chicken like a pro! For more kitchen tips and tricks, be sure to check out Bếp Eva’s other helpful guides. Happy cooking!


