
Ms. Le Trang and her delicious-looking spring rolls.
If you’re looking to elevate your spring roll game, look no further than Ms. Trang’s expert tips below.
1. Filling
– For the meat filling, opt for fatty pork shoulder and grind it twice for a softer texture.
– Complement the meat with wood ear mushrooms, oyster mushrooms, glass noodles, eggs, basil (optional), and scallions.
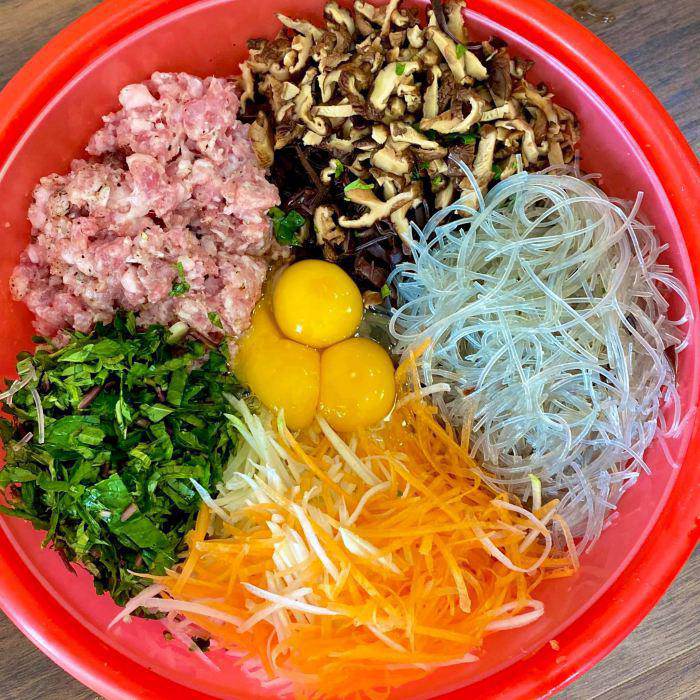
– Go easy on the seasoning in the filling as the spring roll wrappers already have a natural saltiness to them.
– Mix the eggs with the meat first before adding other ingredients to prevent the filling from getting watery.
2. Wrappers
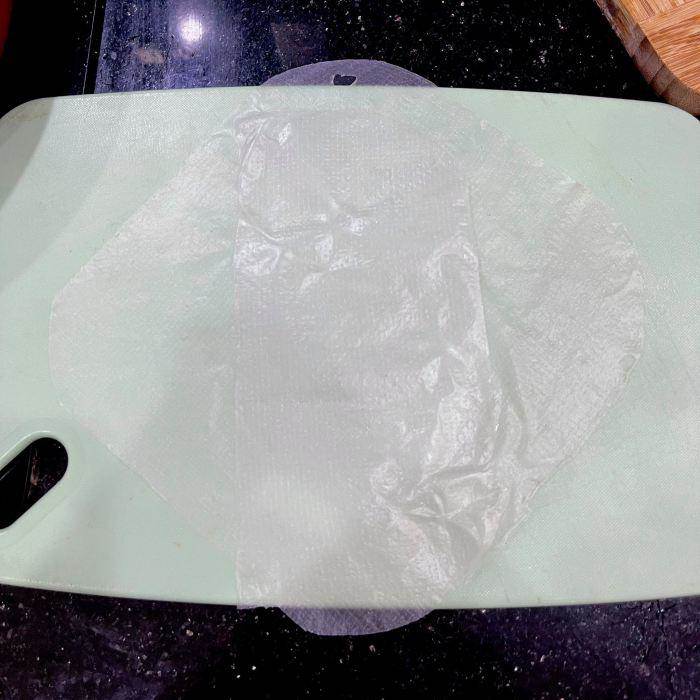
– Ms. Trang’s wrapper of choice is typically “ram” wrappers, which are kept frozen and thawed 15 minutes before use. Ram wrappers are unique as they don’t absorb oil, and you don’t need to add cooking oil when frying them.
– If ram wrappers are unavailable, regular spring roll wrappers will do the trick.
3. Wrapping Technique
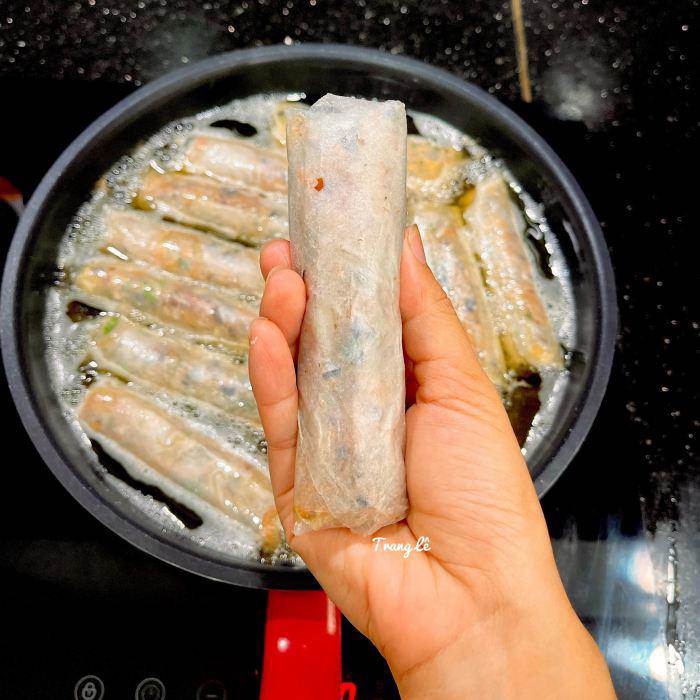
For extra crunch without the breakage, try using one and a half wrappers per spring roll. This involves using one whole wrapper and half of another, layered on top of each other.
4. Frying Technique
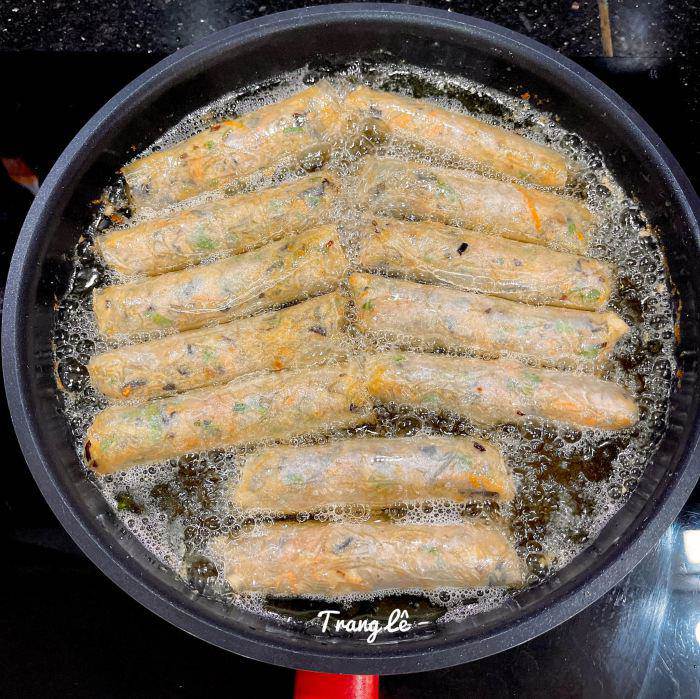
– Heat up a generous amount of oil in a pan to about 70 degrees Celsius, and then gently place the spring rolls in, rolling them around to ensure even cooking and prevent oil absorption at the ends.
– Fry the spring rolls over medium heat to avoid bursting, as high heat can cause the oil to splatter.
– Add a tiny bit of starch or flour to the oil to prevent splattering.
– If you’re not a fan of using a lot of oil, you can shallow-fry the spring rolls, let them cool down, and then reheat them in an air fryer for that perfect crispness with less grease.
– Pro tip: For the best flavor, use lard (pork fat) for frying instead of cooking oil.
5. Storage
– Once fried, let the spring rolls cool down completely before vacuum sealing and freezing them for future cravings.

– When you’re ready to indulge again, take them out of the freezer and let them sit for about 5 minutes before frying, for easier separation.
– There’s no need to thaw the frozen spring rolls before refrying; just pop them into the hot oil.

– For the best results when reheating, use a small amount of fat and fry over low heat until one side is golden before flipping.
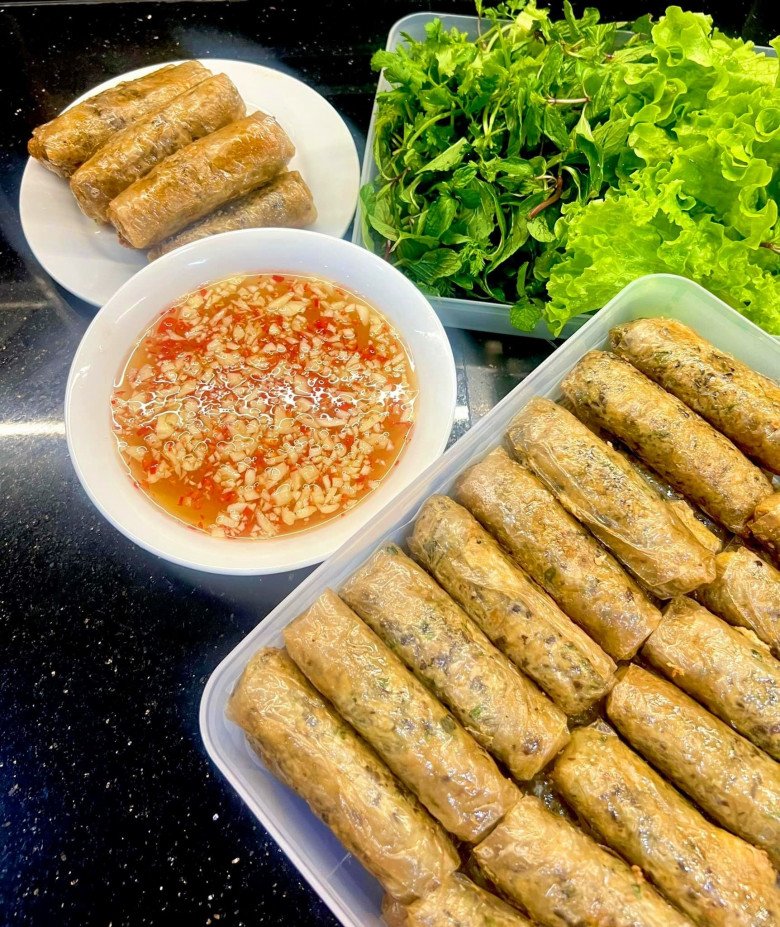
Happy frying, and bon appétit!
The Ultimate Guide to Creating Crispy and Delicious Spring Rolls
Discover the ultimate trick to creating the crispiest, most mouth-watering spring rolls! Elevate this classic dish by adding shrimp and a pinch of pepper to the filling, gently mixing without overworking the mixture. The secret lies in using thin rice paper for that perfect crisp and double-frying to golden perfection. Uncover these tips and more as we reveal the secrets to the ultimate spring roll experience.
The Ultimate Guide to Choosing the Perfect Rice Paper for Your Spring Rolls
To create the perfect crispy spring rolls, it is essential to master the art of preparing the filling, rolling, and frying. However, choosing the right rice paper is equally crucial to taking your spring rolls to the next level. Stay tuned as we reveal the secrets to selecting the perfect rice paper for your spring rolls!
The Ultimate Egg Spring Rolls: A Crispy, Savory Delight for Your Family
Spring rolls are a beloved delicacy, widely enjoyed for their versatility, ease of preparation, and delightful taste. Today, we present to you a unique variation – Egg Spring Rolls! A delicious twist on a classic favorite, this dish is sure to tantalize your taste buds and leave you craving more. Join us as we explore the wonders of this mouth-watering creation and uncover the secrets to its irresistible appeal.


