Here’s a simple and delicious way to make dried shrimp at home:
Ingredients
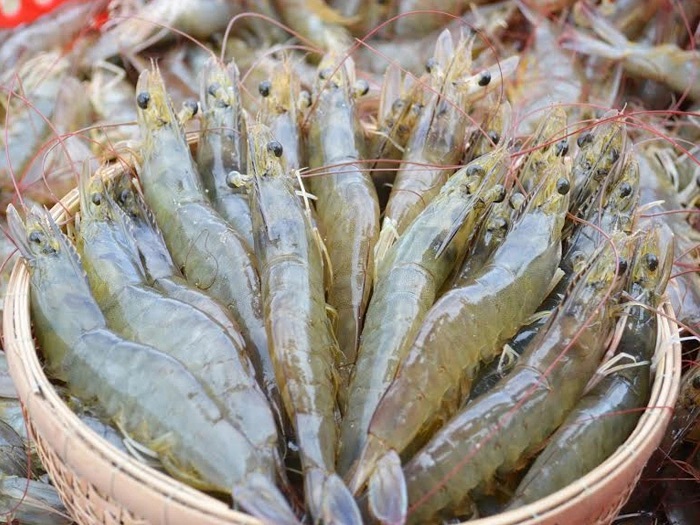
1kg of either river shrimp or shrimp
- 1kg of either river shrimp or shrimp – For 150gr of dried shrimp
- 200gr salt
- 500ml of clean water
- Tools: Microwave (optional), pot, basket, etc.
Preparation
Step 1: Prepare the shrimp
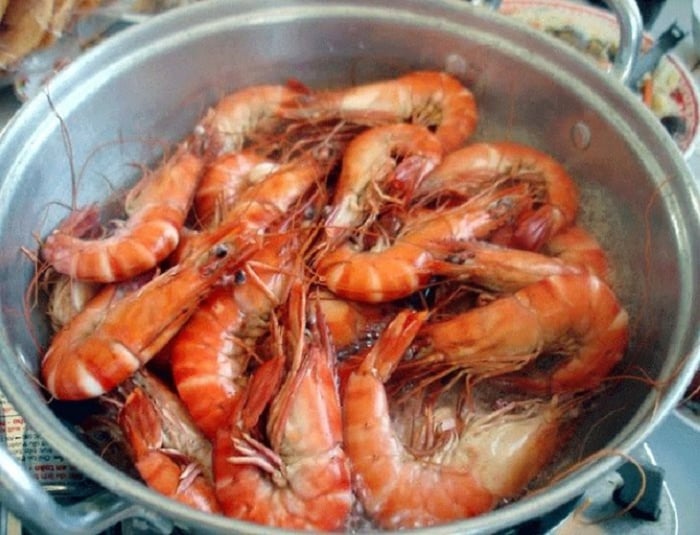
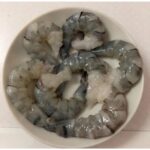
Prepare the shrimp for peeling
- Rinse the shrimp thoroughly with cold water.
- Boil a pot of water, add 200gr of salt, then add the shrimp and stir. Once the shrimp turn red, remove them from the heat and let them cool.
- You can use a fan to speed up the cooling process and prevent the shrimp from turning dark.
Step 2: Peel the shrimp
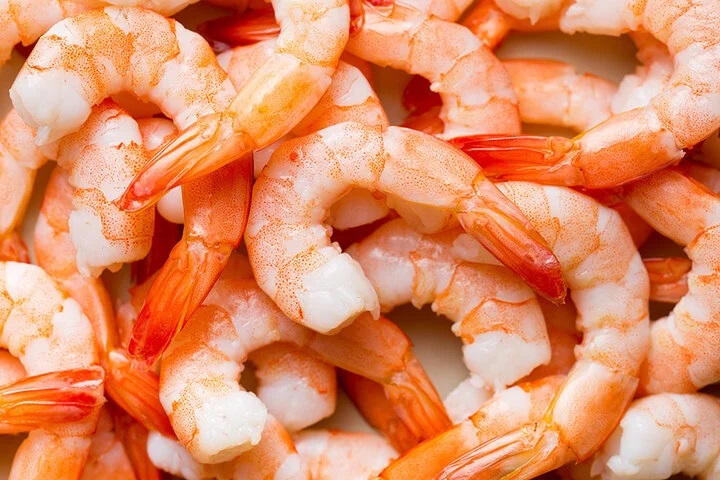
- Once the shrimp are cool, start peeling them. Make sure to remove the black veins from the shrimp and only use the meat for making dried shrimp.
- After peeling, rinse the shrimp with warm water and let them drain.
Drying the Shrimp
Method 1: Using a Microwave
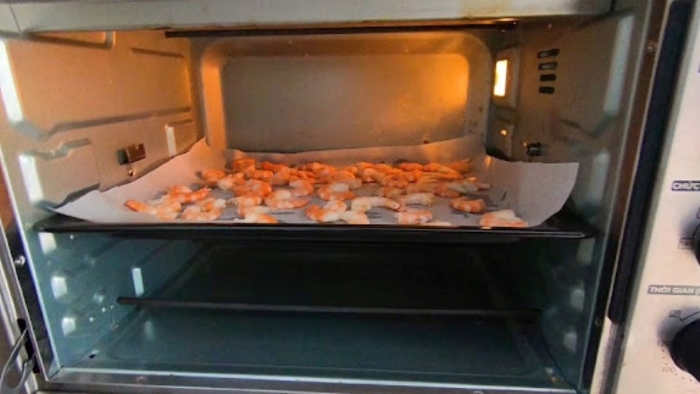
Dried shrimp made in the microwave
- Spread the shrimp on a plate and place it in the microwave. Set the temperature to medium (M Low) and dry for 30 minutes.
- After 30 minutes, check the shrimp. If they’re not dry enough, continue drying in 3-minute intervals until they are completely dry. Then, remove them from the microwave and let them cool.
Method 2: Traditional Sun Drying
- After preparing the shrimp, arrange them in a basket and sun-dry them for 2-3 days. Make sure to turn them over regularly to ensure even drying.
- Once the shrimp are completely dry, store them in an airtight glass jar.
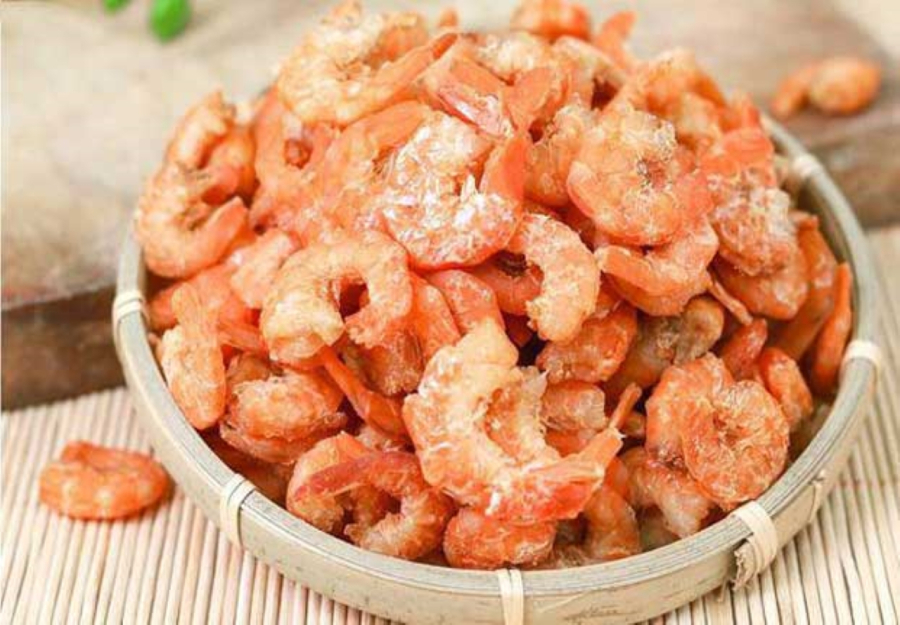
The final product – dried shrimp that are delicious and visually appealing
- The key to making delicious dried shrimp is to start with fresh shrimp. The fresher the shrimp, the better the dried product will be.
- If you want your dried shrimp to last longer, you’ll need to dry them for a longer period. However, this will result in tougher shrimp that aren’t as pleasant to eat. It’s best to make a moderate amount that can be consumed within a month.
- You can store the dried shrimp in either the refrigerator or freezer. Storing them in the freezer will extend their shelf life.
The Ultimate Guide to Mastering the Art of “Kho Quẹt Tôm Khô, Tóp Mỡ”: A Flavor Explosion Your Family Will Love
Kho quẹt is a dish that has an addictive quality to it, and it’s easy to see why. With a simple preparation method that results in a burst of flavors, this dish is a surefire way to elevate any meal. Imagine a steaming bowl of kho quẹt, its rich and savory sauce begging to be dipped into with lightly boiled vegetables. It’s a hearty and mouthwatering addition to any table, and it’s sure to make your meals more enticing and satisfying than ever before.


