Pickled spring onions are a traditional side dish served during the Lunar New Year celebrations. While the festive meals are sumptuous and delicious, they can also be quite rich, which is why a plate of tangy, crisp onions is always a welcome addition. Preparing these onions is not difficult, but it can be time-consuming, especially when it comes to peeling the skins. In this article, I’ll share a quick and easy method for peeling spring onions, as well as the secret to pickling them to perfection.

1 How to Choose the Best Spring Onions for Pickling
For this recipe, I used 1kg of spring onions, specifically Hue spring onions (also known as cinnamon spring onions). These onions have larger bulbs, more roots, slender leaves, and a distinct waist. They have a strong, pungent flavor that is perfect for pickling.
When choosing spring onions, look for those that are small to medium in size, with white bulbs and fresh, green leaves. Avoid any onions with scratches, bruises, or signs of decay.

2 The Secret to Making Delicious Pickled Spring Onions
Step 1 Prepare the Spring Onions
Soak the spring onions in water for at least 8 hours to clean them thoroughly and reduce their pungency.
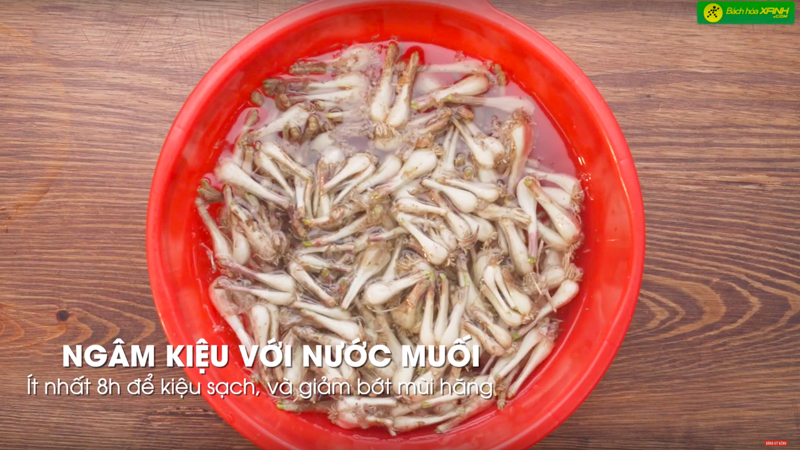 Soak the spring onions in salted water
After soaking, rinse the onions thoroughly in clean water several times.
Next, prepare a solution of water and alum in a separate container. Soak the onions in this solution for at least 4 hours to ensure they remain crisp and white during pickling, extending their shelf life.
 Soak the spring onions in alum water
Now, it’s time to peel the onions. Trim the roots, being careful not to cut too close to the flesh, as this can make the onions soft during pickling. Similarly, cut the stems without cutting into the flesh. Finally, peel the outer layer, which should come off easily after soaking. Rinse the peeled onions thoroughly.
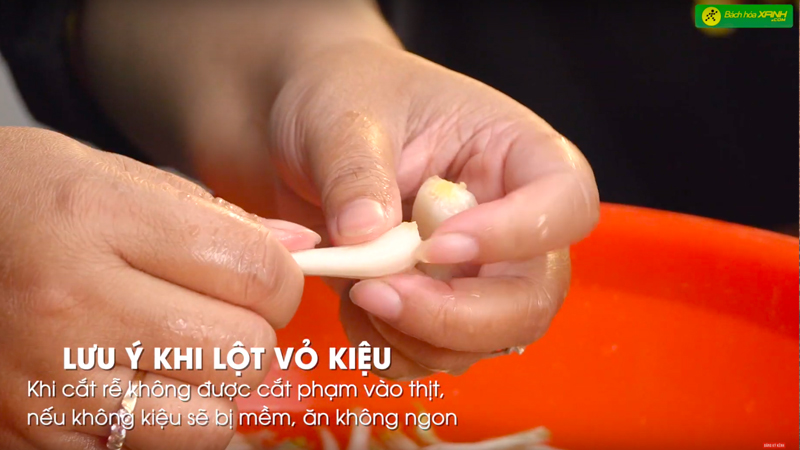 Important tips for peeling spring onions
Step 2 Sun-Drying
Spread the cleaned onions on a tray and sun-dry them in a shaded area for 4-5 hours until they are slightly wilted. Avoid direct sunlight, as it can burn the outer layer of the onions and affect the taste. Cover the tray with a fine mesh or cloth to keep away dust.
 Sun-drying the spring onions
Step 3 Sugar Marinade
In a bowl, layer the onions with sugar, starting with a layer of onions, followed by a layer of sugar. Repeat this process until all the onions are used up. Cover the bowl with plastic wrap and let it sit until the sugar dissolves.
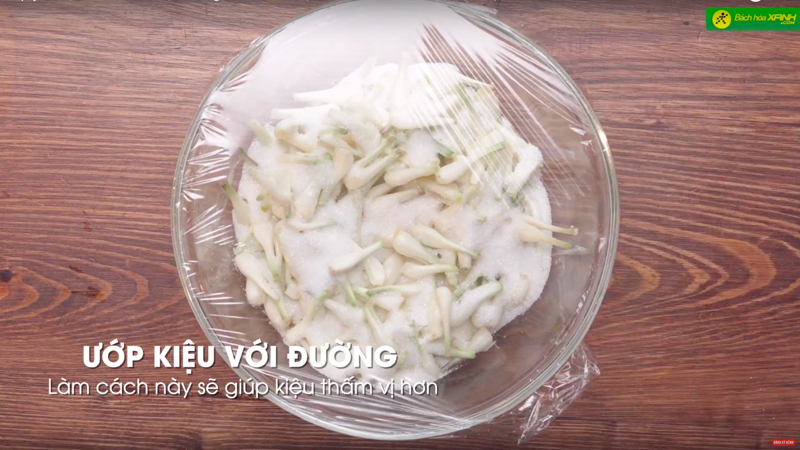 Layering the onions with sugar
Instead of directly using the sugar solution for pickling, I learned a trick from a colleague that takes this recipe to the next level. Remove the onions from the bowl and set them aside. We’ll use the sugar solution to make the pickling brine.
Step 4 Making the Pickling Brine
In a pot, combine 325ml of vinegar (preferably natural vinegar) with 275ml of the sugar solution and 300g of sugar. Stir and heat the mixture until the sugar dissolves. Let it cool down completely.
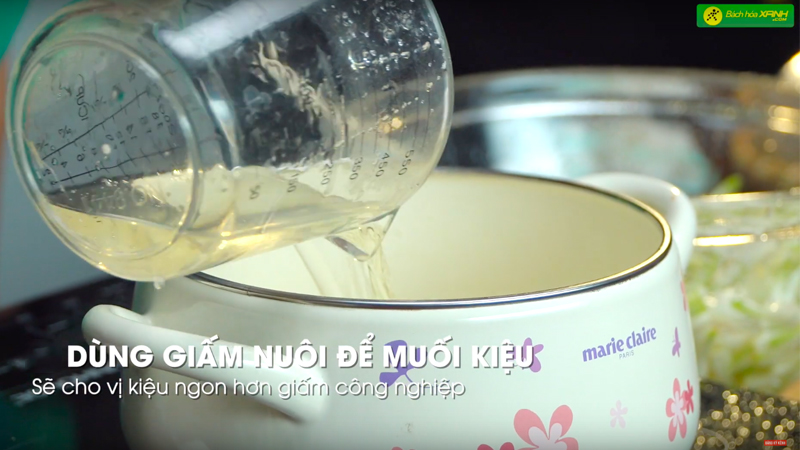 Making the pickling brine
Step 5 Pickling the Spring Onions
 Pickling the spring onions
Finally, layer the onions in a glass jar and pour the pickling brine over them. Seal the jar tightly and let it sit for 2-3 days before serving.
3 The Perfect Pickled Spring Onions
This method guarantees crisp, delicious, and long-lasting pickled spring onions. By taking the time to follow each step carefully, you’ll be able to enjoy this side dish with your family during the Lunar New Year celebrations and beyond.
 The perfect pickled spring onions
With these tips and tricks, you’ll be able to create a delicious batch of pickled spring onions for your family this Lunar New Year. So, what are you waiting for? Get pickling!


