


Dreaming of capturing stunning meteor shower photos? This guide will walk you through the essential steps to perfectly frame and photograph meteors as they streak across the night sky.
How to Photograph Meteors?
Plan Ahead
Planning is the cornerstone of successful meteor photography. Start by researching meteor shower dates, peak times, and expected rates. Understanding the radiant point—where meteors appear to originate—and historical data from previous showers will enhance your preparation.
Three critical factors to consider before heading out: location, weather, and moon phase. Each plays a pivotal role in your success.
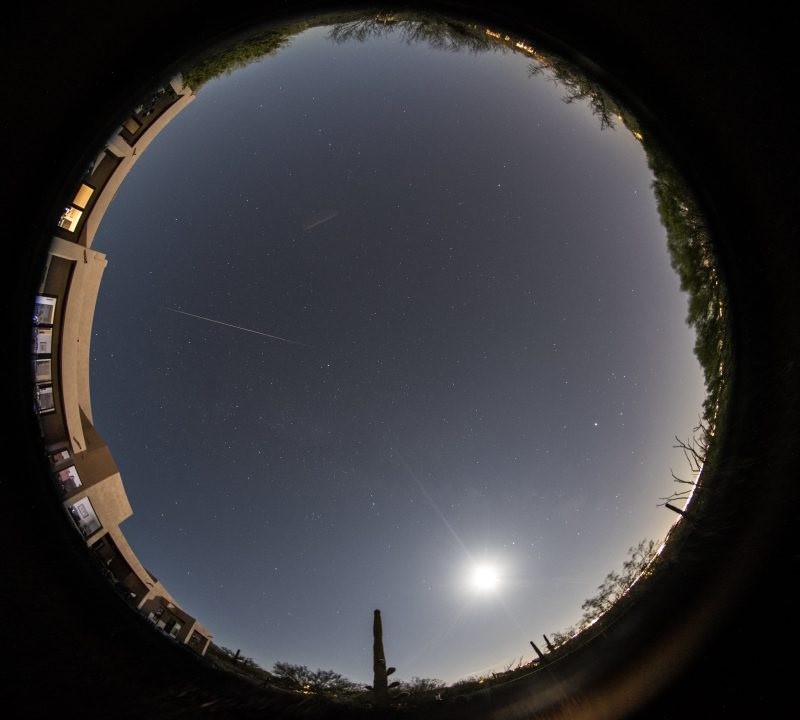
Choose a location far from city lights and light pollution. Local parks can be ideal, but verify their nighttime accessibility and lighting conditions. Alternatively, scout camping sites that offer unobstructed views of the night sky.
Clear skies are essential. Cloud cover can ruin your plans, so monitor weather forecasts closely.
The moon’s phase significantly impacts visibility. During a full moon, aim to shoot before moonrise or after moonset to minimize its glare. If avoidance isn’t possible, position yourself opposite the moon’s direction. Even with a bright moon, capturing a luminous meteor remains feasible.
Prepare Your Gear
With your location, timing, weather, and moon phase confirmed, it’s time to gather your equipment. Below are the essentials for meteor photography:
- DSLR camera body
- Extra batteries or a battery grip
- Wide-angle prime or zoom lens (f2.8 or faster) with UV or skylight filter
- Sturdy tripod
- Remote shutter release or intervalometer
- Red-filtered flashlight for night vision preservation
- Lens cleaning kit
- Comfortable outdoor chair
Why opt for a wide-angle lens over telephoto? A broader sky coverage increases your chances of capturing meteors. A 24mm or 28mm lens captures twice as much sky as a 50mm lens, with the difference becoming more pronounced at longer focal lengths. While telephoto lenses might occasionally capture a meteor, wider lenses significantly boost your odds of a perfect shot.
An intervalometer is a game-changer, allowing you to set exposure duration, delay, and the number of shots. This automation frees you from manually triggering each shot, enhancing efficiency and consistency.
Meteor Photography Process
- Set up and balance your tripod.
- Mount your camera and frame the optimal composition.
- Use a smartphone astronomy app to locate constellations for reference.
- Set your shutter speed to “B” or “Bulb” mode.
- Shoot in RAW for superior post-processing flexibility; use JPEG if storage is limited.
- Switch your lens focus to “MANUAL” to prevent hunting in the dark.
- Set your aperture to its widest setting.
- Attach your remote shutter release or intervalometer.
- Manually focus to infinity by aligning the lens’ infinity mark with the focus indicator.
- Start with an ISO of 800 or 1600.
- Enable mirror lockup if your camera supports it.
- Verify your exposure settings.
- Initiate the sequence with the start or trigger button.
- Review your first shot for focus by zooming in on the LCD and adjust if necessary.
Review and Adjust Your First Shot
After capturing your initial frame, check the focus. Infinity focus may require fine-tuning when shooting wide open. Adjust as needed for sharpness.
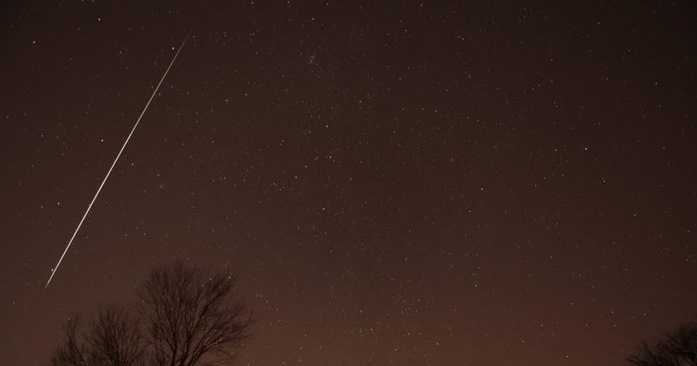
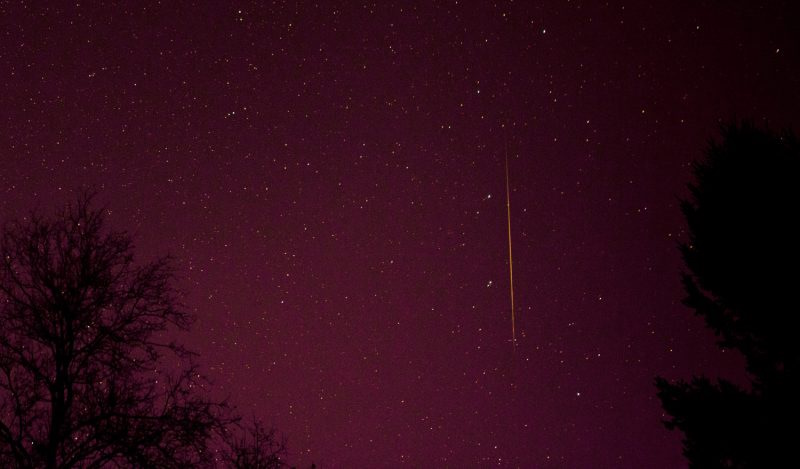
Evaluate the exposure. If ambient light is present, consider shortening the exposure time for better results. In dark environments, a 30-second exposure is ideal for capturing the night sky without star trails. Longer exposures will reveal Earth’s rotation, creating star trails. Avoid adjusting the aperture, as this could diminish the visibility of all but the brightest meteors.
Monitor your camera’s battery life throughout the session. Cold temperatures drain batteries quickly, so bring spares or a power bank.
The Ultimate Guide to Flipping Your Back Camera in an Instant

The inverted rear camera issue is now a trending search keyword. Accordingly, this issue is a common error on both iOS and Android operating system phones, causing inconvenience when users want to save images. Refer to the quick fixes in this article from FPT Shop.
9 Stunning iPhone Video Tricks to Elevate Your Filmmaking

Unveiling the secrets to captivating iPhone videography, this comprehensive guide from FPT Shop empowers you with the expertise to master lighting techniques, angle composition, and the harnessing of natural light. Embark on a journey to elevate your filmmaking skills and create stunningly beautiful and authentic video content.
Small tweak enhances photo quality on iPhone

By customizing the camera settings on your iPhone, you can enhance the quality of your photos beyond the default settings.


