


Keeping your microwave clean can be a challenging task, even with the best of efforts. When food splatters, it often hardens over time, making it difficult to clean.
Add to that the difficulty of reaching into tight corners and along the walls of the microwave, and it’s no wonder that it’s one of the hardest kitchen appliances to clean. However, cleaning your microwave is much easier than most people think; we’ve just been doing it wrong. Here is a common mistake people make when cleaning their microwaves and how to properly clean it, according to an expert.
The Biggest Mistake When Cleaning Microwaves
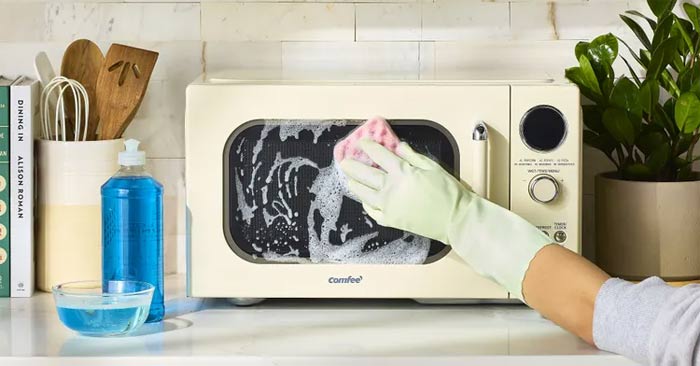
According to Lisa Macqueen, CEO of Cleancorp, the biggest mistake most people make when cleaning their microwaves is surprisingly simple: scrubbing it while it’s still cold and dry.
“It’s very common to grab a sponge and start scrubbing away at those dried-on splatters, but this makes the cleaning process ten times harder and can damage the interior over time,” shared the expert.
This happens because food splatters can adhere to the roof and walls of the microwave each time we use it, forming a sticky coating.
As a result, when we try to remove the hardened food particles, we inevitably smear them everywhere and may even scratch the inside of the microwave.
“By not softening the mess first, you’re creating more work for yourself than necessary (and no one wants that),” added Macqueen.
The Right Way to Clean Your Microwave
Macqueen reveals that the key to properly cleaning your microwave is to harness the power of steam.
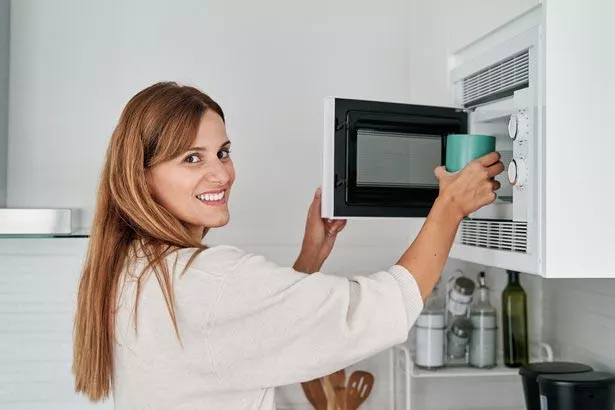
Start by pouring water into a microwave-safe bowl. Just the water alone will create steam inside the microwave, softening those stubborn particles. However, Macqueen recommends adding a little vinegar or a few slices of lemon to boost the cleaning power. The acidity in both of these ingredients makes them popular natural cleaners in the kitchen and around the house.
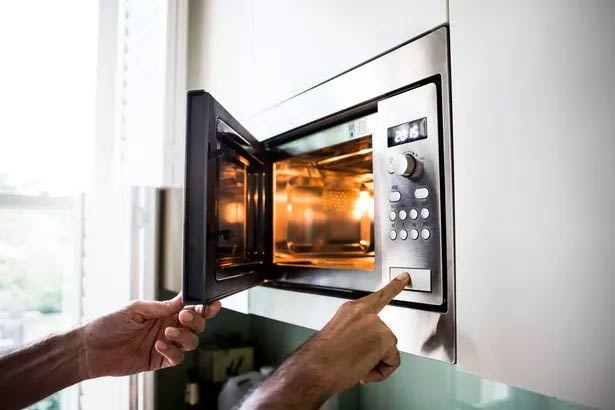
Next, place the bowl inside the microwave and heat it for three to five minutes. The goal is to get the inside of your microwave nice and steamy. “This softens all the gunk, making it easy to wipe away; no scrubbing required, no damage done,” Macqueen says.
Once done, leave the bowl inside the microwave and keep the door closed for another three to five minutes. By now, the inside of your microwave should be warm and moist, and any stuck-on food will be softened and ready to be wiped away.
Finally, use a damp cloth to wipe away the softened mess. You can also add a little dish soap to help remove any stubborn stains. Finish by wiping it down again with a dry cloth or paper towel.
This method not only prevents you from accidentally scratching the inside of your microwave but is also much easier and quicker than scrubbing away at hardened stains.
Tips for Properly Cleaning Your Microwave
- Never use harsh chemicals, such as bleach, to clean your microwave, as they can contaminate your food.
- Avoid using abrasive cleaning tools, like steel wool, when cleaning your microwave, as they can scratch and damage the appliance.
- When cleaning your microwave, don’t forget to remove the glass turntable and give it a thorough cleaning as well.
- Also, remember to vacuum or wipe down the outside of your microwave, paying special attention to the vent, which can become clogged with dirt over time.
- To avoid making a mess in your microwave, cover your food with paper towels or a microwave-safe cover.
Quick Cleaning Hacks to Save Time for Homemakers

Introducing the ultimate cleaning hacks to revolutionize the way you tackle grime and grit. Unveil the secrets to achieving spotless surfaces and embrace a hassle-free journey to impeccable cleanliness. This game-changing guide is your one-stop solution to mastering the art of efficient and effective cleaning, ensuring your home sparkles and shines with minimal effort. Get ready to bid adieu to tedious scrubbing and embrace a whole new world of convenient cleaning bliss!
The Ultimate Guide to Cleaning Stainless Steel Appliances

“Keeping stainless steel appliances and surfaces clean and shiny can be a challenge. Many have experienced the frustration of ending up with streaky or dirtier surfaces after cleaning. This is because not all cleaning agents are created equal, and some can even make stainless steel look worse than before. The secret to maintaining that pristine shine lies in using the right products and techniques.”
The Ultimate Guide to Cleaning Your Fan in a Flash: A Sparkling Clean in 60 Seconds!

“After extended use, your ceiling fan accumulates a significant amount of dust and disease-causing bacteria. Cleaning and dismantling the fan can be a time-consuming and laborious task. This article will reveal a clever trick to clean fan blades without the hassle of disassembly.”
The Ultimate Guide to Perfectly Fluffy Rice: Unlocking the Secrets to Aromatic and Tender Grains

With the addition of just two simple ingredients, your rice will be transformed into a delicious, fluffy, and glossy dish.
The Ultimate Guide to Cleaning Your Shower Head: A Simple Soak for a Sparkling Finish.

The buildup of grime in your shower head doesn’t just result in weak water pressure, it’s also a breeding ground for bacteria. Instead of splurging on a new shower head, you can easily remove this grime with household ingredients, saving you time and money.


