


Pinwheel is a children’s toy, consisting of a wheel made of paper or plastic, fixed to a handle by an axle. When encountering wind, the pinwheel blades spin evenly.
In the United States, early pinwheels began to appear and were sold in the 19th century. An Armenian toy manufacturer named Tegran M. Samour (full name: Samourkashian) created the modern version of the pinwheel in 1919 in Boston, Massachusetts. At that time, it was called a “wind wheel.”
2. How to Make Various Types of Pinwheels
2.1. How to Make a 4-Bladed Paper Pinwheel
Materials Needed:
– Colored cardstock according to your preference
– Pencil, ruler
– Glue
– Plastic, bamboo, or metal straws, depending on your preference.
Steps to Make:
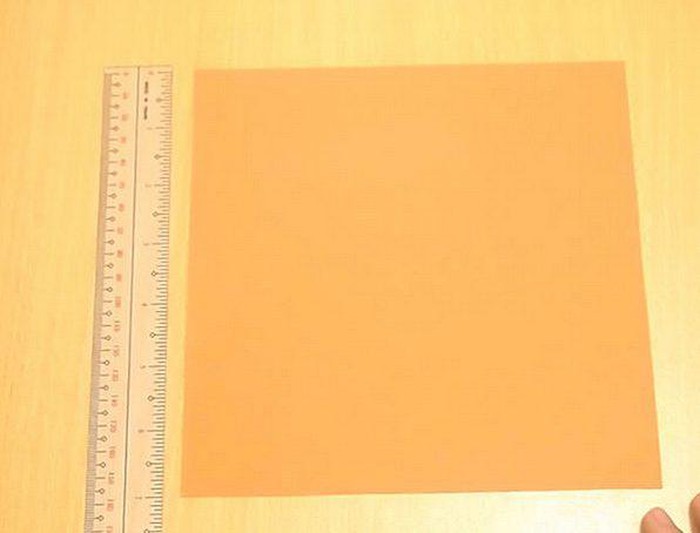
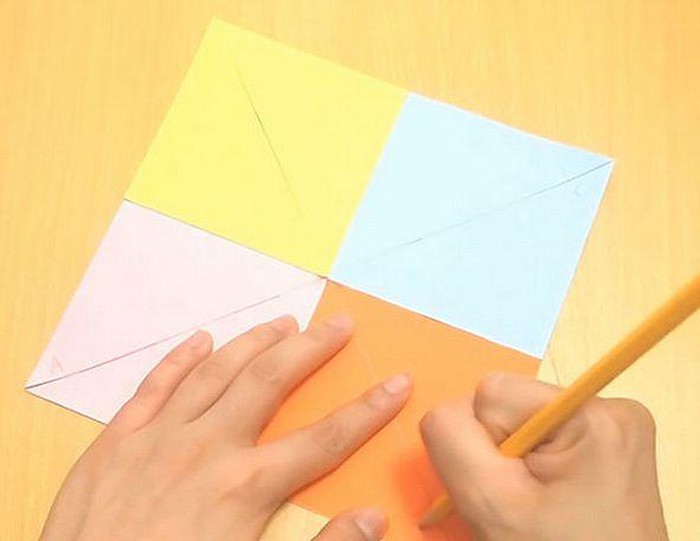
Step 1: Cut and Decorate the Paper
Use a square piece of cardstock about 17 to 18 cm in size. Cut the paper into a square shape. You can use scissors or buy pre-cut squares from stationery stores.
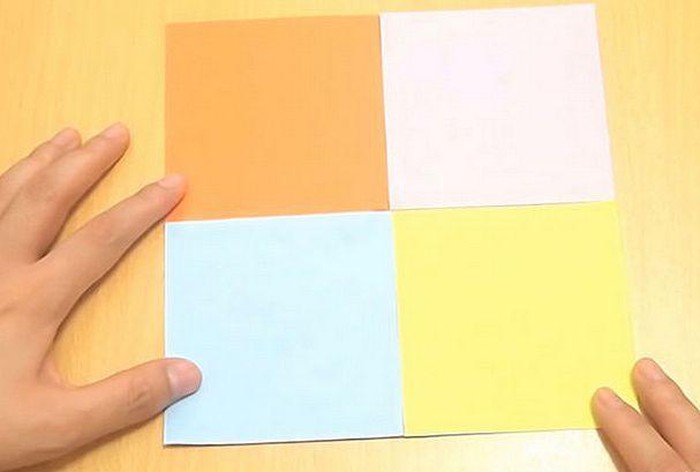
Divide the paper into four equal squares using a ruler and pencil.
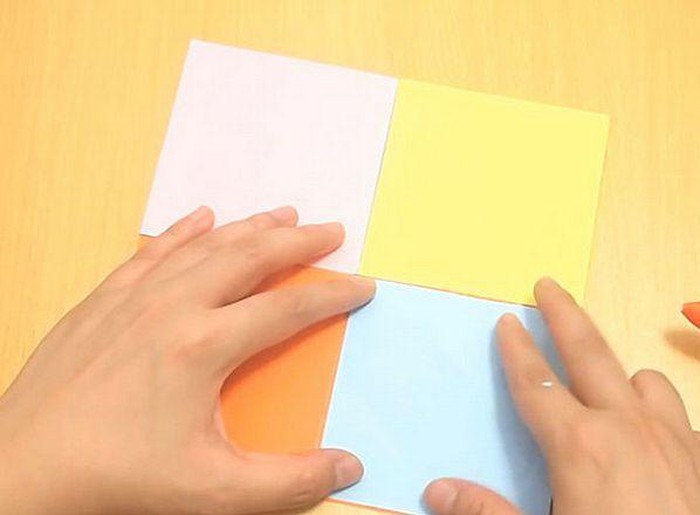
Make your squares more attractive with colors of your choice. Here are some suggestions:
– Paint each square
– Alternate warm and cool colors for the squares.
– Cut shapes from magazine cardstock and glue them onto each square according to your preference.
Step 2: Cut and Fold the Paper to Create the Pinwheel
Fold the paper diagonally or use a ruler and pencil to draw diagonal lines.
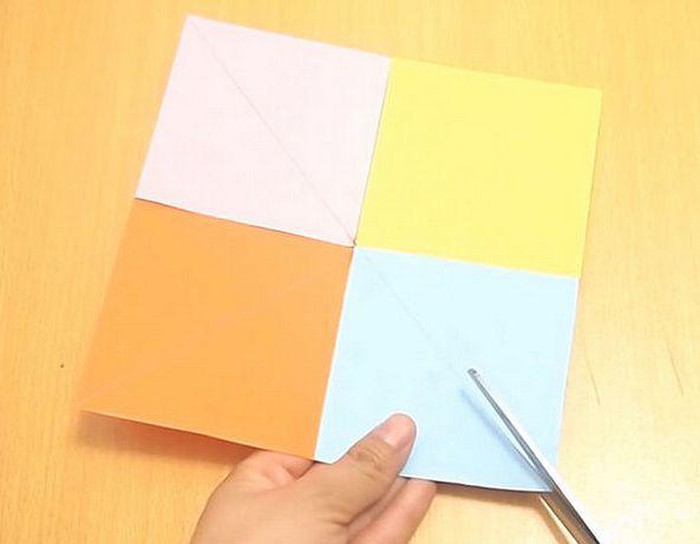
Cut along the drawn diagonal lines.
Step 3: Fold the Paper and Complete the Final Step to Create the Pinwheel.
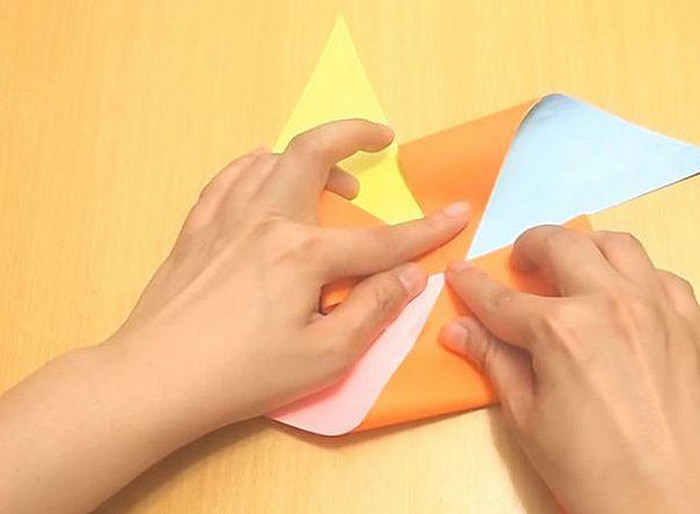


Complete the steps and add decorations to create a beautiful pinwheel!
2.2. How to Make a 4-Bladed Paper Pinwheel
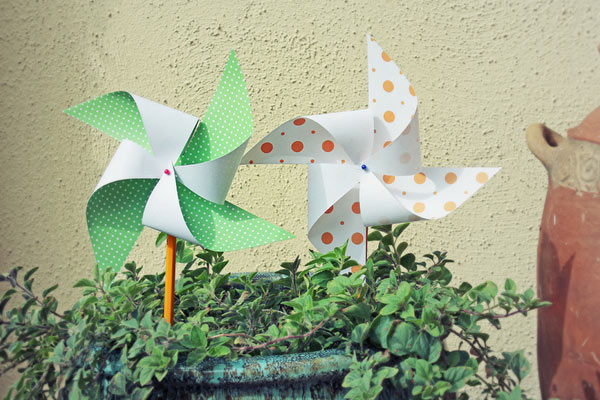
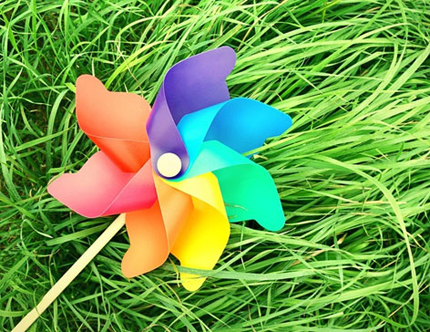
While bamboo pinwheels are valued for their sturdiness, paper pinwheels are favored for their softness, flexibility, and visual appeal. This is one of the most popular and simple ways to make a pinwheel without requiring too many materials.
Materials Needed:
- Craft paper: Choose sturdy, colorful paper with attractive patterns. Ensure the front and back have contrasting colors for a more striking finished product.
- Drawing tools: Pencil or ink pen
- Pins
- Paper cutter and scissors
- Ruler
- Glue stick
- Handle: Use a small bamboo stick, chopstick, or straight branch. Ensure the handle is small and doesn’t unbalance the pinwheel.
Steps to Make the Paper Pinwheel:
Step 1
- Cut the paper into a square shape. The size of the square determines the size of the finished pinwheel. Adjust the size as desired.
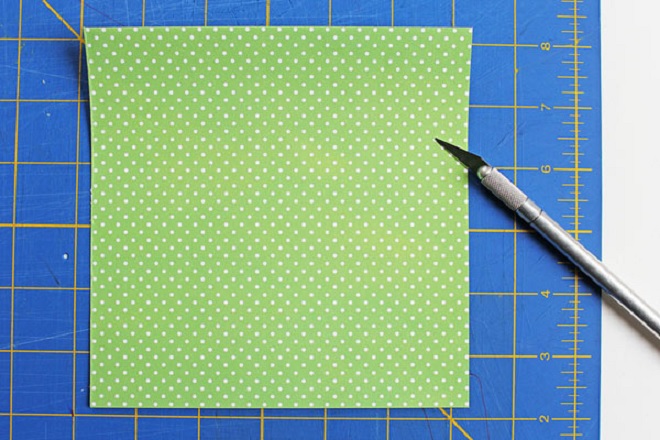
- To create a perfect square, fold the paper in half to form a triangle, ensuring the edges align. Cut off the excess paper. Unfold to reveal a perfect square.
Step 2
- Mark the center of the square using a pencil. Use a ruler for accuracy.
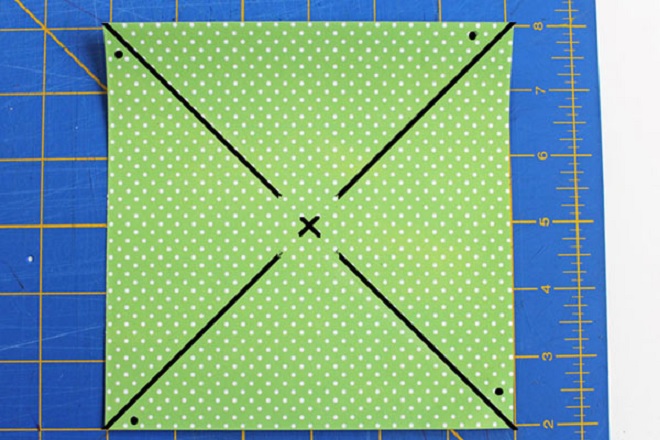
- If you don’t have a ruler, fold the square in half twice, aligning the corners. Press lightly to create creases. When unfolded, the intersecting lines will meet at the center. Mark this point with an X for accuracy.
Step 3
- Use a ruler and pencil to draw along the creases, ensuring they don’t intersect.
- Cut along these lines, leaving the center intact. Maintain a consistent distance from the center.
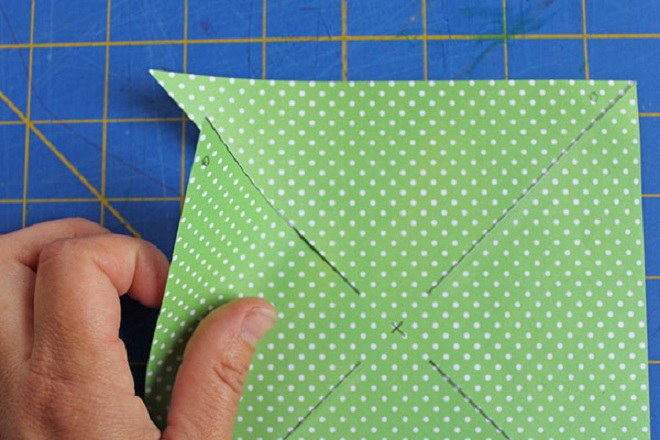
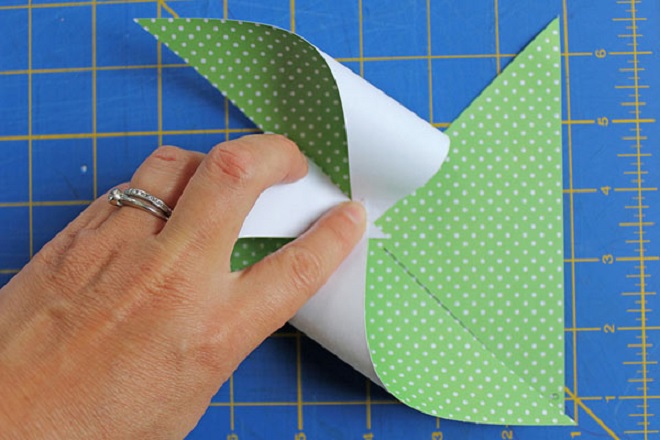
Step 4
- Fold every other edge toward the center, creating 4 pinwheel blades.
Step 5
- Use a pin to secure the blade tips and center. Push the pin through all 4 blades and the marked center.
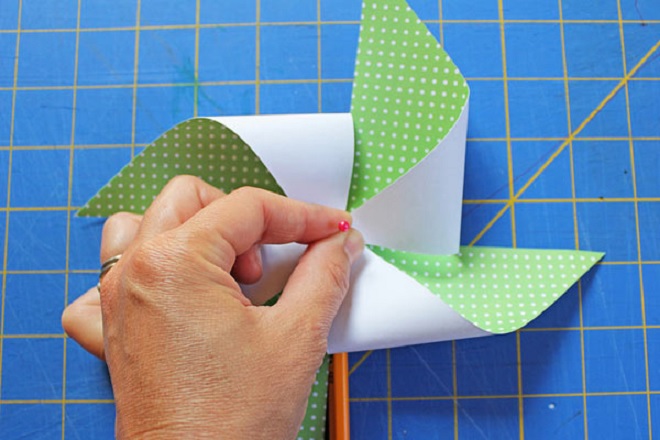
- Children should be cautious during this step. Ensure precision to avoid tearing the paper. Be mindful of safety, as pins can easily cause injuries if handled too quickly or forcefully.
Step 6
- Bend the pin’s tail end perpendicular to the pinwheel. Alternatively, use a glue stick to secure the pin’s tail for added safety.
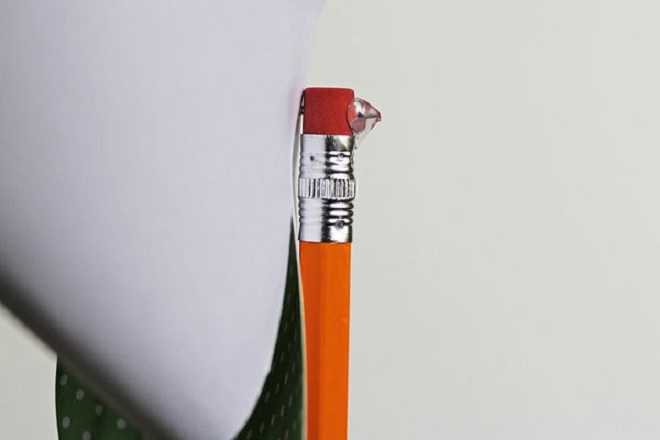
- Attach the pin’s tail to a pen, bamboo stick, straw, or chopstick.
Step 7
- Your pinwheel is complete. Find a windy spot, position the pinwheel against the wind, and watch it spin. Paper pinwheels are ideal for balconies or doorways.
2.3. How to Make a Bamboo Pinwheel
Bamboo is a popular material for making pinwheels due to its strength and durability. Bamboo pinwheels are often used as decorations on gateposts to symbolize youth and cultural heritage.
Materials Needed:
+ Bamboo (use bamboo skewers or trimmed bamboo sticks)
+ 2 used popsicle sticks
+ Hot glue gun (glue that can bond metal)
+ White thread
+ Large bubble tea straw
+ Hand drill
Steps to Make:
Step 1: Use a pencil and ruler to mark two parallel lines, 3 cm apart, on a popsicle stick.
Step 2: Use scissors or a knife to cut along the marked lines, creating two vertical slits.
Step 3: Join the two popsicle sticks by aligning the cut slits. Ensure a snug fit to prevent wobbling during pinwheel assembly.
Step 4: Insert a bamboo skewer into the center of the joined popsicle sticks. If the skewer doesn’t fit, use a knife to sharpen its tip. This completes the basic pinwheel frame!
Step 5: Use a hand drill to create a small hole in the skewer. Thread a piece of string through the hole, ensuring the pinwheel spins freely without getting tangled.
Step 6: Insert a large bubble tea straw over the skewer to allow the pinwheel to spin freely in the wind.
2.4. How to Make an 8-Bladed Pinwheel
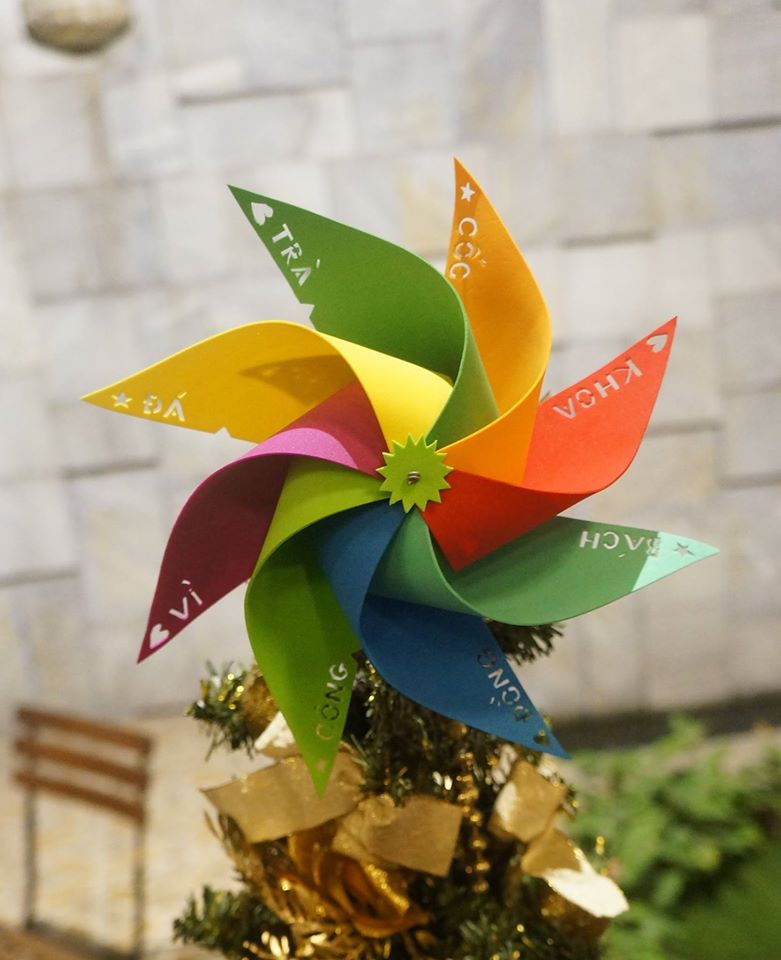
In addition to simple bamboo pinwheels, you can create an 8-bladed version. This pinwheel is more complex but offers greater visual appeal and flexibility in spinning.
Materials Needed:
+ Colored decal paper
+ Small colored straws
+ Bamboo skewer (chopstick)
+ Hot glue gun, tape
+ Scissors, paper cutter
Steps to Make:
Step 1: Cut decal paper into 8 identical right-angled triangles. Use different colors for a vibrant effect.
Step 2: Fold each triangle in half to create a crease. Punch a hole in the center to facilitate assembly.
Step 3: Arrange the triangles alternately, overlapping the tips. Secure them with double-sided tape or hot glue.
Step 4: Insert a straw over the skewer, attach it to the pinwheel’s back, and use thin wire to secure the pinwheel.
With a bit of skill, you’ll have a beautiful 8-bladed pinwheel.
2.5. How to Make a Creative Straw Pinwheel
Materials Needed:
– One thick, sturdy small straw
– Two thin, large straws
– Tape
– Scissors
Steps to Make:
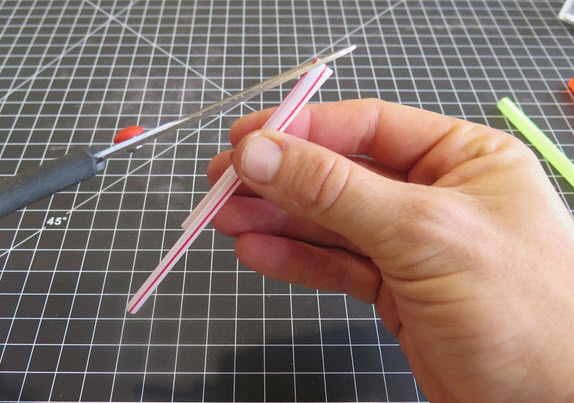
Step 1: Cut Two Slits in the Small Straw
Fold the small straw and cut two triangular slits to create a rhombus shape. Leave a 3-4 cm gap between the slits to prevent tangling during spinning.
Step 2: Seal One End of the Small Straw
Use tape to seal one end to prevent air from escaping when you blow into it. Trim any excess tape for a neat finish.
Step 3: Cut Two Intersecting Slits in the Large Straw
Fold the large straw in half and cut diagonally on both sides to create intersecting slits.

Step 4: Seal the Large Straw Ends and Create an Airflow Direction
Press the large straw ends together and seal them with tape. Cut a triangle on the left side of one end and on the right side of the other to direct airflow.

Step 5: Insert the Small Straw into the Large Straw
Insert the small straw through the large straw’s slits and position it at the cut slits from Step 1. Add tape padding on both sides to keep the large straw stable during spinning.

Repeat Steps 4 and 5 for the second large straw. Once completed, you’ll have a finished straw pinwheel.
Making a straw pinwheel is simple and fun!
2.6. How to Make a 2-Bladed Paper Pinwheel
While 4-bladed paper pinwheels are common, 2-bladed versions are less known but equally fun to make.
Materials Needed
- White or colored paper, as preferred
- Scissors
Steps to Make
Step 1
- Cut the paper into a rectangle. Adjust the size as desired. For beginners, a 3×20 cm rectangle works well.

Cut the rectangle into two blades
Cut the rectangle in half lengthwise to create two pinwheel blades.
Step 2
- Fold the bottom half of one rectangle, leaving a small hinge. Fold it in half to create a sturdy handle.

Fold the handle
Step 3
- Bend the two blades in opposite directions. Bend the handle slightly upward. Your 2-bladed pinwheel is now complete!

2-bladed pinwheel
2.7. How to Make a 3-Bladed Paper Pinwheel for Dropping
This 3-bladed pinwheel mimics falling leaves, making it a unique and fun project.
Materials Needed
- Scissors
- Paper
Steps to Make
Step 1
- Cut the paper into three rectangles, all connected at one end.

Cut three connected rectangles, leaving the bottom intact
Step 2
- Fold the three rectangles together, creating creases. Fold the blades downward and the handle upward for stability.

Step 3
- Secure the blades together. Bend the handle slightly upward for balance. Drop the pinwheel from a height to watch it float like a leaf.

This article provides detailed instructions for making various pinwheels. Enjoy crafting and decorating with these beautiful creations!
Best wishes for your success!

Expert in web design and development with over 15 years of experience. I’ve helped hundreds of businesses develop comprehensive website strategies for sustainable growth and profitability.
Why You Should Always Place a Pair of Chopsticks in Your Toilet: The Surprising Reason Revealed

Intriguing as it may sound, upon closer examination, it becomes universally acknowledged as a clever and practical tip worth implementing in any household.
The 5 Ornamental Plants That Will Overwhelm Your Home With Their Abundant Beauty

Some plants and flowers, though beautiful and fast-growing, can become a bit of a nuisance. Before you know it, they’ve taken over your entire garden, flooding your home with their lush foliage and vibrant blooms.
“The Ultimate Hack: Solve Household Problems with a Simple Toothbrush Twist”

The humble toothbrush: a seemingly simple tool with a singular purpose. But beyond its primary function, the humble toothbrush holds a myriad of unexpected uses.
4 Common Plants That Attract Snakes: A Warning for Gardeners

These trees provide an ideal habitat for snakes, so homeowners must exercise extreme caution when planting them around their property.
“Uncover the Mystery: Identify the Three Trees Blocking Your Fortune and Prosperity”

The ancient art of Feng Shui warns against planting these three types of trees in front of your home, as they are believed to bring bad luck and negative energy to the household.


