Tips for Choosing Fabric for Pillowcases
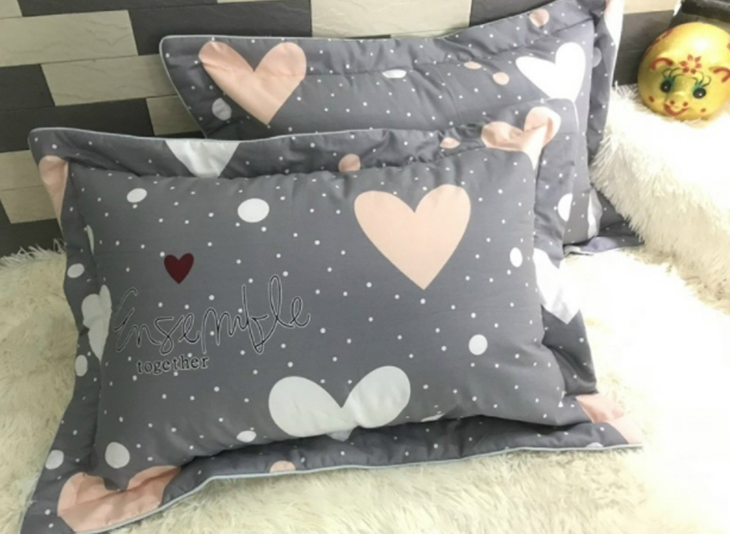
Before embarking on making pillowcases for your family, it is important to choose the right fabric for sewing. With numerous fabric options available in the market, such as cotton, modal, tencel, etc., it is crucial to select a fabric that offers good absorbency, durability, and ease of cleaning. While fabrics like modal, tencel, and satin may come with a higher price tag, they offer superior features that enhance comfort and satisfaction.
Most Detailed Fabric Calculation for Making Pillowcases
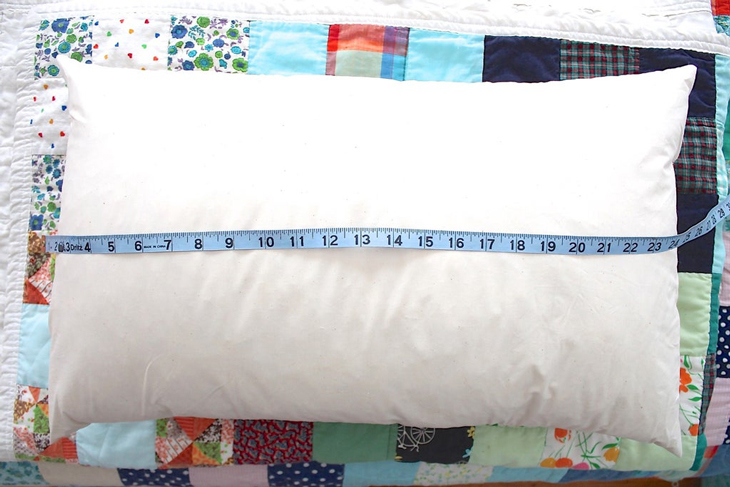
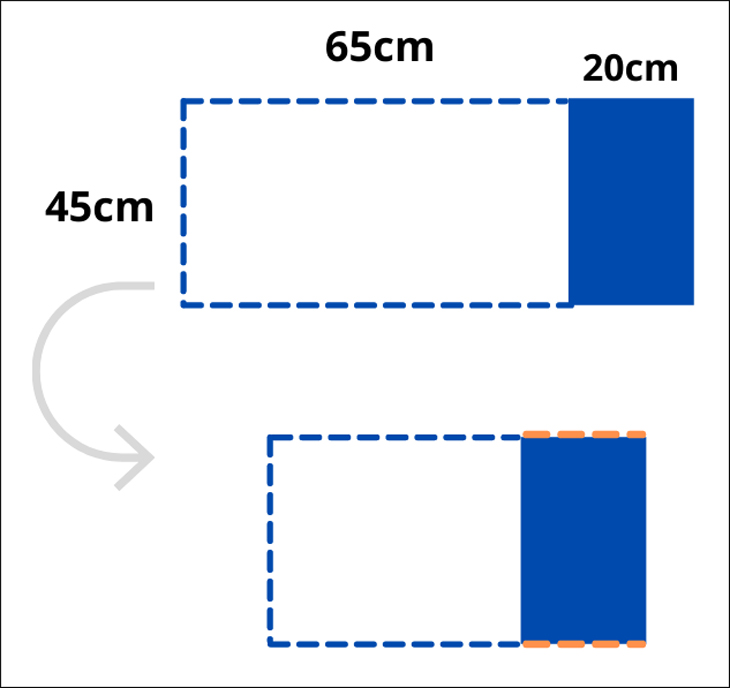
Once you have determined the appropriate fabric for your pillowcases, it is time to measure the fabric size. The process involves doubling the length, adding an extra fabric part of approximately 20 cm, and cutting the fabric accordingly. For instance, if you plan to make pillowcases for a 45 x 65 cm pillow, the length of the fabric should fall within the range of 65 cm x 2 + 20 cm = 150 cm. Additionally, an extra 4 cm should be added for sewing, resulting in a final length of 154 cm. The width of the pillowcase will be 45 cm + 2 cm (for sewing) = 47 cm. The additional fabric part allows for easier insertion of the pillow and ensures a comfortable fit for a good night’s sleep.
Instructions on How to Sew Different Types of Pillowcases
Instructions on How to Sew a Pillowcase for a Sleeping Pillow
Steps to sew a pillowcase for a sleeping pillow:
Step 1: Press the fabric using a specialized press machine or a sewing needle to secure the edges and prevent fraying or unraveling.
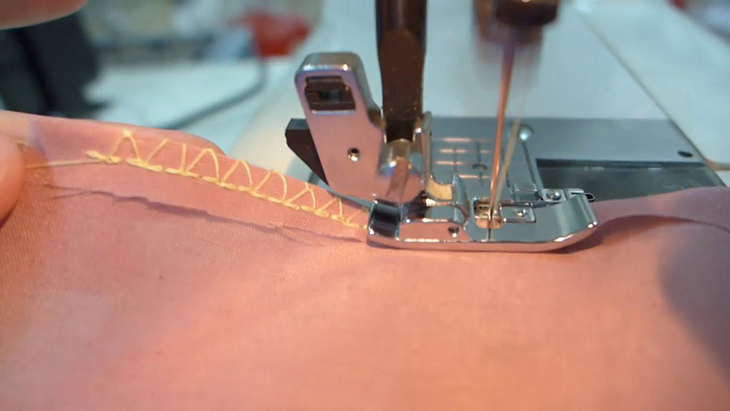
Step 2: Sew the three sides of the fabric together, starting with the two length sides and then the end of the width, to ensure a secure fabric construction.
Step 3: To facilitate cleaning and replacing the pillowcase, sew a zipper onto one of the edges. Place the zipper on top of the fabric and sew it back together with the pillowcase using a sewing machine or a needle. Be careful not to sew too close to the zipper.
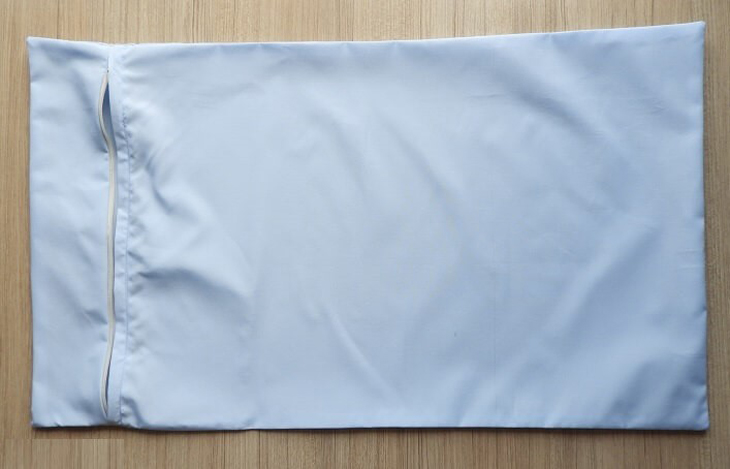
Instructions on How to Sew a Hugging Pillowcase
Steps to sew a hugging pillowcase:
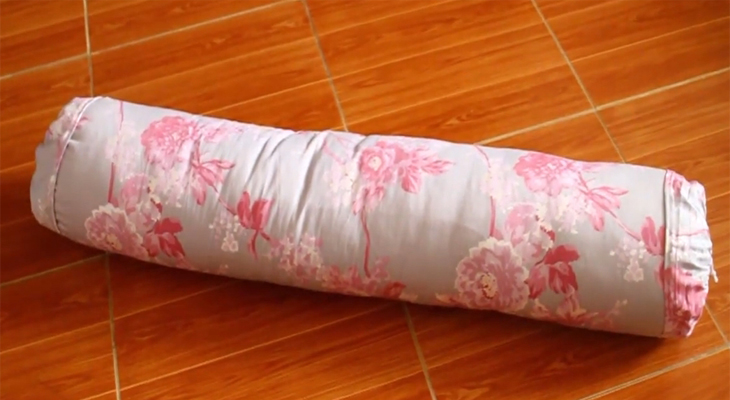
Step 1: Sew the ends of the pillowcase based on the size of the fabric panel (100 x 55 cm) and fold the ends by 6 cm to form the cord channel.
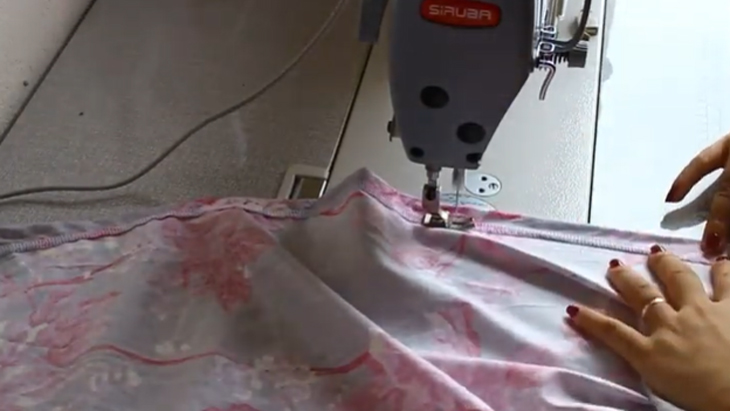
Step 2: Position the wrong side of the ribbon pieces on the right side of the hugging pillowcase (along the seam edge). Sew a seam to secure them together.
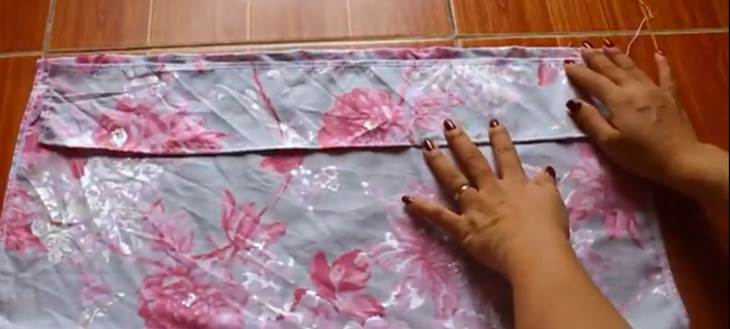
Step 3: Turn the pillowcase inside out and sew the side seams of the pillow body together.
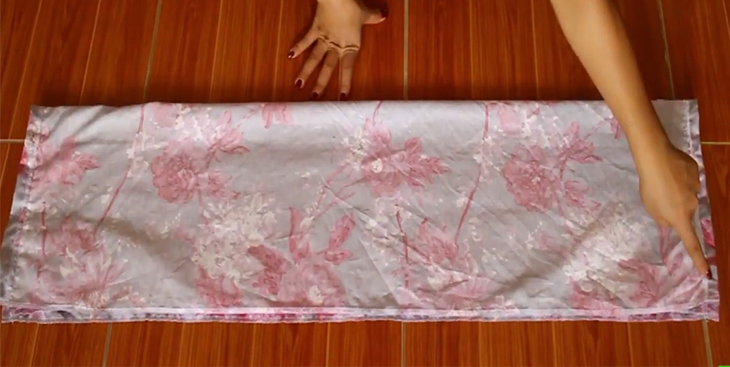
Step 4: Use a seam ripper to create a small hole at the top of the pillowcase for threading the drawstring.
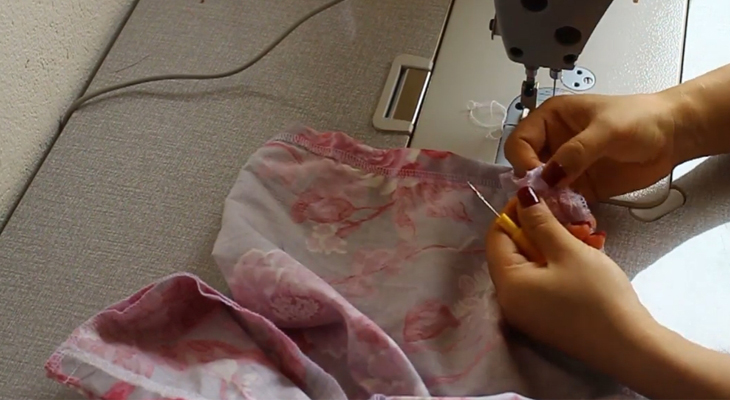
Step 5: Turn the pillowcase right side out, insert it into the inner pillow, and thread a long drawstring through the hole using a safety pin.
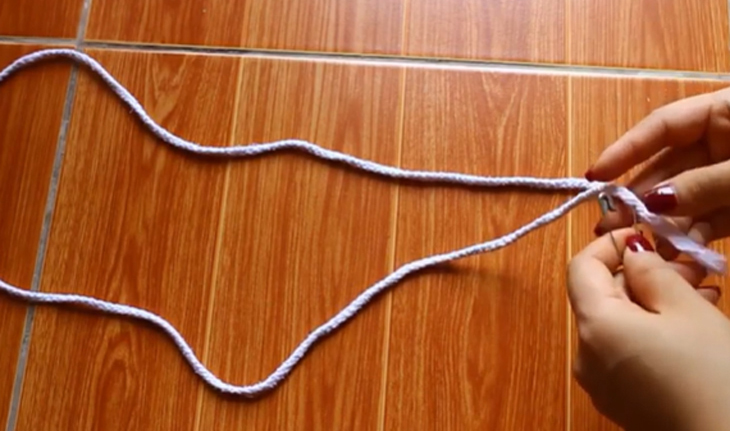
You have now successfully sewn the hugging pillowcase.
Instructions on How to Sew a U-shaped Pillowcase
Steps to sew a U-shaped pillowcase:
Step 1: Cut a pillow template out of paper.
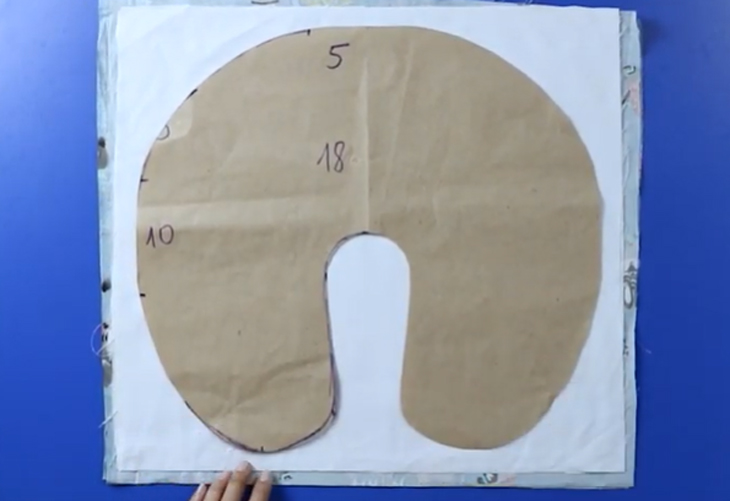
Next, cut two fabric pieces according to the size of the template.
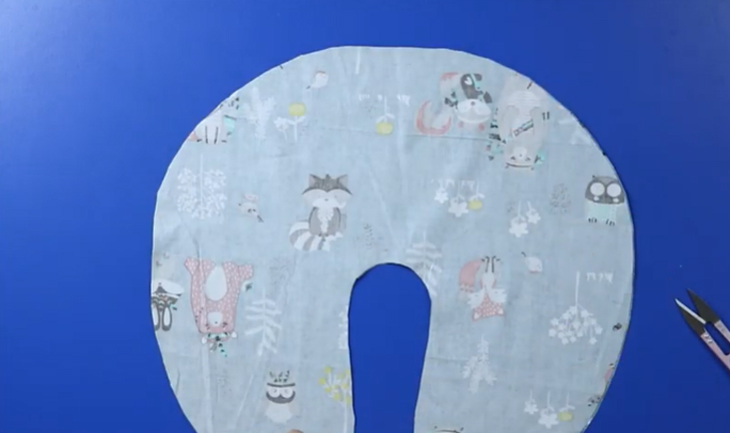
Step 2: Sew the two fabric pieces together, leaving a 2 cm gap at each end for a comfortable fit and to prevent the pillowcase from becoming tight when inserted.
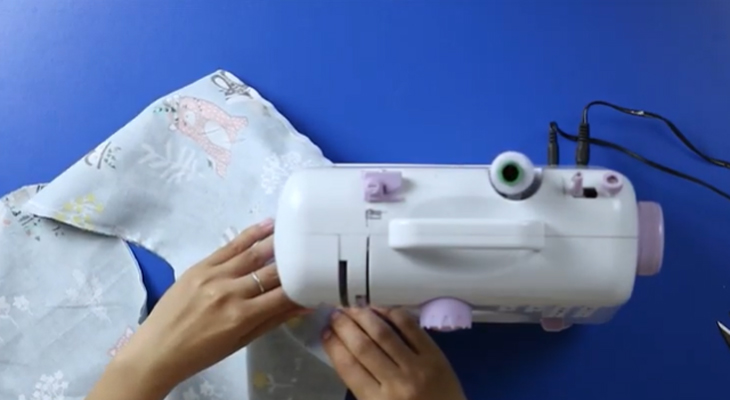
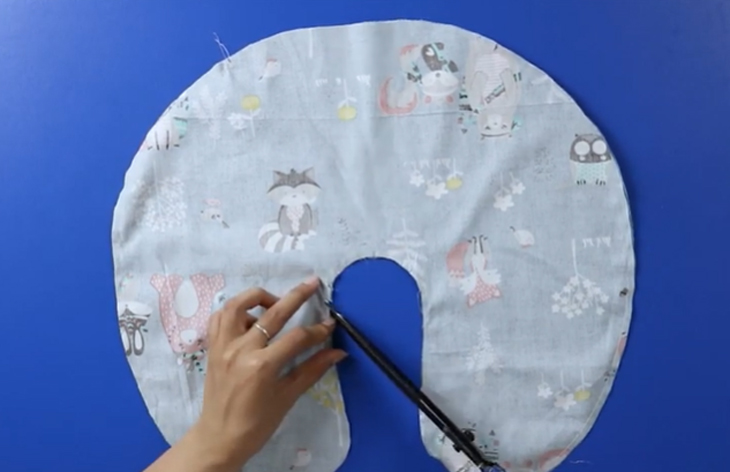
Step 3: Use scissors to press the seam tightly against the seam line, preventing the pillowcase from stretching when turned out.
Step 4: Install a zipper using a zipper foot or sew the zipper by hand.
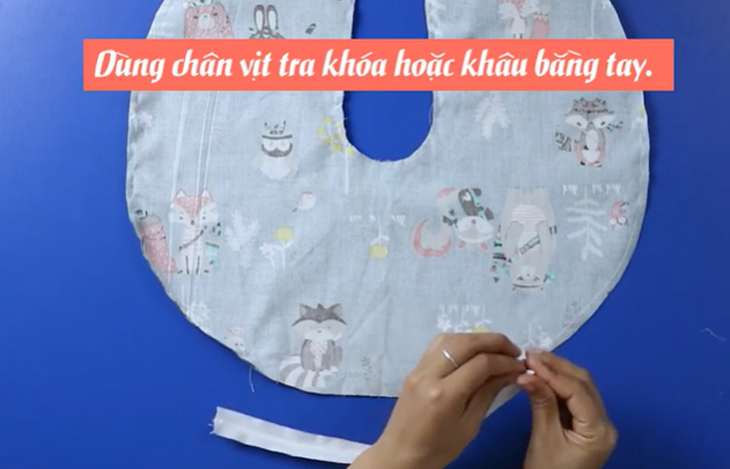
Step 5: Turn the pillowcase inside out and insert it into the pillowcase.
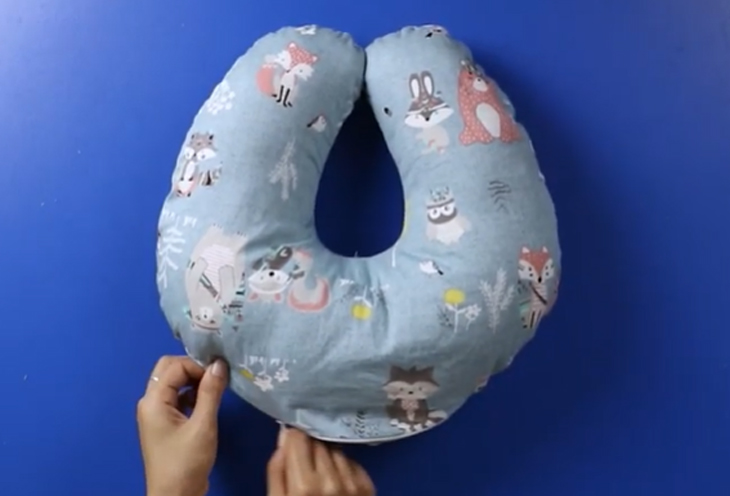
Above are the instructions on how to sew the simplest pillowcases that anyone can do. If you have any further questions, please leave a comment below, and we will be happy to assist you.


