


1. What is a Pinwheel?
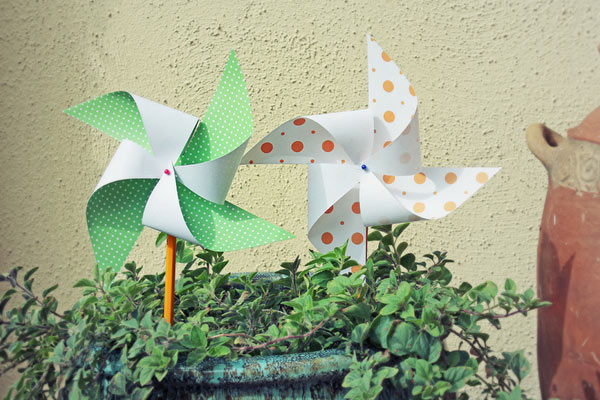
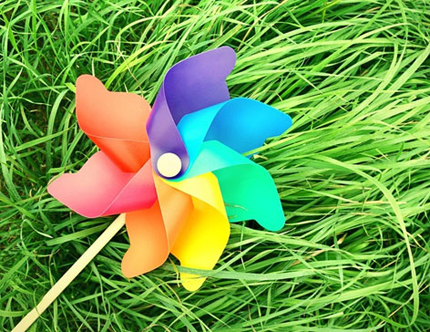
Pinwheels are children’s toys consisting of a wheel made of paper or plastic, attached to a stick by a pin. When the wind blows, the wheel spins.
In the 19th century, simple pinwheels began to appear and were sold in the United States. An Armenian toymaker named Tegran M. Samour (full name: Samourkashian) created the modern version of the pinwheel in 1919 in Boston, Massachusetts. It was then called the “wind wheel”.
2. How to Make Different Types of Pinwheels
2.1. How to Make a Four-Bladed Paper Pinwheel
Materials:
– Cardstock in various colors of your choice
– Pencil, ruler
– Glue
– Stick made of plastic, bamboo, or metal, depending on your preference.
Instructions:
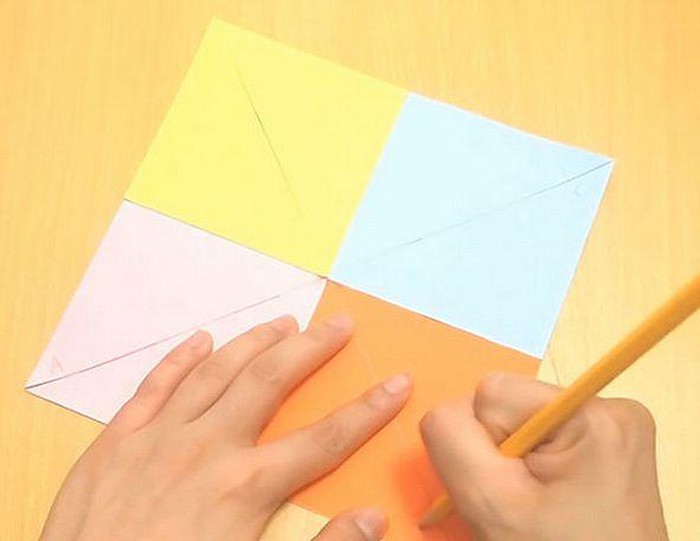
Step 1: Cut and Decorate the Paper
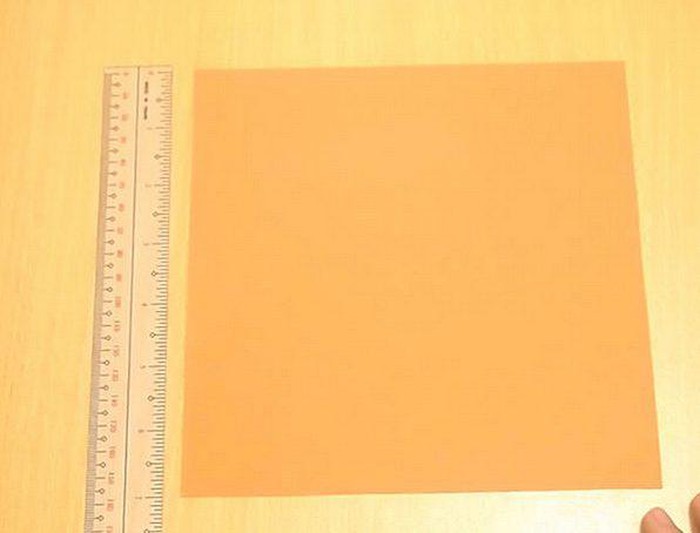
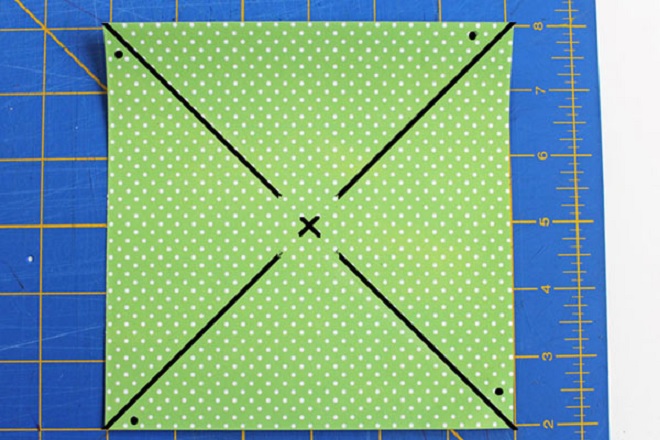
Use a square piece of cardstock, approximately 17 to 18 cm in size. Cut the paper into a square shape. You can use scissors or purchase these pre-cut at stationery stores.
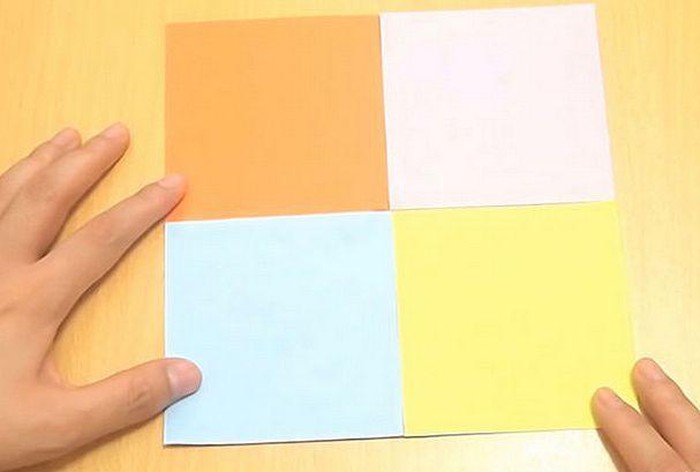
Divide the square into four equal sections using a pencil and ruler, as shown in the image.
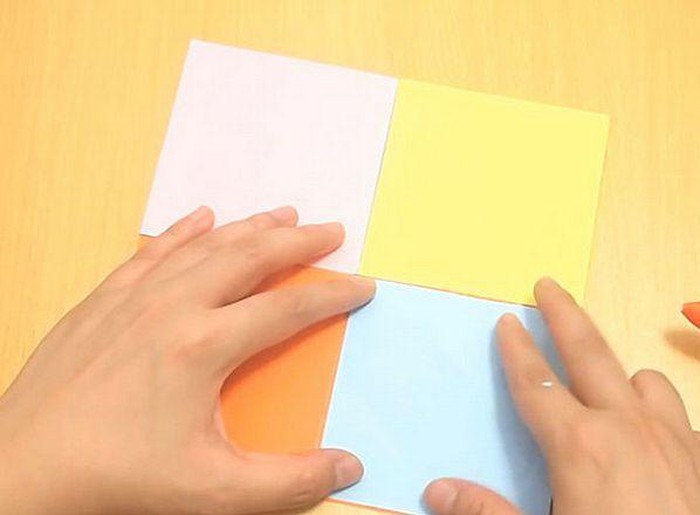
Make your squares more appealing by adding colors of your choice. Here are some suggestions:
– Paint each square a different color
– Alternate between warm and cool colors for each square
– Cut out shapes from magazine cardstock and glue them onto each square according to your preference.
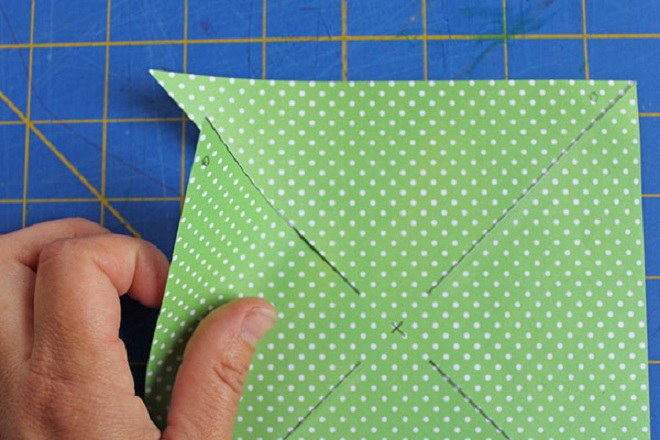
Step 2: Cut and Fold the Paper to Create the Pinwheel
Fold the paper diagonally as shown in the image, or use a pencil and ruler to draw the diagonal lines.
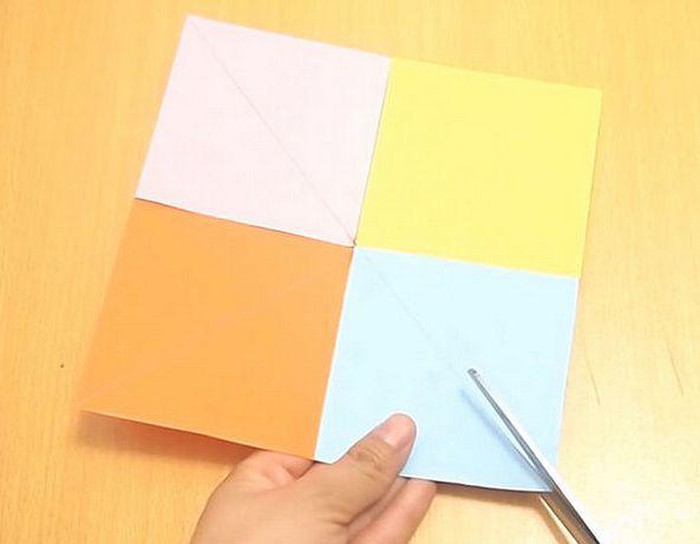
Cut along the diagonal lines you’ve drawn.
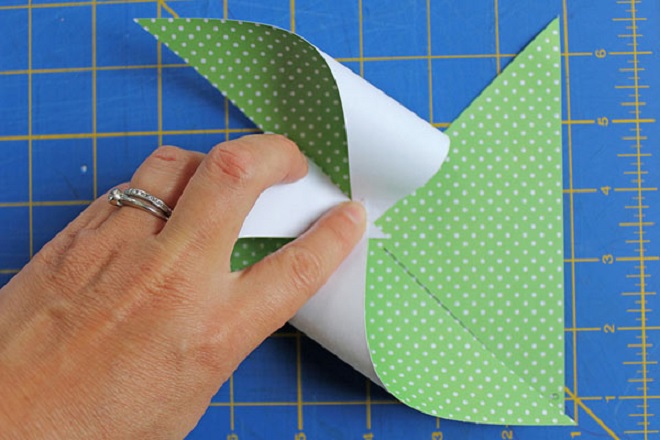
Step 3: Fold the Paper and Complete the Final Step to Create the Pinwheel.
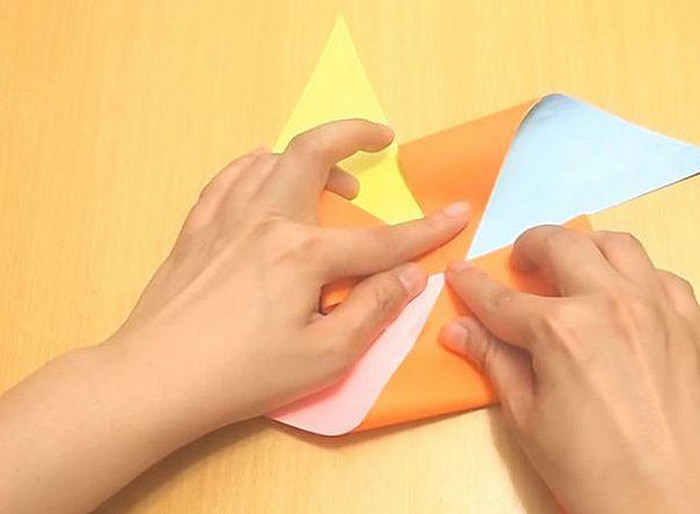


Complete the final touches and decorations to create a beautiful pinwheel!
2.2. How to Make a Four-Bladed Paper Pinwheel
While pinwheels made of bamboo are valued for their sturdiness, paper pinwheels are favored for their softness, flexibility, and elegance. This is also one of the most popular and simple ways to make a pinwheel without needing many materials.
Materials:
- Handmade paper: Choose a sturdy paper with attractive colors and designs. Select paper with contrasting colors, patterns, or textures on the front and back to make the pinwheel more eye-catching.
- Pen or pencil: Either can be used
- Thumbtacks
- Paper cutter and scissors
- Ruler
- Wax glue
- Handle: You can use a small bamboo tube, chopstick, straight branch, or any similar object. Just make sure it’s small and doesn’t affect the balance of the pinwheel.
Instructions:
Step 1
- Cut the paper into a square shape. The size of the square will determine the size of the finished pinwheel. You can adjust the size according to your preference.
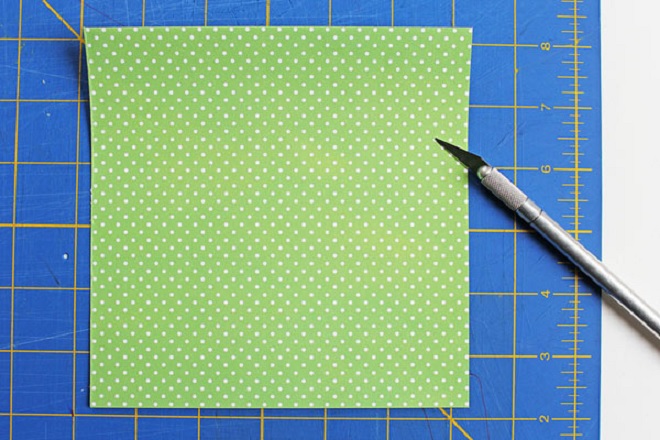
- To ensure a straight and even square, here’s a little tip: Fold the paper in half, creating a triangle. Align the edges of the paper, and use scissors to cut off the excess. When you unfold the triangle, you’ll have a perfect square.
Step 2
- Use a pen to mark the center of the square. For accuracy, you can use a ruler to find the exact center.
- Alternatively, if you don’t have a ruler, you can align the square’s corners to create intersecting lines. First, align corner A with corner C, and then align corner B with corner D. Gently crease the paper along these lines to create a visible mark. When you unfold the paper, you’ll see two intersecting lines that form an “X” at the center. Mark this intersection with a pen. This method is quicker and provides accurate results.
Step 3
- Use a ruler and pen to draw lines along the creases you made, but do not draw on the intersecting lines.
- Using scissors, cut along the drawn lines, being careful not to cut into the center. Maintain a consistent distance from the center, which you marked in Step 2.
Step 4
- Fold all the paper edges towards the center, alternating between the edges. In other words, fold one edge towards the center, skip the next edge, and continue this pattern until you have four pinwheel blades.
Step 5
- Use thumbtacks to secure the pinwheel blades and center. Push the thumbtacks through all four corners and the center point that you marked in Step 2.
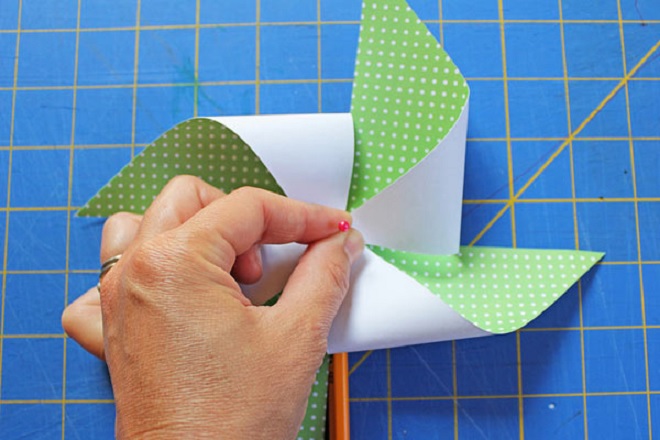
- Caution: If children are performing this step, they must be careful not to tear the paper. Pay attention to safety. If you work too quickly or forcefully, you may accidentally prick your finger with the thumbtack.
Step 6
- For safety, bend the ends of the thumbtacks that protrude from the back of the paper at a 90-degree angle. Alternatively, you can use wax glue to secure the ends.
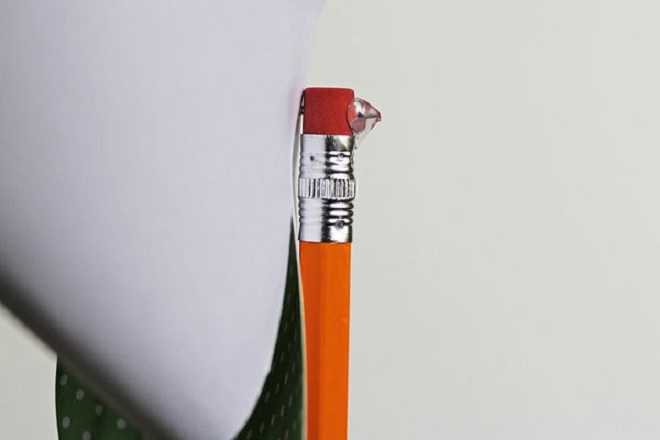
- The thumbtacks will also be secured to the pen or handle. You can substitute a bamboo tube, thick straw, or chopstick for the pen.
Step 7
- Your pinwheel is now essentially complete. The final step is to find a windy spot, position the pinwheel facing the wind, and enjoy your creation. This four-bladed paper pinwheel looks great when displayed on a balcony or hung by the front door.
2.3. How to Make a Bamboo Pinwheel
Bamboo is a popular material for making pinwheels, known for its strength and resilience in the wind. Bamboo pinwheels are also a common decoration on camp gates, symbolizing youth and cultural heritage.
Materials:
+ Bamboo (you can use bamboo chopsticks or thin bamboo strips)
+ 2 used ice cream sticks
+ Hot glue gun (use glue that can adhere to metal)
+ White thread
+ Large straw (the type commonly used for bubble tea)
+ Hand drill
Instructions:
Step 1: Use a pencil and ruler to mark two parallel lines, approximately 3 cm long, on the ice cream sticks.
Step 2: Using scissors or a knife, cut along the marked lines to create two notches in the wood, as shown in the image.
Step 3: Join the two ice cream sticks by connecting the notches you just cut. Ensure a snug fit by adjusting the connection point. This will prevent the structure from becoming loose during the pinwheel-making process.
Step 4: Insert a bamboo stick or chopstick into the center of the connected ice cream sticks. If the bamboo stick doesn’t fit snugly, use a knife to whittle down the end to make it sharper.
At this point, you’ve essentially completed the frame of the bamboo pinwheel!
Step 5: Starting from this step, you’ll be finishing the pinwheel. Use a hand drill to create a small hole in the bamboo stick, and then thread the white thread through the hole. When threading the string, consider the rotation of the pinwheel to ensure it doesn’t get tangled or stuck during operation.
Step 6: The final step to complete the bamboo pinwheel is to slide the large straw over the axis of the pinwheel (the bamboo stick). The straw will allow the pinwheel to rotate freely in the wind.
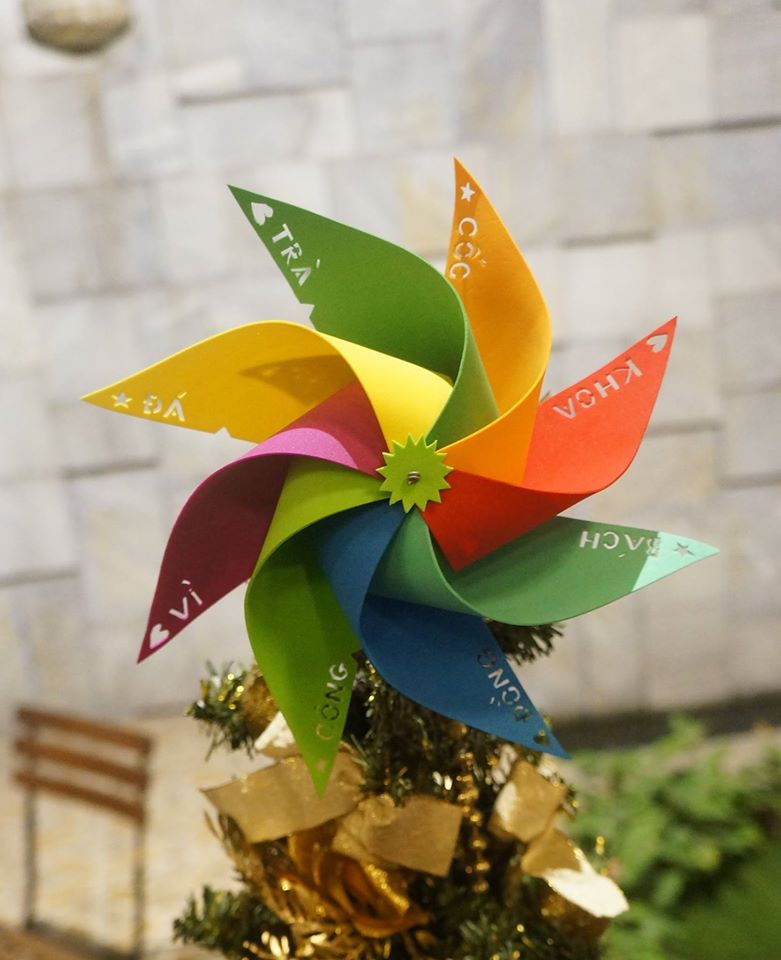
2.4. How to Make an Eight-Bladed Pinwheel
In addition to making sturdy bamboo pinwheels, you can also create eight-bladed pinwheels, which have the advantage of spinning more flexibly in the wind. The process of making an eight-bladed pinwheel is more complex than a bamboo pinwheel but will result in a more visually appealing creation.
Materials:
+ Multicolored decal paper bags.
+ Small straws (in colors of your choice)
+ Bamboo or wooden stick (chopstick)
+ Hot glue gun, double-sided tape, or strong adhesive
+ Scissors, paper cutter
Instructions:
Step 1: Cut the decal paper into eight equal-sized squares. You can use different colors to create a beautiful color effect.
Step 2: For each square, fold it in half to create a crease. Then, punch a hole near the center to facilitate the pinwheel-making process.
Step 3: Arrange the squares in a pattern, with the tip of one square placed on the right angle of the adjacent square. As you stack the squares, secure them with double-sided tape or a strong adhesive like hot glue.
Step 4: Slide a straw over the stick and attach it to the back of the pinwheel. Then, use thin wire to secure the pinwheel to the stick.
And there you have it! With a little creativity, you’ve made a beautiful eight-bladed pinwheel.
2.5. How to Make a Creative Pinwheel Using Straws
Materials and Tools:
– One small, thick straw.
– Two large, thin straws.
– Tape.
– Scissors.
Instructions:
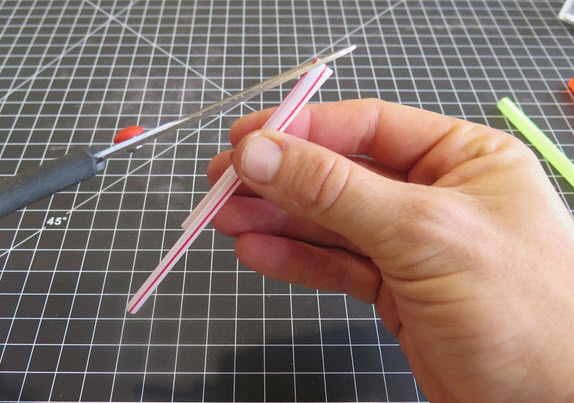
Step 1: Cut Two Holes in the Small Straw
Fold the small straw and cut out two equilateral triangles to form a rhombus when unfolded. Remember to leave a gap of about 3-4 cm between the two large straws to prevent them from tangling when spinning.
Step 2: Seal One End of the Small Straw with Tape
Use tape to securely seal one end of the small straw to prevent air from escaping when you blow into it. After taping, cut off any excess tape for a neat finish.


 – Striking Jackpot Gold at the Age of 3, Sweeping the God of Wealth’s Pocket Clean.")


