How to Change the Default Mouse Pointer
To change the default mouse pointer on Windows 10, follow these steps:
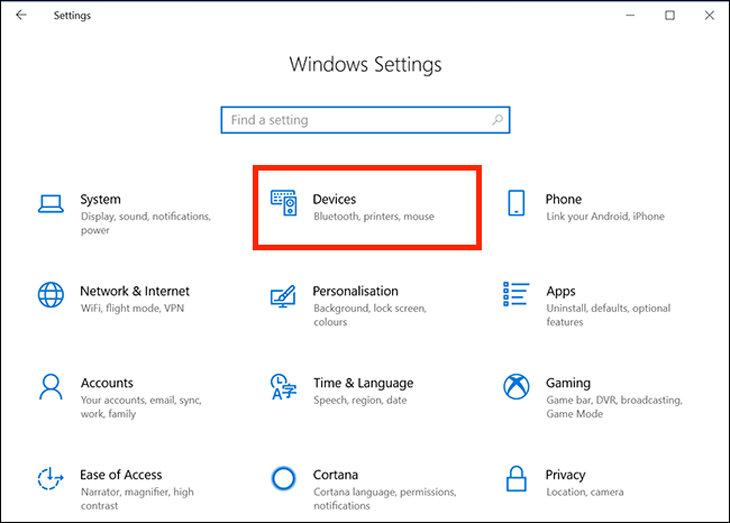
Step 1: Press the Windows key + I to open the Settings window. In the Windows Settings window, select Devices.
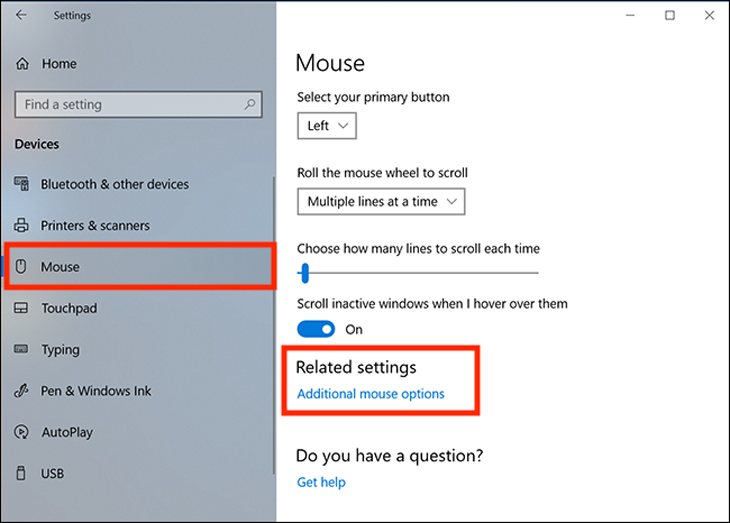
Step 2: Select the Mouse tab in the left column, then click Additional mouse options under Related Settings.
Step 3: In the Mouse Properties window, select the Pointers tab. Choose a new mouse pointer from the drop-down menu under Scheme.
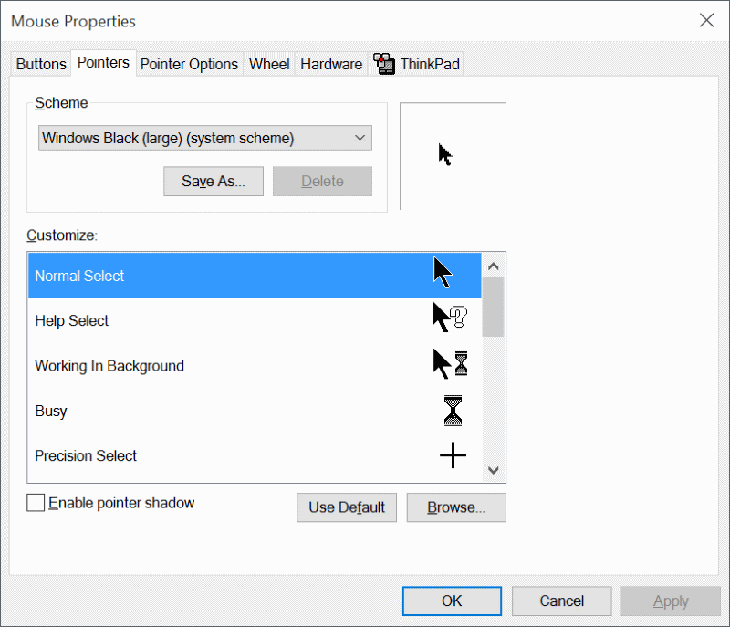
Step 4: Select the desired size for the mouse pointer icon and click Apply to save the changes. You can also resize the mouse pointer for better visibility if needed.
How to Customize the Mouse Pointer
If you want to change individual pointers, follow these steps:
Step 1: In the Customize section of the Mouse Properties window, select the cursor you want to change. There are 15 types of pointers for different functions in Windows 10.
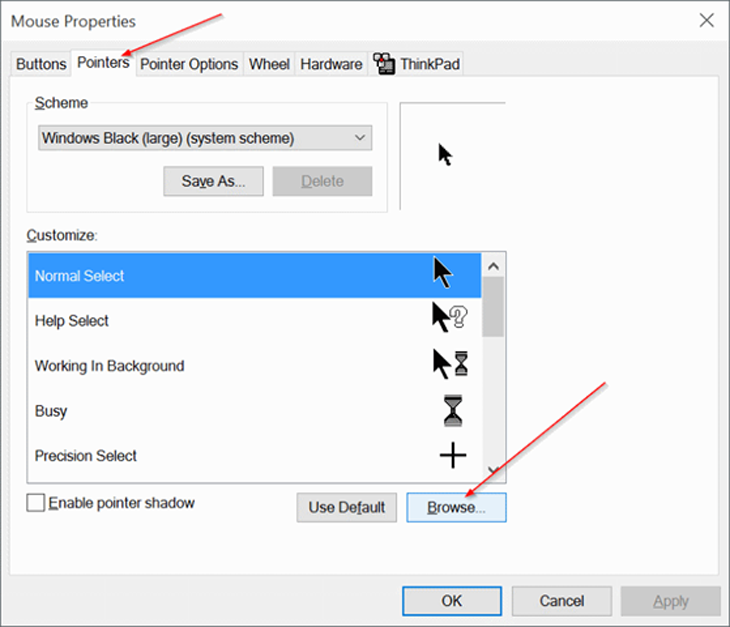
To select a custom cursor, click Browser. You will see a folder with various cursor options.
Step 2: Select a pointer type that matches the function and click Open to apply the new icon.
![]()
If you have individual cursor icons, you can manually install them by copying their image files to the Cursors folder located at “C:WindowsCursors”. However, make sure to scan these files for viruses before downloading them.
Above are the steps to change the mouse pointer icon on Windows 10. Follow the instructions and enjoy your new mouse pointer!


