


Get a High-Angle View for a More Impressive Shot
Taking photographs of the dining table from a higher angle can greatly enhance the clarity and richness of the captured dishes. However, it is important to be mindful of the potential for shadows, particularly from one’s hand, as the lighting typically originates from above.
To address this issue, consider enabling the grid feature on the camera to ensure optimal alignment of all elements.

Boost Engagement on Instagram with a Black and White Filter
To enhance the visual impact of subjects with high contrast, applying a black and white filter can be highly effective. To utilize this filter, follow these steps: select the black and white filter, carefully identify the contrast between the subject and background, and finally, press the capture button to capture the desired shot.

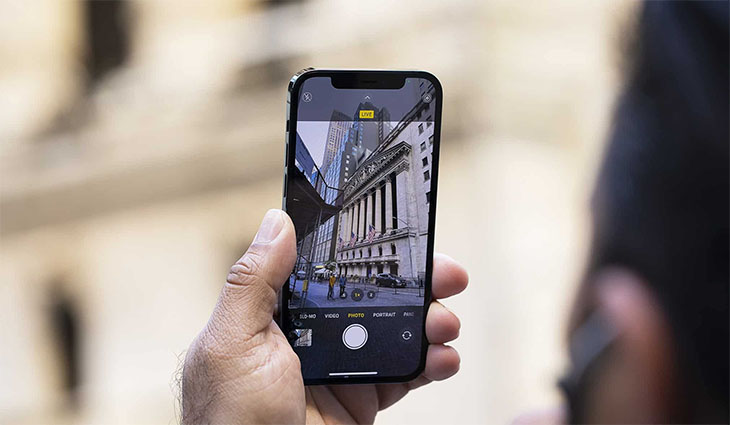
No Shaking When Taking Photos
To minimize the occurrence of blurred photos, it is important to maintain a steady hand while using the iPhone camera. Here are some helpful tips to enhance your photography experience:
– Hold your iPhone firmly and minimize any hand movements during the process of taking photos.
– Consider using a tripod or steadying device for added stability.
– Activate the gridlines feature on your iPhone camera to assist with framing and composition.
– Ensure proper lighting conditions by utilizing natural light sources or adjusting the camera’s exposure settings.
– Familiarize yourself with the camera’s autofocus feature and utilize it effectively.
– Take advantage of burst mode for capturing fast-moving subjects with greater clarity.
By implementing these strategies, you can enhance the quality of your iPhone camera photos and achieve sharper, more focused images.
- To capture a photo with ease and stability, utilize the Camera feature on your Apple Watch while your iPhone remains securely placed on a tripod. Streamline the process with the convenience of your wearable device.
- To capture a photo using our device, simply utilize the volume buttons located on the side. Press the volume up or down button to initiate the process.
- Use the volume buttons on your headset: simply connect your headphones to your iPhone and you can easily operate your camera remotely! There’s no need to actually wear the headphones, just utilize the buttons on the cable to capture photos effortlessly.

- To maximize your photo-taking experience, consider utilizing a selfie stick. These handy accessories typically come with a convenient shutter button located on the body of the stick. Embark on capturing stunning selfies effortlessly with the aid of this versatile tool.
- Utilize Bluetooth Buttons: These buttons are often included with selfie sticks, but they can also be purchased separately. Pair this button with your iPhone via Bluetooth and conveniently operate the camera.
-
The self-timer feature allows you to choose between a 3 or 10-second delay before capturing a photo. This feature provides you with ample time to ensure that everyone is prepared and ready for the shot.

Take Living Photos with Your Camera: A 4-Step Tutorial
Experience the latest feature on your iPhone’s camera – Live Photos. With Live Photos, capture short moving photos or videos in your photos. Relive the moment and see what happened in your photos with Live Photos.
This feature is accessible through the Camera app on iPhone 6s and newer models, including iPhone SE.

Experience Professional Quality Photos with the iPhone 12 and its ProRAW, HEIF and Advanced Photography Apps
Apple recognizes the intimate needs of its users by providin
The iPhone is capable of capturing photos in RAW format, however, to do so you will need to utilize external applications such as Adobe Lightroom or Camera+.
Apple has transitioned to the HEIF format in iOS 11, replacing JPEG. By saving iPhone photos as HEIF files, the resulting image size is reduced by over 50% without compromising image quality. This upgrade offers improved storage efficiency without sacrificing visual excellence.

Switch on Snap Grid for Aligning Your Composition
The capture grid consists of two parallel horizontal and two vertical lines that are displayed on the screen when taking pictures. This helpful feature enables users to align their composition more efficiently, resulting in the production of more visually appealing and artistic photos.
To enable grid capture, follow the steps below:
Step 1: Navigate to the Settings menu and select Photos and Camera. Under the Grid section, switch the toggle switch to the “On” position.

Step 2: Return to the Camera and attempt to capture a photo in which the primary subject is positioned at the intersection of the grid lines.

How to Adjust the Brightness on Your TV
The iPhone provides a convenient method for adjusting the brightness level. Simply touch the focus point on the screen, and a camera icon will appear in the form of a square box with a light bulb symbol. To brighten the photo, swipe this icon upwards; to decrease brightness, swipe downwards.

8 Consecutive Shootings in Chicago
When engaging in fast-paced activities such as sports or jogging, capturing multiple photos in quick succession is essential for ensuring the best shot. Apple has incorporated a continuous shooting feature in iPhones, allowing the device to capture a series of 10 pictures in just one second.
To utilize this feature, simply press and hold the capture icon found in the Camera app on your iPhone. The device will automatically take multiple consecutive shots as long as you continue to hold the icon. Release your hand to stop capturing.

How to Use Auto HDR on iPhones for Improved Low-Light Photography
HDR mode is utilized to effectively balance the light in regions exhibiting varying levels of brightness and darkness or when capturing photographs during nighttime. This ensures that no part of the image appears underexposed or overexposed. To activate the HDR mode, navigate to the Camera section and click on the HDR icon located on the left side. Then, select “Auto” in order to initiate the feature, as depicted below.

Ten Restrictions for Shooting with Flash Photography
The use of flash in photography can greatly enhance the quality of your photos. However, it is important to be mindful of its limitations. In certain situations, using flash can result in over-exposed or unnatural-looking images. To avoid this, it is recommended to disable the flash feature and only activate it when absolutely necessary, rather than relying on the automatic setting.
To disable the flash, navigate to the Camera section and click on the “Lightning” icon. Then, choose the option “Off”.


