To properly clean your freezer, follow these steps:
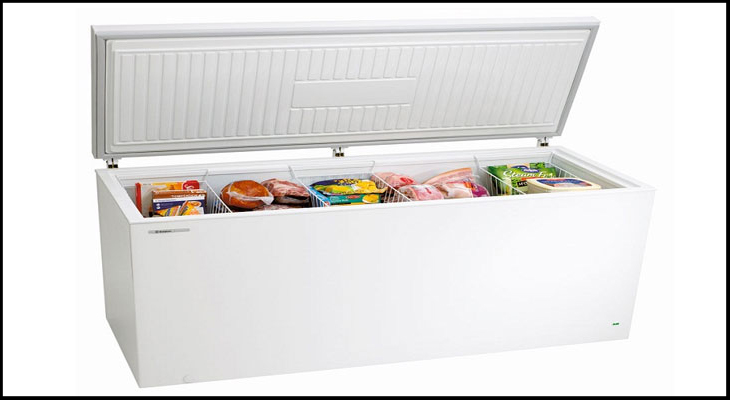
1. Empty the freezer: Remove all items from the freezer and place them in a cooler with ice packs or in a kitchen sink filled with cold water. Discard any expired or unwanted items.
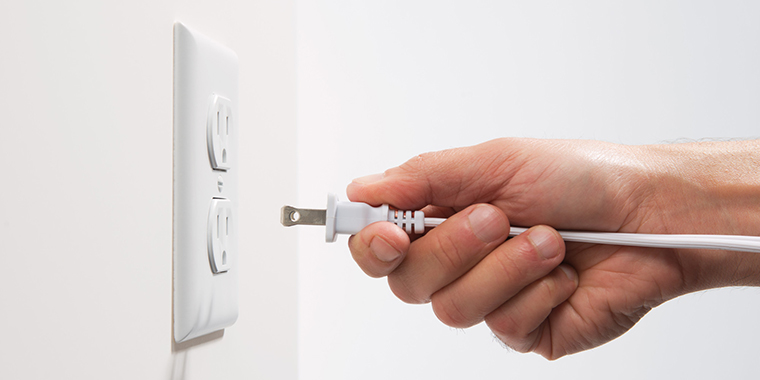
2. Defrost the freezer: Turn off the freezer and unplug it from the power source. Allow the ice to melt naturally or speed up the process by placing bowls of hot water inside. Open the freezer door to let the warm air circulate and melt the ice faster. Avoid using sharp tools or excessive force to remove ice buildup as it can damage the freezer.
3. Clean the interior: Once all the ice has melted, remove any remaining water with a sponge or towel. Mix a solution of mild dish soap and warm water. Use a soft cloth or sponge soaked in the soapy water to wipe down the interior surfaces of the freezer, including the shelves, walls, and door. Pay extra attention to any sticky spills or stains. Rinse the cloth or sponge frequently and change the soapy water as needed.
4. Clean the exterior: Use the same soapy water solution to clean the exterior surfaces of the freezer, including the front, sides, and top. Be careful not to wet any electrical components, and avoid using abrasive cleaners or scrub brushes that can scratch the finish. Dry all surfaces thoroughly with a clean cloth.
5. Replace the items: Once the freezer is clean and dry, carefully place the food items back inside. Pay attention to organizing the items and avoid overcrowding the shelves to allow for proper airflow and efficient cooling.
6. Plug in and power on: Plug the freezer back into the power source and turn it on. Allow the freezer to run for a few hours to reach the desired temperature before loading it with new items or groceries.
Remember to regularly clean your freezer at least once or twice a year to maintain its efficiency and prevent odors and bacteria growth.
“Disconnecting a Freezer’s Power Supply”
Step 2: Empty the Freezer of Food
Currently, you can efficiently organize and identify which foods are nearing their expiration date or no longer needed for disposal.
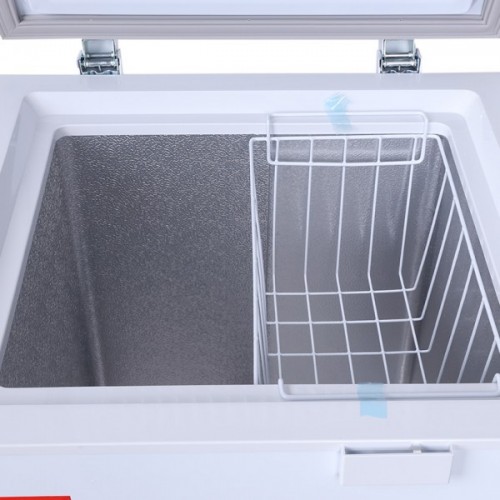
Cleaning Up Freezer Shelves: Step 3
To clean the shelves, please use a gentle dishwashing liquid and a soft sponge. Ensure that the shelves have been removed before cleaning for better accessibility.
To efficiently remove dirt, warm water can be used as an effective solution. It is important to note that using warm water is recommended. Following the cleaning process, the items should be adequately dried and placed in a designated dry area to facilitate water drainage.
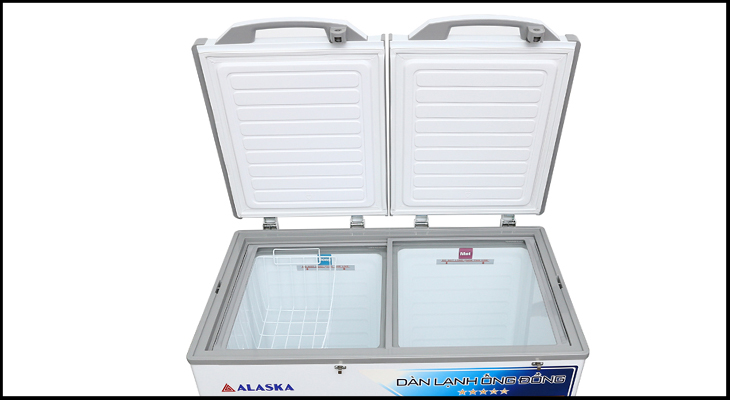
Defrosting the Freezer – Step 4
To facilitate the ice melting process, open the freezer door for a duration of 15 to 30 minutes.
There are multiple methods for defrosting a freezer, each with its own set of advantages and disadvantages. These methods include:
Allow the ice to melt: Allowing the ice to thaw naturally is the conventional approach for defrosting the freezer. This technique requires patience, particularly in colder regions, but it is the safest method to use.
Using a hairdryer: This technique is completely secure as long as you adhere to basic safety precautions. Ensure that the cord of the hairdryer remains dry and away from water or snow at all times.
Please avoid getting too close to the coil or freezer walls, as this may result in damage to these components. Additionally, the heat generated could potentially harm any plastic elements within the freezer.

Scraping tools: To remove ice, utilize a scraping tool heated over a flame. It may be necessary to wear oven gloves for protection. Proceed by gently pressing the heated scraping tool against the ice to facilitate melting.
To improve the cooling process, it is recommended to utilize a standard fan. By blowing warm air into the freezer, this method can effectively enhance its performance. However, it is essential to ensure that the indoor temperature is warm enough for this method to be effective.
Method 1: Hot cloth: To remove ice chunks, take a cloth and soak it in hot water. Concentrate on the smaller ice blocks along the edges, holding and rubbing the cloth against them to melt and remove the ice.
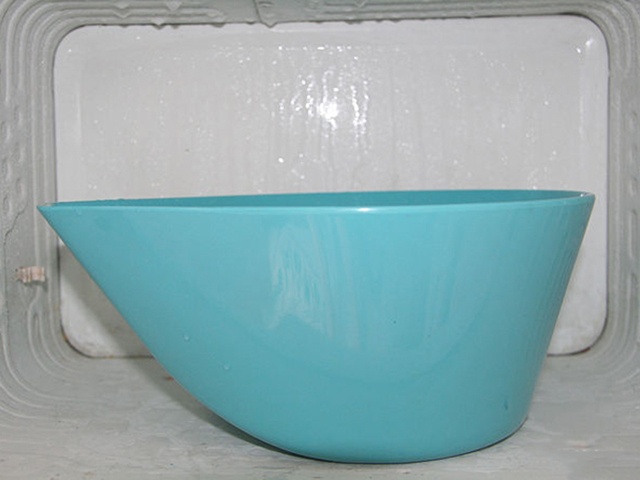
Defrost your freezer effectively:
To defrost your freezer, begin by placing bowls or pots filled with hot water on the shelves inside. Ensure that the freezer door is securely closed, allowing the steam from the hot water to gradually melt the ice build-up. After approximately 20 minutes, you can easily remove the resulting ice chunks manually. It is recommended to regularly defrost your freezer for optimal performance.
Although this method has the potential to damage the shelves in the freezer, it is possible to prevent any harm by placing a thick, folded cloth underneath the pot before placing it on the shelf.
Step 5 Action: Clean the Inside of the Freezer
To prevent the spread of dirt, it is advisable to clean the freezer with a dry cloth or a highly absorbent, soft sponge. Avoid using a wet cloth, as the moist environment of the freezer may exacerbate the issue.
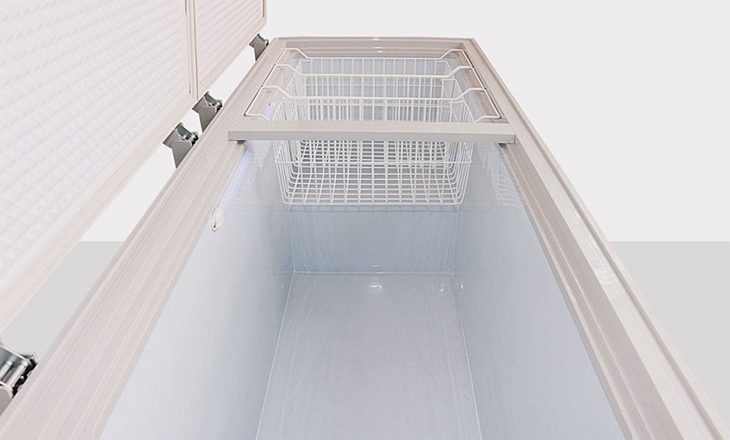
Step 6: Wipe Down the Exterior of the Freezer
To clean the freezer, moisten a cloth with vinegar and proceed to wipe the interior.
To maintain the cleanliness of freezers with glass surfaces, simply employ paper towels and a suitable glass cleaner to wipe the door and handle surfaces.

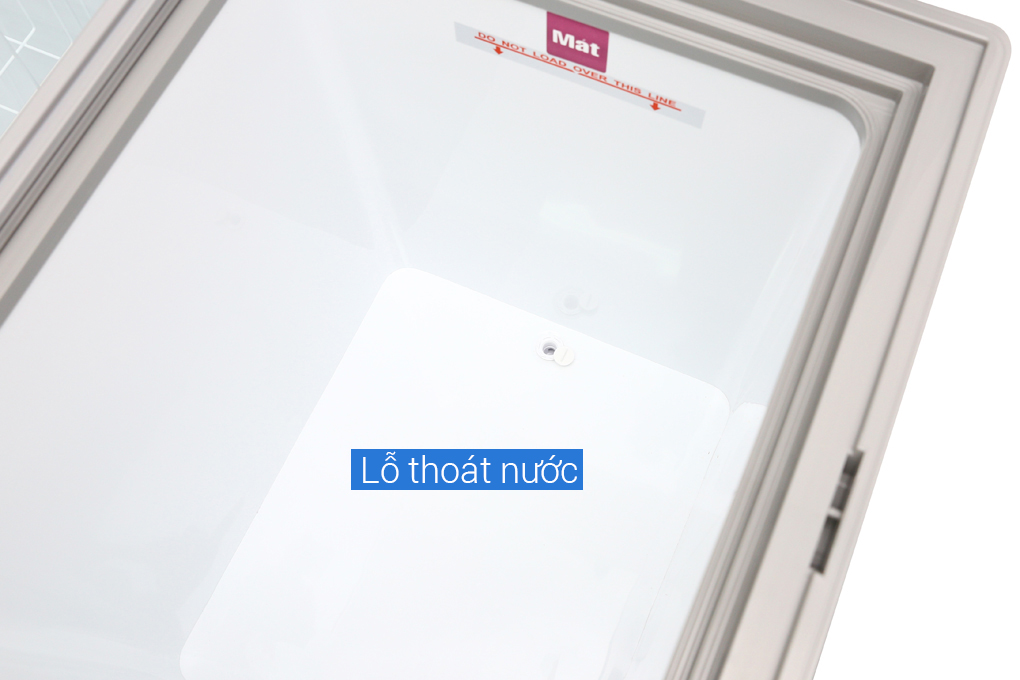
How to Clean a Drain Hole: Step-by-Step Guide
The external drain hole of the freezer serves the purpose of facilitating the drainage of excess water, preventing it from accumulating inside the freezer. Additionally, cleaning the drain hole makes it easier to remove any residual dirty water during the cleaning process. Regularly cleaning the drain hole is essential to prevent blockages.
Reorganizing and Refrigerating: Completing Step 8 of Kitchen Renovation
In order to maintain a clean and sanitary freezer, it is important to wipe down all bottles and jars to remove any dirt or residue. This will help to ensure that the freezer remains clean and free from contamination. Additionally, it is recommended to plug in the freezer approximately 1 hour before returning any food items to it. This will allow the freezer to reach its optimal temperature and ensure proper storage of the food.
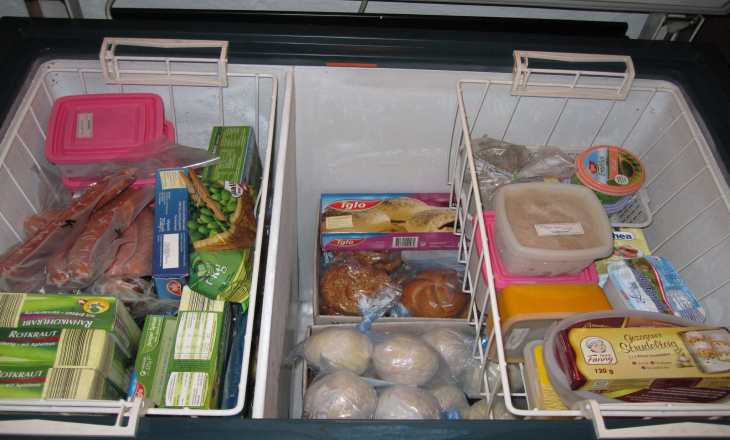
Cleaning the freezer is a task that requires attention, as neglecting it can have a direct impact on the freezer’s lifespan and the wellbeing of your entire family. Best of luck with your cleaning efforts!


