


Burn marks on wooden tables can be unsightly and damaging to the aesthetics of the furniture. In this article, we’ll explore three effective tips to remove burn marks from wooden tables and restore their beauty.
1 Remove shallow burn marks with steel wool
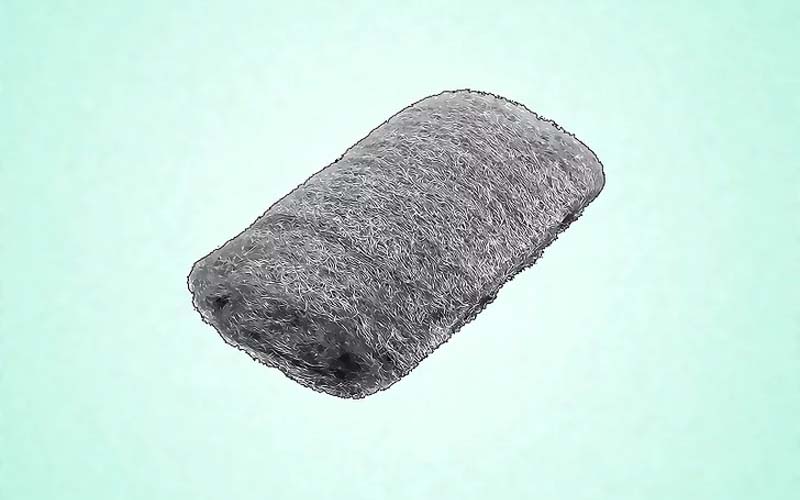
For shallow burn marks, steel wool is an effective solution. Use steel wool grade 0000 (the finest grade) to gently buff away the burn marks. You can find this type of steel wool at hardware stores. Pay attention to the number on the packaging, as it indicates the grade of steel wool. Grade 0 is fine, and grade 0000 is the finest, followed by grades 000 and 00.
 Treating the burnt surface with steel wool
Before using the steel wool on the wooden surface, it’s important to apply ½ teaspoon of mineral oil to it. This will help prevent the steel wool from scratching the wood. If you don’t have mineral oil, you can use lemon oil as an alternative.
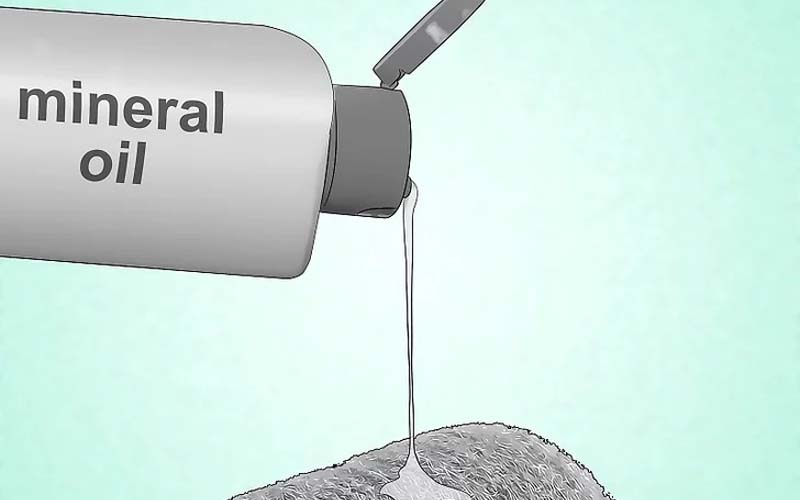 Applying mineral oil to the steel wool
Use the oiled steel wool to gently buff the burnt area, moving in the direction of the wood grain. Avoid buffing across the grain, as it can damage the wood further. Continue buffing until the burn mark is no longer visible.
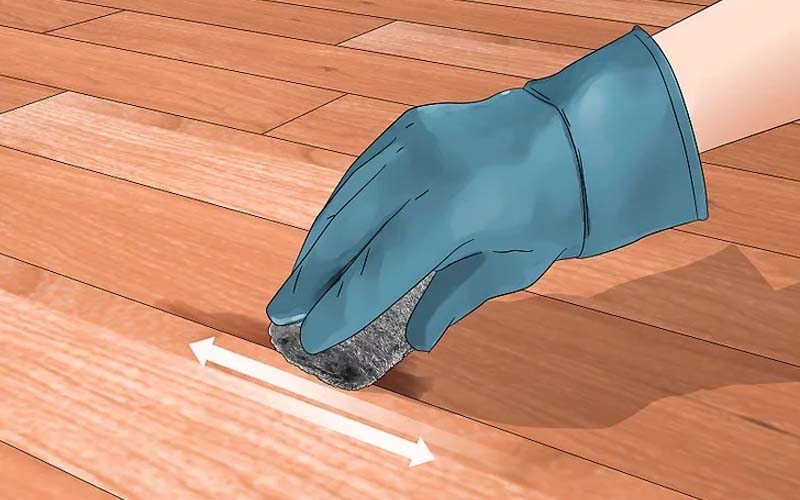 Buffing the burn mark with steel wool
Once the burn mark is removed, use a damp cloth to wipe down the wooden surface. Instead of rubbing back and forth, gently press the cloth onto the wood to absorb any remaining oil.
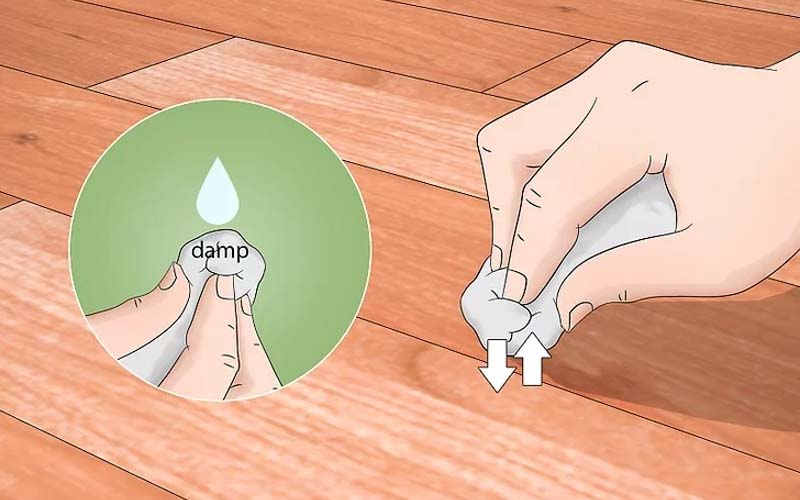 Wiping down the wooden surface
2 Address deeper burn marks
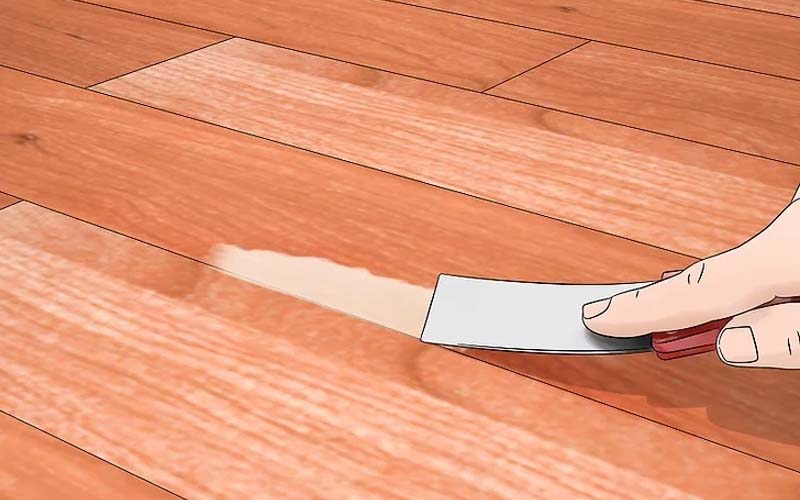
For burn marks that are deeper than 0.3cm, the only option is to use a knife to carefully scrape away the burnt wood. Always scrape in the direction of the wood grain, never across it.
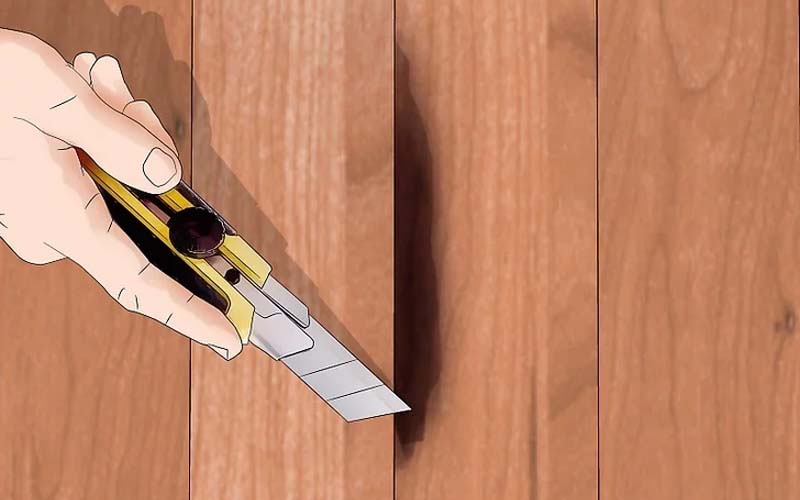 Scraping away the burnt area with a knife
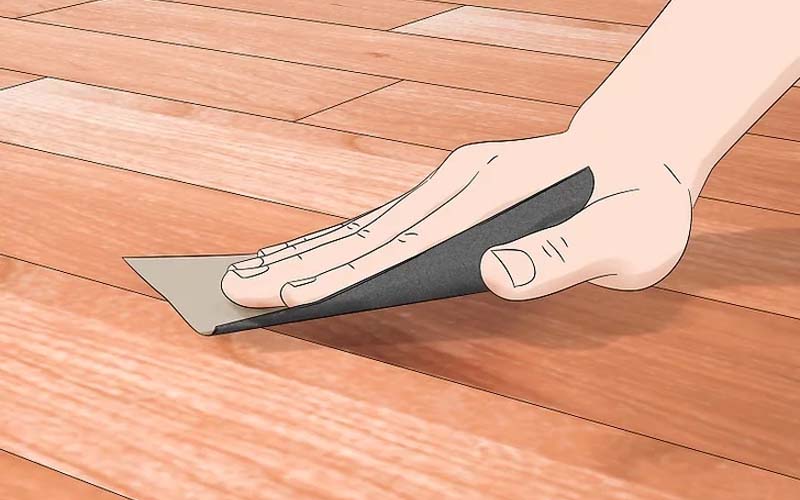
If the surrounding wood is not too damaged, you can use fine-grit sandpaper (360 or 400 grit) to smooth out the scraped area. Be sure to sand in the direction of the wood grain to avoid further damage.
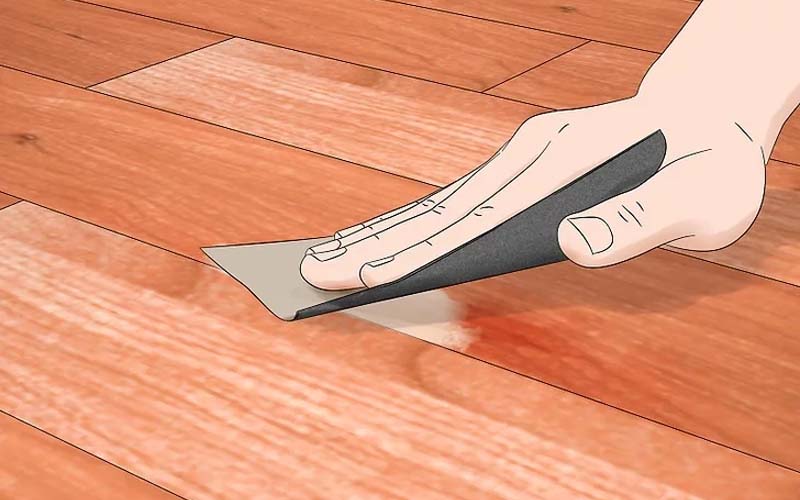 Smoothing the scraped area with sandpaper
Use a damp cloth to wipe away any sawdust or debris left behind after scraping and sanding.
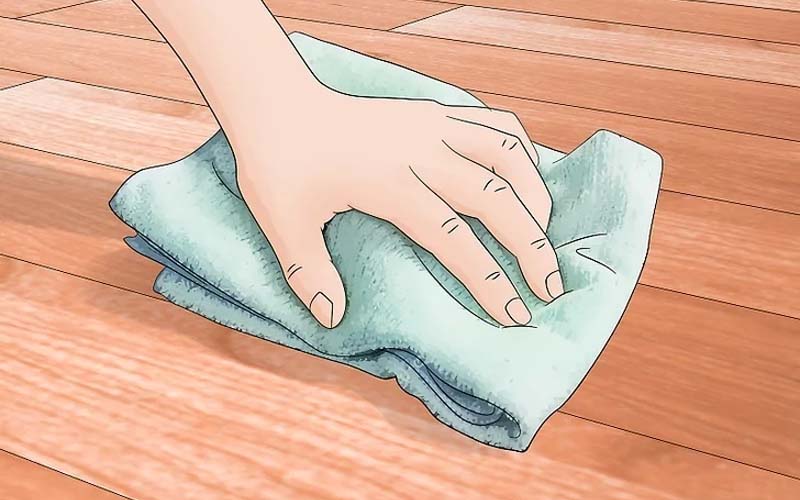 Wiping the area clean
Purchase tung oil from a paint or home improvement store. Dip a dry cloth into the oil and apply it to the burnt area, moving in the direction of the wood grain. If your wooden surface is brown, choose tung oil, but if it has a yellowish hue, opt for linseed oil.
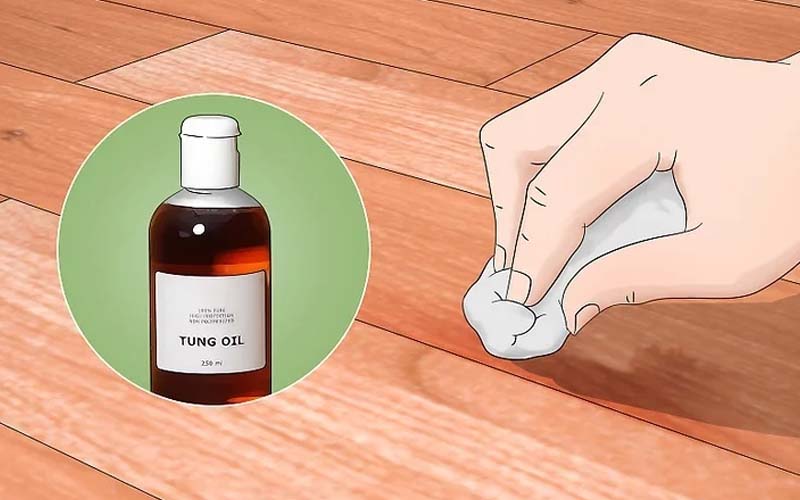 Applying tung oil to restore color
Let the oil soak into the wood and harden completely. Be sure to read the manufacturer’s instructions, as some oils may require wiping off rather than drying.
 Allowing the oil to dry
Mix epoxy putty according to the manufacturer’s instructions and apply it to any depressions in the wood with a putty knife. Allow the epoxy to dry for 6-8 hours, keeping children and pets away from the area.
 Filling in depressions with epoxy putty
If the epoxy putty is not level with the surrounding wood, use 80-grit sandpaper to sand it down. You can also use 120-grit sandpaper for a smoother finish.
 Smoothing the epoxy putty with sandpaper
Use paint or stain to match the color of the epoxy putty to the surrounding wood. Apply one coat of paint or stain and allow it to dry for 4-5 hours. Then, apply a second coat for a more even and beautiful finish.
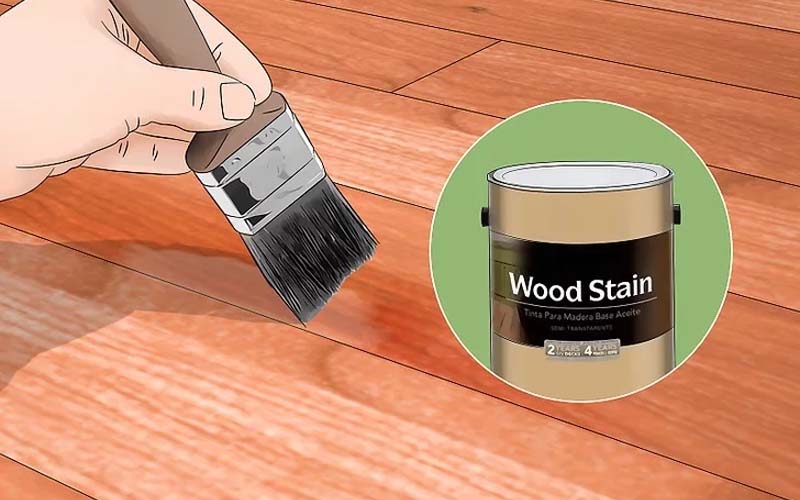 Matching the color of the epoxy putty
3 Remove burn marks from dark-colored wood
Combine one teaspoon of baking soda with ⅛ teaspoon of water to create a paste. Stir the mixture until it is well combined.
 Mixing baking soda and water
Using a cotton cloth, apply the paste to the burn mark and rub it gently until the mark disappears.
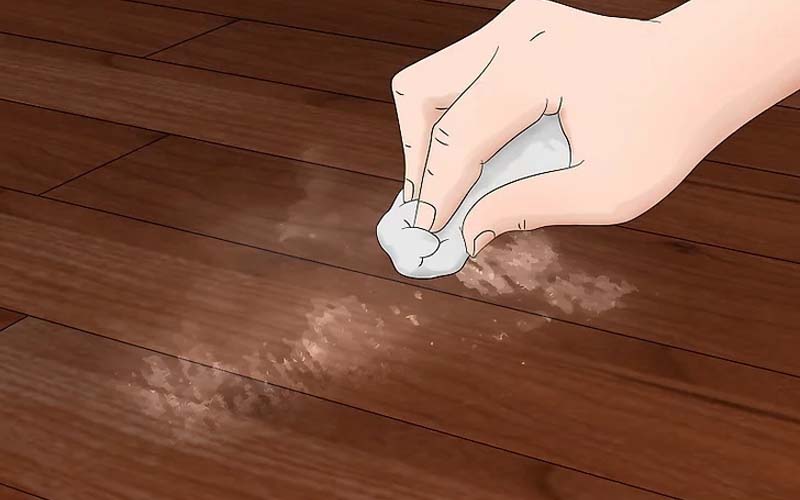 Applying the paste to the burn mark
Spray a polishing compound onto the wooden surface and wipe it down with a damp cloth. This will remove any remaining baking soda residue and help the wood blend seamlessly.
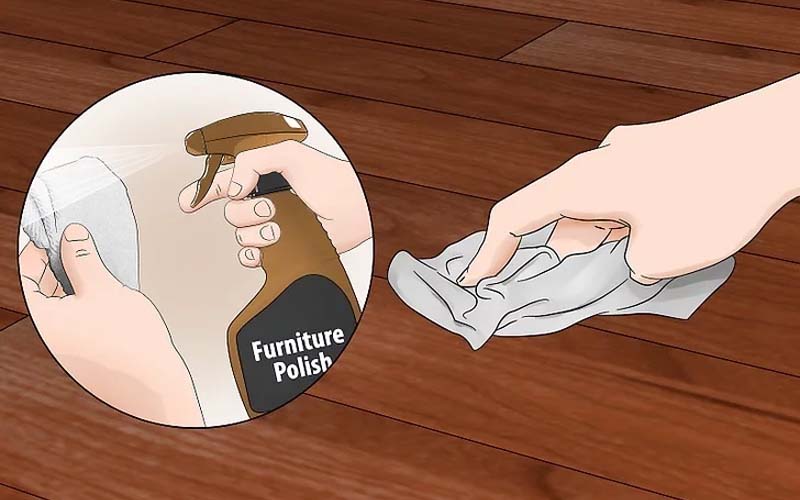 Applying polishing compound
In this article, we’ve explored three effective methods to remove burn marks from wooden tables and restore their beauty. We hope you found these tips helpful and can now confidently address any burn marks on your wooden furniture.
“Quick and Easy Tips for Eradicating Grease Stains from Clothing”

Are grease stains on your clothes making dishes difficult? Don’t worry! Here are some helpful tips to remove grease from clothes quickly and efficiently. Read on to learn more!
3 Best Tips for Removing Glue from Plastic Surfaces at Home

Need to know how to remove adhesive from plastic quickly and easily? This article will take you through 3 of the most effective methods for doing so, allowing you to get your plastic back to its pre-glue state in no time!
How to Whiten Yellow Flexible Phone Cases: 6 Not-So-Well-Known Tips

Is your plastic phone case yellowed with time? Do not worry as Dien May GREEN has a solution to help you return your phone case to its original brilliance! With their expertise you’ll be able to restore your phone case to its original state and protect it with style.
Tips to Remove Stains from Clothes After Washing

No need to despair if your colorful clothes end up with color stains after being washed – Dien May GREEN has got you covered with useful strategies to combat this problem.
9 Tips for Making the Best Banh Chung and Green Cakes for Longevity

Are you wondering how to make a delicious, green, and firm banh chung? Look no further, as GREEN Electric Machine provides the perfect tips to help you out!


