


1. Preparation stage:

– A clean ironing board:
The ironing surface of the ironing board needs to be clean and free from dust or rust. If necessary, you can test it on an old white cloth to check.
If the ironing surface is rusty, mix equal parts of distilled water and vinegar and use the steam function to clean it.
– Shirt collar labels:
Pay attention to the fabric type of the shirt, as there is a label on each collar with all the information about the shirt, including the iron symbol. It lets the user know if the shirt can be ironed or not.
One dot: Synthetic fabric. The temperature should be at the lowest setting, 175-230 degrees.
Two dots: Silk or wool fabric. The temperature should be at a medium setting, 250-300 degrees.
Three dots: Linen or cotton fabric. The suitable temperature is 320-400 degrees.
Note: If your shirt has a detachable collar, never forget to remove it before ironing.
– A standard and clean iron:
An ironing board helps you complete the job easier and faster compared to a regular table. You don’t need to be too picky when choosing an ironing board because they all serve the same purpose.
– Distilled water:
Water is used to shape the fabric without wrinkles or creases and prevent the risk of burning due to the heat of the iron.
2. Execution:
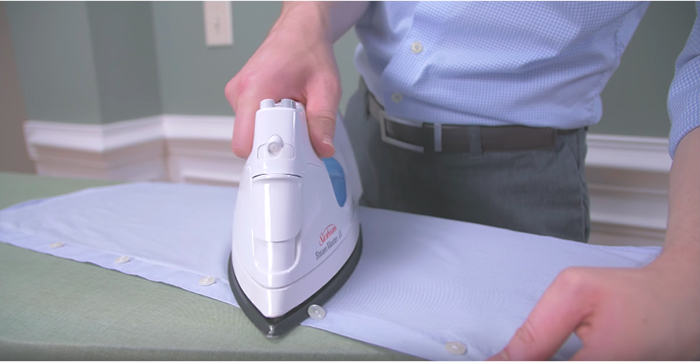
Step 1: Iron the back of the collar first:
Start from the edges of the back collar and then move towards the middle. Follow this order (apply to both shirt collars) because if you start from the middle, wrinkles will appear.
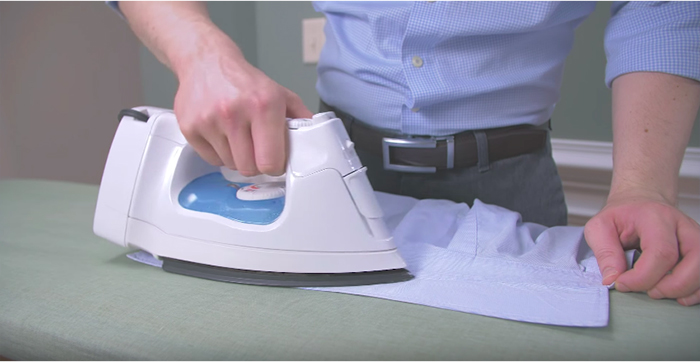
Step 2: Iron the shirt cuffs:

Turn the shirt inside out to remove the main wrinkles on the inside of the cuffs, then continue from the edge towards the middle. Finally, flip the cuffs and iron the outside using the same method. Be gentle around the buttons to avoid damage.
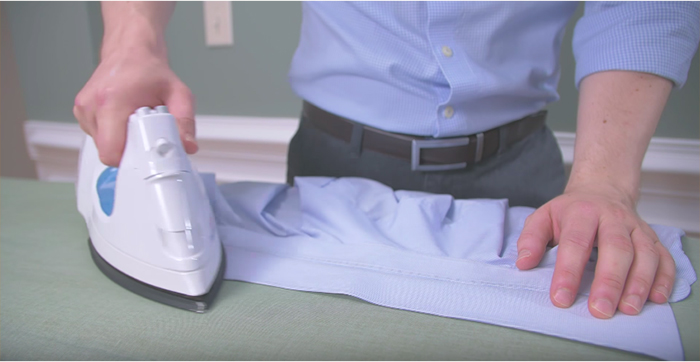
Step 3: Iron the sleeves:
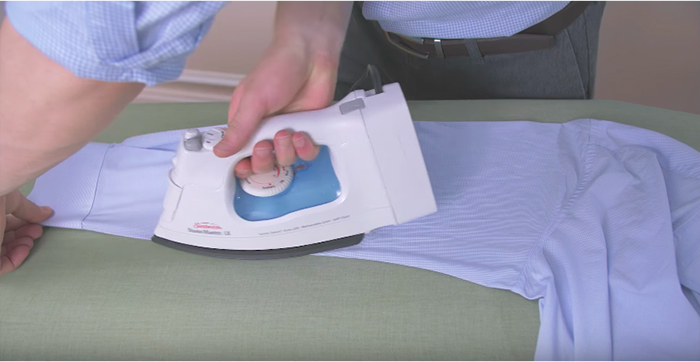
Smooth out the sleeves before ironing to avoid unwanted wrinkles. Use the tip of the iron from the cuff upwards to the shoulder. Flip it over to check for any creases.
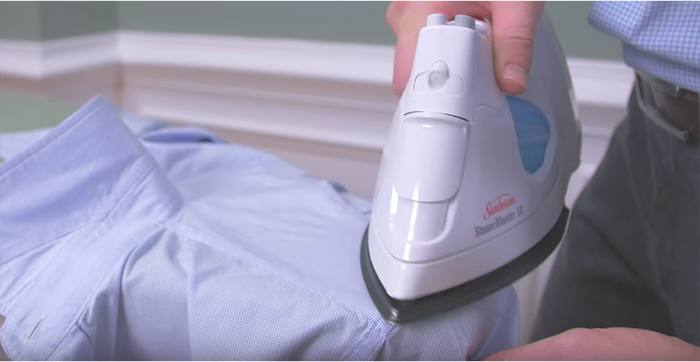
Step 4: Iron the back of the shirt:
When ironing the back of the shirt, be especially careful if the shirt had previous wrinkles. Therefore, I advise you to iron from the bottom fold up. Then proceed to iron the remaining parts of the back of the shirt (you will need to reposition the shirt multiple times on the ironing surface to make the shirt smoother).
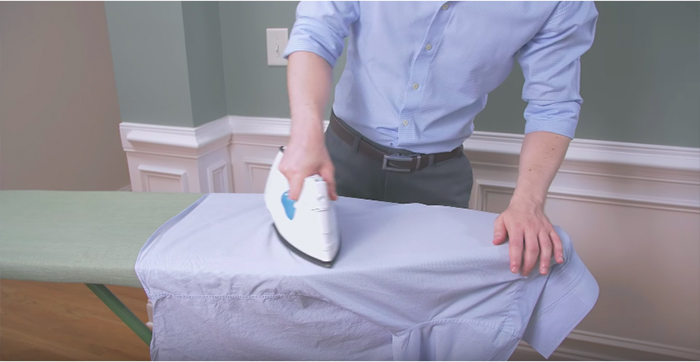
Step 5: Iron the shoulder area:
Position the shirt so that the smaller part of the ironing board (the triangular part) is inside one sleeve. Iron the shoulder area from the outer edge to the inside. Then repeat the process with the remaining shoulder area.
Step 6: Iron the shirt tail and pocket:
For the front tail of the shirt, be gentle when ironing around the button area because you don’t want them to break or come loose. This is the most important part of the shirt. For the shirt pocket, iron from the outside to the inside to avoid wrinkles.
Step 7: Iron the front of the collar:
Finish with ironing the front of the collar. Apply the same method as in step 1 – start from the outer edge and move towards the middle.
3. Clothing care tips you shouldn’t overlook:
– Don’t leave your clothes in the dryer and iron them immediately while they are still damp: take them out as soon as the washing machine finishes. This makes ironing easier and prevents fabric wear caused by the dryer.
Check for stains before ironing: a dirty shirt can make those stains persist on the fabric. So even a drop of coffee spilled on the shirt can ruin it.
For stubborn wrinkles: before ironing, spray water to reduce the affected area.
Place aluminum foil under the ironing surface for efficiency and less time-consuming.
For dark-colored fabric, iron from the inside out to avoid leaving a shiny mark from the iron.
Not confident in your ironing skills? Use a steam iron as it is safer and less likely to damage clothes or place a cotton handkerchief on top of the area to be ironed.
Use starch: starch can be your lifesaver when you have an early morning meeting as it can keep your clothes crisp for a short period. However, starch can quickly wear out cotton fibers and the ironing surface.
Discovering Unusual Ways to Utilize Salt

Table salt: a staple for the kitchen table, and a surprisingly powerful and versatile tool for cleaning, preserving and more! From preventing the discoloration of vegetables to repelling termites to deodorizing shoes, the uses of salt extend far beyond the kitchen.
Pack Smart: 5 Must-Have Household Items for Travel

Are you planning a trip and looking for the best items to bring with you? Let Dien May XANH show you some useful and compact household items that you can take along with you for a more comfortable journey.
10 Most Common Mistakes People Make When Ironing

Are you aware of the potential risks that come with using an ironing board? Read on to discover 10 common mistakes to avoid when using this essential household item.
DIY: Make Rose and Jasmine Distilled Water for Long-Lasting Fragrant Hair

Making a natural hair tonic is now easier than ever! In this guide, we’ll show you how to make a Rose Water and Jasmine Hair Tonic with just a few simple ingredients.
Common Drying Errors to Prevent When Doing Laundry

Do you want to keep your clothes in good shape and prevent damage to your appliances? Learn how to avoid these common mistakes when using a washing machine and clothes dryer.


