1Clean the air filter
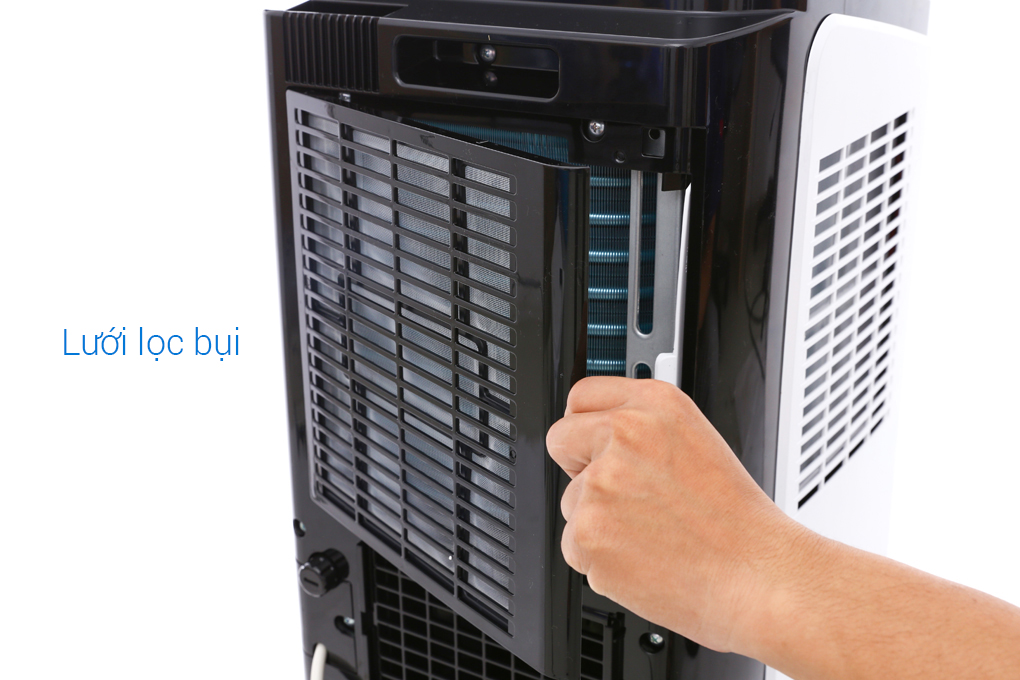
The air filter is an essential part of the portable air conditioner. Regularly cleaning and replacing the filter is necessary to ensure that the air in the room is filtered from dust, harmful bacteria, and unpleasant odors, which can affect the health of users.
Step 1: Remove the air filter from the back of the unit.
Step 2: Use a brush or a soft cloth to remove dust from each filter under running water.
Step 3: Allow the air filter to dry and sun-dry before reassembling it.
Note: It is recommended to replace the air filter every 6 months to ensure its optimal performance.
2Clean the drainage pipe
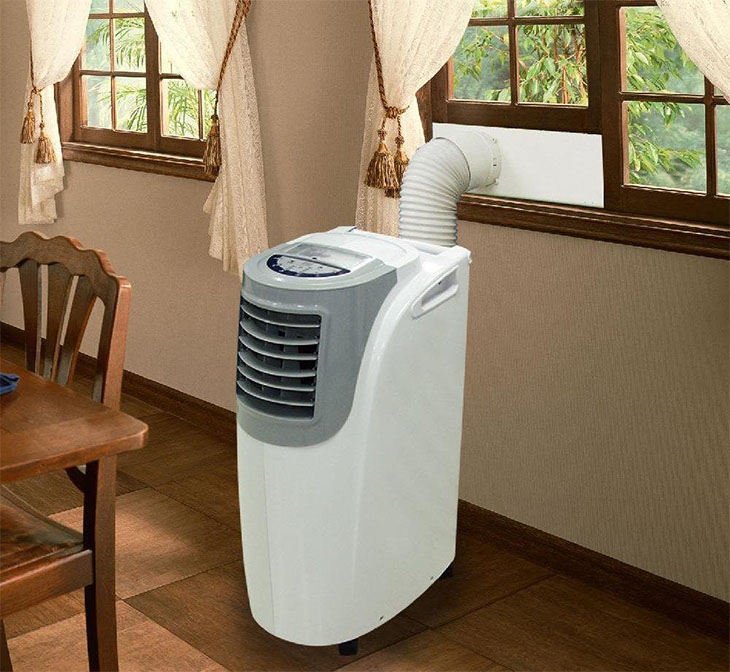
If you have installed a drainage pipe to assist with water drainage, it is still important to check and clean it regularly (at least once every 6 months) to prevent clogging from dust, debris, insects, and spiders.
The pipe can be easily removed and cleaned at home without the need for a technician. Use a long brush to remove dirt and obstructions inside the pipe, and then use a strong water spray to remove any remaining dirt. Allow the pipe to dry before installing it back into the air conditioner.
3Clean the exterior of the air conditioner
The fan body and fan blades can accumulate dirt over time, affecting the aesthetics and cooling performance of the unit. Use a damp cloth to clean the control panel on the unit body, careful not to use water or spray directly on the unit body to prevent damage to the electronic circuit and internal compressor.
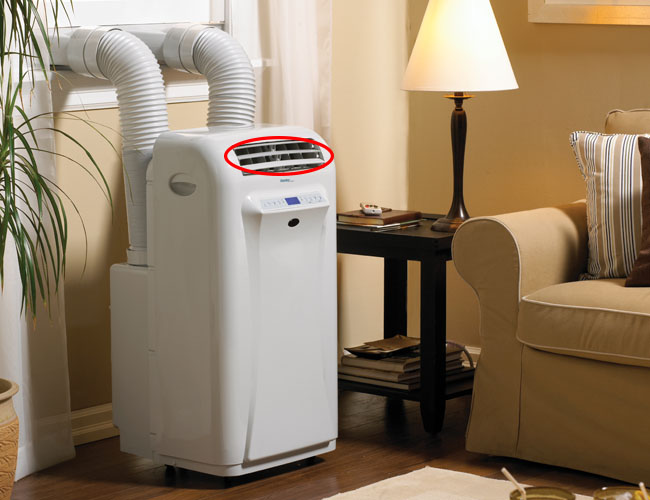
These are the steps for cleaning a mini portable air conditioner. We hope you find them useful and apply them to your home air conditioner. If you have any questions, please leave a message below and we will be happy to assist you.
Guide on How to Clean a Ceiling-Mounted Air Conditioner
Learn how to keep your ceiling air conditioner in excellent condition through several easy steps. This article will show you how to maintain and clean your unit for optimal performance. Don’t miss out – check it out now!


