Causes of Concrete Ceiling Leakage
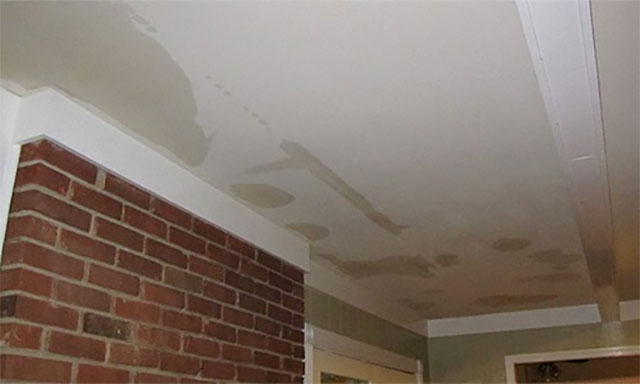
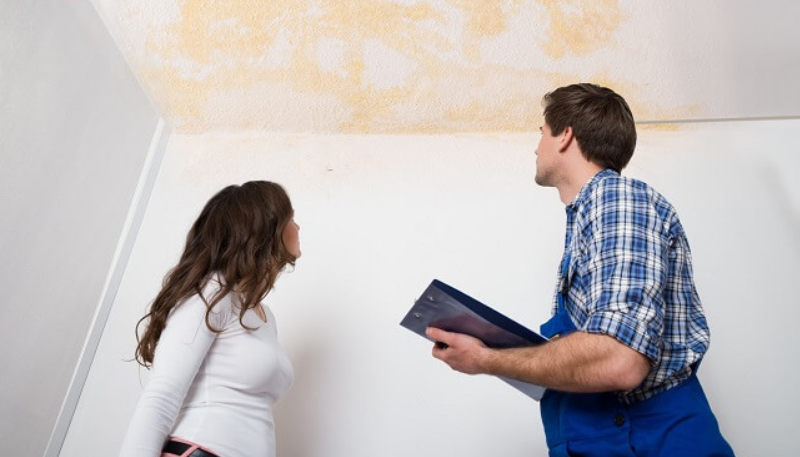
Concrete ceiling leakage can be caused by a variety of factors, including:
- Use of poor quality materials during construction, leading to deterioration over time
- Inadequate structural integrity, such as improper steel mesh and low-quality concrete
- Poor drainage systems in households with terraces, resulting in water accumulation
- Inadequate or improper application of waterproofing measures during construction
Methods to Waterproof the Concrete Ceiling
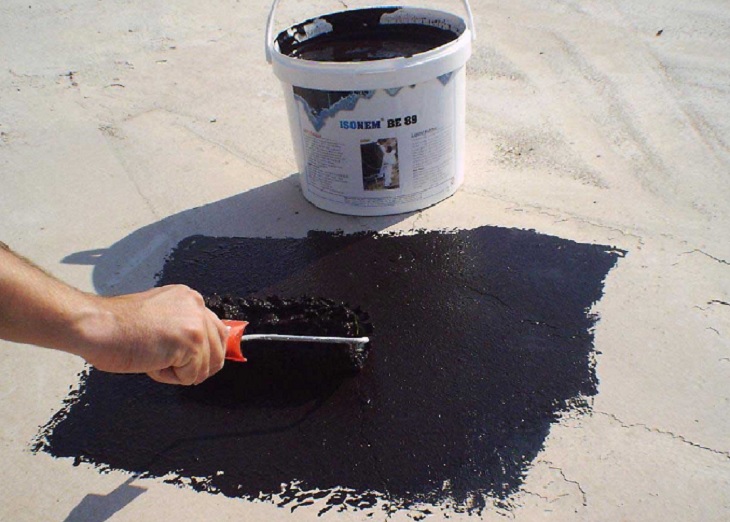
Using Asphalt
Asphalt is a highly adhesive and elastic material that can effectively repair cracks in the ceiling. The process of using asphalt for waterproofing includes:
- Clean the ceiling and apply a layer of asphalt primer.
- Apply the asphalt to the ceiling, ensuring proper adhesion and removing air pockets.
- Test the effectiveness of the waterproofing by spraying water on the treated surfaces.
- Apply a layer of cement on top for additional waterproofing.
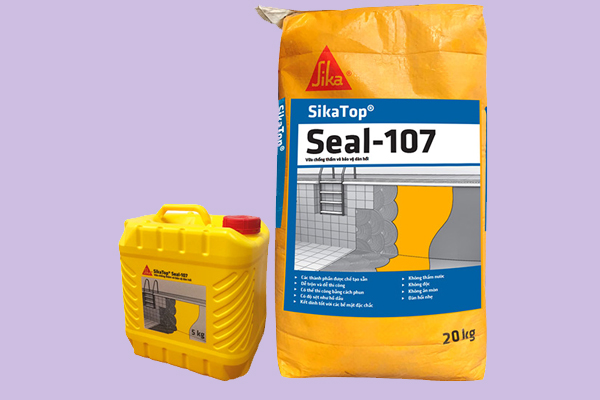
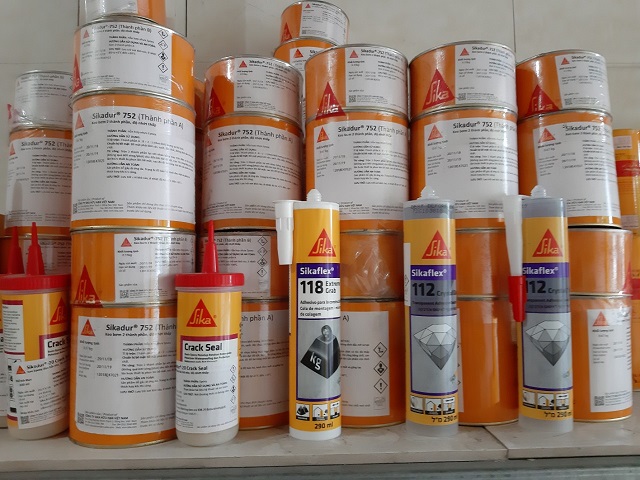
Using Sika
Sika is a liquid waterproofing product that forms an effective membrane. The process of using Sika for waterproofing includes:
- Pour Sika into cracks and grooves on the ceiling.
- Apply layers of Sika waterproofing and allow them to dry.
- Test the effectiveness of the waterproofing by applying water to the treated areas.
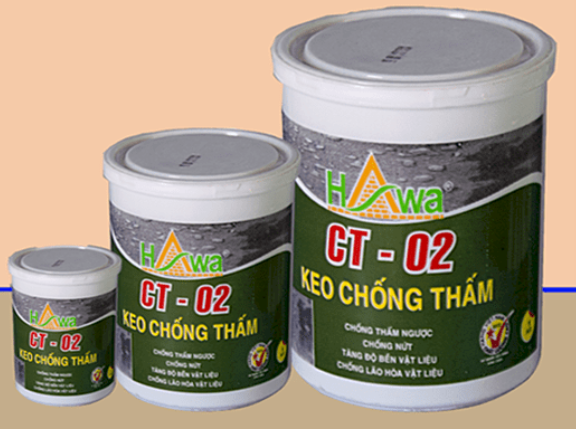
Using Waterproof Adhesive
Waterproof adhesive is a popular method for waterproofing ceilings. The process includes:
- Clean the ceiling and apply a thin layer of waterproof adhesive.
- Apply additional layers of adhesive, allowing each layer to dry before applying the next.
- Check the treated areas for aesthetics and effectiveness.
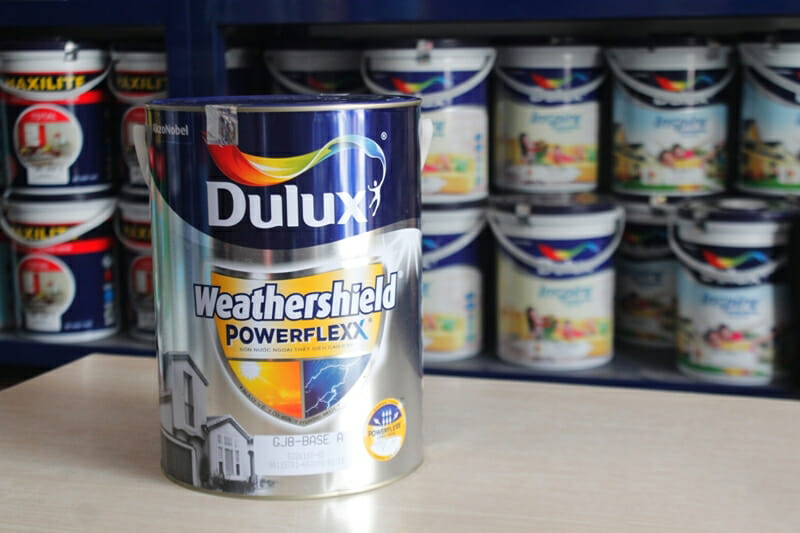
Using Waterproof Paint
Waterproof paint is mainly focused on aesthetics but also provides some waterproof properties. The process includes:
- Clean the ceiling to ensure a smooth surface.
- Apply the waterproof paint, filling in the cracks.
- Check the paint layers for aesthetics and effectiveness.
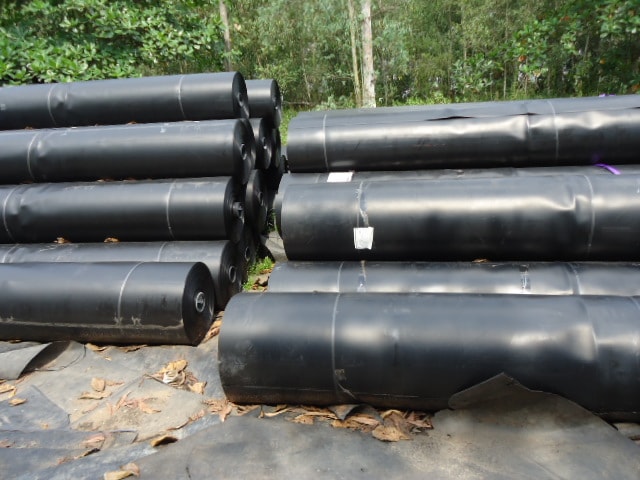
Using Waterproof Membrane
Waterproof membranes have a high-density plastic surface that withstands external factors. The process includes:
Peel off the silicone cover and stick the membrane directly onto the surface.
Using Waterproof Additives
Waterproof additives are used to mix with cement or concrete to enhance flexibility and prevent permeability. The process includes:
Mix the waterproof additives with cement or concrete used for the ceiling.
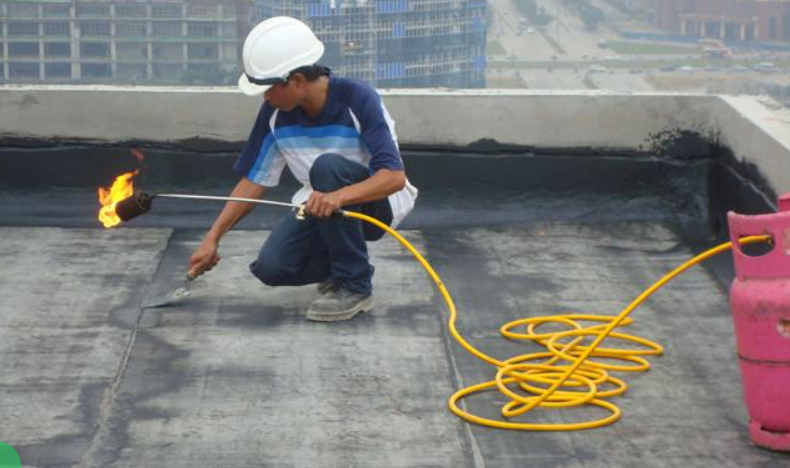
Using Hot Melting Method
The hot melting method is a highly effective and non-toxic way to waterproof the ceiling. The process includes:
- Clean the ceiling thoroughly.
- Measure and cut the waterproof membrane, overlapping the edges.
- Apply a layer of bitumen primer on the surface.
- Use a gas blowtorch to heat and melt the membrane.
- Check the treated area for any leakage after 24 hours.
Notes When Waterproofing the Ceiling
- Understand the causes of the leakage and choose the most effective method accordingly.
- Consider the severity of the leakage and select the appropriate method.
- Clean the ceiling and remove any previous paint layers before waterproofing.
We have provided you with a comprehensive guide on how to waterproof a cracked ceiling. We wish you success in implementing these methods. If you have any questions, please leave a comment below!


