“Sanitizing Household Items and Containers: A Step-by-Step Guide to Doing It Yourself”
With these easily accessible household ingredients, sterilizing your bottles and tools has never been easier or more cost-effective! Say goodbye to expensive, modern machinery and hello to a convenient, swift, and efficient way of sterilizing.
It’s important to thoroughly clean and sterilize your utensils, bottles, and jars a few times a year to ensure food safety and maintain hygiene for your family. But how can you sterilize them effectively without spending a fortune on modern equipment? Let’s explore some convenient and simple at-home methods to achieve this.
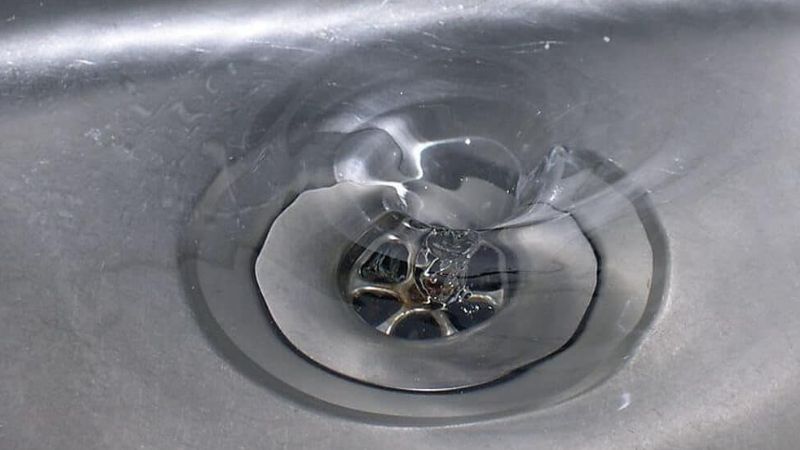
For plastic or enamel utensils, you can use a chemical solution to thoroughly disinfect and remove stains.
Step 1: Remove any food residue or stains from the utensils.
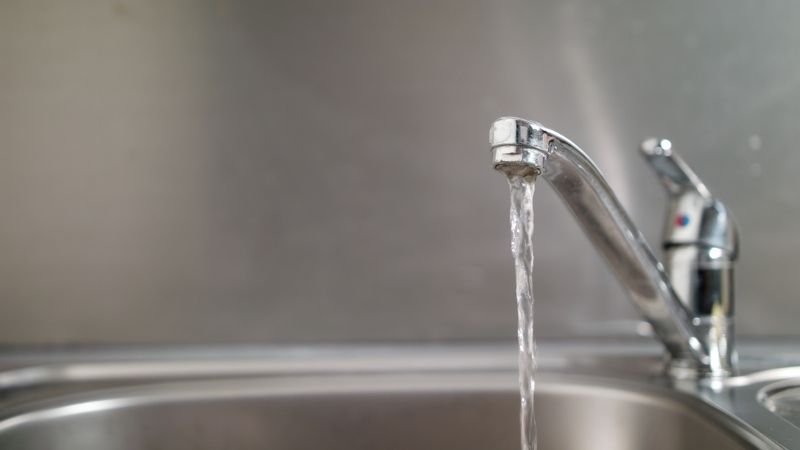
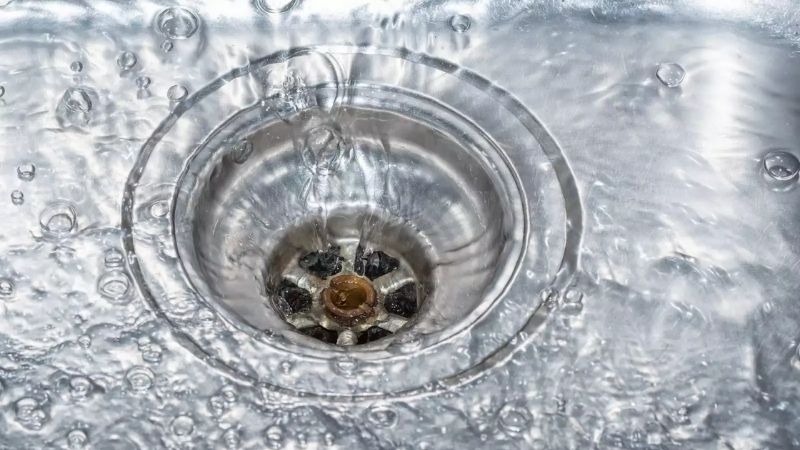
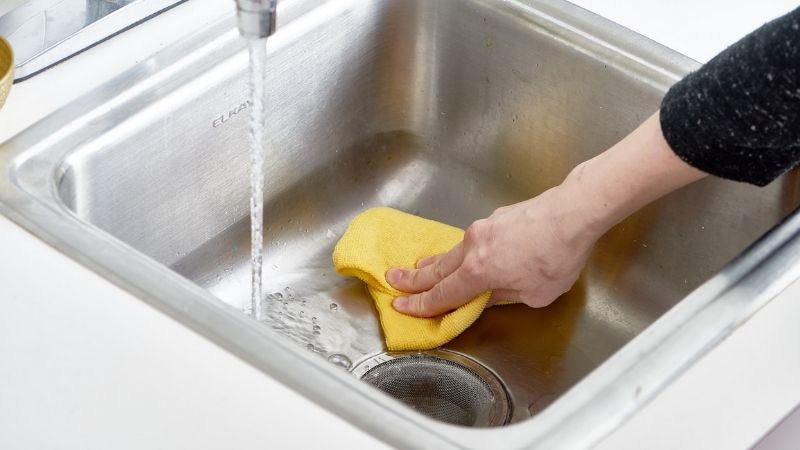
Step 2: Fill the sink with hot water and a few drops of dish soap.
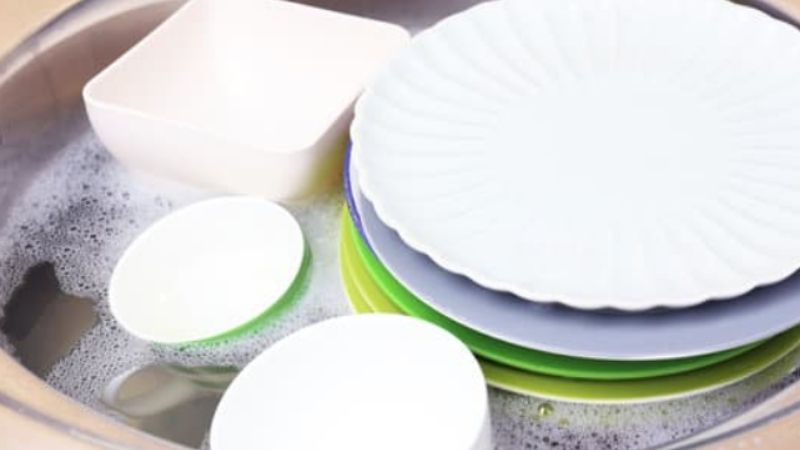
Step 3: Soak the plastic or enamel utensils for 5-10 minutes.
Step 4: Use a scrubber to remove any remaining debris.
Step 5: Remove the utensils and refill the sink with hot water.
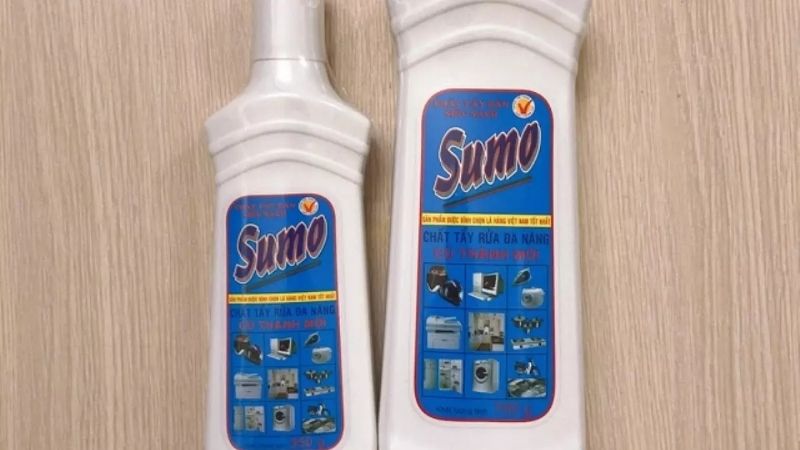
Step 6: For sterilization, add 2 tablespoons of Sumo multi-purpose cleaner and soak the utensils for 10-15 minutes.
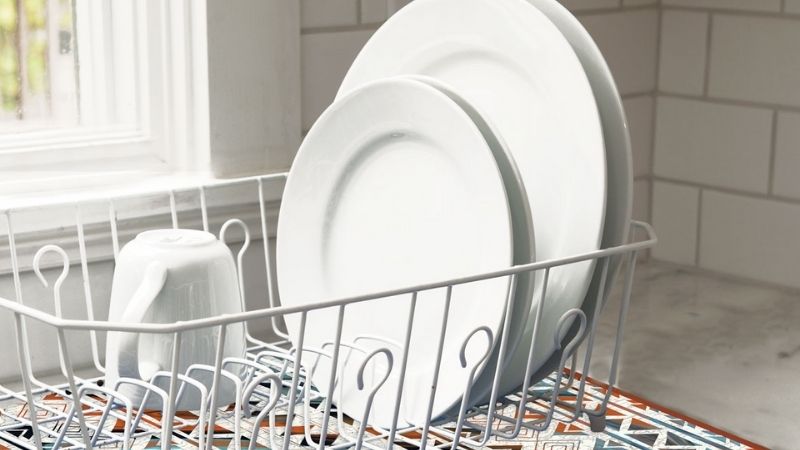
Step 7: Rinse the utensils with hot water and air-dry them.
Note: Wear gloves during this process to protect your skin from chemicals. Alternatively, you can use hydrogen peroxide instead of the cleaning solution.
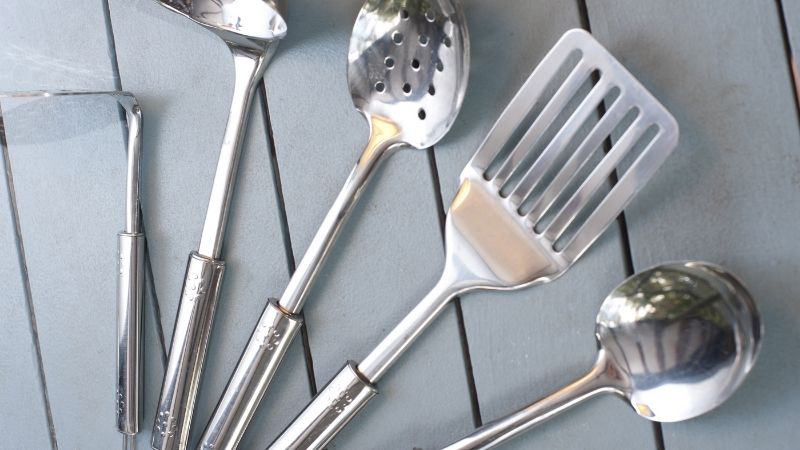
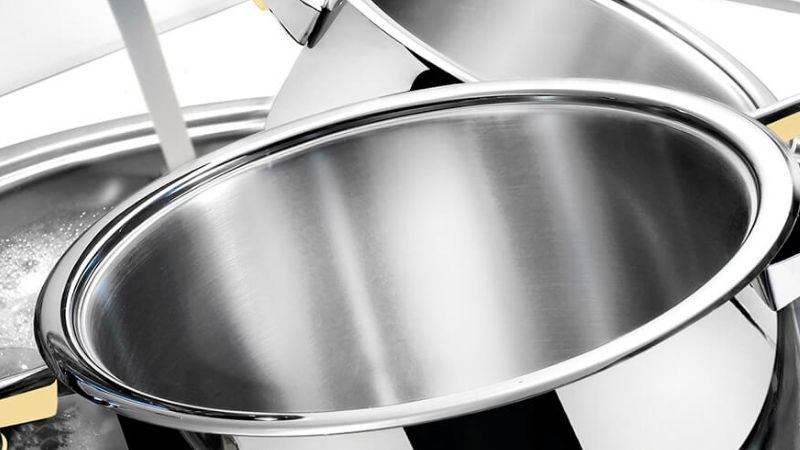
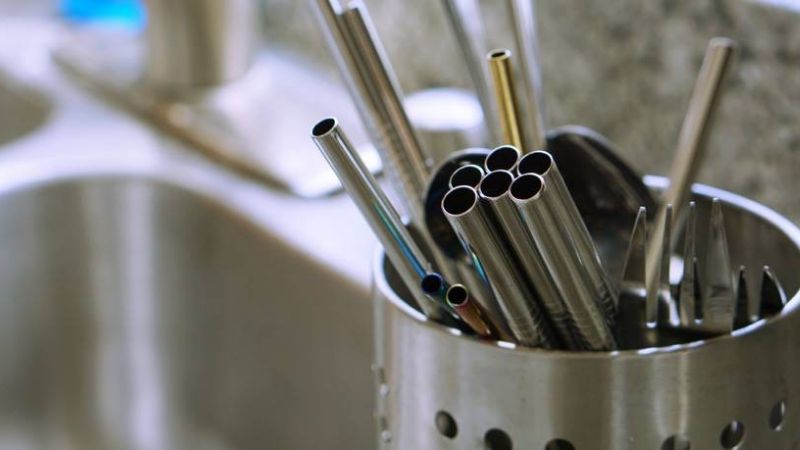
2 Sterilizing Metal Utensils
When sterilizing metal utensils, avoid using bleach as it can cause chemical reactions and leave black stains. Instead, use boiling water at 80-90°C for the best results.
Sterilizing metal utensils
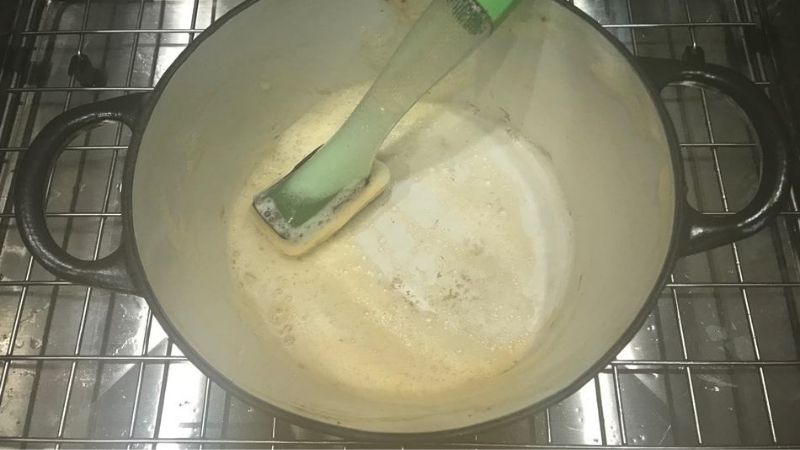
Step 1: Fill a pot with water and boil it to 80-90°C; you can use a kitchen thermometer to measure the temperature.
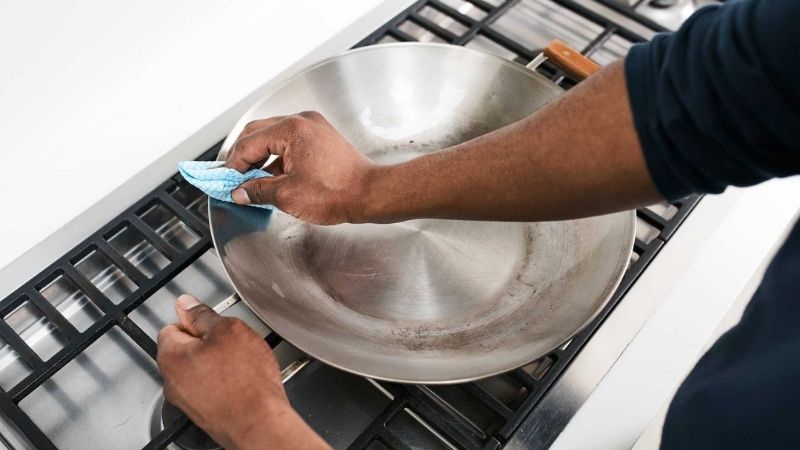
Step 2: Remove any remaining dirt from the utensils.
Step 3: Fill the sink with hot water and a small amount of dish soap. Scrub the sink if needed before soaking the utensils and drain the water.
Step 4: Place the metal utensils in the sink and pour boiling water over them, soaking for 1 minute.
Step 5: Carefully drain the water as it is still hot.
Step 6: Place the metal utensils in a basket and air-dry them outdoors.
Be cautious when performing this method to avoid accidental burns.
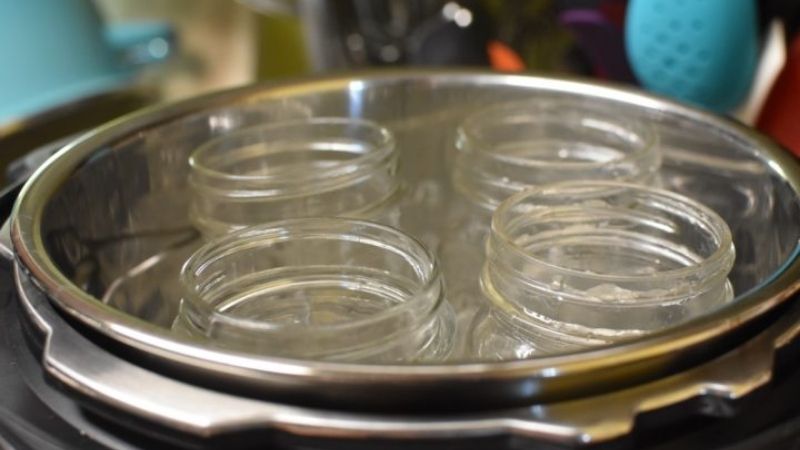
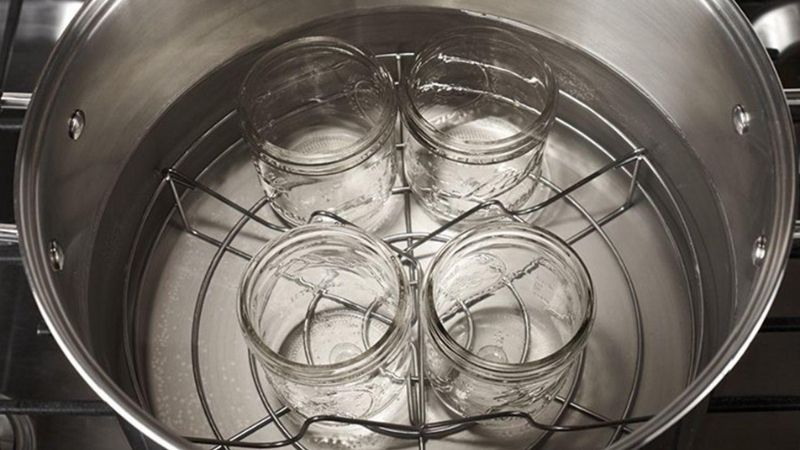
Similar to metal utensils, bottles and jars are typically made of glass, and the best way to sterilize them is by using boiling water to remove impurities and bacteria.
Step 1: Use hot water and dish soap to thoroughly clean the bottles and jars, ensuring no food residue or stains remain. Clean the lids as well.
Step 2: Place the bottles and jars in a deep pot, standing them upright.
Step 3:Fill the pot with water until it covers the bottles and jars by about 2.5cm.
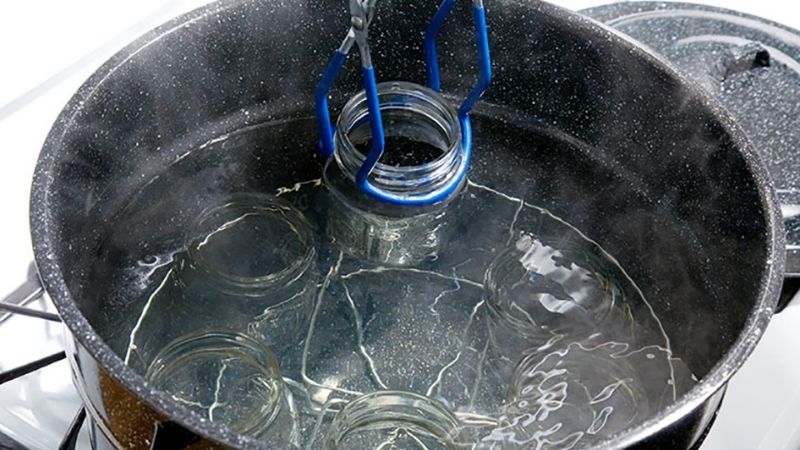
Step 4: Boil the bottles and jars for 10 minutes before turning off the heat.
Step 5: Use tongs to remove the bottles and jars from the water and place them on a paper towel to dry. Minimize their contact with other objects besides clean paper towels.
Reference:
With these simple and cost-effective methods, you can ensure your utensils, bottles, and jars are thoroughly sterilized for future use. Good luck!
Frequently asked questions
Sanitizing household items and containers is crucial to prevent the spread of germs and bacteria, ensuring a safe and healthy environment for you and your family. Regular sanitization helps eliminate harmful microorganisms that can cause illnesses and infections.
Doing it yourself offers several advantages. Firstly, you can ensure that the job is done thoroughly and correctly, paying attention to areas that are often overlooked. Additionally, you can choose natural, non-toxic sanitizing solutions, which is safer for your family and the environment. It also saves costs compared to hiring professional services.
You will need rubber gloves, a face mask, a well-ventilated area or outdoor space, paper towels or clean cloths, and sanitizing solutions like disinfectant sprays or natural alternatives such as vinegar, lemon juice, or essential oils diluted in water.
The process involves the following steps: sorting items by material, wearing protective gear, removing visible dirt or residue, applying sanitizing solution, wiping or rinsing, drying items thoroughly, and finally, ensuring proper storage.
The frequency depends on the item and its usage. High-touch surfaces and frequently used items should be sanitized regularly, ideally once a week. For less frequently touched items, sanitizing once every two weeks to a month is sufficient.
Yes, different materials require specific care. For plastic items, avoid abrasive cleaners that can scratch the surface. Glass items can be sanitized with disinfectant sprays or washed in the dishwasher. Metal items may require special attention to avoid rust; dry them thoroughly and consider using a metal polish. For wooden items, use a mild soap and water solution, and dry immediately to prevent warping.
Always follow local guidelines for disposing of sanitizing solutions and materials. Pour leftover solutions down the drain and rinse with water. Recycle or dispose of containers and paper towels according to your local waste management instructions.
Natural alternatives include vinegar, which is effective against most germs; lemon juice, which has antibacterial properties; and essential oils like tea tree, eucalyptus, or lavender oil, which can be diluted in water and sprayed onto surfaces.
Always wear protective gear, including rubber gloves and a face mask, to avoid direct contact with chemicals or natural irritants. Work in a well-ventilated area to prevent inhalation of fumes. Keep sanitizing solutions away from children and pets, and always read the instructions on commercial products before use.


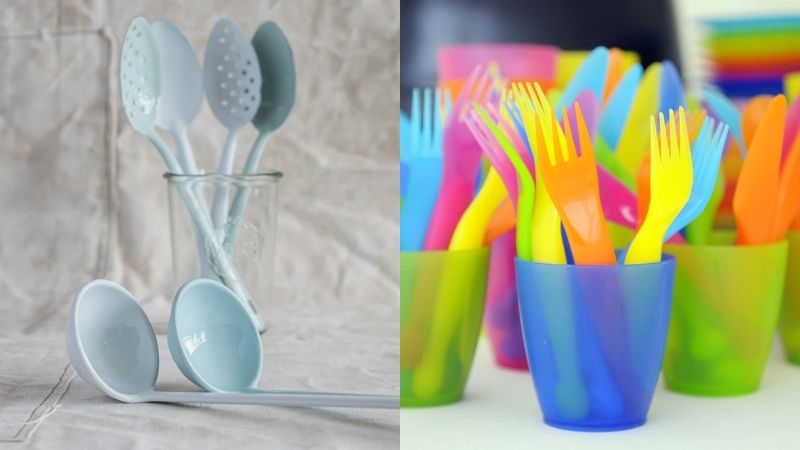 Sterilizing plastic or enamel utensils
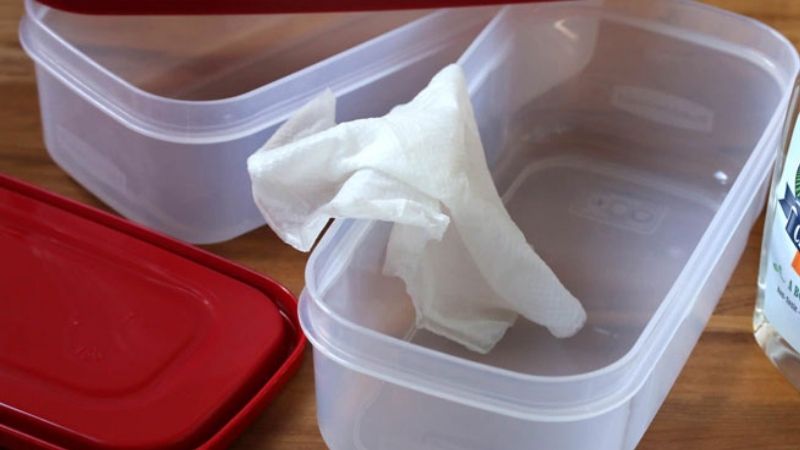
 Sterilizing metal utensils
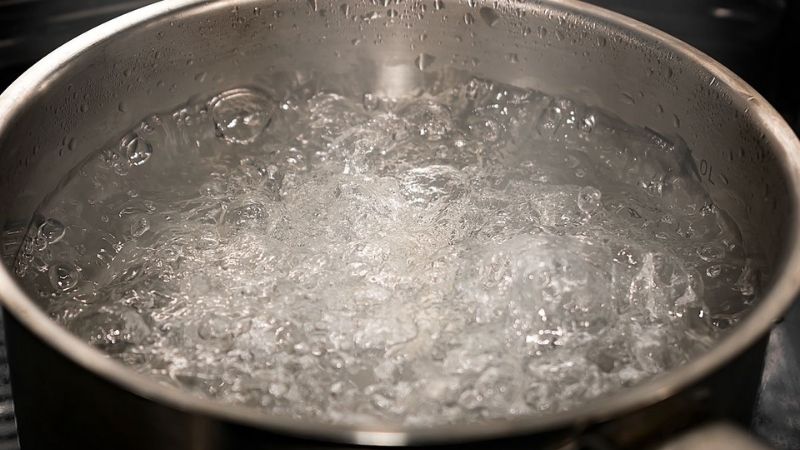


