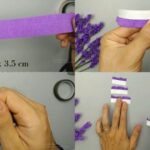
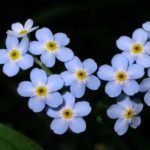
Hydrangea flowers, also known as Hoa cẩm tú cầu in Vietnamese, have their origins in Japan. In Vietnam, these flowers are predominantly found in Da Lat, as the climate there is ideal for their growth.
Time to Make: 30 minutes
Number of Stems: 1 stem
1 Materials for Hydrangea Flowers
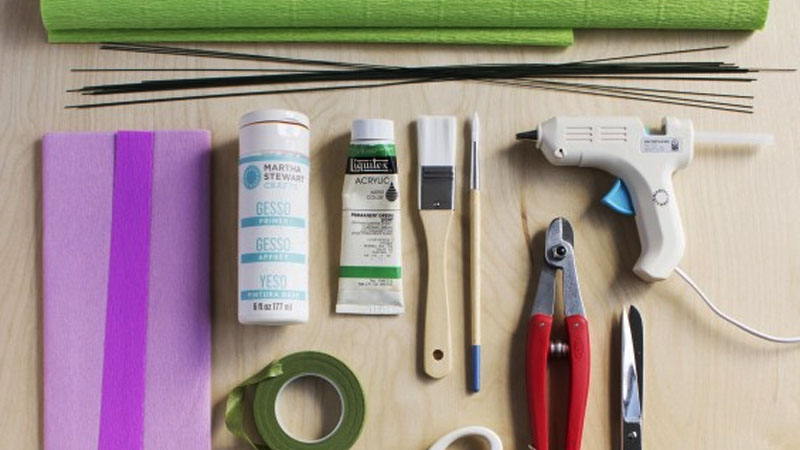 An assortment of materials, including crepe paper in light and green hues, wire, glue, scissors, toilet paper roll, ruler, and pen, are required to craft the hydrangea flowers.
- Crepe paper in light and subtle green shades – a delicate choice for the petals and leaves.
- 24-gauge wire – a sturdy foundation for the flowers.
- White glue – to securely attach the petals and leaves.
- Scissors with a serrated edge – for precise and natural-looking cuts.
- Toilet paper roll – an innovative way to create a sturdy base.
- Ruler and pen – for accurate measurements and markings.
2 Steps to Crafting Hydrangea Flowers
Step 1 Crafting the Petals
Begin by cutting a strip of crepe paper, utilizing the vertical grain for width and the cross-grain for length, measuring 7.5x3cm. This will serve as the foundation for your petals.
Fold the paper twice and carefully cut a wavy edge to form the petals. Leave a small portion at the base for attaching it to the stem. You can always trim and shape the petals further with your scissors to achieve the desired look.
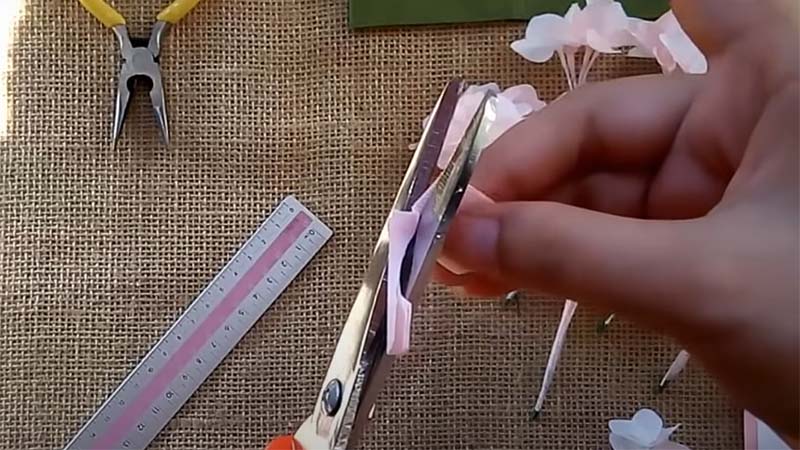 The image showcases the delicate process of cutting and shaping the petals, a crucial step in bringing the hydrangea flower to life.
With this technique, you will create four petals for your hydrangea flower.
Step 2 Creating the Stamen
For the stamen, cut a small piece of paper, perhaps using the leftover scraps from the petals to minimize waste. Divide this piece into two parts of different sizes, which will form the intricate stamen.
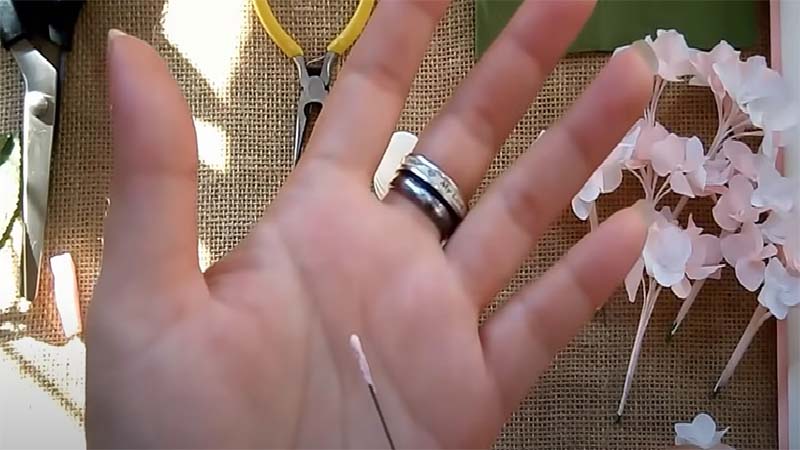 The image illustrates the process of creating the stamen, a key component in the center of the flower.
Roll the smaller part into a tiny ball, and then apply a small amount of glue to the end of the 24-gauge wire. Securely place the ball on the glued end, and then use the larger piece of paper to wrap around it, forming the stamen.
Step 3 Attaching the Petals to the Stamen
Using white glue, carefully attach each petal to the stamen, ensuring that all four petals surround it symmetrically. Gently squeeze at the base to secure the attachment and create a natural-looking flower. Feel free to adjust the petals as needed while the glue is still wet for the perfect arrangement.
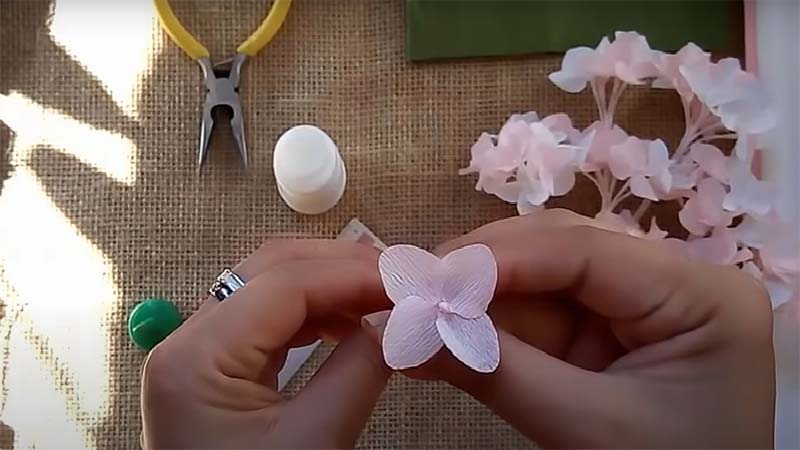 The image showcases the hydrangea flower taking shape, with the petals gracefully surrounding the stamen.
To finish the flower, take a long strip of crepe paper, approximately 1cm wide, and wrap it around the base, covering the stem. Apply a thin layer of glue to the starting end of the strip, then carefully wrap it around the stem, securing it with glue at the finishing end as well.
Create multiple small petals to form a large and vibrant flower branch.
Step 4 Assembling the Branches
Combine 2-3 stems together to form a delicate cluster. Then, wrap a strip of paper around the stems to hold them together.
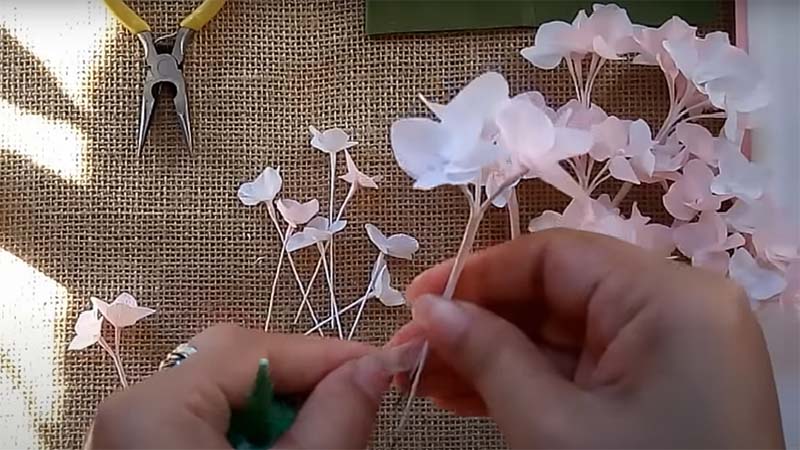 The image shows how to create a small cluster by wrapping paper around the stems, a crucial step in forming the final bouquet.
Repeat this process to create more small clusters, and then assemble 2-3 small clusters together to form a larger, more impressive arrangement. Ensure that the small clusters are arranged consecutively for a natural and harmonious look.
Step 5 Attaching the Flowers to the Main Stem
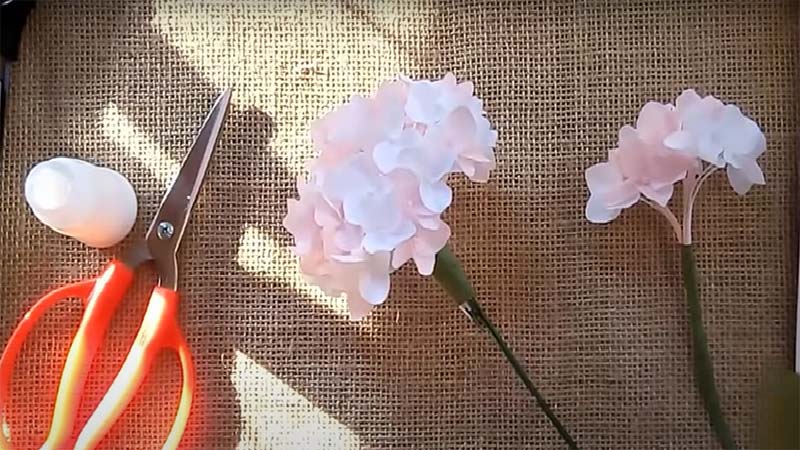 The image illustrates the process of attaching the flower clusters to the main stem, bringing the bouquet closer to completion.
To create the main stem, wrap green crepe paper around a thick wire, approximately 20cm long. This will serve as the foundation for your bouquet. Then, use a strip of green paper to wrap around the stem while attaching the flower clusters one by one, forming a large and lush flower arrangement.
Step 6 Crafting the Leaves
Using green crepe paper, cut a rectangle measuring 8.5x6cm. Fold the paper in half and cut a wavy edge to shape the leaves. To capture the unique beauty of hydrangea leaves, use serrated scissors to create a textured edge, mimicking the natural serrations of the leaves.
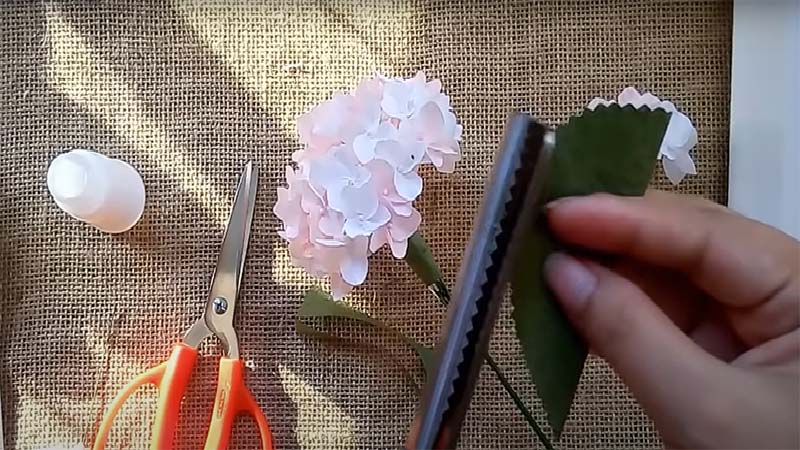 The image showcases the process of creating the leaves, paying close attention to the distinctive serrated edges.
Take a strip of paper in the same shade of green as the leaves and wrap it around a 24-gauge wire, leaving a small section uncovered to attach the leaf. Apply glue to the exposed wire section and carefully attach the leaf, gently squeezing to secure it in place.
Step 7 Final Touches on the Hydrangea Flower
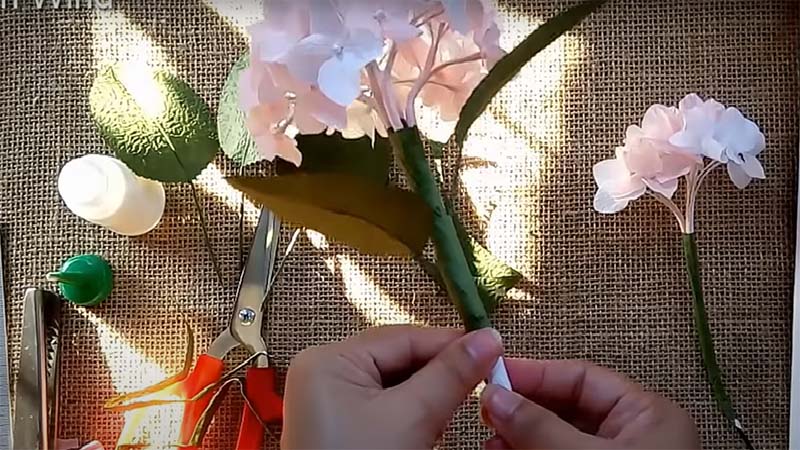 The image shows the process of wrapping paper around the hydrangea stem, adding the finishing touches to the flower.
To thicken the stem and give it a more substantial look, fold a strip of toilet paper three times and wrap it around the thick wire, securing it with white glue. Then, use a strip of green paper to wrap around the stem, attaching the leaves one by one and securing them with glue.
3 The Finished Product
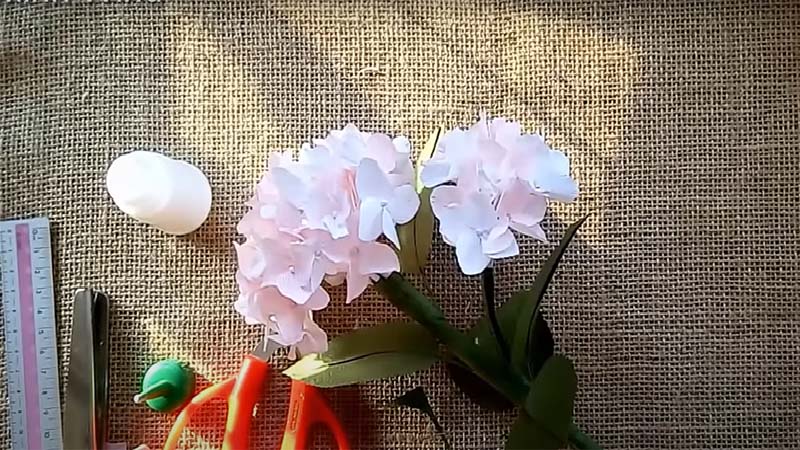 The final product – a stunning hydrangea flower with a sturdy hold, harmonious colors, and an aesthetically pleasing appearance.
The hydrangea flower you’ve crafted exudes elegance and natural beauty. It looks incredibly lifelike, with its fresh and vibrant hues.
4 Collected Paper Hydrangea Samples
Sample 1: Hydrangea Wreath
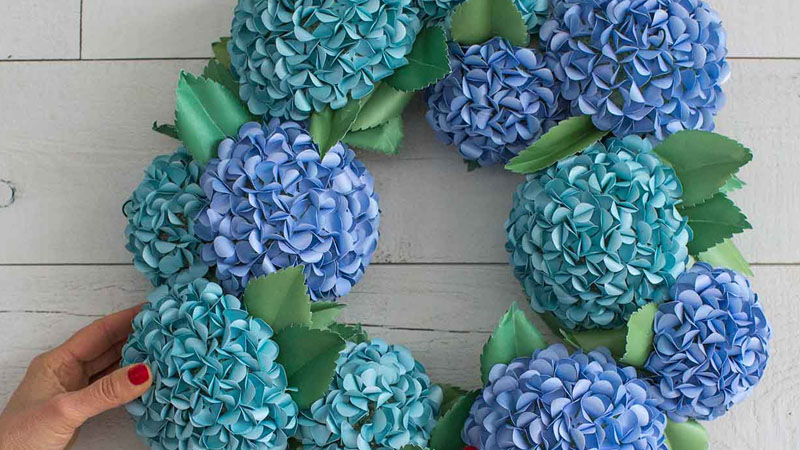 Hydrangea Wreath – a beautiful arrangement of hydrangea flowers crafted into a charming wreath.
Sample 2: Hydrangea Plant Pot
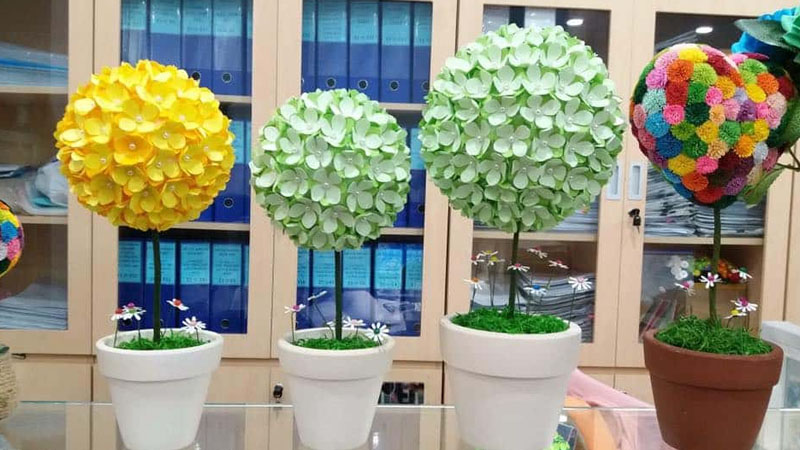 Hydrangea Plant Pot – a delightful display of hydrangea flowers arranged in a pot, adding a touch of nature to any space.
Sample 3: Two-Toned Hydrangea
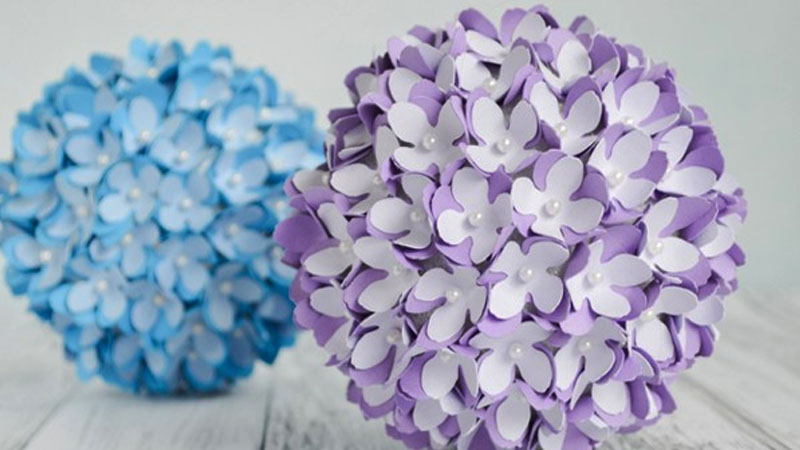 Two-Toned Hydrangea – a unique arrangement featuring hydrangeas in two different colors, creating a captivating contrast.
Sample 4: Blush Pink Hydrangea
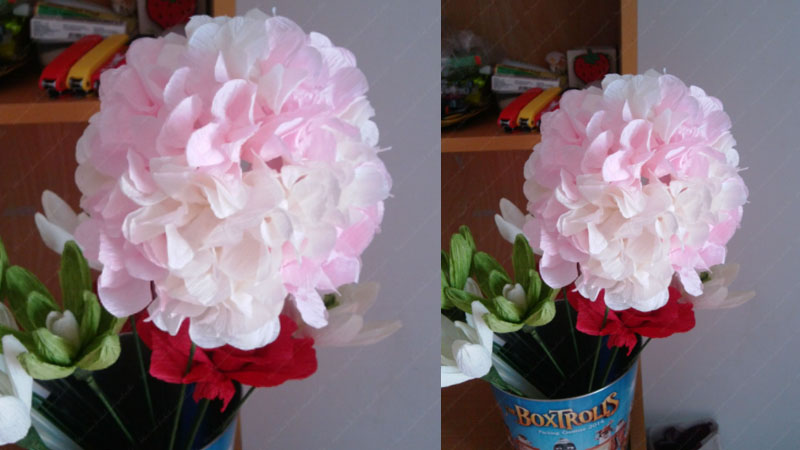 Blush Pink Hydrangea – a soft and romantic arrangement featuring hydrangeas in delicate shades of pink.
We hope that these steps and samples inspire you to bring life and beauty to your home through the art of paper hydrangea crafting.
See Also:
The Chrysanthemum Craft: Creating Stunning Paper Flowers with Delicate Precision
“The Benefits of Adorning Your Home’s Exterior with a Majestic Bougainvillea”
Is it auspicious to plant bougainvillea in front of the house? This is a question that has been on many people’s minds, and now, we will reveal the secrets to unlocking the answers. With our expert tips and tricks, you’ll be able to make an informed decision about adding this vibrant plant to your home’s exterior. Stay tuned as we explore the fascinating world of feng shui and uncover the mysteries behind the bougainvillea’s impact on your life and fortune.
The Ultimate Guide to Stunningly Realistic Artificial Flowers for Lunar New Year Decorations
Artificial flowers are a popular choice for decorating homes and offices. In this article, Bach Hoa XANH will showcase 20 beautiful artificial flower arrangements that will enhance any space. From classic roses to exotic orchids, these lifelike blooms offer a convenient and long-lasting alternative to fresh flowers. Discover the beauty and versatility of artificial flowers and how they can add a touch of elegance to your surroundings.


