


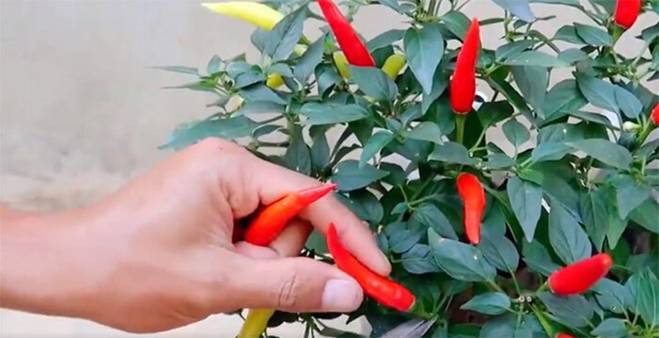
A Chinese man recently shared on social media the results of his three-month experiment of growing chili peppers in old mineral water bottles. What surprised netizens was that with just five chili plants, he harvested a whopping 40kg of peppers.
What’s the secret to such a bountiful harvest? Here are the steps he shared for growing chili peppers:
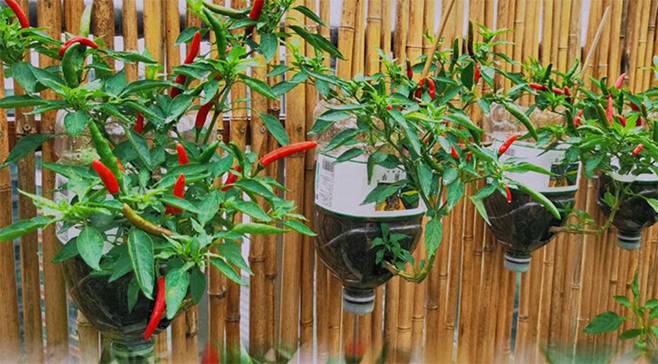
The man proudly displays his chili harvest from old water bottles. (Image: Toutitao)
Preparing the Chili Planters
For this innovative project, you’ll need 5-6 large mineral water bottles (5-liter capacity) and about 10 smaller ones (500ml). Start by drawing and cutting circles on both sides of the larger bottles; the circles should match the diameter of the smaller bottle necks. Use scissors or a sharp knife for this task.
For the smaller bottles, cut off the bottom and retain only the neck portion. Create tiny holes in both the larger and smaller bottles using a soldering iron to ensure adequate ventilation.
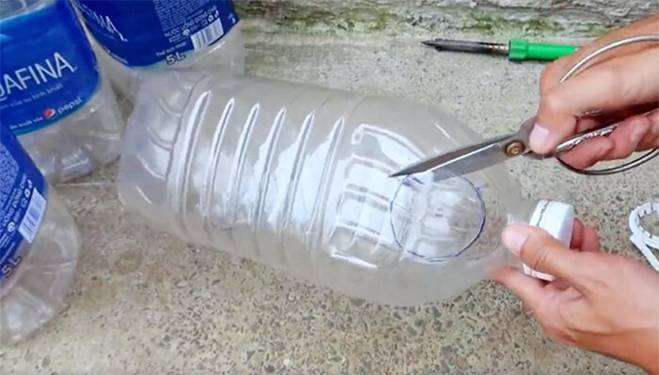
Preparing the larger mineral water bottles. (Image: Toutitao)
Next, attach the necks of the smaller bottles to the larger ones. For convenience, you can hang the larger bottles by threading a string through their necks.
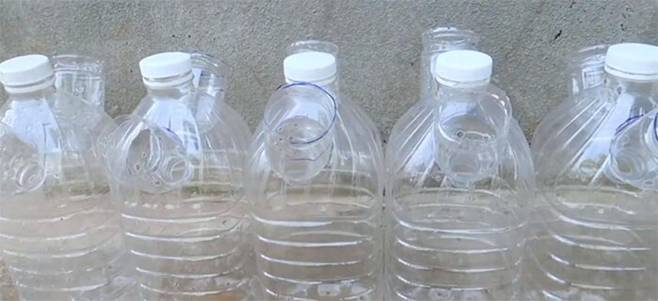
The smaller bottles fitted into the larger ones. (Image: Toutitao)
Germinating Chili Seeds
You can either buy chili seedlings or germinate your own seeds. If you choose the latter, select a chili variety with attractive fruits for both decoration and consumption.
Germinating chili seeds is straightforward. Soak the seeds of your chosen chili variety in water for 3-4 hours. Then, spread them out on a damp paper towel inside a wide container. Cover the container and place it in a warm location to encourage germination.
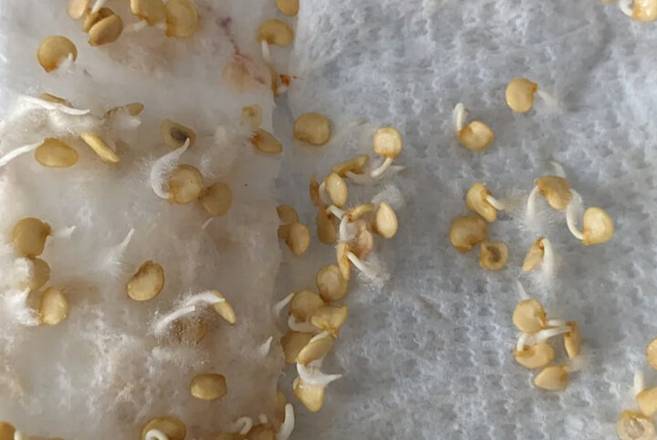
Chili seeds germinating on a damp paper towel. (Image: Toutitao)
Remember to spray water and maintain moisture daily. Typically, within three to four days, the seeds will sprout white roots. At this stage, you can transfer the seedlings to individual pots.
The best soil for germinating chili seedlings is well-aerated, nutrient-rich potting soil. After planting, maintain a temperature between 20-30°C and keep the soil moist. Germination usually takes about seven days.
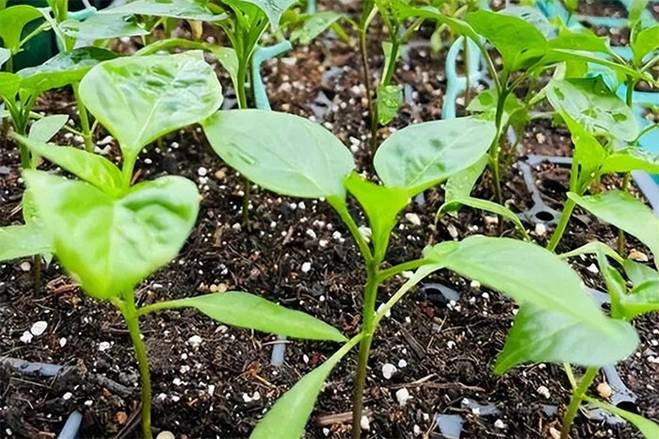
Before transplanting chilies into the bottles, they are grown in small pots. (Image: Toutitao)
Once the seedlings have developed 5-6 true leaves, water them thoroughly and expose them to sunlight.
Planting Chilies in Mineral Water Bottles
When your chili seedlings have reached the right stage, it’s time to plant them in the prepared mineral water bottles. Add a layer of ceramsite or cinder to the large bottles to create a drainage layer, and then top it with nutrient-rich organic soil, leaving about 10% space at the top.
You can purchase these specialized soils from garden stores or online. Place the chili seedling in the smaller bottle, which is now attached to the larger one. In the remaining space within the larger bottle, add vegetable and fruit scraps to create compost, and then wrap the bottle with plastic wrap to initiate the fermentation process.
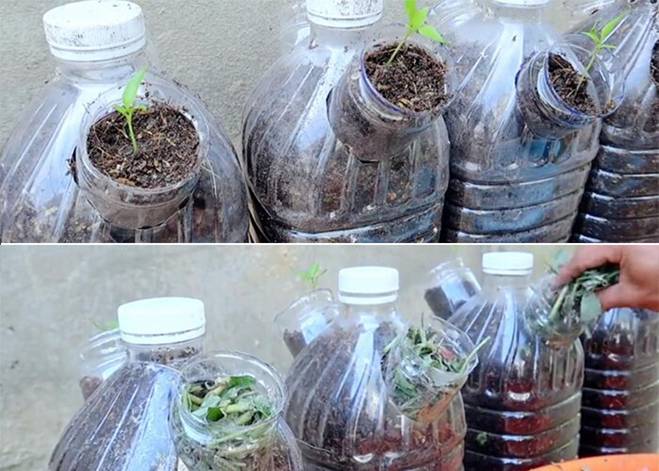
Using vegetable and fruit scraps to create compost for added soil fertility. (Image: Toutitao)
These organic scraps will gradually decompose and ferment in the enclosed, moist environment, enriching the soil with nutrients.
Caring for Your Chili Plants
Chilies thrive in sunlight, so ensure your planters receive ample sunlight. Place them in a sunny spot and maintain adequate moisture.
Within about two weeks, you’ll notice rapid growth in your chili plants. At this stage, they are strong enough to receive a suitable amount of fertilizer.
Fertilizing the chili plants to encourage fruit production. (Image: Toutitao)
The general rule for fertilizing chili plants is to go easy on young plants, provide consistent fertilization during the first flowering, increase fertilization when fruits start to set, and fertilize again in early autumn.
If using only manure for maintenance, opt for decomposable manure cakes. Additionally, apply an appropriate amount of potassium dihydrogen phosphate during the flowering and fruiting stages to improve fruit set and promote larger, fuller fruits.
Pollinating Chili Flowers
Chili plants grown indoors may require manual pollination due to the absence of natural pollinators like insects or wind. This process is simple: just dip a cotton swab into the pollen of one flower and transfer it to another flower.
After successful pollination, you’ll soon notice the development of small chili fruits. During this phase, ensure sufficient sunlight, water, and timely fertilization to encourage fruit growth and maturation.
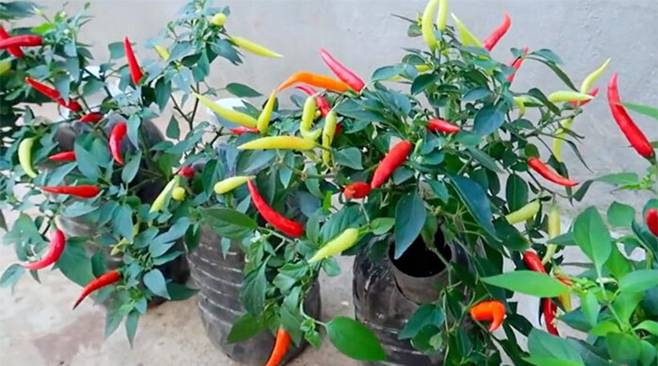
After three months of care, the chilies will start to ripen and are ready for harvest. (Image: Toutitao)
With three months of dedicated care, your chili plants will bear ripe fruits ready for harvest. Enjoy the beautiful and tasty chilies, and consider preserving any surplus by making chili sauce or drying them for future use.
Source: VTC news
The Magic Watering Formula for a Vibrant, Blooming Paradise: Unlocking the Secret to a Mini Garden of Splendour

Bougainvillea, or more commonly known as “paper flowers”, are a popular choice for many gardeners due to their vibrant beauty and ease of cultivation. Yet, to ensure a thriving and long-lasting display of these blooms, one must understand the intricacies of their care.
Master the Art of Camellia Care for a Breathtaking Lunar New Year Bloom

The Camellia, an elegant and noble ornamental plant, brings a touch of refined beauty to the Lunar New Year celebrations. However, to ensure a vibrant display of blooms, those who choose to cultivate these plants must provide the utmost care and attention to their gardening endeavors.
The Ultimate Guide to Corn Cob Treasures: Unveiling the Unexpected Uses

“Uncover the Versatile Charm of Corn Cobs: Rediscovering the Magic in the Kitchen and Beyond.”
The Magic of Baking Soda: 5 Amazing Uses for Your Garden

“Unleash the Power of Baking Soda: 5 Magical Garden Tricks.
Baking soda is not just a kitchen staple or a cleaning powerhouse, but also a garden whisperer. It’s time to discover the hidden talents of this humble ingredient and explore how it can work wonders in your garden. From boosting plant health to keeping pests at bay, baking soda is the unsung hero your garden needs. Get ready to be amazed as we uncover five incredible uses of baking soda that will transform your gardening game!”
Make Your Own Fertilizer from Food Waste, Save Money and Help Plants Thrive

You will definitely be amazed to know that just a few simple steps in handling food waste, plants can yield high productivity, soil can be improved, and the environment can be protected, all while saving the cost of buying fertilizers.


