Bird’s nest soup is a delicacy in many Asian countries, and preparing it from scratch can be a rewarding experience. The raw bird’s nest requires careful cleaning to remove any impurities and ensure a delicious end product. Here’s a step-by-step guide to help you achieve that.
1 Preparing to Clean Raw Bird’s Nest

Begin by gathering the necessary tools and equipment:
- Use a white or light-colored bowl to easily identify any feathers or impurities in the nest.
- Have a pair of tweezers handy for plucking out feathers and other unwanted particles.
- A fine-mesh strainer with small holes ensures that the nest doesn’t escape during the filtration process.
- Prepare a clean bowl and a separate container for the cleaned nest.
- A clean cloth, a soft brush, and a tray will also be useful.
2 Step-by-Step Guide to Cleaning Raw Bird’s Nest
Step 1 Soaking the Bird’s Nest
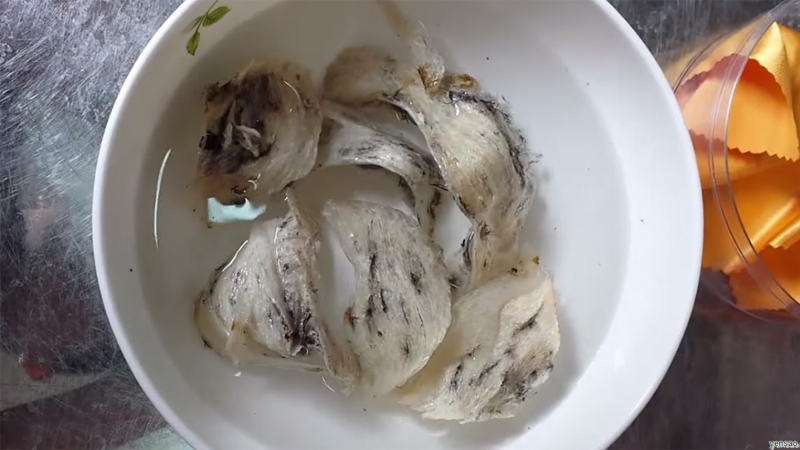
Fill a clean bowl with cool water and submerge the bird’s nest. Allow it to soak for approximately 1-2 hours, depending on the thickness of the nest. This process helps soften the nest, making it easier to clean.
Step 2 Plucking Feathers and Impurities
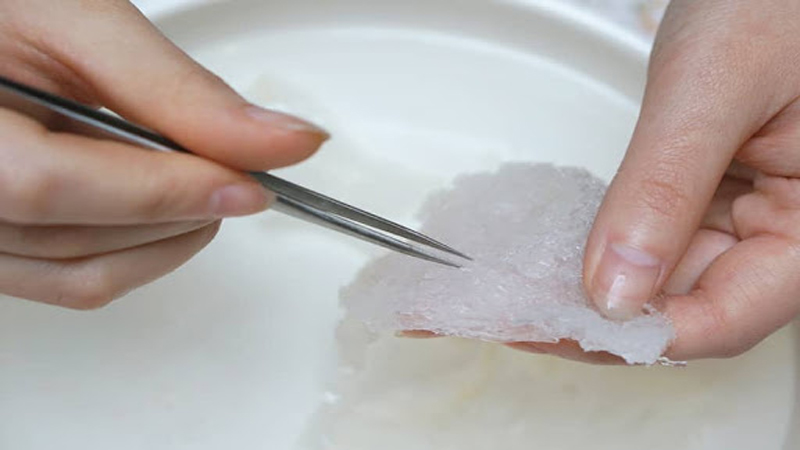
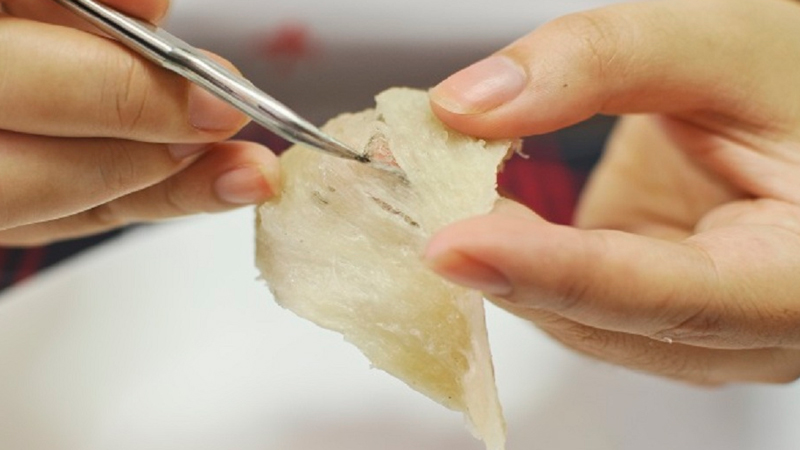
Once the soaking is complete, gently remove the nest from the water and let it drain. Place it on a plate and use the tweezers to carefully pluck out any visible feathers and impurities. After plucking each feather, dip the nest into a clean bowl of water to rinse it.
Step 3 Removing Remaining Impurities
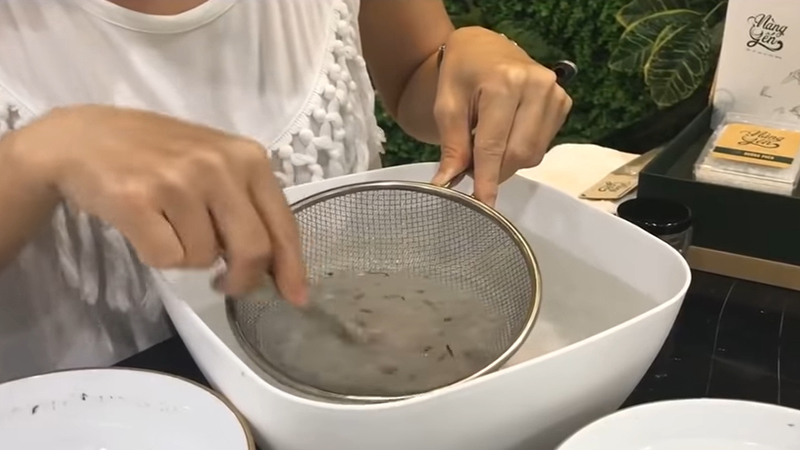
Place small portions of the nest into the strainer and submerge it in the bowl of clean water. Use a spoon to gently stir and a soft brush to gently scrub the nest, dislodging any remaining feathers or impurities. Be gentle to preserve the delicate structure of the nest, and avoid prolonged contact with water to retain its natural flavor.
Step 4 Final Inspection and Rinsing
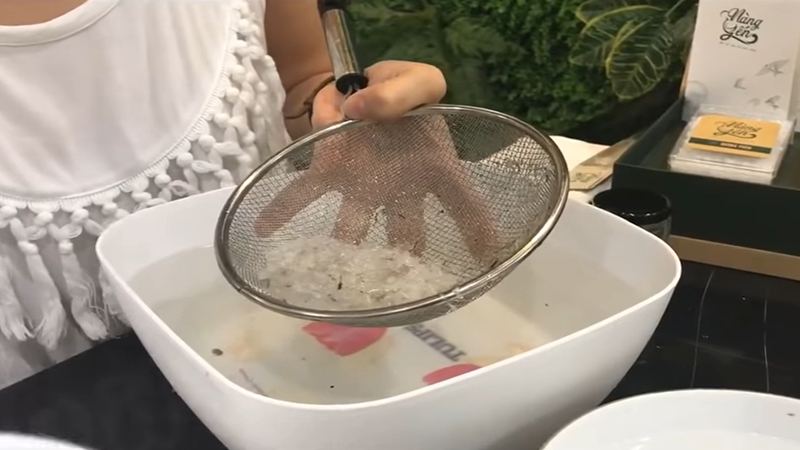
By now, your bird’s nest should be fairly clean. However, to ensure perfection, repeat the previous step of stirring and gently scrubbing the nest in clean water. This will remove any remaining impurities or feathers that you might have missed.
Step 5 Completing the Cleaning Process
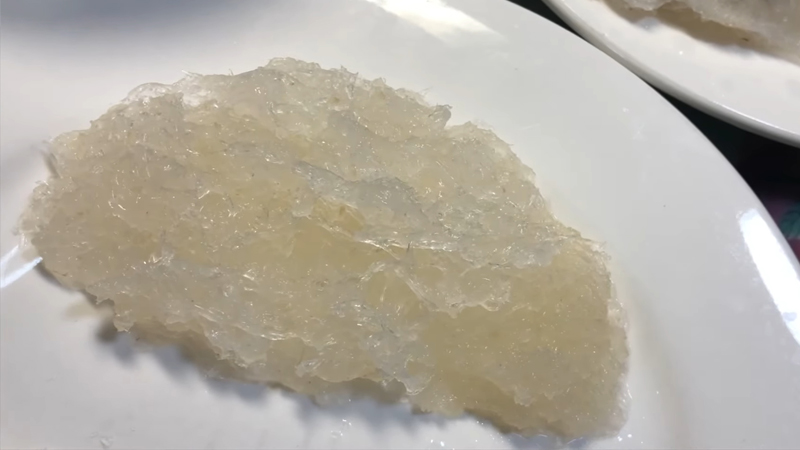
If you’re not using the bird’s nest immediately, use a strainer to remove excess water and ensure the nest is completely drained. Do not store the nest in the refrigerator while it is still wet.
3 Important Notes on Cleaning Raw Bird’s Nest
Keep these tips in mind for a perfect and efficient cleaning process:
– Avoid using hot water for soaking, as it will reduce the nutritional content of the bird’s nest.
– Soak the bird’s nest just long enough for it to soften. Over-soaking can affect its texture and flavor.
– For long-term storage of more than a week, thoroughly dry the cleaned nest with a fan, then place it in a sealed bag and store it in a dry place.
– Always pay attention to storage times, as prolonged storage will cause the nest to lose its nutritional value and may even lead to spoilage.
– Do not use any chemicals or detergents during the cleaning process, as they will affect the taste and may be harmful to your health.
4 Storing Bird’s Nest after Cleaning
Proper storage is crucial to maintain the quality and freshness of the bird’s nest. Here are some methods to try:
- Place the cleaned nest in a clean, airtight container and store it in the refrigerator at 4°C for up to a week.
- For extended storage of up to 6 months, use the freezer compartment of your refrigerator.
- As an extra precaution, you can dry the nest under a fan for 30-45 minutes before placing it in a container and sealing it tightly for refrigerator storage.

Now you know the secrets to cleaning and storing bird’s nest! With these steps, you can prepare delicious and nutritious dishes using this prized ingredient.


