


When reheating food in the microwave, it’s common for grease and oil to splatter and coat the interior, especially with dishes like eggs, fish, and fatty pork. Over time, these buildups can cause unpleasant odors and even a burnt smell. To prevent this, it’s recommended to wipe down the microwave with a dry paper towel every 2–3 days to remove any excess grease, followed by a thorough cleaning with a damp cloth. If there’s still a lingering burnt odor, try one of these methods:
1 Cleaning with Dish Soap
Mix warm water with dish soap and, if desired, add a few spoons of baking soda to enhance odor removal. Place the mixture in the microwave and heat for 2–3 minutes to create steam. Then, use a cloth to wipe down the interior.
 Cleaning the microwave with dish soap
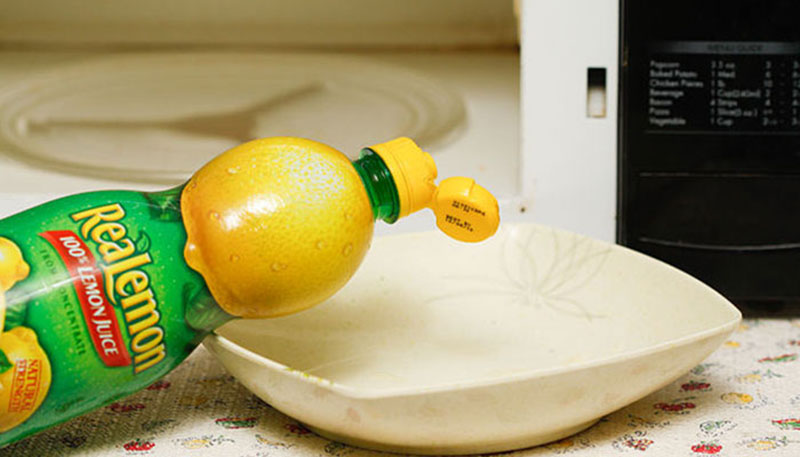
2 Lemon Cleaning
Lemon is a great way to leave your microwave smelling fresh. Simply squeeze the juice of 1–2 lemons into a bowl of water and place it inside. Then, turn on the microwave for 2–3 minutes to allow the lemon-scented steam to coat the interior. Finish by wiping down the surfaces with a dry cloth.
 Cleaning the microwave with lemon
3 Vinegar Cleaning
Mix half a bowl of water with a few tablespoons of vinegar and place it in the microwave. Heat for 2–3 minutes; if your microwave has lower wattage, you may need to heat it for 5–10 minutes. Then, use a paper towel or cloth to wipe down the interior, removing bacteria and odors.
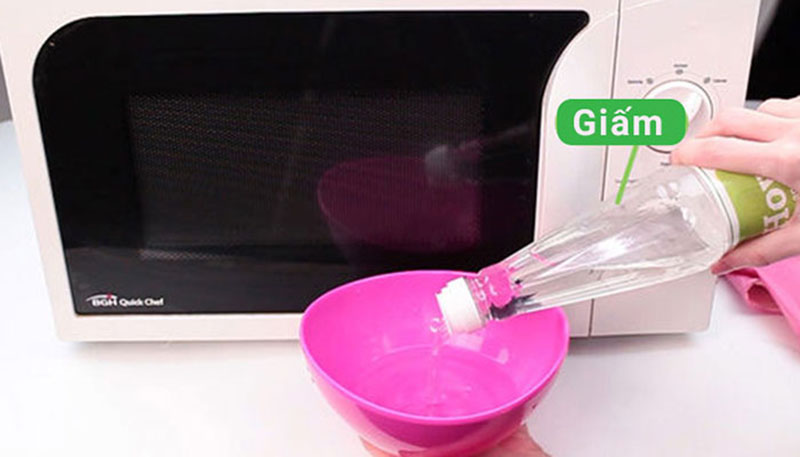 Cleaning the microwave with vinegar
4 Window Cleaner
Use a window cleaner to spritz the interior directly or mix two parts window cleaner with one part warm water in a bowl. This mixture is perfect for cleaning both the inside and outside of the microwave. Dip a sponge into the solution and apply it to stains for about 5 minutes before scrubbing them away. Use this mixture to clean the turntable, the bottom of the microwave, and the vents and door to remove any built-up grime.
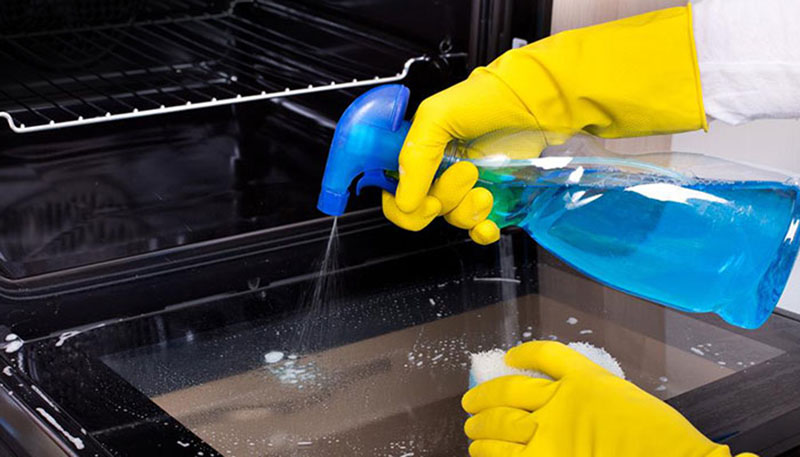 Cleaning the microwave with window cleaner
5 Notes on Microwave Cleaning
After heating the cleaning solution, let it sit for about 5 minutes before unplugging the microwave and proceeding with cleaning.
Avoid using abrasive scrubbers to clean the microwave; stick to soft cloths or sponges.
Use window cleaner to wipe down the exterior of the microwave.
6 Preventing Microwave Messes
Cover food loosely when reheating to prevent splatters.
Keep the microwave door open for a few minutes after use to air it out and prevent food odors from lingering.
Clean up spills immediately to prevent stubborn stains from forming.
Perform a deep clean of your microwave about once a month.
Now you know some effective ways to keep your microwave clean and odor-free. Since microwaves are commonly used for cooking and reheating food, they can quickly become dirty and smelly. By regularly using these methods, you’ll ensure your microwave stays pristine, making mealtimes more enjoyable.
For more helpful tips, visit
Unlock the Secret to a Clean, Sand-Free Snail with This Simple Trick

If clams are not cleaned properly, they can be gritty and taste like mud. This simple technique will ensure your clams are clean, fresh, and delicious every time.
“The Ultimate Guide to Reheating Food: Mastering the Microwave”

The wrong way to reheat leftover food in the microwave is to pile it up in the center of the plate and nuke it. The right way to do it is to spread the food out in a circle near the edge of the plate, leaving the center empty. This way, the food heats evenly and tastes better.
“The Toilet Tank Trick: Keep Your Bathroom Fresh and Clean for Weeks with This Simple Hack”

This method is a trifecta of simplicity, effectiveness, and cost-efficiency.
The Crystal Clear Hack: A Simple Soak for Sparkling Spectacles

Did you know that soaking your eyeglasses in water is more than just a cleaning method? It offers a surprising array of benefits that can enhance your eye care routine. Join us as we uncover the hidden advantages of this simple trick and learn the right way to do it to protect your precious windows to the soul!
The Ultimate Guide to Cleaning a Pig’s Stomach: A Simple Yet Effective Method!

The art of preparing pork stomach for culinary delights is a delicate process that demands attention to detail. It is imperative to meticulously clean and prepare the stomach to eliminate any unpleasant odors that may linger. This crucial step ensures that the final dish is not only tasty but also free from any undesirable smells that could ruin the dining experience.


