Exploring the Reasons Behind Water Condensation and Frost in Freezer Compartments
Water condensation and frost buildup in refrigerators are undesirable as they can negatively impact the heat transfer mechanism and lead to energy inefficiency. Despite this, such occurrences are common and pose a significant risk to the performance and longevity of refrigerators.
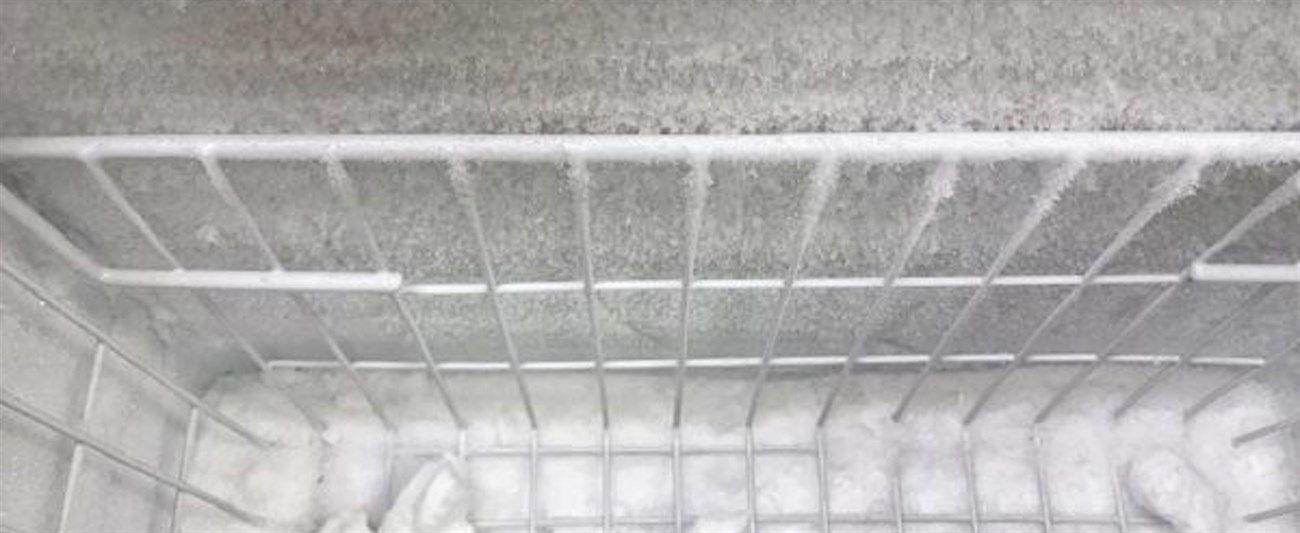
Relay (Timer) Failure to Initiate Defrost Cycle
Compressor Defrosting Mode
To engage the compressor’s defrosting mode, locate it in either the vegetable compartment or the electrical box behind the refrigerator. However, if the relay fails to initiate the defrosting cycle, it can disrupt the defrosting process. This issue may arise due to a burnt motor coil, worn-out stuck gear, or the presence of dirt or dry grease.
The Need for Defrosting the Evaporator Coil in the Freezer
The defrosting relay within the evaporator coil plays a pivotal role in ensuring the efficient operation of the defrosting resistor. By preventing unnecessary heating of the resistor when frost is present on the evaporator, this relay helps avoid energy wastage.
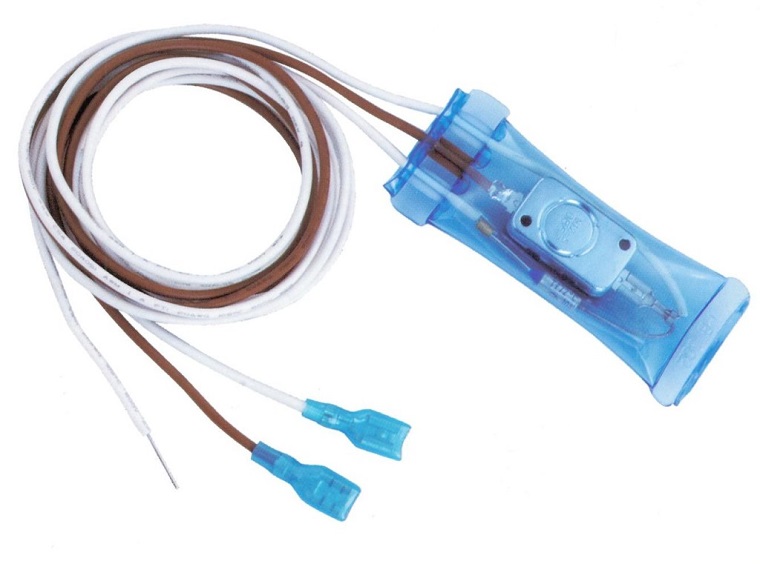
Malfunctioning Thermal Fuse
The thermal fuse acts as a critical protective component, safeguarding the refrigerator from prolonged operation of the defrosting system, which could generate excessive heat and potentially cause damage. In the event of a thermal fuse malfunction, the defrosting mechanism ceases to function, leading to the refrigerator freezing.
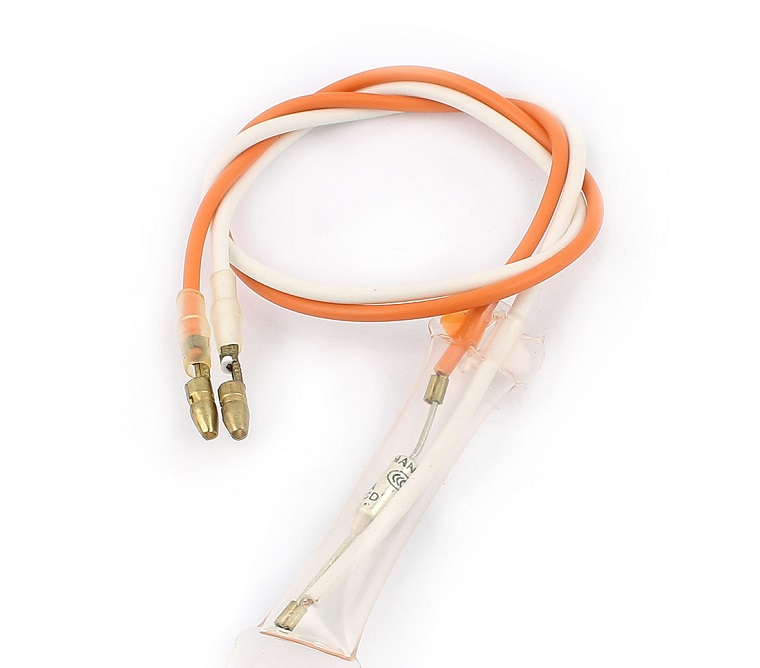
Repair Focus: Malfunctioning Heating Resistor
The heating resistor is an essential component responsible for regulating power during overload conditions. A faulty or broken heating resistor results in ineffective power control, destabilizing the refrigerator’s operation and increasing the risk of damage. Therefore, ensuring the proper functioning of the heating resistor is imperative for optimal performance and extending the refrigerator’s lifespan.
Addressing Water Condensation and Frost in Freezer Compartments
Manual Defrosting for Non-Frost-Free Refrigerators
For older refrigerators lacking a built-in defrosting function, frost buildup is a common occurrence over time. To maintain optimal cooling performance, follow these straightforward steps to defrost your refrigerator effectively:
- Start by disconnecting your refrigerator from its power source.
- Remove all food items from the freezer and transfer them to a cooler or an alternative refrigerator to maintain freshness.
- If applicable, switch off the refrigerator’s thermostat.
- Open the refrigerator door and allow it to remain open for several minutes to facilitate the melting of frost.
- Place towels or absorbent mats around the refrigerator to catch any water and prevent spills on the floor.
- Once the frost has melted, use a soft cloth or sponge to wipe down the interior of the refrigerator.
- Ensure that the drain hole or tube at the back or bottom of the refrigerator is clear of any debris or ice buildup.
- After cleaning and drying, reconnect the refrigerator to its power source.
- Wait for the refrigerator to reach the desired temperature before returning the food items to the freezer.
By diligently following these steps, you can maintain the cooling efficiency of your non-frost-free refrigerator and prevent potential issues caused by excessive frost accumulation.
-
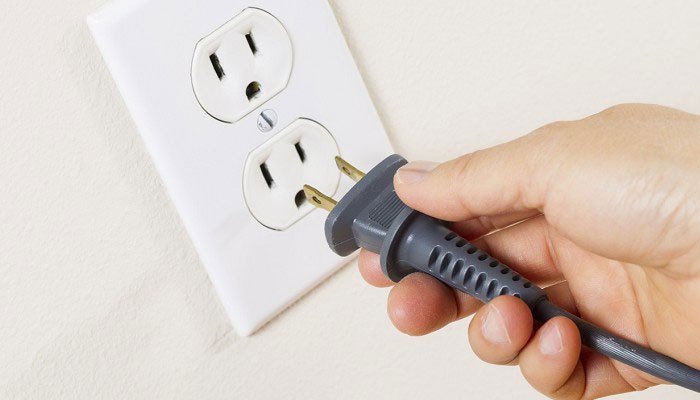
Step 1: Power Off
As a safety precaution and to conserve power, it is necessary to turn off the power to the refrigerator before initiating any repair work.
-
Step 2: Empty the Refrigerator
To maintain proper hygiene, it is recommended to remove all food items from the refrigerator. Wrapping the food in thermal bags and storing it in a cool, dry area within your home will help preserve its freshness and prevent spoilage.
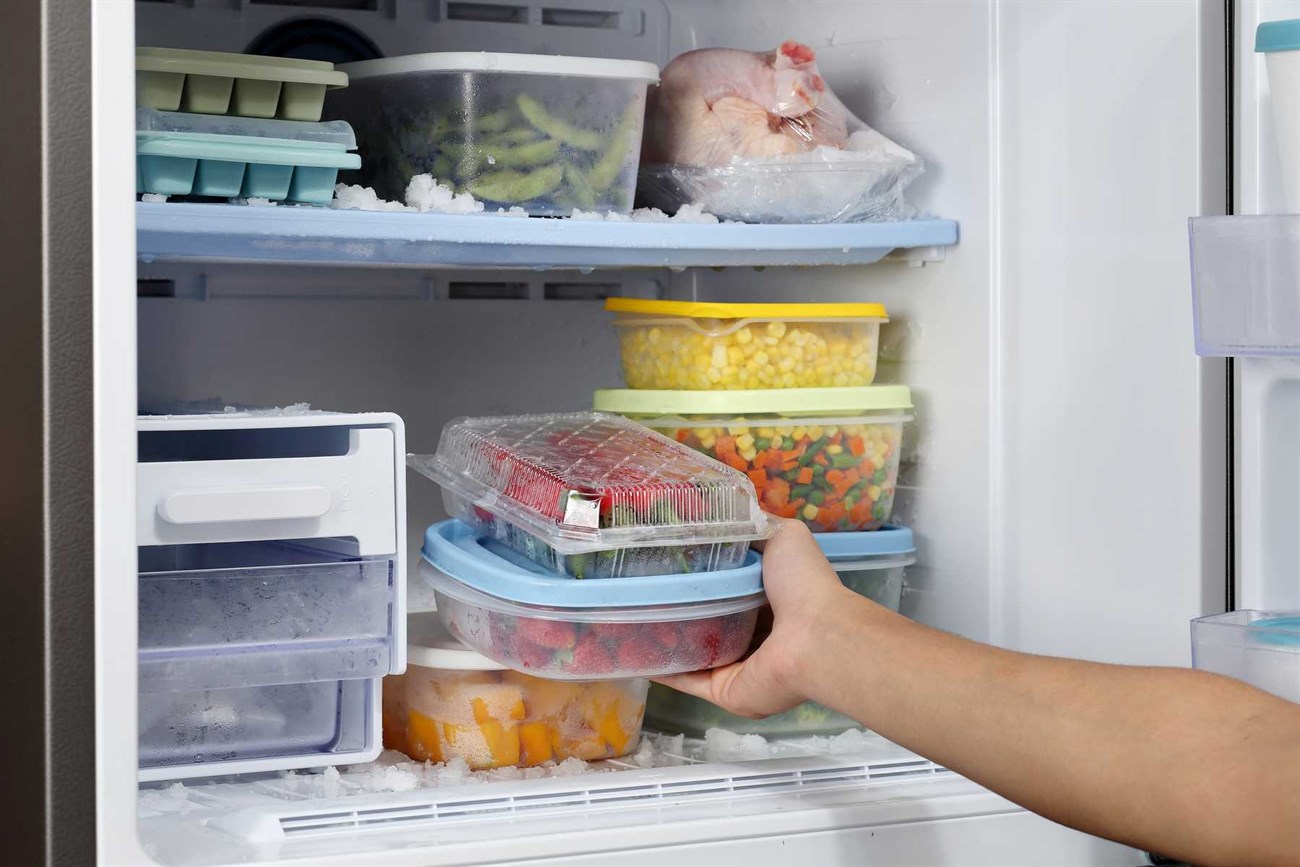
- Step 3: Remove the Ice Tray and Food Compartment
1. Carefully remove the ice trays and food compartments from the refrigerator, as they are typically secured with pins and screws. Exercise caution during this process to avoid damaging the pins and ensure a smooth removal.
-
Step 4: Prevent Water Leaks
To prevent water from leaking onto the floor, it is advisable to place absorbent towels around the refrigerator. This will help absorb any water that may leak during the defrosting process, ensuring a clean and dry environment.
When your refrigerator malfunctions, taking certain precautions is essential to maintain cleanliness and prevent water damage. Covering the floor surrounding the refrigerator with absorbent paper can help contain any water from melting ice. Additionally, having towels or cleaning cloths readily available will facilitate efficient wiping and cleaning.
- Step 5: Open all refrigerator doors and place a pot of hot water inside to accelerate ice melting.
Please ensure that all refrigerator doors are open. By placing a pot of hot water inside, you can expedite the melting process of the ice, making it more efficient.
- Step 6: Sanitize the Refrigerator with a Specialized Cleaning Solution
To effectively clean the ice layer inside the refrigerator, we recommend using a soft cloth to prevent surface damage. Adding a small amount of vanilla or soda can help freshen the interior. For thick ice layers, have a bowl ready to collect the melting ice water. Pay close attention to cleaning both the ice trays and food compartments to ensure thorough hygiene.
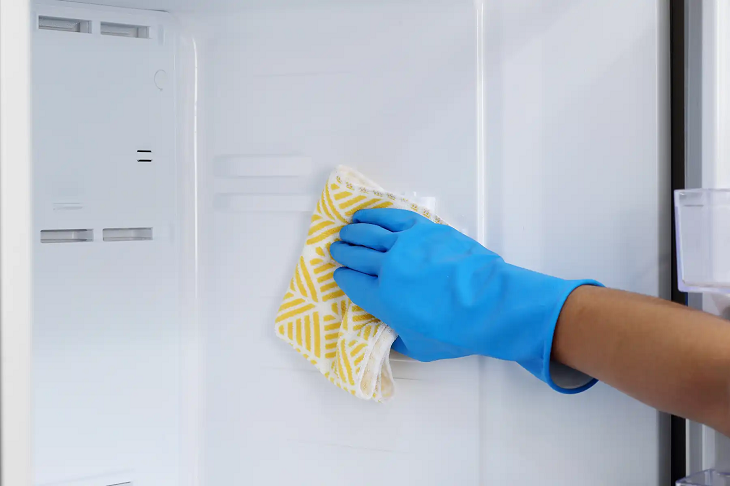
- Step 7: Use a clean, dry cloth to wipe away any remaining moisture or residue.
Please use a dry cloth to wipe down the refrigerator’s surface, being careful not to damage the rubber door seal.
- Step 8: Return the Ice Trays
Please return the food trays and ice trays to their original positions within the refrigerator. Reconnect the power plug and allow the refrigerator to cool down before placing food inside again.
To minimize frost accumulation, consider applying a thin layer of vegetable oil to the interior walls of the refrigerator.
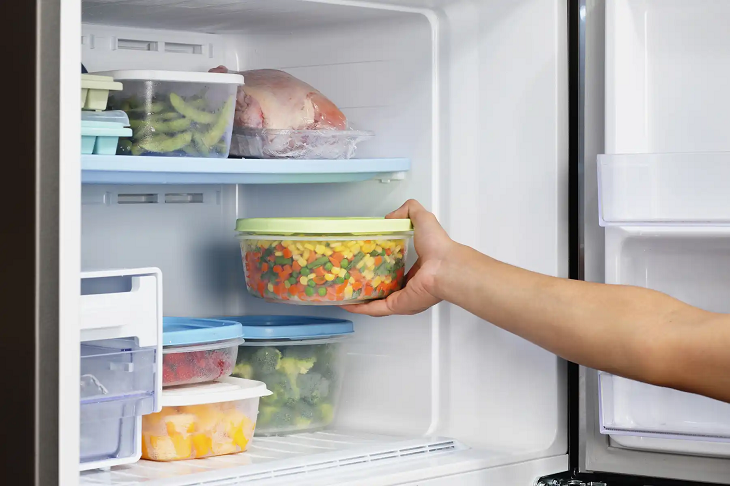
If your refrigerator is frost-free but you notice a layer of frost in the freezer compartment, it likely indicates a malfunctioning component at the top of the refrigerator. To address this issue, regular cleaning and inspection are crucial to promptly identify and rectify any faulty or damaged parts. It is recommended to repair or replace these components without delay to ensure the proper functioning of your appliance.
For professional guidance on fixing these errors, it is advisable to consult the manufacturer’s warranty centers or reputable repair services. Their expertise will ensure that the appropriate repairs are carried out effectively and safely.
These are some of the common causes and corresponding solutions for a refrigerator experiencing water condensation and frost buildup in the freezer compartment. Your feedback is valuable to us, so please share your thoughts and opinions in the comments section below.


