As the pandemic continues to pose complex challenges, it is crucial to ensure that you and your family are well-equipped with hand sanitizers and disinfectants. However, you may occasionally encounter issues with clogged spray nozzles, rendering the bottles unusable despite having ample liquid left inside.
Don’t worry; we’ve got you covered with two simple and quick methods to unclog those stubborn spray nozzles! Stay tuned and follow these easy steps to get your spray bottles working like new again.
1 Unclog the spray nozzle with a sewing needle
What you’ll need:
-
A small sewing needle
How to do it:
Carefully insert the pointed tip of the needle into the spray hole and move it around gently to clear the blockage. This action will help dislodge any built-up residue or small particles obstructing the spray hole, allowing the liquid to flow freely once again.
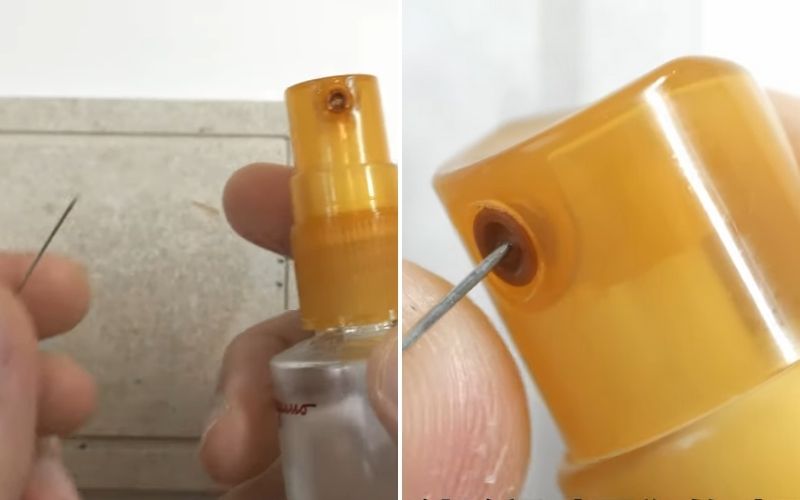
By clearing the blockage, you’ll be able to restore the normal spray function and ensure that the disinfectant or sanitizer is dispensed effectively.
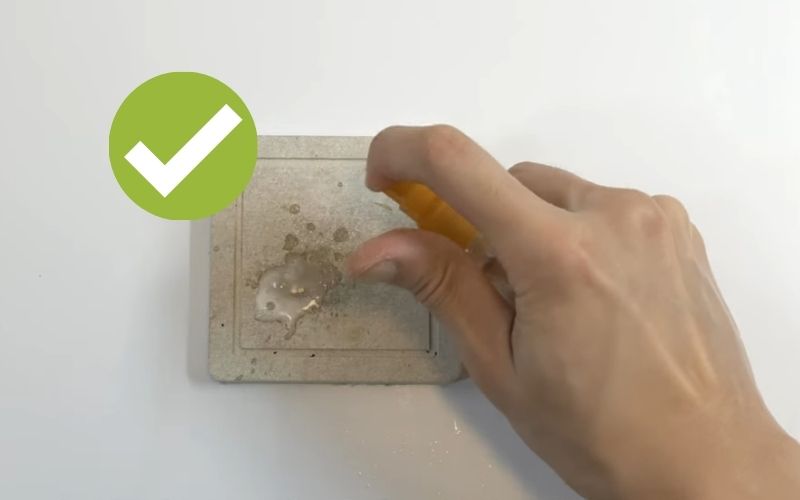 Clearing the blockage ensures uninterrupted dispensing of the liquid
2 Unclog the spray nozzle with a pair of pliers
What you’ll need:
-
A pair of pliers
-
Clean cloth or tissue
-
Cotton swabs (optional)
How to do it:
Step 1: Remove the spray nozzle cap and use one hand to hold it firmly. With the other hand, use the pliers to gently pull out the inner spring-loaded tube.
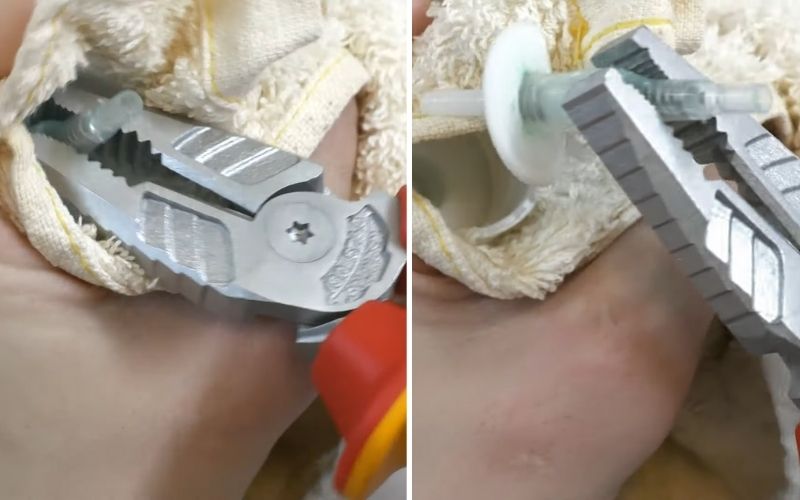
Step 2: Once the tube is removed, carefully take out the spring and pay attention to a small ball bearing attached to one end of the spring. Set it aside safely so it doesn’t get lost.
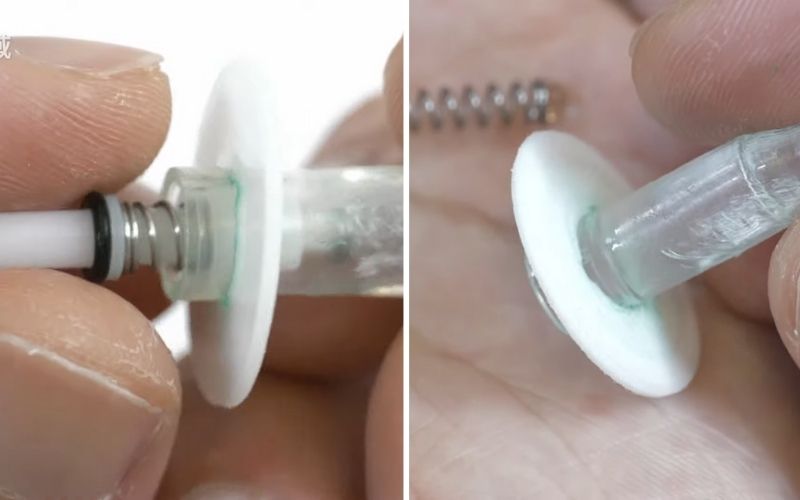
You should now have the following separate components:
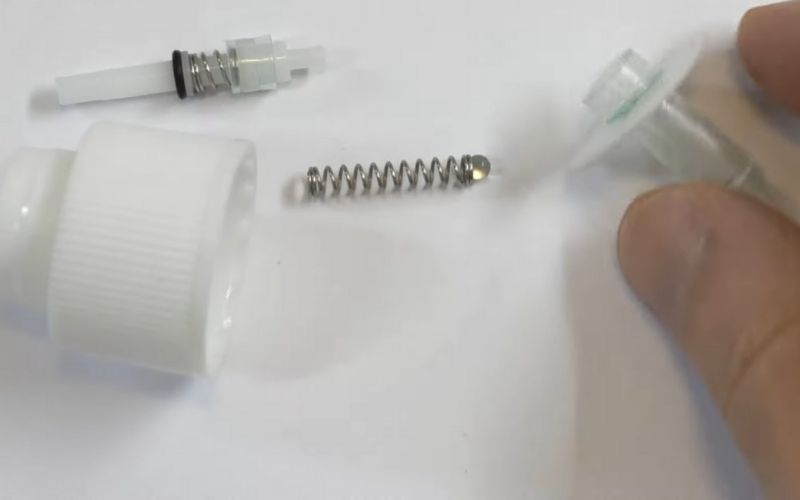 Separated components of the spray nozzle assembly
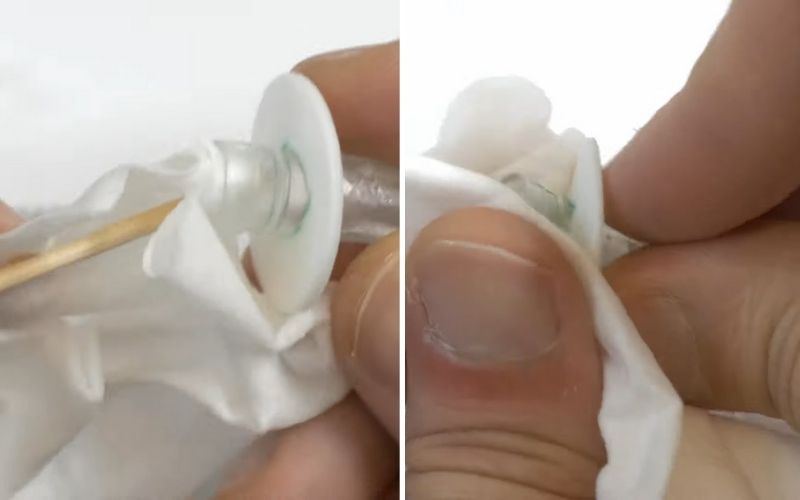
Step 3: Use a soft cloth or tissue to wipe down all the parts, including the tube. You can also use cotton swabs to reach into the tube and ensure a thorough cleaning, removing any residual dirt or debris.
Step 4: After cleaning all the parts, carefully reassemble the spray nozzle by placing the ball bearing back into the tube, followed by the spring. Screw the nozzle cap back on, and you’re done!
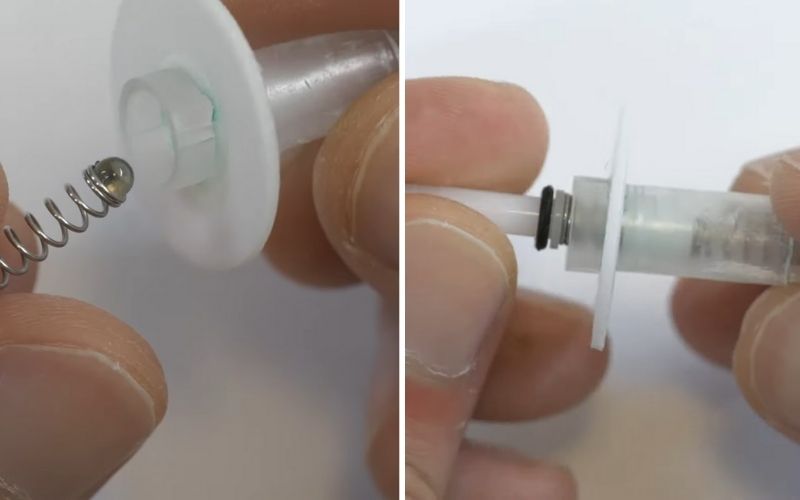
With the nozzle reassembled, your spray bottle should now be fully functional and ready for use!
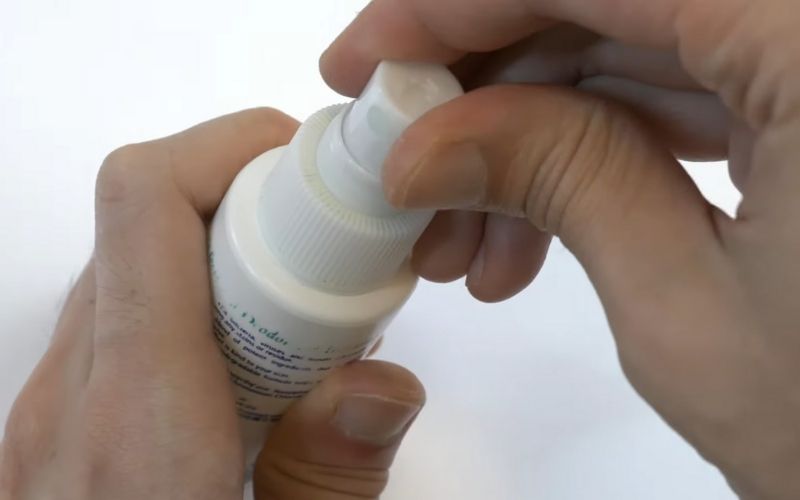 Your spray bottle is now as good as new
We hope that these simple tips on unclogging spray nozzles will come in handy and make your life a little easier during these challenging times. Stay safe and healthy!


