


A traditional Vietnamese meal is incomplete without the presence of pickled chilies. However, the key to a perfect batch of pickled chilies lies in achieving a crisp, white texture, free from any discoloration or sogginess. Not everyone possesses the knowledge to accomplish this desirable outcome.
Selecting the Finest Chilies
To ensure your pickled chilies turn out white and crisp, it is imperative to choose the right type of chilies, avoiding any bitter-tasting ones. Opt for chilies that are neither too mature nor too young. A simple way to determine their age is by examining the stems; smaller stems indicate older chilies, while larger, fresher-looking stems suggest younger ones. Older chilies tend to have thinner flesh, harder seeds, and a higher seed-to-flesh ratio, resulting in a less crisp texture. On the other hand, younger chilies have softer seeds and flesh, making it challenging to achieve the desired crispness.
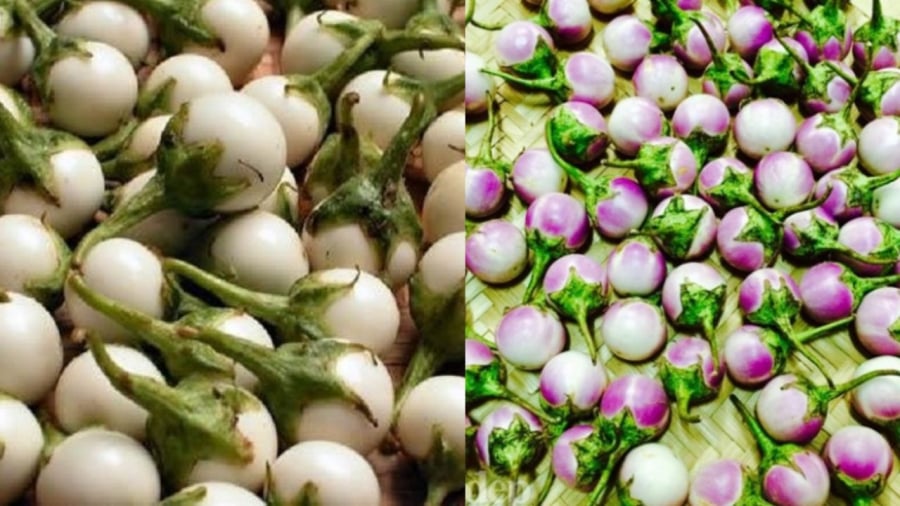
You can use green, white, or purple chilies for pickling, but ensure they belong to the ‘pháo’ variety. ‘Bát’ chilies, on the other hand, are a different type. The small white chilies with a hint of purple will turn a translucent white after pickling, and they are exceptionally crisp and delicious. Their size is just right, not as large as the white variety. Green and white chilies are more commonly available, and when pickled correctly, they attain a delightful crispness.
Opt for Chilies That Are Neither Too Mature Nor Too Young
Proper Preparation Techniques
Upon purchasing your chilies, it is advisable to sun-dry them in a mildly sunny area or a breezy spot until they appear slightly wilted. This step enhances their crispness during the pickling process.
Next, trim the stems of the chilies, taking care not to cut too deeply into the flesh. Over-trimming may cause the chilies to absorb too much liquid, leading to undesirable softening.
Submerge the trimmed chilies in a brine solution to eliminate any toxic substances. Change the brine solution once or twice if possible, as this helps prevent discoloration and the formation of scum, further reducing natural toxins, making them safer for consumption.
Slice the ginger to a medium thickness, and cut the bird’s eye chilies diagonally. Prepare the pickling brine by mixing sea salt (approximately 100g per kilogram of chilies) with boiled and cooled water.
To achieve crispness, it is crucial to use the right amount of salt. Insufficient salt will cause the chilies to develop an unpleasant odor and become mushy, while excessive salt will result in crispness but with an overpowering salty taste. Adding an adequate amount of ginger is also a secret to achieving crisp, pickled chilies. However, be cautious not to overdo it, as too much salt can adversely affect both taste and health.
Select a glass or ceramic container for safety purposes, and ensure it is thoroughly cleaned to prevent scum formation. Layer the chilies in the jar, adding a few slices of ginger and bird’s eye chilies on top of each layer.
To ensure crispness and prevent spoilage, it is vital to keep the chilies completely submerged in the brine. Even a single chili floating on the surface can cause discoloration and contaminate the entire batch. Store the jar of chilies in a cool, well-ventilated area, avoiding places with high temperatures. Excessive heat will cause the jar to warm up, leading to sogginess and rapid spoilage.
Within 2-3 days, your pickled chilies will attain the desired crispness. If you prefer a quicker souring process, you can add a small amount of white vinegar and sugar.


