Today, I want to share with you some essential cleaning tools that I use to keep my bathroom spotlessly clean.
1. Floor Brush
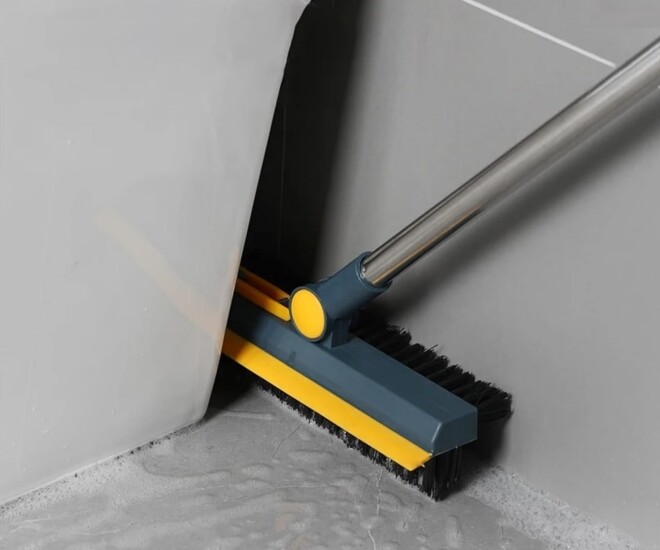
A floor brush, also known as a deck brush, is a must-have tool for your bathroom. It’s designed with a pointed triangular brush head and stiff bristles, making it perfect for cleaning grout, tight spaces, and corners.
Some brushes even feature a 120-degree swivel head for maximum maneuverability, ensuring you can reach every nook and cranny, including those pesky dead angles. There are also 2-in-1 designs that combine a brush head with a squeegee, so you can easily sweep and squeegee away dirt and water.
Using a floor brush will save you time and effort compared to cleaning with a cloth or a regular brush, as it efficiently covers a larger area with each stroke.
2. Squeegee
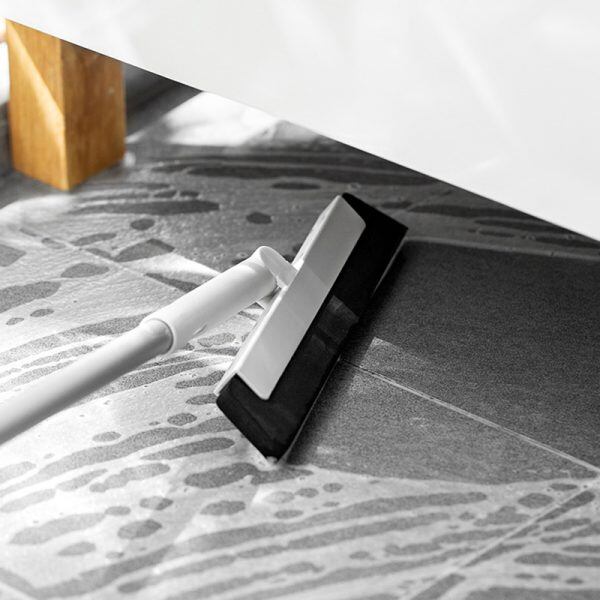
It’s inevitable that water will splash onto your shower doors, walls, and tiles when using the bathroom. While a regular towel can do the trick, a squeegee is a faster and more convenient way to remove water from these surfaces.
Simply squeegee the water down to the drain, and you’re done! By removing water from surfaces, you’re also preventing the buildup of bacteria and mold, keeping your bathroom clean and hygienic.
3. Disposable Toilet Brush
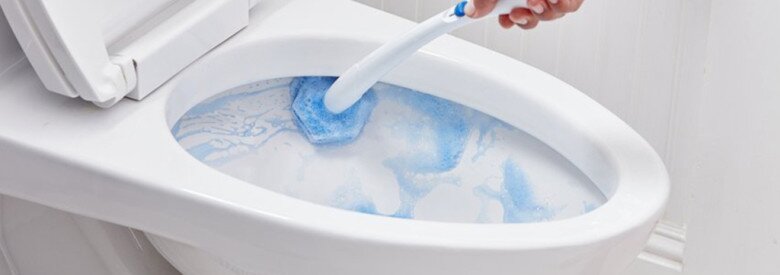
A disposable toilet brush is a game-changer for your bathroom cleaning routine. At first, I thought it was an unnecessary expense, but after using it, I realized how convenient it is.
Designed with a plastic handle and a sponge head, the brush head can rotate 360 degrees, making it easy to scrub away dirt and stains. It creates a rich lather and effectively removes even the toughest grime without splashing water everywhere.
The best part? You can simply dispose of the sponge head after each use, saving you the hassle of cleaning a traditional toilet brush. This also helps prevent foul odors and bacterial growth in your bathroom.
4. Multi-Purpose Bathroom Cleaner
Invest in a good multi-purpose bathroom cleaner that can tackle various surfaces, from faucets and showerheads to tiles and floors. Using just water won’t cut it when it comes to removing stubborn stains and calcium buildup on your fixtures.
5. Dry Towels
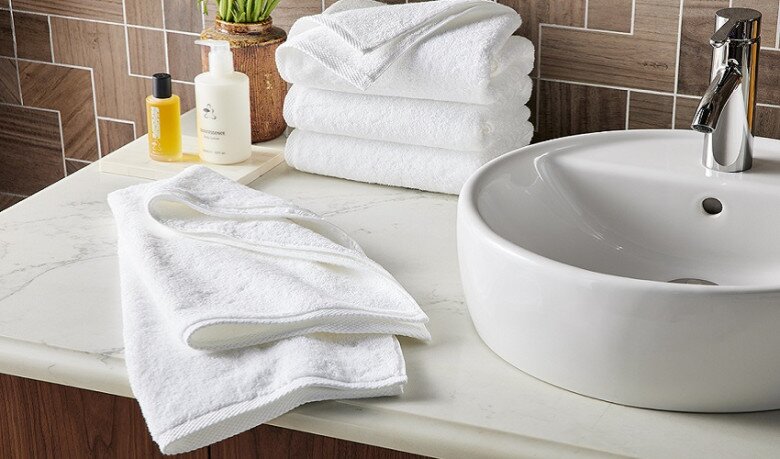
It’s common for water to splatter onto various surfaces in your bathroom. Leaving this water to dry on its own can lead to a damp and dirty bathroom.
That’s why it’s a good idea to keep dry towels in your bathroom. After each use, wipe down surfaces like the sink and shower walls to keep them dry and prevent the buildup of grime.
6. Slim Trash Can
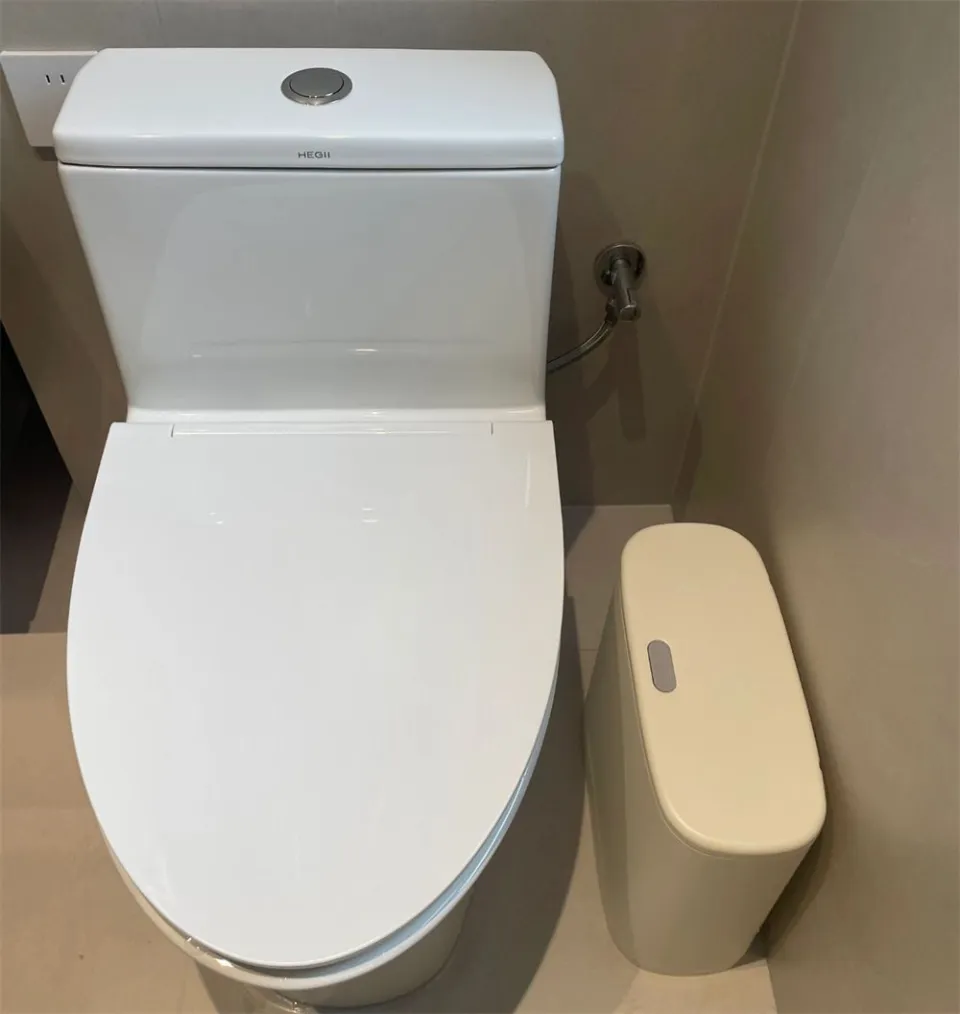
If you have a small bathroom, a traditional round trash can might take up too much space. That’s where a slim trash can comes in handy. It has a narrow profile, making it easy to fit in tight spaces without getting in the way.
It also features a lid that contains odors and prevents the spread of bacteria. Plus, it’s easy to disassemble and clean—just rinse it under the showerhead.
The Ultimate Guide to Bubble-Free Glass Decal Application: A Pro’s Tips
To save costs, many people opt to purchase their own glass decal stickers and apply them independently. However, due to a lack of experience, it is common to encounter issues during the application process, with the most frequent problem being the appearance of tiny air bubbles between the decal and the glass, detracting from the overall aesthetic. We are here to offer a solution to this issue, providing a guide on how to apply glass decals smoothly and bubble-free.


