2 Crafting Crepe Paper Roses: A Step-by-Step Guide
Create a Rose Using Twisted Paper
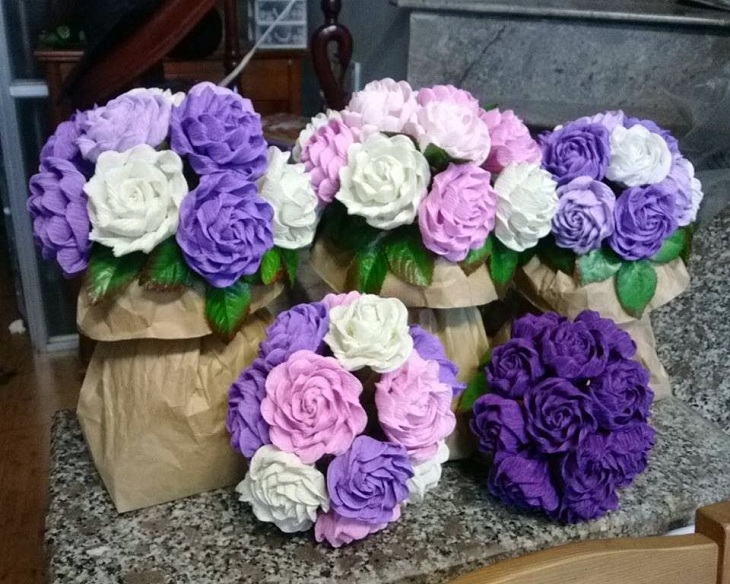
Step 1: Begin by folding the first diagonal, measuring approximately 1-1.5 cm in length. Continue folding diagonally downwards, perpendicular to the edge of the paper, creating a fold that is about 2-2.5 cm in length.

Step 2:
Hold the left hand firmly while bending the folded paper with the right hand. Continue folding the paper downward as described above.

Step 3: Continuously repeat the movement of tightly holding the left hand while turning the paper upside down with the right hand. This should be done until the entire length of the paper is covered.

Step 4: Twisting and Rolling
Twist the end of the paper and begin rolling it to form a flower shape. Continuously scroll and edit as necessary. Once the roll is complete, use a thread to securely tie it in place.

Step 5: Creating Flower Branches
Insert zinc branches into the flower stalk to create beautiful flower branches. Additionally, use green paper to craft the calyx of the flower. Fold the green paper and trim off one end to complete the calyx.

Step 6: Apply milk glue to the calyx and attach it to the flower stalk. Ensure that the calyx is cut slightly longer so that it can fully cover the stem when glued.
To complete the process, apply wax tape to cover the paper portion of the calyx.

– View a tutorial video on creating paper roses through twisting:
Creating Rose Petals using Crepe Paper
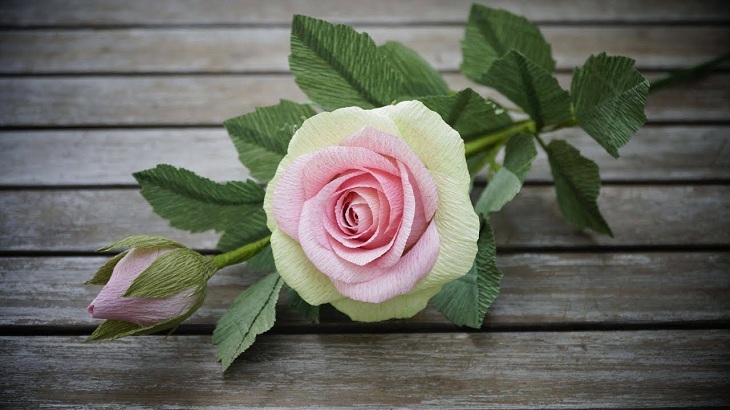
Step 1: Begin by folding a rectangular piece of paper in half. Then, carefully cut one end of the paper into a rounded shape. To avoid the wing layer from rolling in, it is advised to make a 2cm cut in the middle of the paper.

Continuing with the smaller rectangular piece of paper, repeat the previous steps for the remaining wing layers.

Step 2:
Using the bent zinc rod, carefully shape the flower branch. Manipulate the petals to resemble the inner pistil and securely attach them to the curved end of the flower branch.

To create the desired effect, carefully manipulate the innermost petals by gently tugging on the paper from the center. Use the pads of your thumbs to stretch the paper, ensuring that the petals curl elegantly without any unsightly creasing in the middle.
Step 3: Wrap the petal layer around the portion of the paper that was tied earlier, and securely fasten it with thread. To enhance the appearance of the pistil, consider using additional paper, cloth, or cotton as stuffing material.

In the second layer and beyond, a smaller wing will be utilized. The front wing can be stretched or raised to achieve the desired size. The second layer consists of two opposite wings that are rolled and secured individually.
Step 4:
The remaining layers of wings will be attached using glue, instead of just tying. Use a total of 3 wings in the 3rd layer of wings. First, stretch each wing to create a certain bulge, and then curl the wing tip on one or two sides, or leave it smooth.

To create the desired flower shape, arrange the three petals in a stacked configuration and secure them together using milk glue.
Step 5: Pairing the outermost layer of wings
Pair the outermost layer of wings with 5 wings. First, gently stretch the middle part of each petal. Then, softly rub the entire tip of each petal. Arrange the 5 petals in a harmonic sequence, slightly overlapping each other. Finally, use milk glue to securely attach them to the flower.

Step 6: Applying Milk Glue to the Calyx
Spread a thin layer of milk glue evenly on the calyx. Carefully place the flower in the center of the calyx and gently pull the sepals on both sides, making sure they are straight and symmetrically aligned.
When tying the calyx, ensure that the length of the calyx is sufficient to fully cover the lower part of the inner petal. Pay close attention to detail and precision while securing the calyx to the flower.

– View a tutorial on creating rose petals using crepe paper:
Making a Bouquet of Roses with Crepe Paper: Step by Step Guide
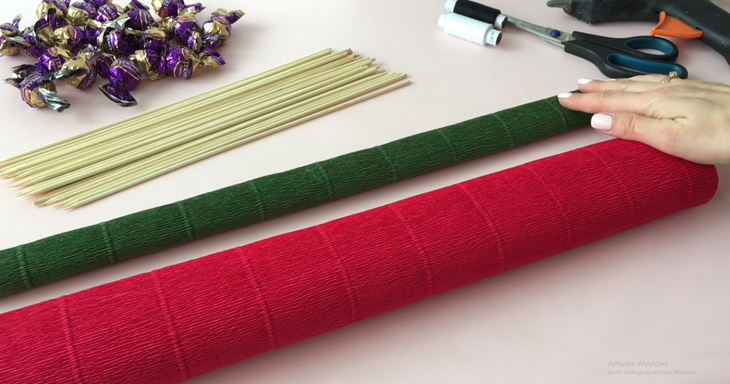
Steps to Follow
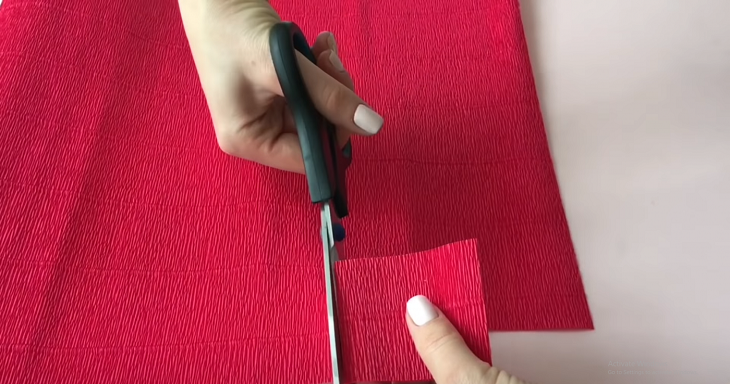
The first step involves using a pair of scissors to carefully cut the red crepe paper into squares with a side length of 6 cm.
Step 2: Cutting the Blue Paper
Using a ruler, cut the blue paper into rectangles that have dimensions of 6×7 cm.
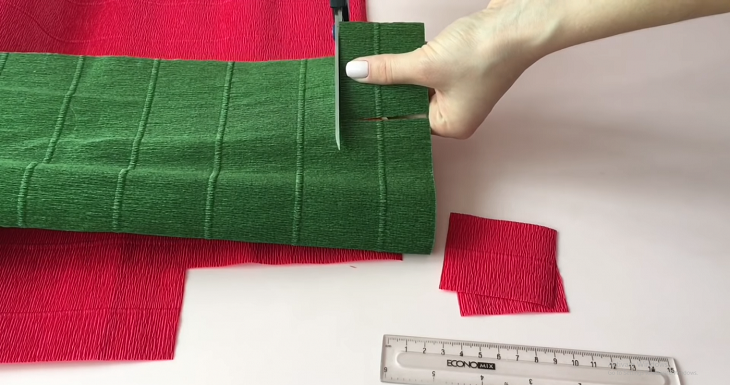
Step 3: For each sheet of green paper, carefully create an even serrated shape to form the calyx of the flower. Similarly, cut each piece of red paper according to the given design.
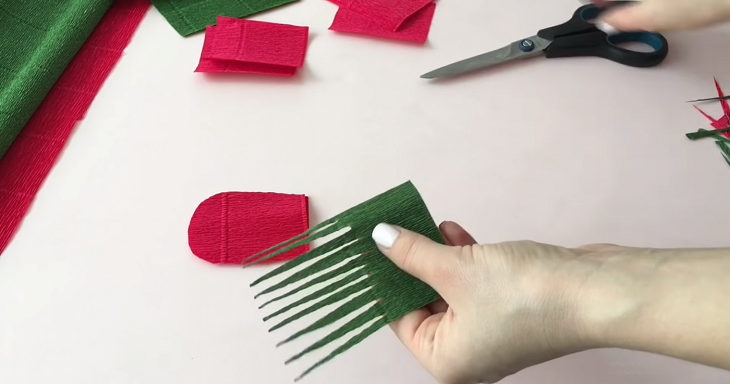
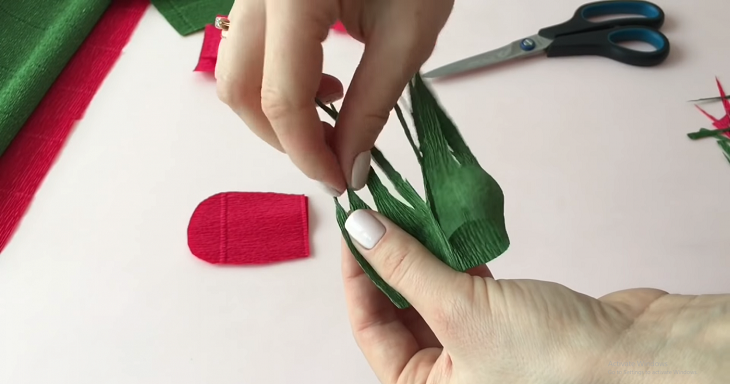
Step 4: Gently stretch the tissue paper using your hands to create a bulge, and twist the pointed ends at the top in a specific direction.
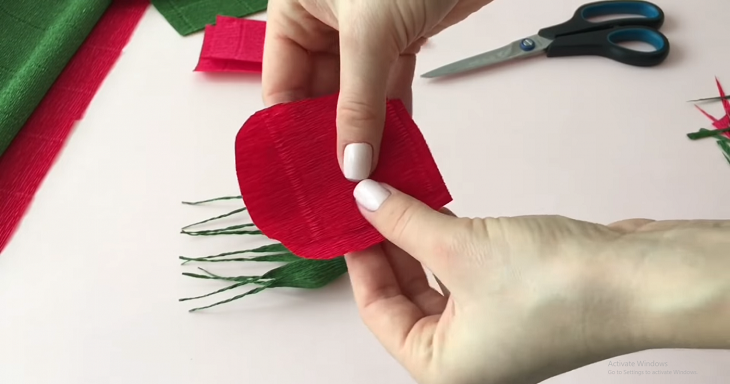
Step 5: Stack two rose petals together, positioning them as shown. Place two thumbs in the center of the petals and gently pull the paper to the sides. This technique will give our flower a more natural and realistic appearance.
Step 6: Place the candy inside the petal and carefully roll it up, following the visual guide. Secure the bamboo toothpick at the stem using candle glue to create branches for the flower.
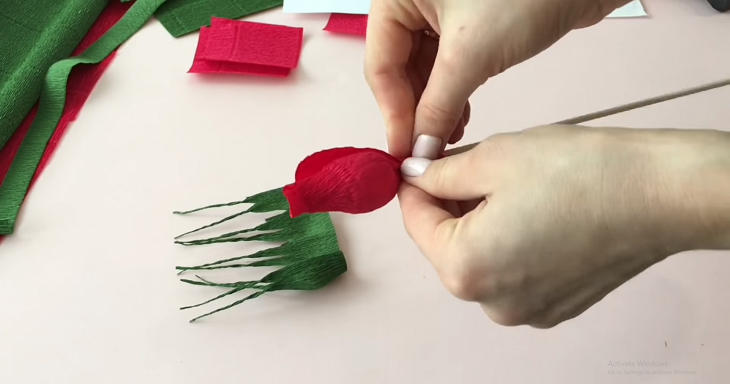
Step 7
Attach the sepals around the flower stalk. To give the flower spike a natural color, cover the bamboo toothpick with a layer of green tissue paper, matching the color of the sepals.
Tulips
Tulips are one of the most popular flowers in the world. They are known for their bright colors and elegant shape. Tulips come in many different varieties including red, pink, yellow, and purple. They are often associated with spring and are a common sight in gardens and floral arrangements. The meaning of tulips varies depending on their color. Red tulips symbolize love and passion, while yellow tulips represent happiness and cheerfulness. Tulips are easy to care for and can be grown in both gardens and pots. They require well-drained soil and full sun to thrive. If you want to add a pop of color to your garden or home, tulips are a great choice.
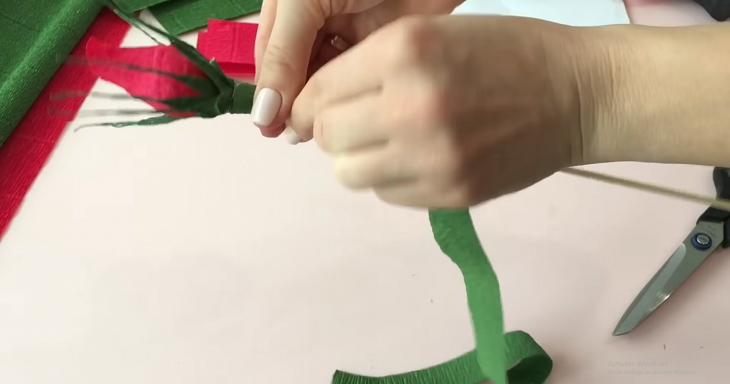
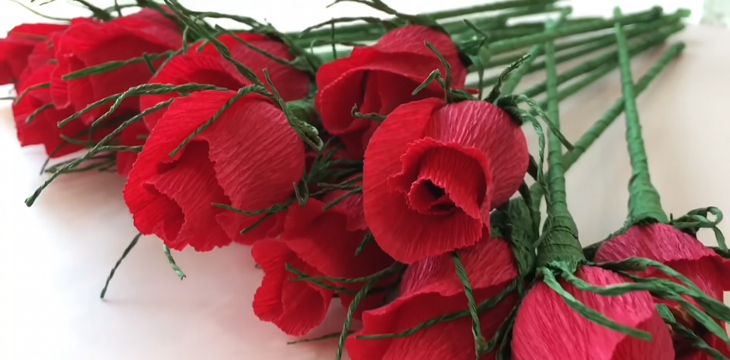
Step 9: Arrange the flowers into a bouquet and securely fasten their position with tape. Then, carefully place the bouquet onto the pre-prepared wrapping paper.
Step 10: Lastly, utilize ribbon to add elegant embellishments to the bouquet.
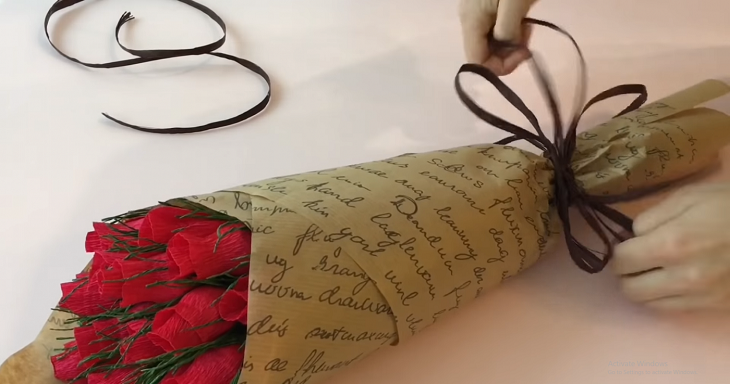
Learn how to create a beautiful rose bouquet using crepe paper: Watch our informative video tutorial.
Step-by-Step Guide to Making a Rose Out of Toilet Paper
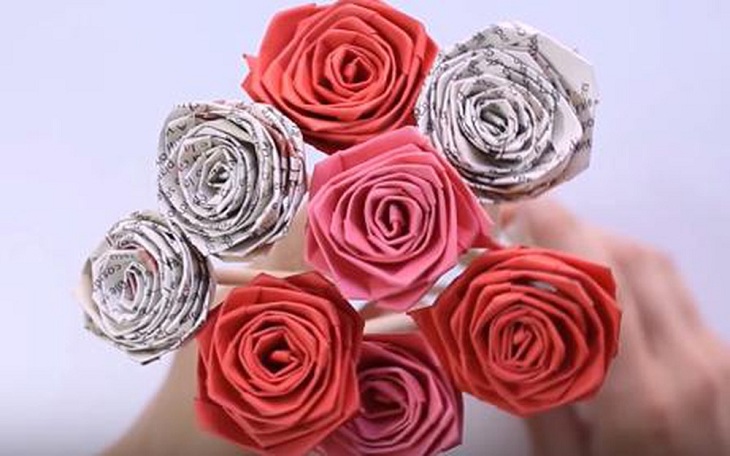
- Step 1: Begin by gathering all necessary materials and tools.
- Step 2: Carefully read and follow the instructions provided.
- Step 3: Take your time and work in a methodical manner.
- Step 4: Double-check your work to ensure accuracy.
- Step 5: Clean up any mess and put away tools properly.
The first step is to utilize glue in order to securely affix three pieces of paper together. Next, fold one end of the paper diagonally, then continue folding it, making sure to leave a gap from the top. Proceed by folding the paper back towards the bottom, but only for a short distance underneath the folded top section.

Step 2: Wrap the paper around the bottom fold until it is almost to the top of the fold. Fold the paper backwards and wrap it around again. Then, change the folding direction of the paper faster. Begin with one or two turns, and then gradually decrease before ending with a loop fold.
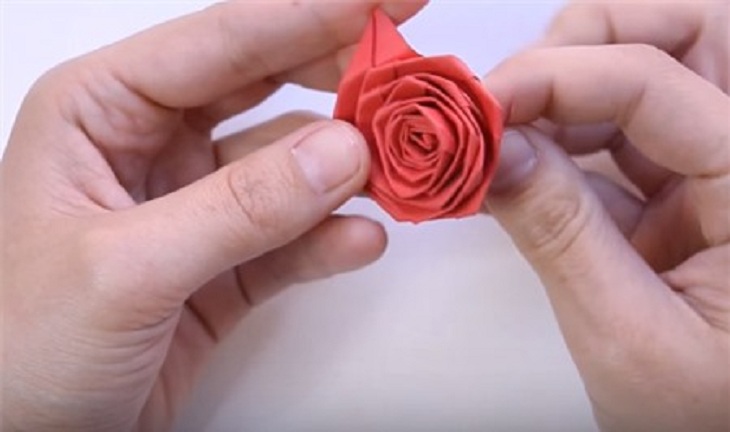
Step 3: Apply glue to attach the other part of the paper to the flower. Fold the end of the paper to cover the folded tail. Use a small amount of 502 glue on a wooden stick to temporarily hold the flower in place. This will result in a flower made from paper.
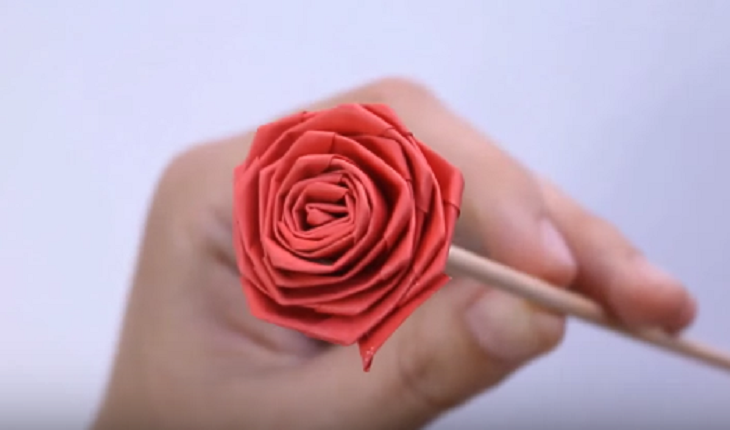
Depending on the specific requirements, 502 glue or a suitable adhesive with strong adhesion between paper and wooden stick can be utilized. In order to ensure a secure attachment, clamps can be employed to hold the end of the wrap firmly in place after the initial gluing process.
[Link] Watch a video tutorial on crafting a rose using a roll of paper.
Make Roses Using Foam Paper: A Step-by-Step Guide
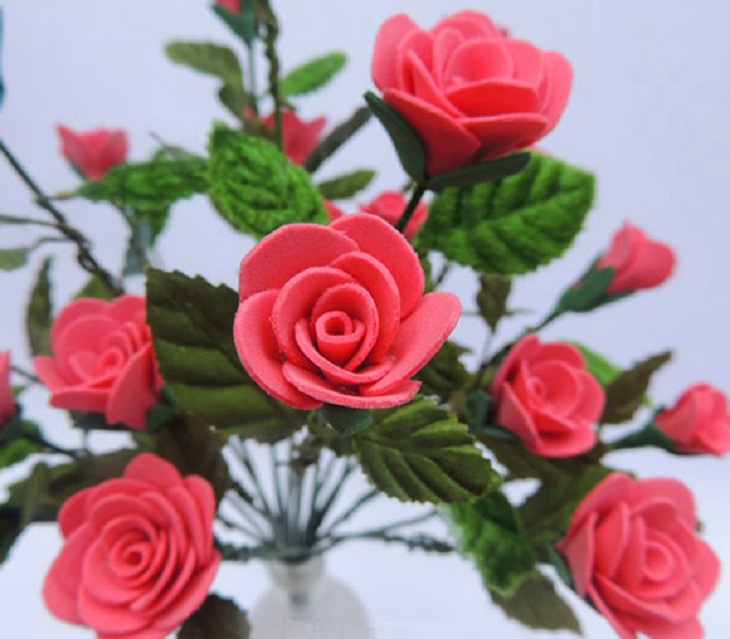
Procedures to Follow:
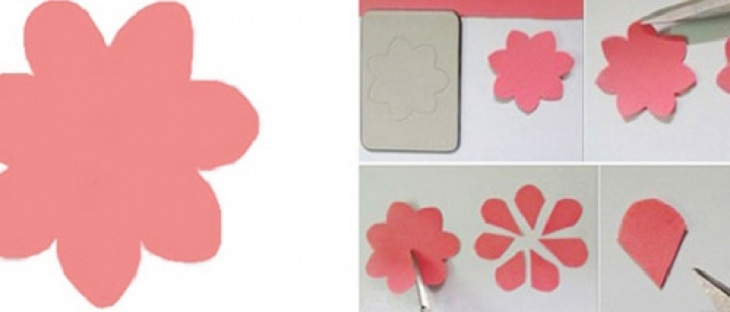
Step 1: Begin by drawing a flower shape on foam paper and carefully cutting it out. Next, remove each petal and trim them to create a visually appealing design.
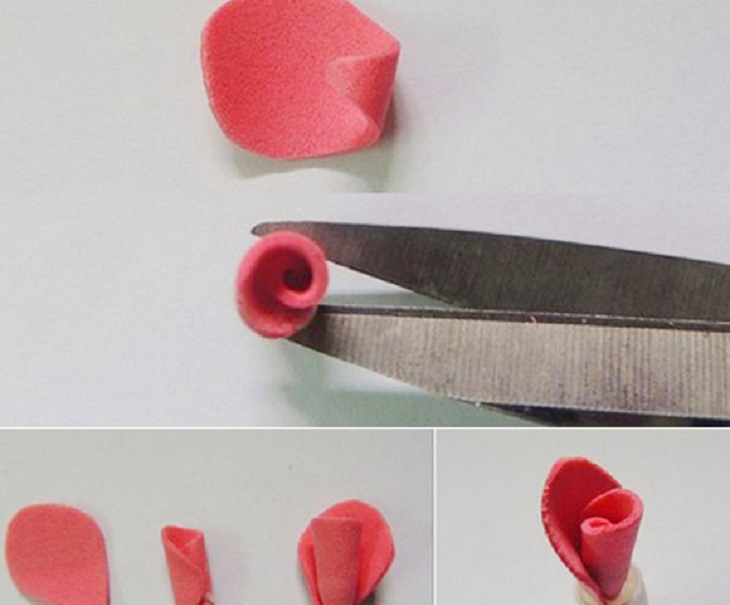
Step 2: Take one petal and roll it up to create the pistil. Use glue to securely hold it together. Then, attach another petal to the outside of the pistil using glue.
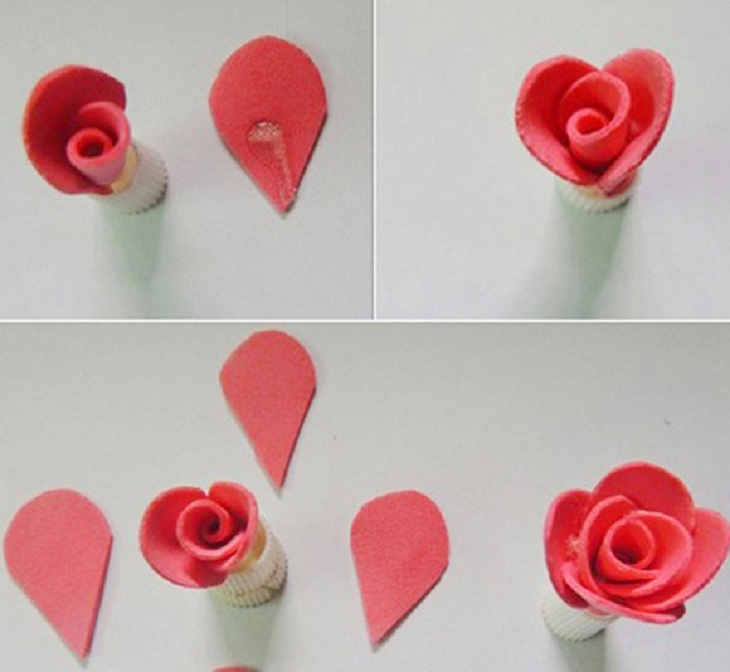
Step 3: Adhere the second petal on the opposite side of the first petal. Repeat this action for the remaining petals to create a complete flower.
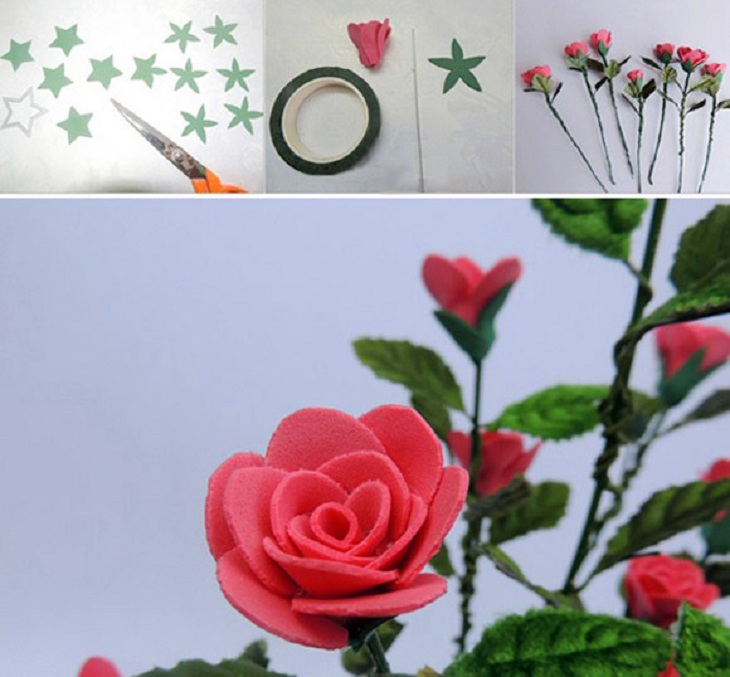
Step 4: Begin by cutting the blue paper into the shape of a star. Carefully trim the star petals to create the calyx of the flower. Attach the flower to the top of the zinc thread and securely insert the zinc wire into the center of the calyx. Press the calyx tightly against the bottom of the flower. Take a plastic leaf and neatly wrap it around the zinc wire. This completes the assembly of the rose.
Please watch the instructional video on crafting roses using foam paper.
Buying Paper for Flowers: 5 Tips to Help You Out
When selecting a selling address, it is important to choose one that is reputable and has a large customer base of trusted individuals.
– What type of paper requires special attention? What is its origin and is it hazardous? Many manufacturers of confetti source inexpensive paper from China, which has been infused with chemical dyes to enhance the appearance of the flowers but poses significant health risks.
Please provide clear instructions on how to preserve paper flowers to maintain their beauty and prevent fading. It is important to avoid exposing the flowers to direct light, as this can cause the colors to fade and the flowers to age quickly. Additionally, it is essential to keep the flowers away from water and cold weather, as this can cause the paper to shrivel.
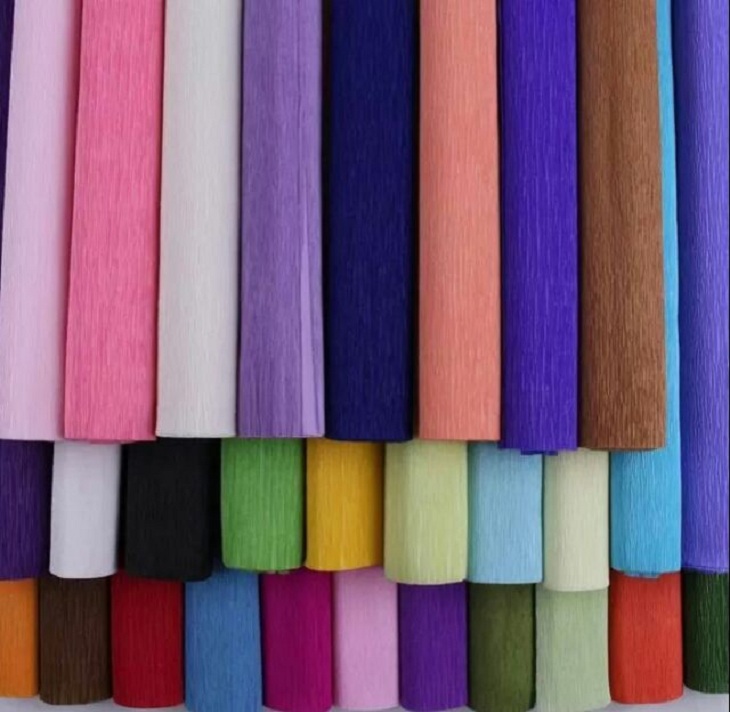
When purchasing flowers, it is important to consider feng shui as it influences the selection of colors and types that are most suitable for the individual.
When selecting flowers, it is important to consider the recipient’s preferences. By choosing flowers that align with their likes and dislikes, you are able to demonstrate your thoughtfulness and the significant role they play in your life. This personalized approach showcases the depth of your affection and highlights the unique connection you share.
If you’re looking to find and choose the perfect model of paper flowers, you’re in luck. Our collection offers a wide variety of options, each with its own unique and beautiful design. It’s important to select the right type of paper for your floral creations, ensuring they are suitable for their intended purpose.
Above is an article providing instructions on creating exquisite and memorable paper flowers as a thoughtful gift for March 8. Best wishes for your successful endeavor!


