


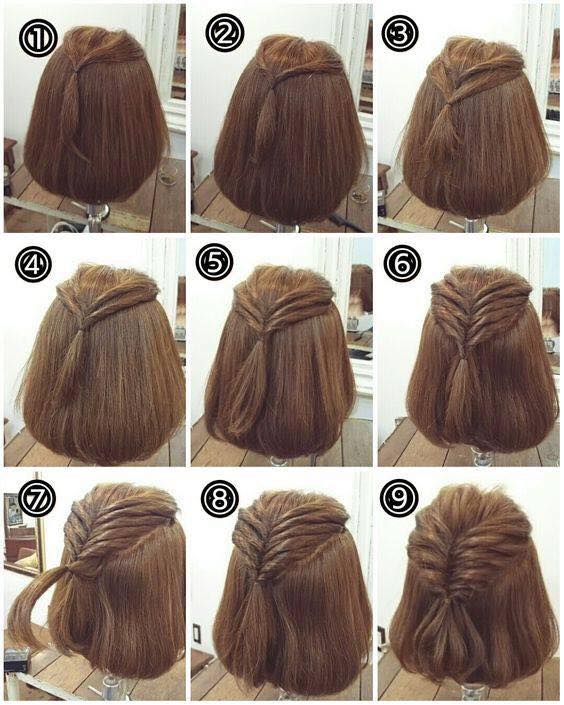
With prominent advantages such as simplicity, ease of implementation, not taking much time, creating a gentle, attractive feeling. Surely, you should note down the information on how to braid fishbone hair below.
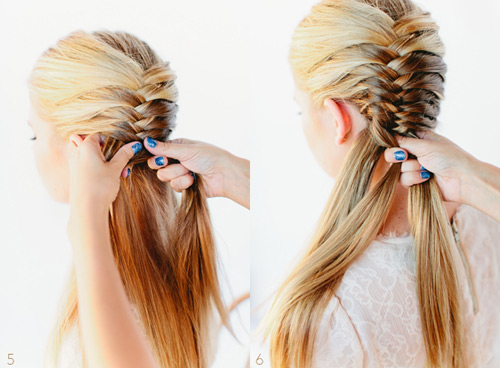
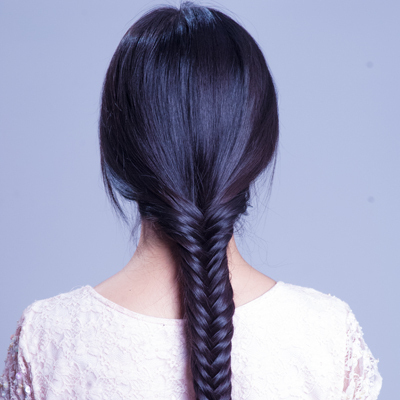
This is a braiding style that most girls know, even when they were students, many of them had their hair braided in fishbone style, especially when combined with the white ao dai of female students, maybe apart from the loose bun style, the fishbone braid is the most suitable “mode”. To have a traditional fishbone braided hair, you should follow the instructions below:
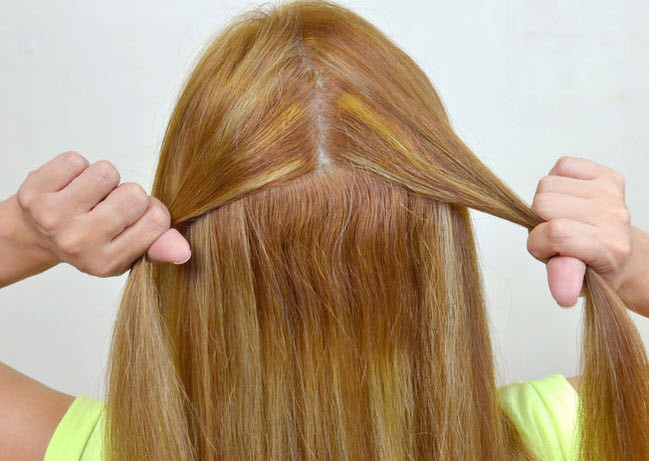
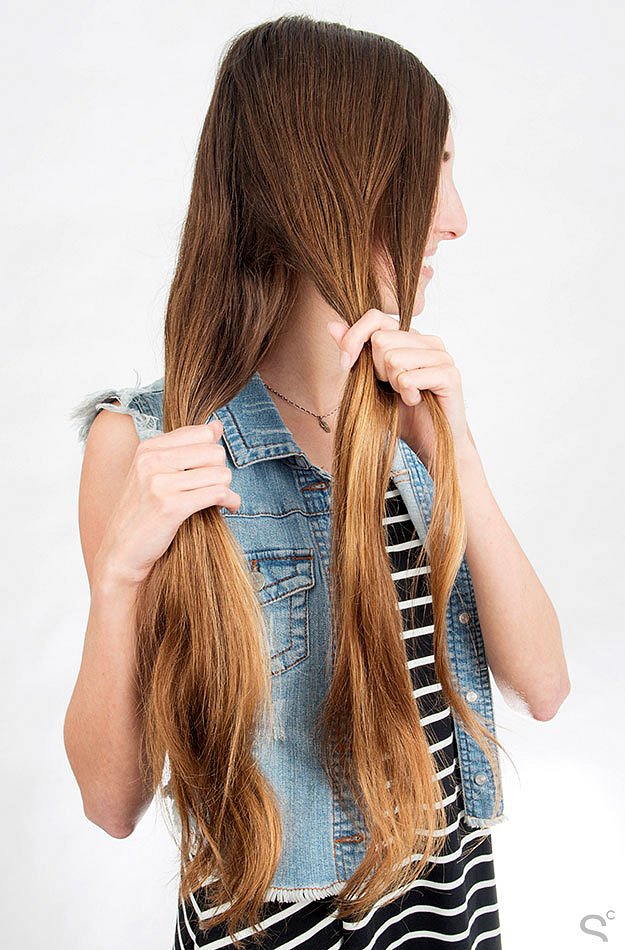
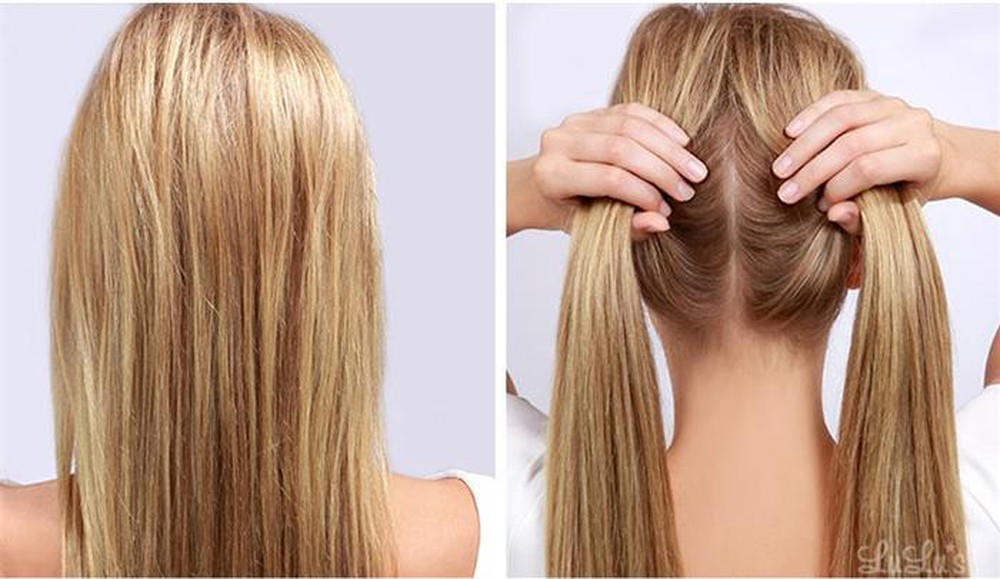
– Step 1: Divide the hair in half
- Divide the hair into 2 equal parts
A small note before braiding the hair, no matter which hairstyle you have, if you have time, you should lightly curl your hair to create a natural and flowing feeling when braiding.
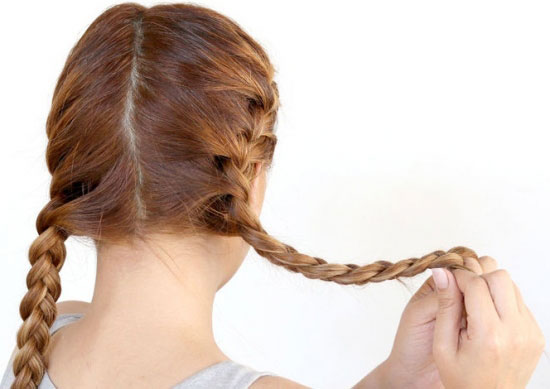
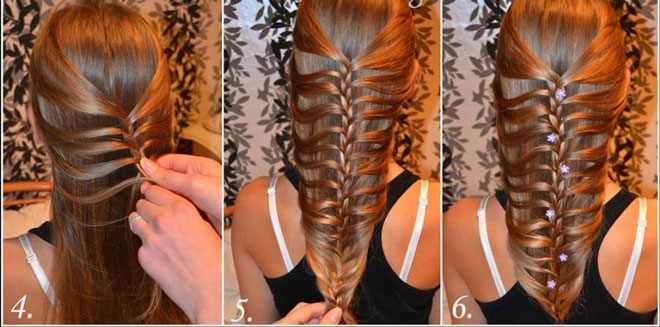
– Step 2: Start braiding the hair from the nape
Then, continue to take a strand of hair from the base of the left side of the hair you have just taken. Note that the strands added later should be of equal thickness. The hair is braided starting from both the left and right sides of the face, gradually going down to make the braided hair more even and beautiful.
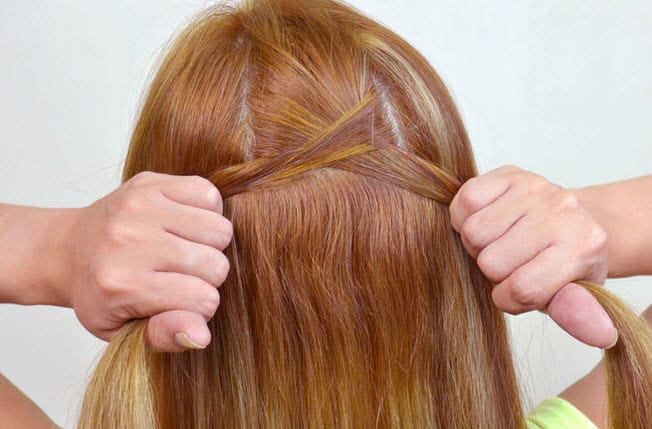
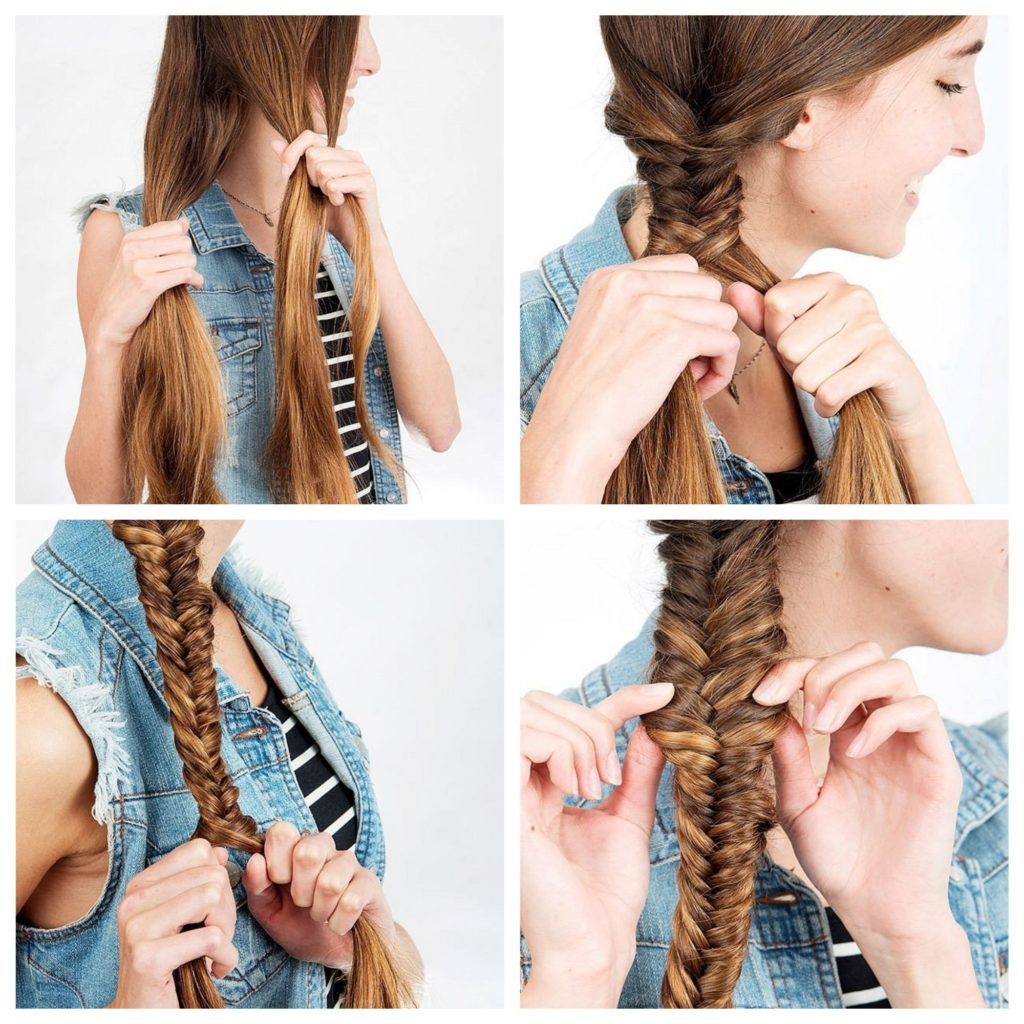
– Step 3: Pull the third strand of hair you just added to the right and pull the strand in the middle to the left.
At this time, the middle strand (the second strand) is under the third strand, and the third strand, along with the first strand, is held by the right hand. Insert the third strand into the first strand to make it one strand.
– Step 4: Take another strand of hair from the base of the right side of the hair and pull it across to the left. Press it onto the first strand and insert it into the second strand. At this time, the left hand holds the newly added strand of hair, and the right hand holds the strand of hair in the middle.
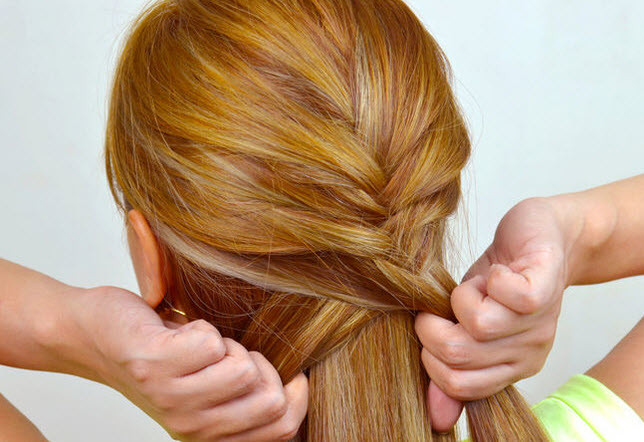
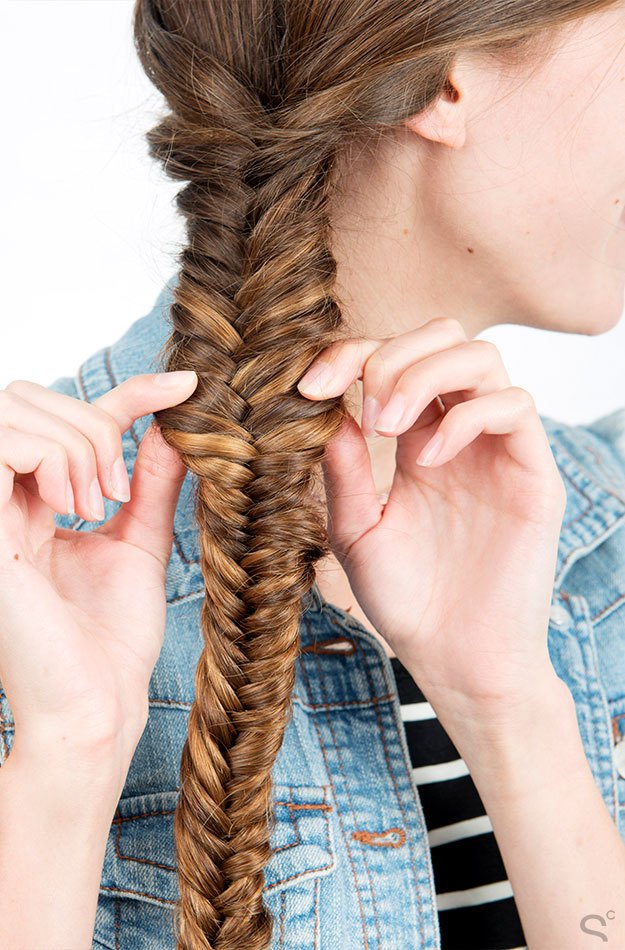
– Step 5: Take the hair on the left side and continue to repeat the steps. Then move on to take the hair on the right side, switch sides to take the hair until all the hair is braided.
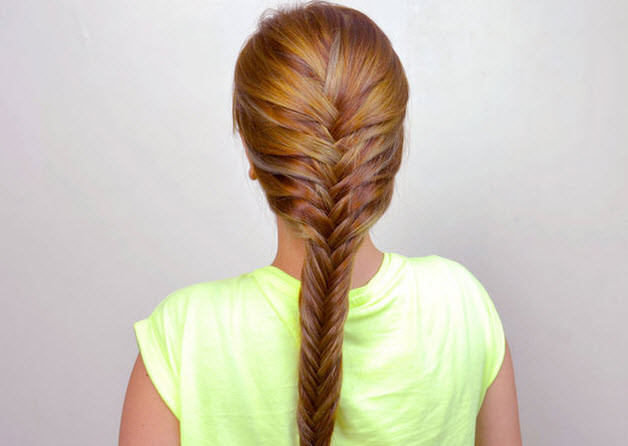
– Step 6: Tie the hair with a hair tie, if the bun is too loose, you can use hairpins to fix it.
2. Asymmetric fishbone braids
Similar to the traditional fishbone braid, this asymmetric fishbone braid adds a little variation. Instead of leaving the middle part of the hair straight down the middle, this time our braid is pulled to one side of the shoulder, combining the classic beauty with creativity in the hairstyle. The steps are as follows:
Step 1: Divide the hair
- First, gather all the hair to one side (left or right, depending on your preference)
- Divide the hair in half evenly.
Step 2: Start braiding the fishbone
- Proceed to braid the hair like the traditional method, take a small amount of hair from the left side and pull it over to the right side, and vice versa.
Step 3: Completion
- Braid the hair to the end and then tie it with a hair tie
- Use your hand to gently loosen the hair strands for a more natural and beautiful look
3. Cute double fishbone braids
This is still a fishbone braided hairstyle, but if you are bored with the single-sided style, this is a new hairstyle for you. To have double fishbone braids, follow these steps:
Step 1: Divide the hair
- Part your hair in the middle and divide it into 2 equal parts, gather both parts of your hair to each side of your shoulders.
Step 2: Proceed to braid the hair
- Further divide each part into 2 equal parts and proceed to braid fishbone braids for each side as usual
Step 3: Completion
- After braiding both sides of the hair, tie the hair with a hair tie
- Remember to loosen the strands to create a more natural look.
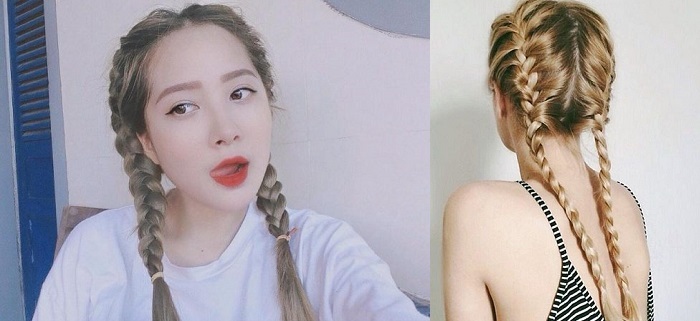
This hairstyle will make you look dynamic, playful, and more refreshing.
4. Zigzag fishbone braid
This is the most unique and stylish fishbone hairstyle among all the fishbone braids that I want to introduce. Let’s see how to do this hairstyle:
Step 1: Braid the hair from the top
- Take 3 strands of hair from the edge of the hair on top of the head, either on the left or right side as you like
Step 2: Braid the hair in a zigzag pattern
- Braid in a straight diagonal line to the ear, while grabbing the hair on both sides to criss-cross
- When reaching near the ear, bend the hair in the opposite diagonal line to the hair end
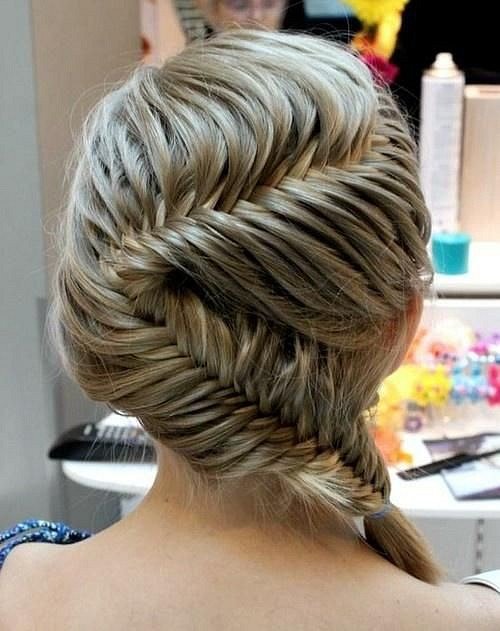
Step 3: Completion
- After braiding the hair to the top, tie the hair with a hair tie
If your hair is a little bit short, you can further enhance your hairstyle by hiding the tied part and the hair end inside the neck and secure it with a hairpin.
5. Fishbone braid for short hair
Girls with short hair always worry that they cannot braid their hair, so here you can refer to this article to create a cute braided hairstyle. To braid the hair for short hair, follow these steps:
Step 1: Prepare hair ties
- Prepare 8-10 hair ties to start braiding the hair (brush your hair smoothly before braiding)
Step 2: Proceed to braid the hair
- From the top of your head, take 2 strands of hair on each side, the distance between the 2 strands should be from 7 to 15 cm.
- Gather these 2 strands together and tie them with a hair tie at the midpoint of the 2 strands.
- Continue taking two other strands on both sides, gather these strands and tie them together, note that the strands behind should be tied below the previous strands.
- Continue this process with the remaining strands until you reach the desired length or the end of your hair.
Note: Slightly twist each strand to make the hair look better, and the smaller the strands, the tighter you should gather them.
Step 3: Completion
- With the last strand of hair, tuck all the strands above it under the last strand, hiding the hair ties.
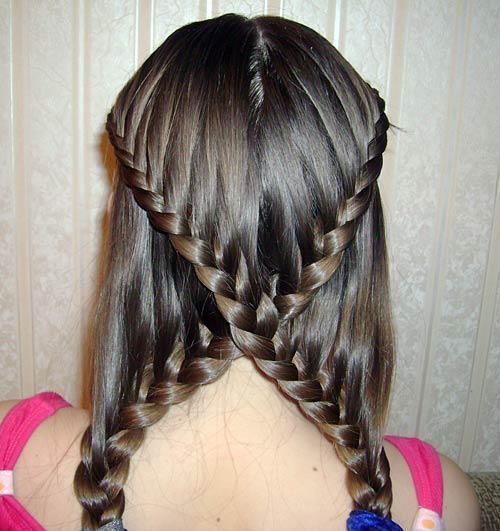
6. Heart-shaped fishbone braid
Along with the traditional fishbone braiding technique, you can be creative with various unique and beautiful styles. Specifically, you can follow these instructions:
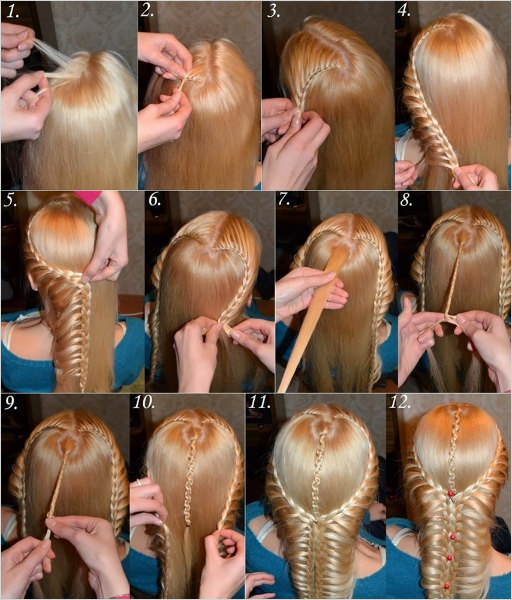
Fall in love with the beautiful heart-shaped fishbone braid
Braid the hair in an arch from both sides in a circular line from the top of the head to the ear and into the hair tail. Braid a small straight strand from the top of the head down. Combine the three strands together and secure with bobby pins
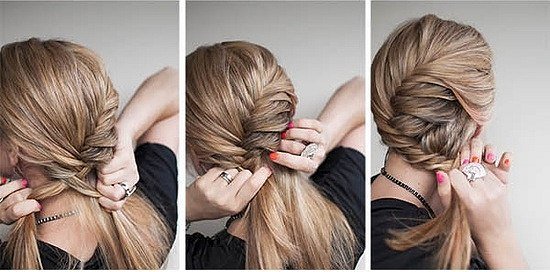
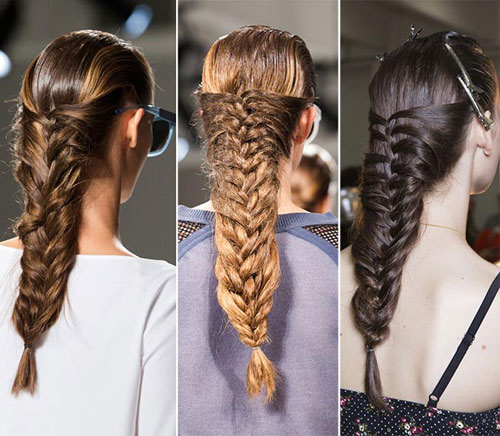
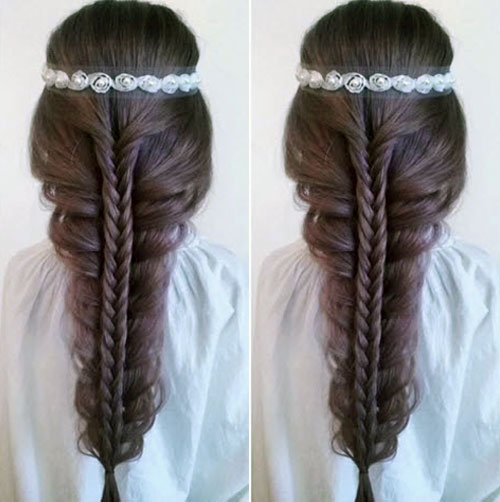
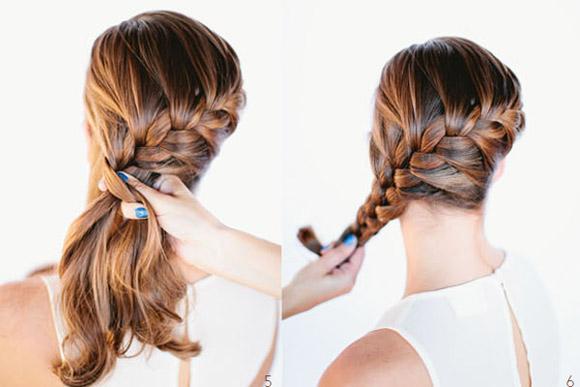
Here are some beautiful fishbone braided hairstyles for you to refer to

As a girl, don’t hesitate to beautify yourself and always think of ways to improve yourself and become more beautiful every day.
Wishing you always beautiful!
4 Habits that Make Freshly Washed Hair Sticky – Unrelated to the Weather

Are you tired of your freshly washed hair feeling greasy? Here are 4 habits that could be the cause of your sticky scalp. Read on to learn why it may be happening – it’s not always because of the weather!
Easy Kitchen Remedies to Improve Your Beauty

Did you know that it’s possible to find beauty products just as good as those expensive cosmetics from the market, without ever leaving your kitchen? All it takes is a few minutes of rummaging through your kitchen shelves.
5 Summer Hairstyles for a Feminine Dress Look
 Hairstyles for a Feminine Dress Look’>
Are you in search of the perfect summer hairstyle? Look no further! There is a selection of fashionable and feminine haircuts to pick from to keep you looking and feeling beautiful during the hot summer months.
Two Quick and Efficient Methods to Utilise Alcohol for Flea Treatment

Do you have an itchy, exasperating scalp due to head lice? Don’t worry, we have the perfect answer! Discover how to eliminate head lice with alcohol quickly and effortlessly by reading our article here!
5 Tips to Cope With Oily Hair While Wearing Helmets in Summer

Is summer heat and humidity causing your helmet hair-look to go south? You’re not alone. Read on to discover simple solutions to beat the summer sweat and sticky helmet hair!


