


1. Preparing the Substrate for Oyster Mushroom Cultivation
Oyster mushrooms thrive in darkness and stillness, so the growing area must be well-ventilated and free from light and drafts. Optimal growth occurs at a substrate moisture level of 60-65% and an air humidity of 80-85%.
Prior to cultivation, soak straw, sawdust, or rice husks in diluted lime water for 15-20 minutes, then remove and drain.
The substrate preparation involves two phases. In the first phase, soak the substrate for 3-4 days, ensuring daily moisture by sprinkling water and turning the substrate over for even moisture distribution. Subsequently, cut the straw into 7-10 cm lengths using a knife, and proceed to the second phase of soaking for 2-3 days.
Once the two-phase preparation is complete, sterilize the straw, rice husks, or sawdust in steam at 100°C for 3-4 hours to eliminate any pathogens present.
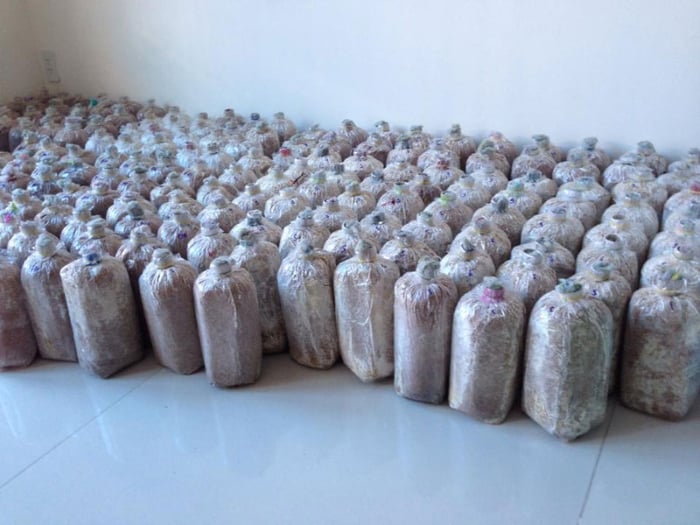
Substrate evenly distributed into plastic bags.
2. Cultivation
You can purchase oyster mushroom spawn from agricultural supply stores or nurseries.
Distribute the substrate evenly into plastic bags. Fold the bottom of the bag at a right angle, and start by placing the first layer of straw, compressing it firmly to a thickness of about 5 cm at the bottom of the bag.
Next, sprinkle the spawn around the inner walls of the bag, ensuring it is pressed outwards towards the bag’s walls. Add the second layer of straw, followed by more spawn along the walls, maintaining a 5 cm thickness for each straw layer.
For the top straw layer, evenly distribute the spawn, leaving a small circular space in the center. Insert a cotton ball into this space, and secure it with a rubber band, tying it tightly to the mouth of the bag.
Each bag should contain four layers of substrate, with a thickness of 5-7 cm per layer, and approximately 50g of spawn per bag.
Oyster mushrooms are among the easiest mushrooms to cultivate.
3. Care
After planting, place the bags in a cool, dark incubation room. Avoid direct sunlight, as it can hinder the growth and quality of the mushrooms.
Arrange the bags on shelves or racks, maintaining a 2-3 cm gap between each bag for ventilation. Incubate for 20-25 days.
After the incubation period, inspect the bags. If you notice a white coloration spreading at the bottom, it indicates the spawn is growing. At this point, remove the cotton ball, squeeze out the air from the bag, and secure it again with a rubber band.
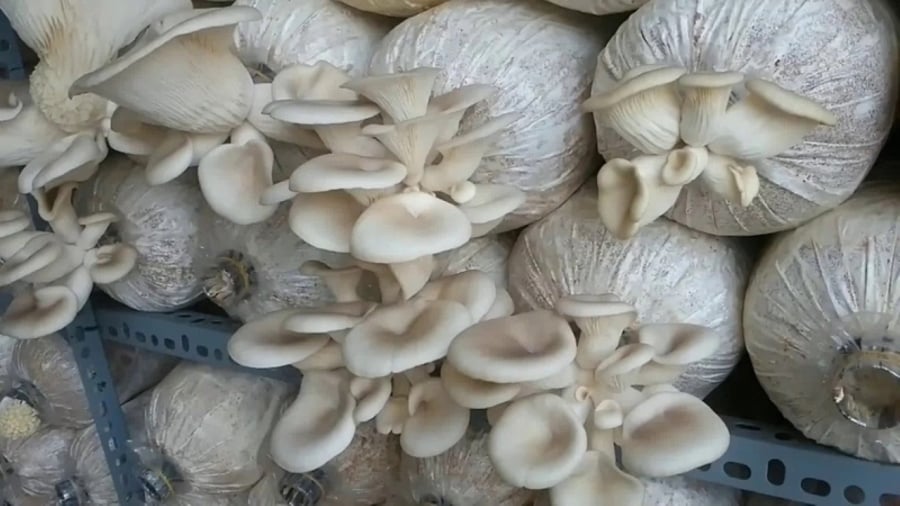
Use a nylon string to hang the bags. Make 6-8 slits in each bag (3-4 cm long), staggered around the bag. Avoid slitting too close to the bottom or mouth of the bag. After 4-6 days, the mushrooms will start to appear.
Mist the bags with water 4-6 times a day.
4. Harvest
When the mushroom caps reach a diameter of 3-5 cm, they are ready for harvest. Twist and pluck the clusters at the base; leaving the base intact can invite infections.
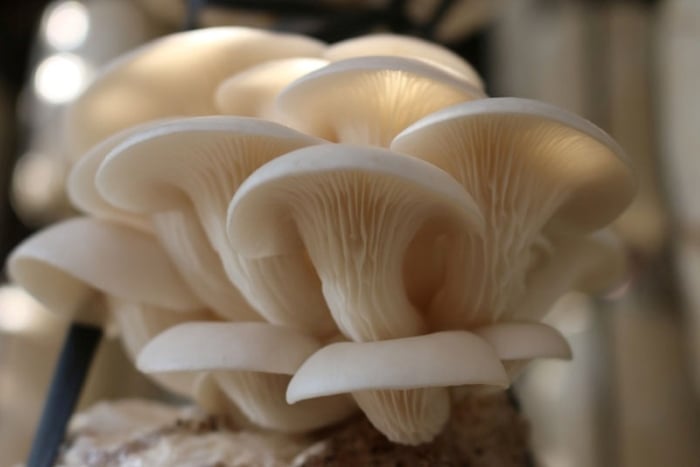
Mushrooms ready for harvest
After harvesting, refrain from watering the bags for a few hours. Immediate watering can cause the spawn in the bags to rot.
Following the first harvest, pause watering for 5-7 days to allow new mushrooms to develop. Once a bag has stopped producing mushrooms, discontinue watering it. Instead, maintain moisture by spraying water on the surrounding area and the bag’s surface daily. After 3-4 days, resume misting the bags to stimulate bud formation.


