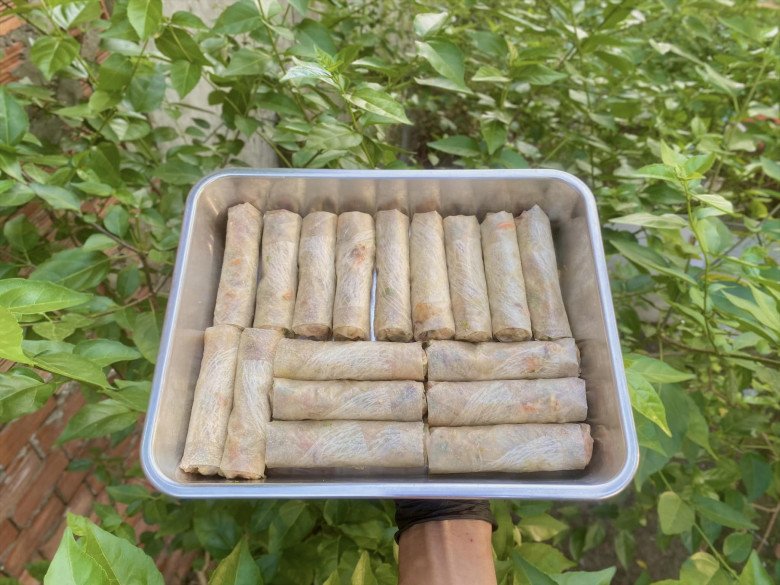
While spring rolls are a familiar dish, not everyone knows how to wrap them evenly and beautifully. That’s why it’s common to end up with unevenly fried spring rolls – some long, some short, some big, some small, and some even bursting. To solve this problem, Mai Van Kha from Ho Chi Minh City, an experienced cook, shares his incredibly beautiful spring roll wrapping technique, ensuring 100 uniform spring rolls that won’t burst during frying.

Mr. Mai Van Kha.
Below is Mr. Kha’s spring roll wrapping technique, which you can refer to and try yourself:
Ingredients:
– Minced meat, shrimp, scallions, wood ear mushrooms, straw mushrooms, glass noodles, bean sprouts, onion, carrots (as desired), taro, pepper, seasoning powder/broth powder (optional)
– Rice paper: Ram and nem rế (a type of thin, crispy rice paper)
Instructions:
Step 1: Preparation
Prepare the ingredients as you usually would.
Video of ingredient preparation.
Notes:
– To ensure that the spring rolls stay crisp for longer, all ingredients must be dry and fresh. Vegetables should be squeezed dry before mixing with other ingredients. Avoid using too many eggs.
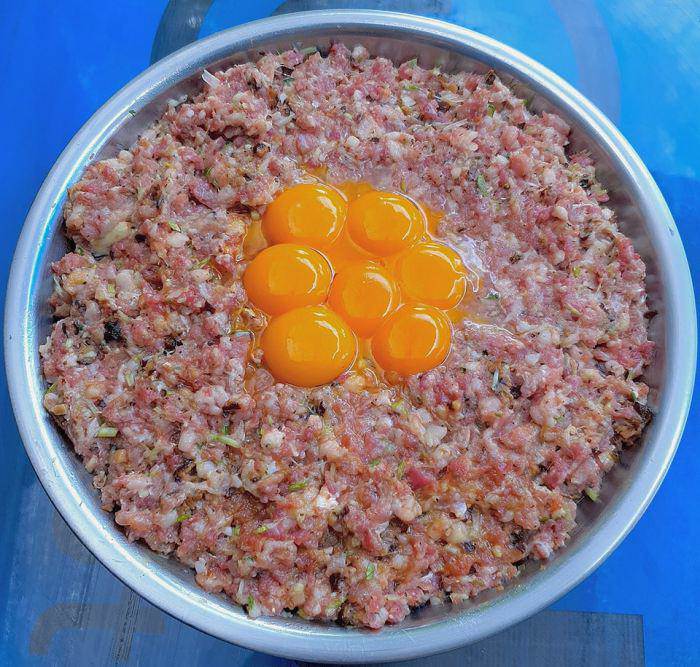
Video of mixing the filling.
Step 2: Wrapping the Spring Rolls
– Place a sheet of rice paper on a cutting board, then place half a sheet of nem rế (or half a regular spring roll wrapper) diagonally in the center. The nem rế sheet, when cut in half, serves as a ruler to help you wrap the spring rolls uniformly.
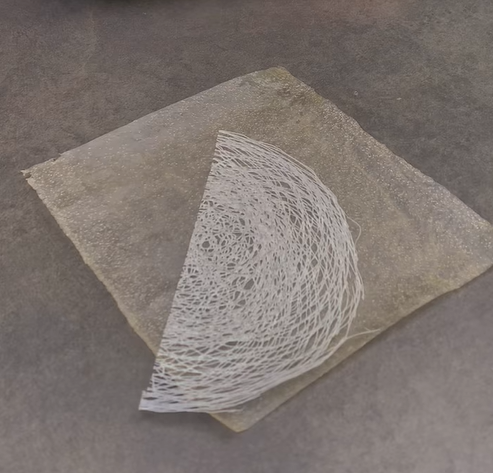
Next, place the filling in the center, making sure it stays within the half sheet of rice paper on top. Fold the rice paper and roll it up tightly twice. Then, fold in the sides, aligning them with the edge of the half sheet of rice paper on top. Continue rolling, ensuring a tight and even roll.
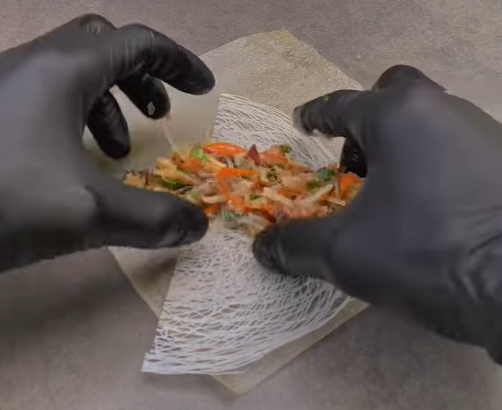
Detailed video of wrapping spring rolls.
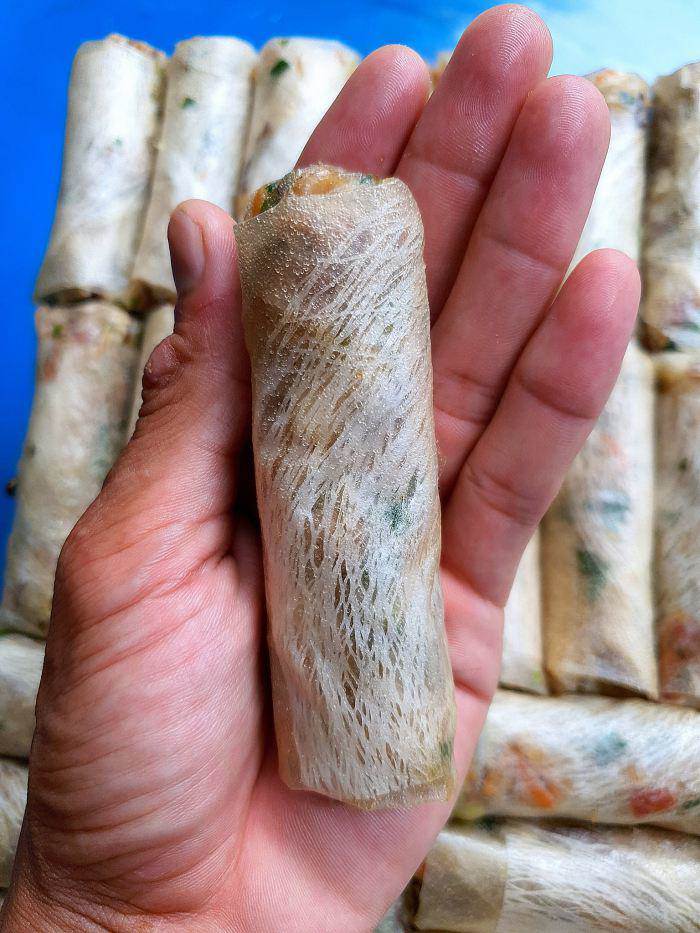
Notes:
– The key to successful spring rolls is to ensure that no water is released during the wrapping process. This includes proper preparation and ingredient handling.
– After wrapping, place the spring rolls in the freezer for 20 minutes before frying to help them hold their shape. They will look better when fried.
– For the best results, fry the spring rolls in enough oil to cover them, and fry them twice to maintain their crispness for longer.
Good luck and happy cooking!


