1. Snip & Sketch
Snip & Sketch is a tool that simplifies and speeds up the process of taking screenshots. To start capturing a screenshot, simply click the “New” button located at the top left corner of the Snip & Sketch window.
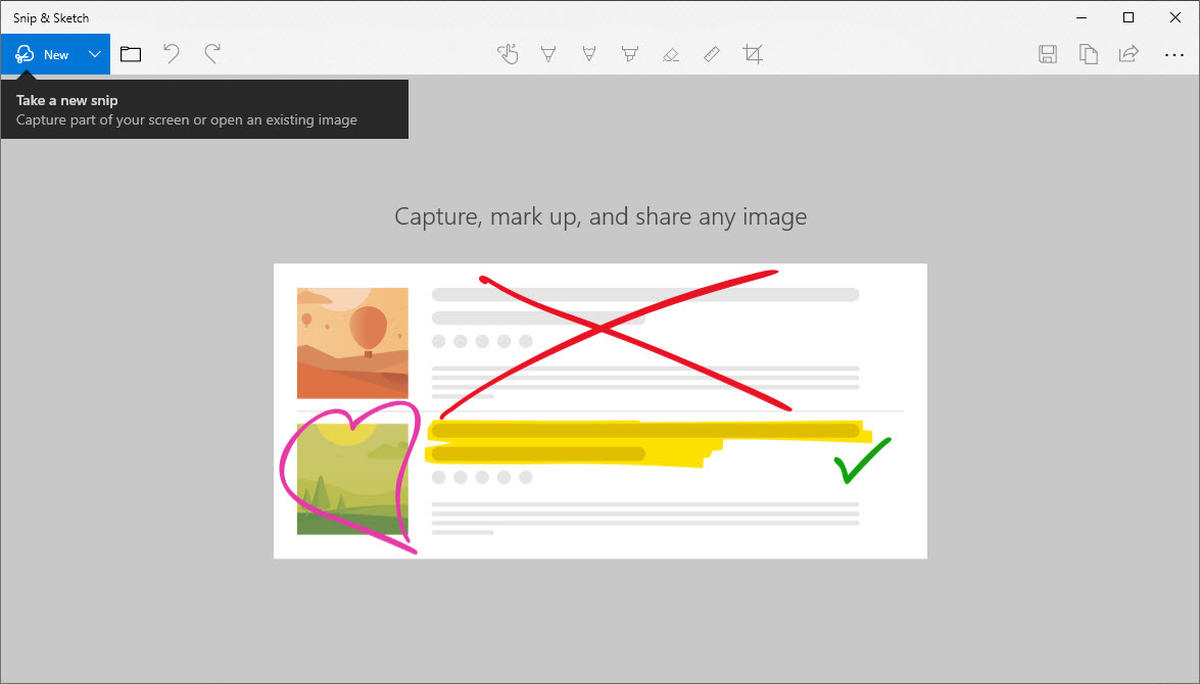
After the Snip & Sketch window disappears, a small menu will appear at the top of the screen, allowing you to choose the type of screenshot you want to capture, such as rectangular, free-form, or full-screen.
Once you have captured a screenshot, it will be loaded into Snip & Sketch, where you can make any desired edits. You also have the option to download and save the image to your device.
- Download Snip & Sketch here.
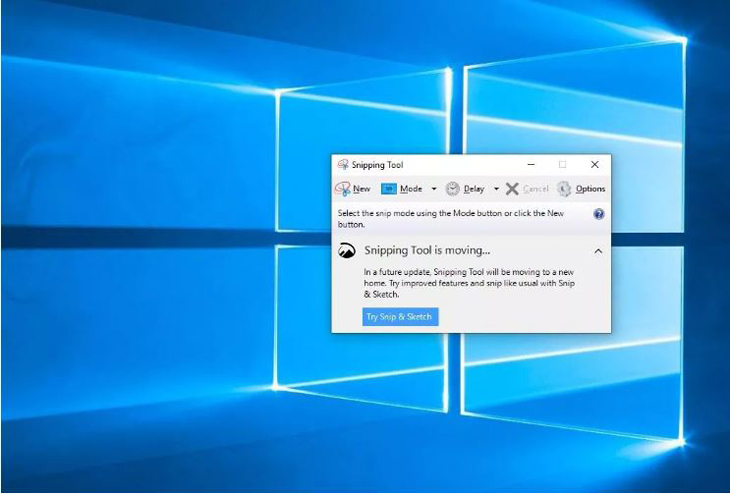
2. Snipping tool
The Snipping Tool has been available since Windows Vista. To access it, simply type “Snipping tool” into the search bar located at the bottom of your screen. Click on the search result to run the tool. To capture a screenshot using the Snipping Tool, click the “New” button located in the top left corner of the tool.
You can choose to capture a specific area or the entire screen, and you also have the ability to edit the captured image.
- Download Snipping tool here.
3. Use the PrtScn key
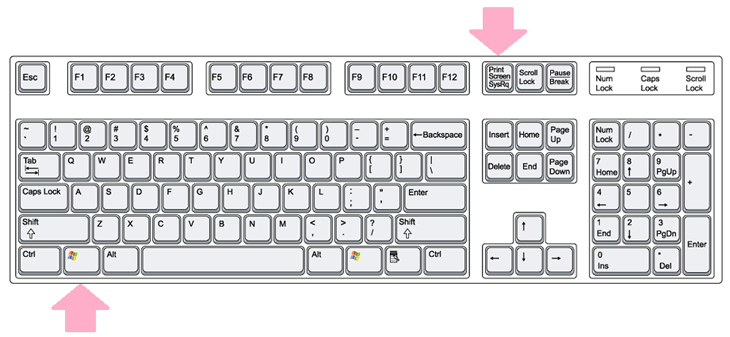
To capture your entire screen, simply press the “Print Screen” key (sometimes labeled as “PrtScn”) on your keyboard. The screenshot will be copied to your clipboard but will not be saved as a file. You can open an image editing tool like Microsoft Paint, paste the screenshot into the editor, and save the file from there.
5. Use the Windows + shift + S shortcut
You can also use the shortcut “Windows” + “shift” + “S” or the new screen capture button in the “Action Center” to capture a screenshot with Snip & Sketch.
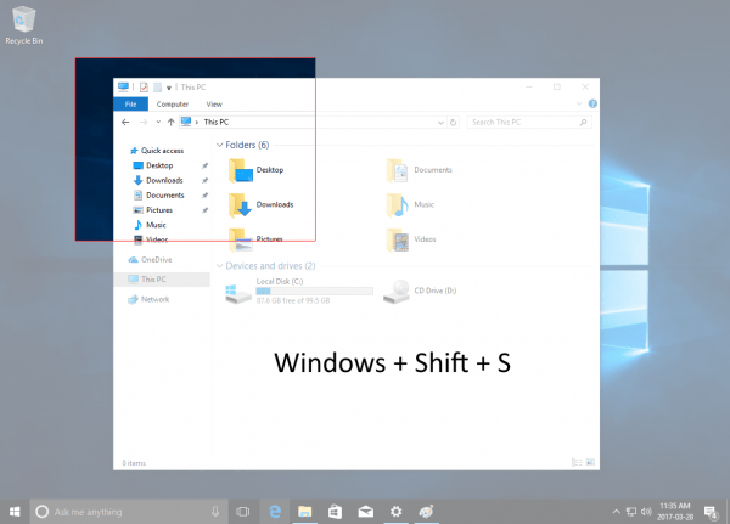
Your screen will dim, and a Snip & Sketch menu will appear at the top of the screen, allowing you to select the desired type of screenshot.
6. Use the Alt + Print Screen shortcut
To quickly capture a screenshot of the active window, use the shortcut “Alt” + “PrtScn”.
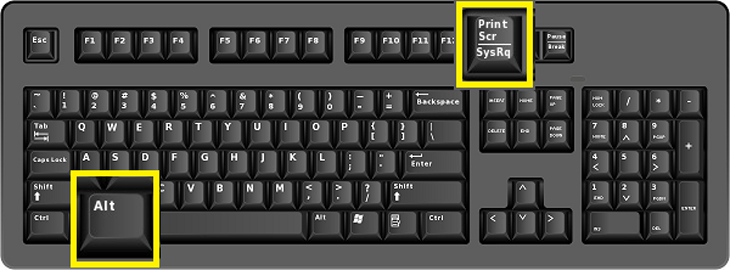
This shortcut captures a screenshot of the currently active window and copies it to the clipboard. You will need to open an image editing tool to save the screenshot as an image file.
7. Use the Game bar
You can utilize the “Game bar” by pressing the “Windows” + “G” keys, which will bring up the Game bar.
From the Game bar, you can click the screen capture button or use the default shortcut “Windows” + “Alt” + “PrtScn” to capture a full-screen screenshot.
To set a custom keyboard shortcut for the screen capture Game bar, go to “Settings” > “Gaming” > “Game bar”. Enable the Game bar feature and configure your preferred shortcut.
This article provides information on the 7 ways to easily take screenshots on Windows 10. We hope that it proves useful for capturing screens on your computer quickly and conveniently!
How to Capture Screenshots on Windows 8
Looking for the latest and greatest in technological and electronic products? Look no further than , an online platform specializing in offering customers a fantastic selection of items such as mobile phones, laptops, televisions, and much more. Not only do we offer competitive prices, but also a convenient delivery service to ensure you get what you want, when you want it. Shop now at for the best shopping experience.
11 Simple and Quick Ways to Take Screenshots on Windows 7 that You Should Know
Capturing a computer screen on Windows 7 can be extremely useful during work and study. However, many people still don’t know how to take a screenshot on this device. Therefore, in the following article, FPT Shop will reveal to you some very simple ways to capture the screen of a Windows 7 computer.


