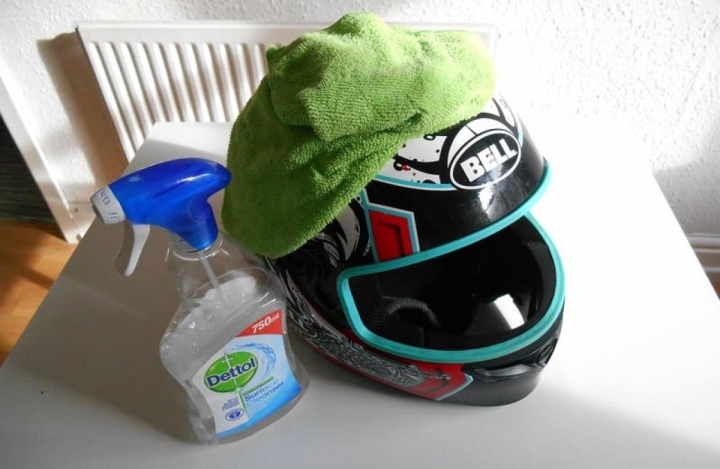
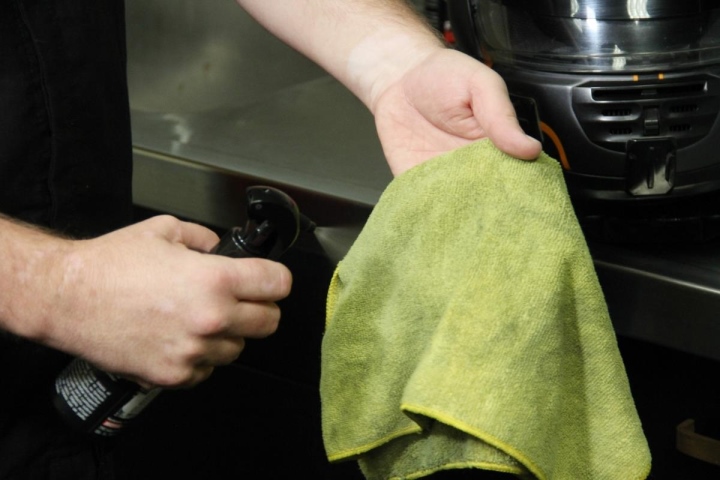
Safety Helmet is one of the important items that you may have to use on a daily basis. Cleaning a helmet is not difficult or time-consuming, just follow these steps.
Clean the padding or liner
The inside of the helmet should be the first thing to clean because the padding inside the helmet absorbs sweat when you move in hot or rainy weather. Carefully remove any inner padding first, then quickly wash them with clean water.

Clean your helmet with 5 simple steps
Use a soft cloth or sponge to wipe the padding
To clean the helmet, you should gently hand wash the helmet liner in cold water with mild soap. You can also put them in the washing machine with cold temperature and gentle cycle to avoid damaging the liner. Then, let them air dry naturally as using a dryer may cause the padding to be damaged. If your padding is significantly deteriorated, you should consider replacing them.
To remove chemicals or dirt inside the helmet, use a damp cloth with mild soap. You will work easier if you have completely removed the inner lining of the helmet. In addition, the plastic system at the back of the helmet also needs to be cleaned. Make sure you wipe it clean with mild soap, avoid using chemical cleaners that may react with the plastic or foam, as this will damage the helmet or may be dangerous for you when wearing them.

Cleaning your helmet is not complicated.
Clean the outer shell of the helmet
The next step in cleaning the helmet is to clean the external surface of the helmet with a soft cloth or a damp sponge. Keep the inside and around the ventilation holes as well as the edges of the helmet and the face shields (if any) clean. Use a soft brush to clean to avoid leaving scratches on your helmet. If the soft brush does not remove the dirt, you can use mild soap with warm water, such as dishwashing liquid or detergent.
Inspect the helmet
You should regularly check your helmet and if they have a large crack, dent, or cut, then it is time for you to replace a new helmet. Dent reduces energy absorption, so the helmet will be less protective if you have an impact. In addition, when cleaning, you should carefully examine to find the smallest signs. For example, if you see small dents, you should also replace them immediately because a faulty helmet can be harmful to you.
According to VTC.vn
First, carefully remove any inner padding or liners. Then, wash them with clean, cold water by hand or in the washing machine on a gentle cycle. Avoid using a dryer as this may damage the padding; instead, let them air-dry naturally. If the padding is significantly deteriorated, consider replacing it.
Use a soft cloth or sponge dampened with mild soap and water to wipe down the entire helmet, including the outer shell and ventilation holes. Avoid using chemical cleaners, as these may damage the plastic and foam. For stubborn dirt, a soft brush can be used gently to avoid scratching the surface.
It is recommended to regularly inspect your safety helmet for any signs of damage, such as large cracks, dents, or cuts. A damaged helmet will offer less protection in the event of an impact, so it is important to replace it as soon as possible if any issues are found. Even small dents can be a cause for concern, so always err on the side of caution and replace your helmet if you’re unsure.


