


If you find yourself with an excess of candy and don’t want the children to have too much, there’s a creative solution to repurpose the candy into something unique and practical. Rather than throwing it away, why not transform it into a fun and colorful object? This DIY project is simple enough for children to join in and makes for a quirky gift or a vibrant addition to your home decor.
A girl recently shared her experience online. After a festival, her home was filled with an abundance of candy. Growing tired of simply eating it, she decided to put her creativity to good use and turned the candy into beautiful and colorful objects for her family. Initially, her family didn’t understand what she was doing as she arranged the candies, but within just 10 minutes, they were all praising her ingenuity.
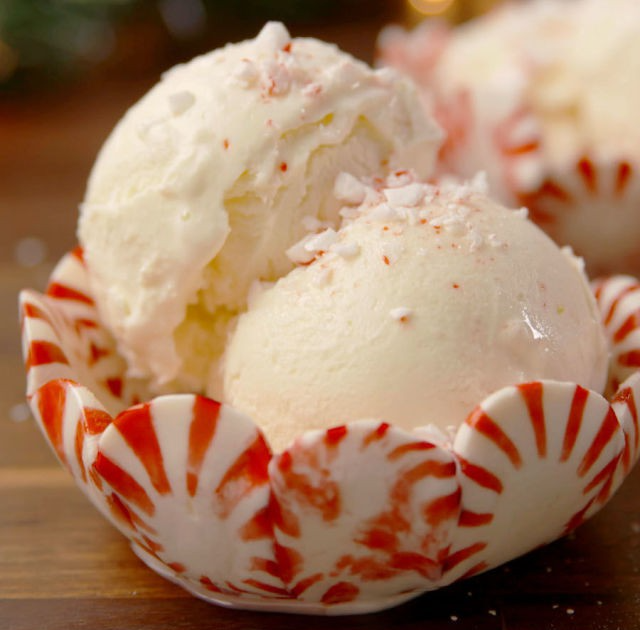
Her ingenious idea was to use the candy to create an ice cream bowl. Curious how it’s done? Please follow the instructions below:
Start by preheating the oven to 300 degrees C. While it heats up, line a baking sheet with wax paper and arrange the candy in a hexagonal shape on the sheet. Once the oven is hot, place the candy tray into the oven to bake. The candies should become shiny and slightly melted, sticking together. The total baking time should be approximately 7 minutes.
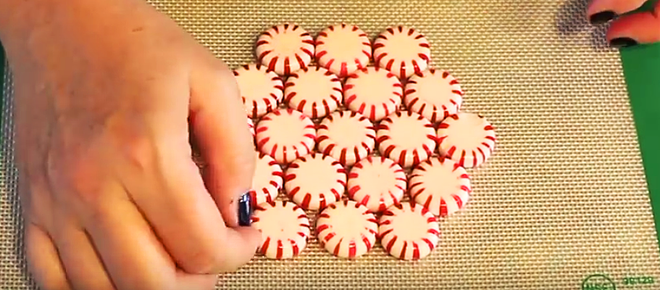
Arrange the candy in a hexagonal shape on the baking sheet. (Photo: sun-gazing)
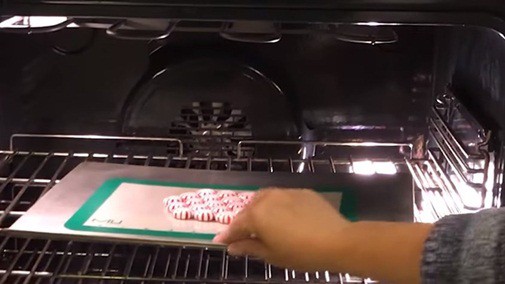
Place the candy in the oven. (Photo: sun-gazing)
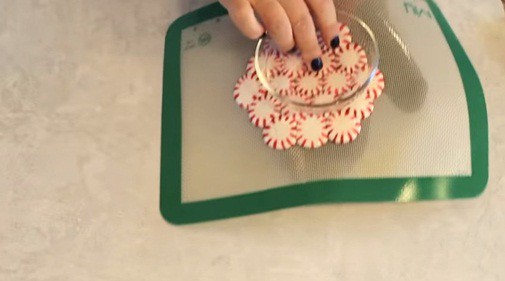
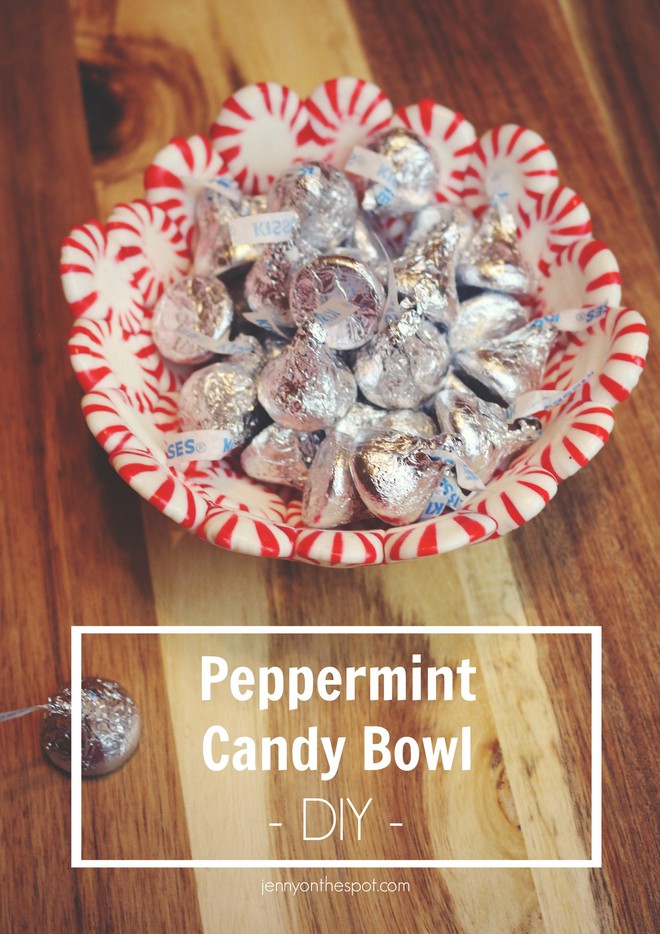
Once baked, carefully remove the candy from the baking sheet and flip it onto a dish. Let it sit for approximately 3 minutes before removing it from the dish. Now, you have a colorful dish that can be used to hold ice cream or candy.
Take the candy out of the dish to complete your colorful creation. (Photo: sun-gazing)
Note that the size of the dish should be estimated beforehand to ensure the candy fits accordingly. A larger dish will require more candy, while a smaller one will need less.
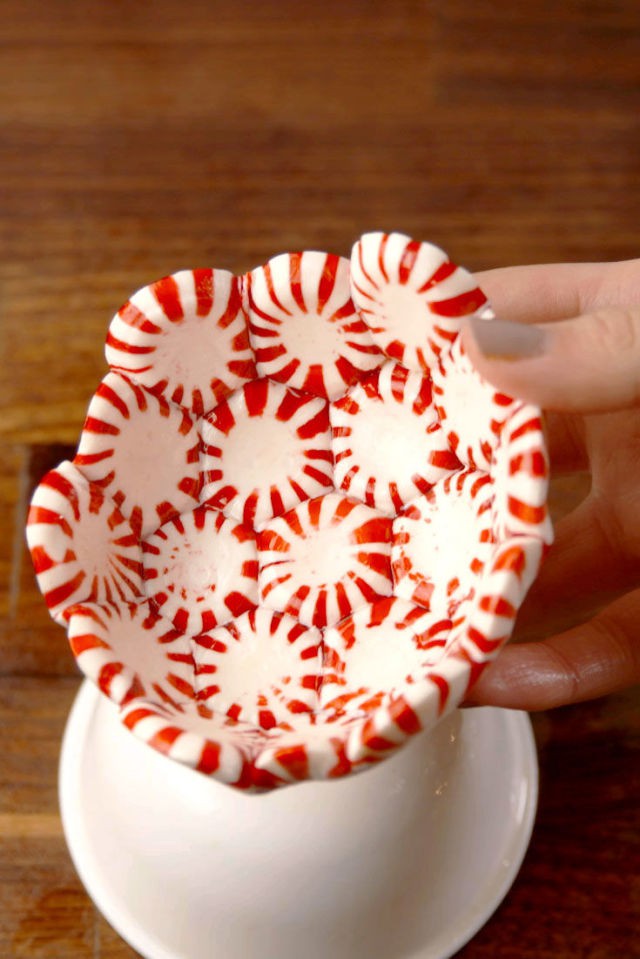
The finished candy dish. (Photo: delish)
(Photo: delish)
(Photo: Internet)
Now you are ready to enjoy your new creation! Don’t hesitate to try it out and have fun.
(Source: delish, sun-gazing)
Five Simple Strategies for Perfect Grilling

Grilling meat to perfection is an art form – one that can be mastered with the right tips and tricks. In this article, we will be providing you with helpful advice for grilling your meat to create juicy, succulent cuts every time!
Tips for Baking Food with a Microwave Oven’s Grill Setting

Today, Dien May XANH is here to show you how to use the baking feature in your microwave oven which is an incredibly useful kitchen tool for many households. Don’t forget that some ovens also include a grill option too!
Uncovering the Trick to Reviving Stale French Fries

Are you looking for a way to refresh your old dish of French fries and make them even more delicious? Look no further! Let the GREEN Dien May in the kitchen show you how to revive those delicious potatoes and bring back their deliciousness!
How to Heat Food at Home Safely and Effectively

Do you want your leftovers to taste as delicious as freshly cooked? Look no further! Dien May XANH has all the answers in this article on how to reheat food grandly. With methods such as microwaving, oven-baking, and boiling, satisfying meals are guaranteed even with leftovers!
Guidelines for Reheating Meals Safely

Cooking food to the right temperature is critical for ensuring a desirable taste and texture. Different types of food require different techniques for reheating, such as microwaving, oven baking, or using a gas stove.


