1Installation of a 360 Degree Floor Mop
Removal and Installation of the Floor Mop
Step 1: Assemble the mop handle
Take the mop handle consisting of 2 sections and securely assemble them together by twisting the screw between the sections.
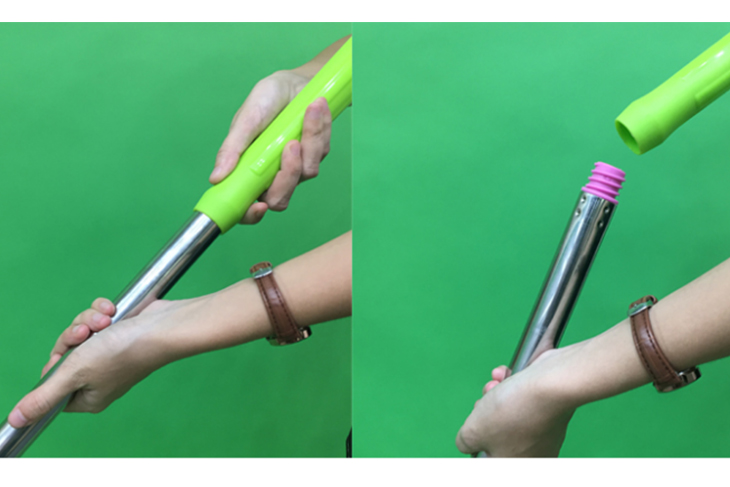
Step 2: Adjust the pivot
Ensure that the pivot is perpendicular to the handle to easily align and connect the handle to the rotating base.
Step 3: Attach the handle to the rotating base
Attach the handle to the rotating base, ensuring the handle is perpendicular to the base for easy attachment.
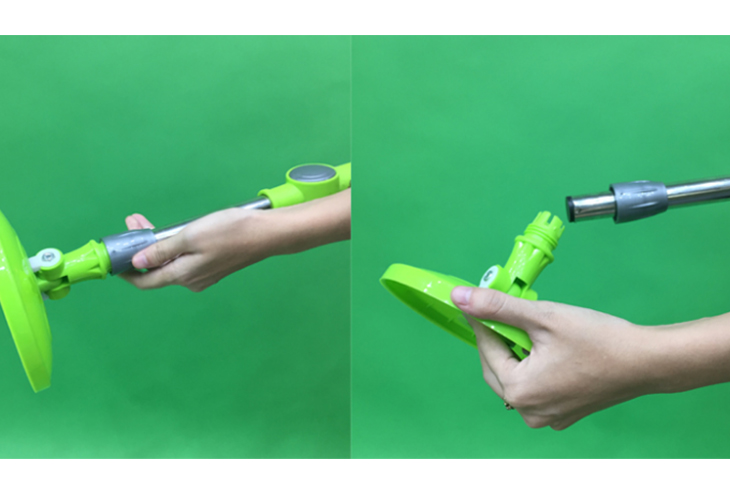
Once the handle is securely attached, double-check the joints to ensure smooth and convenient mopping.
To remove the floor mop for storage or relocation, follow the same steps in reverse order.
Replacing the Mop Head
Step 1: Separate the mop head and the rotating base
Stabilize the mop with your foot and lift the mop handle with both hands to separate the mop head from the rotating base.
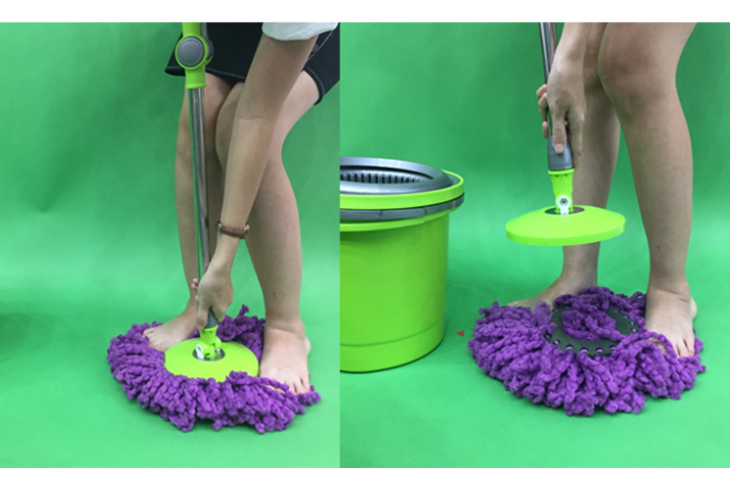
Step 2: Replace with a new mop head
After removing the old mop head, replace it with a new mop head and ensure it is securely in place.
Press the new mop head into the frame until it feels fixed and secure.
2Usage of a 360 Degree Floor Mop
Step 1: Fill the mop bucket with an appropriate amount of water, ensuring it does not exceed the marked line to avoid spills during mopping.
Step 2: Dilute the floor cleaning water by mixing it with clean water in the mop bucket to achieve the desired cleaning ratio.
Step 3: Soak the mop head evenly in the floor cleaning water mixture.
Step 4: Squeeze the mop by placing it in the rotating cage, ensuring the fabric fibers are inside the cage.
Step 5: Apply force to the mop handle by pressing it 4-5 times from top to bottom to activate the centrifugal force and squeeze the mop head.
Step 6: Once the mop head is dry, start mopping the floor.
Step 7: After mopping, remove the mop head, clean it, and dry it for the next use.
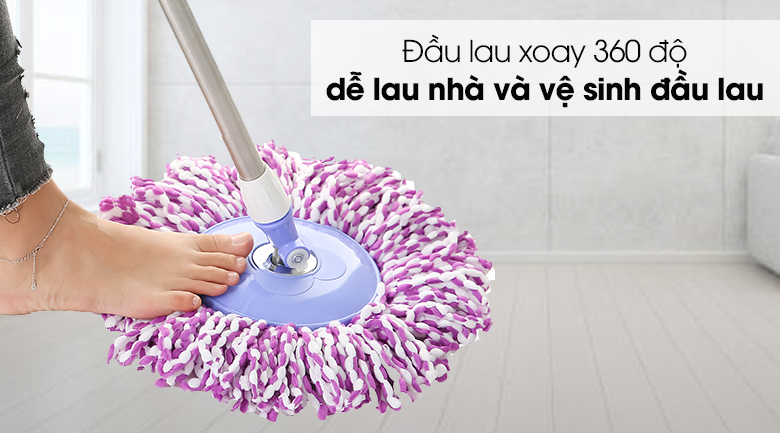
3Important Considerations for Using a 360 Degree Floor Mop
When squeezing the mop, ensure the mop head is fully inside the squeeze cage to prevent water splashes and facilitate the drying process.
Apply lubricant to the spinning shaft 1-2 times per week to ensure smooth operation for future use.
Regularly replace the mop head to effectively clean the floor and remove bacteria and dirt.
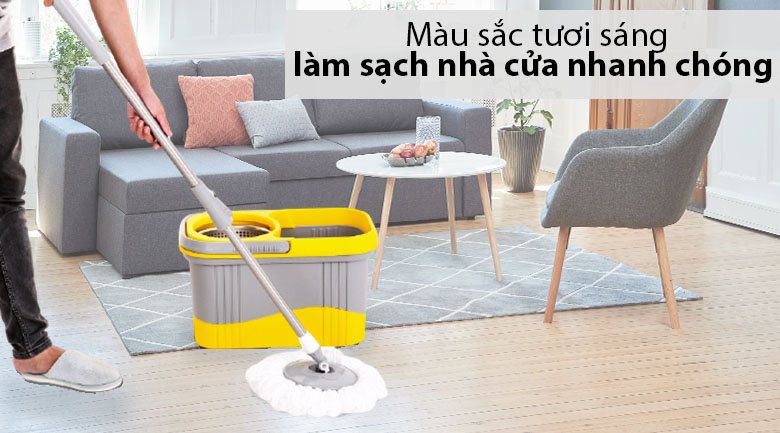
We hope that the information provided in this article will help you install and use the 360 degree floor mop more conveniently and easily!


