


Installation Size Standards for Sinks
When installing a sink, it is important to consider the appropriate height for different individuals:
- Adults: 0.7 – 0.85m
- Children: 0.5 – 0.6m
Here are some commonly used sink sizes:
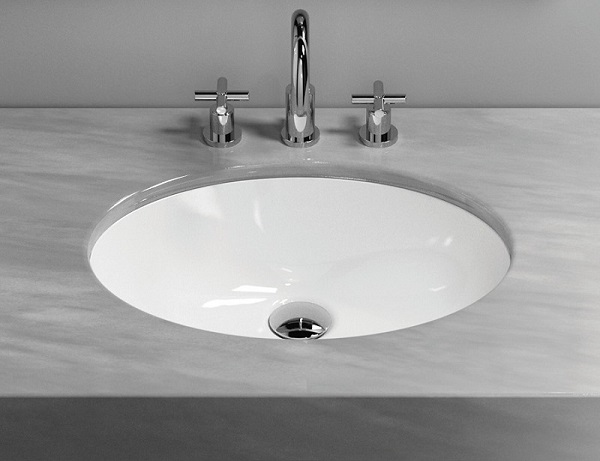
Undermount Sink:
A spacious bathroom is suitable for an undermount sink as it has a surface width of 600 and can hide the drain pipe. It can also be installed with a cabinet for storage underneath.
- Sink size (L x W x H): 580 x 480 x 200 (mm)
- Height to install the drain pipe (measured from the floor to the top of the toothed hole): 500mm
- Height to install the hot and cold water supply pipe: 620mm
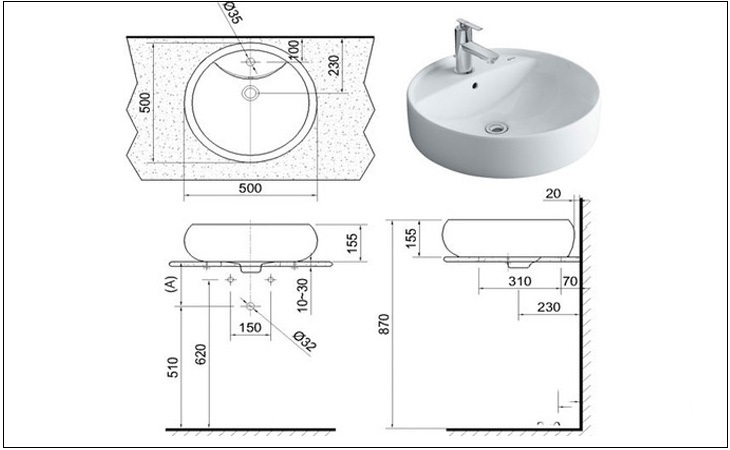
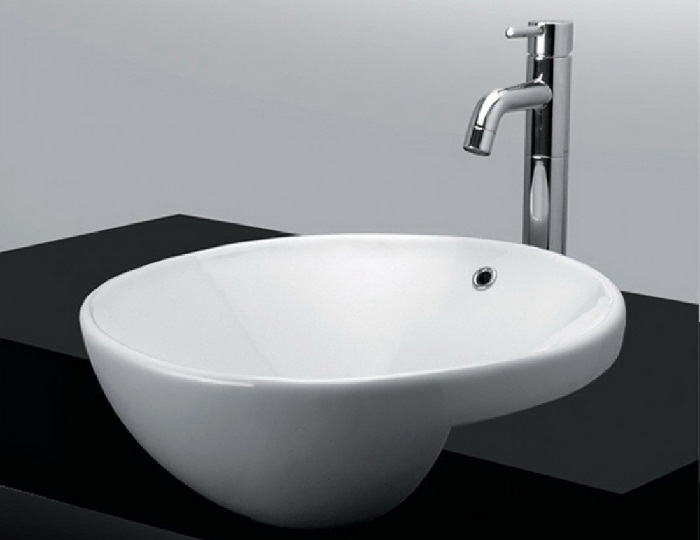
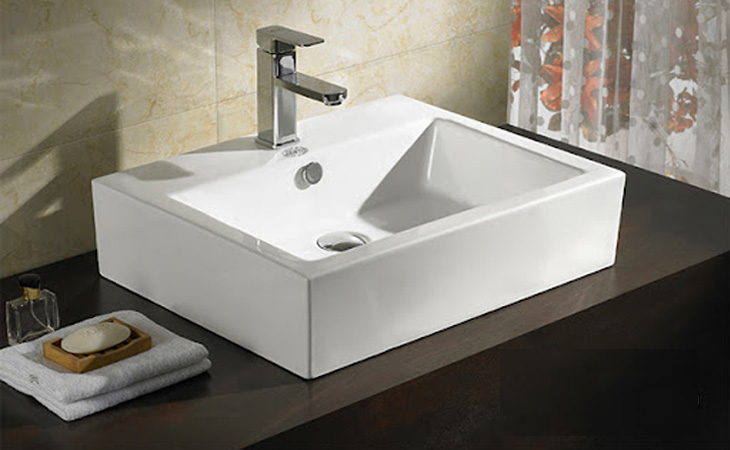
Countertop Sink:
A countertop sink is typically installed on a granite countertop and is commonly used in cafes. It comes in square or round shapes.
- Size (L x W x H): 500 x 500 x 155 (mm)
- Height to install the wall-mounted drain pipe (measured from the finished floor to the top of the hole): 510mm
- Height to install the hot and cold water supply pipe: 620mm

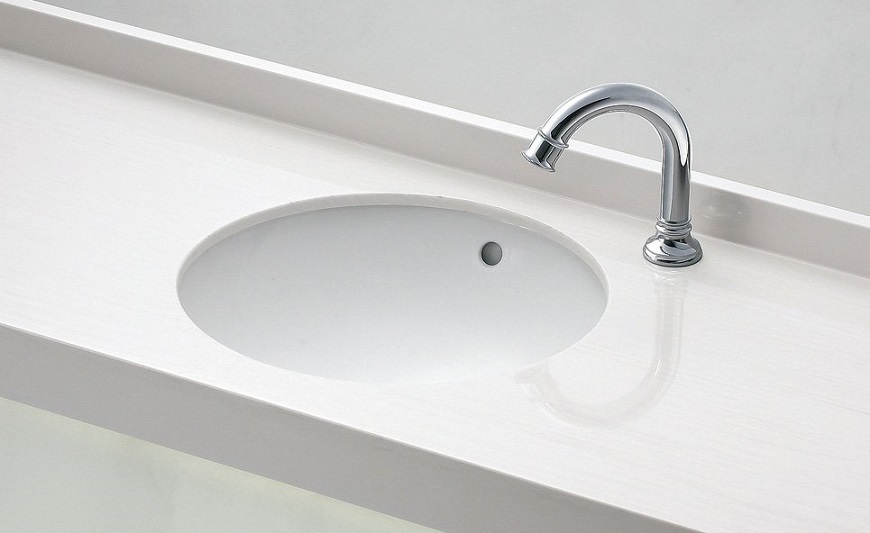
Inset Sink:
An inset sink is suitable for small bathrooms. The standard size of the countertop is 600 with a width of 350.
- Sink size (L x W x H): 520 x 420 x 150 (mm)
- Height to install the wall-mounted drain pipe: 565mm
- Height to install the hot and cold water supply pipe: 580mm
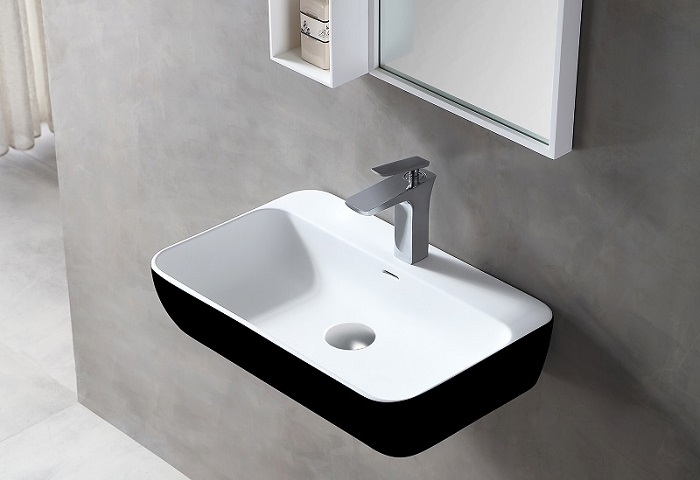
Sink with Drain Cover:
This type of sink is wall-mounted and includes a cover to hide the drain pipe.
- Sink size (L x W x H): 500 x 430 x 180 (mm)
- Cover height: 465mm
- Height to install the recessed drain pipe: 575mm
- Height to install the hot and cold water supply pipe: 595mm

How to Install an Undermount Sink
Follow these steps to install an undermount sink:
Step 1: Prepare the necessary tools such as pliers, measuring tape, cutting machine, etc.
Step 2: Refer to the technical drawing to understand the product specifications.
Step 3: Mark and cut the boundaries of the sink placement according to the sink template.
Step 4: Insert the bolts into the holes under the sink and rotate them 90 degrees. Use nut plates to fix them together.
Step 5: Place the sink in the prepared hole and align it with the bolts. Use nut plates to tighten the sink to the countertop.
Step 6: Install the drain pipe and faucet in the correct position and tighten them.
Step 7: Install the drain pipe, water supply hose, and sink pedestal to secure and cover the internal accessories for aesthetics.
How to Install a Wall-Mounted Sink
Follow these steps to install a wall-mounted sink:
Step 1: Prepare the necessary tools such as pliers, drill, wrench, etc.
Step 2: Drill holes and secure the sink bracket using a screwdriver.
Step 3: Use a spirit level to align the sink and tighten the screws using pliers or a wrench.
Step 4: Install the wall-mounted sink body and use adhesive for a stronger bond with the wall.
How to Install a Countertop Sink
Follow these steps to install a countertop sink:
Step 1: Install the faucet in the correct position according to the technical drawing.
Step 2: Carve the countertop according to the shape of the instruction sheet. Place the sink in the carved position and align the bolts with the pre-drilled holes on the countertop.
Step 3: Fix the sink to the countertop using nut plates.
Some Notes When Installing a Sink
– Before installing the sink: Research the types of sinks available, choose a high-quality sink suitable for your bathroom area and budget. Check the condition of the product for any damages.
– During the installation process: Use proper installation tools and protective equipment. Apply appropriate force when tightening bolts and nut plates to avoid breakage or damage to the equipment.
– After installing the sink: Check all the details before using. Handle and clean the sink properly, using a soft brush for cleaning. Avoid placing heavy objects on the sink.

I hope these instructions on how to install a sink will make the process easier for you. Good luck!


