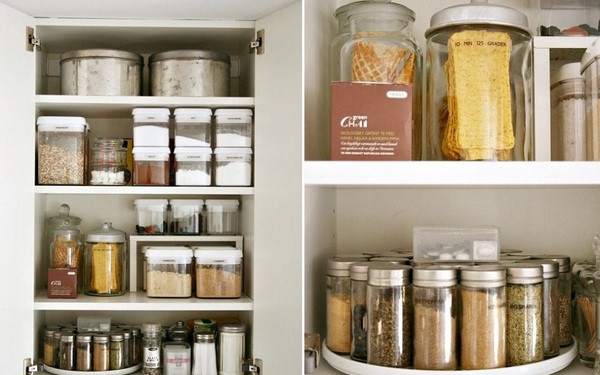
A cupboard filled with a variety of canned foods means you have everything you need for home-cooked meals. However, when things are not organized, the pantry can be more of a headache than a benefit.
And this is where organizing the cans in the food storage cabinet also means you’ll know exactly what (and how many) you have on hand, which variety can be discarded because they’ve expired, and where to find anything you need when hunger pangs strike.
If that’s you, here’s the step-by-step guide to organizing canned goods in your food storage cabinet:
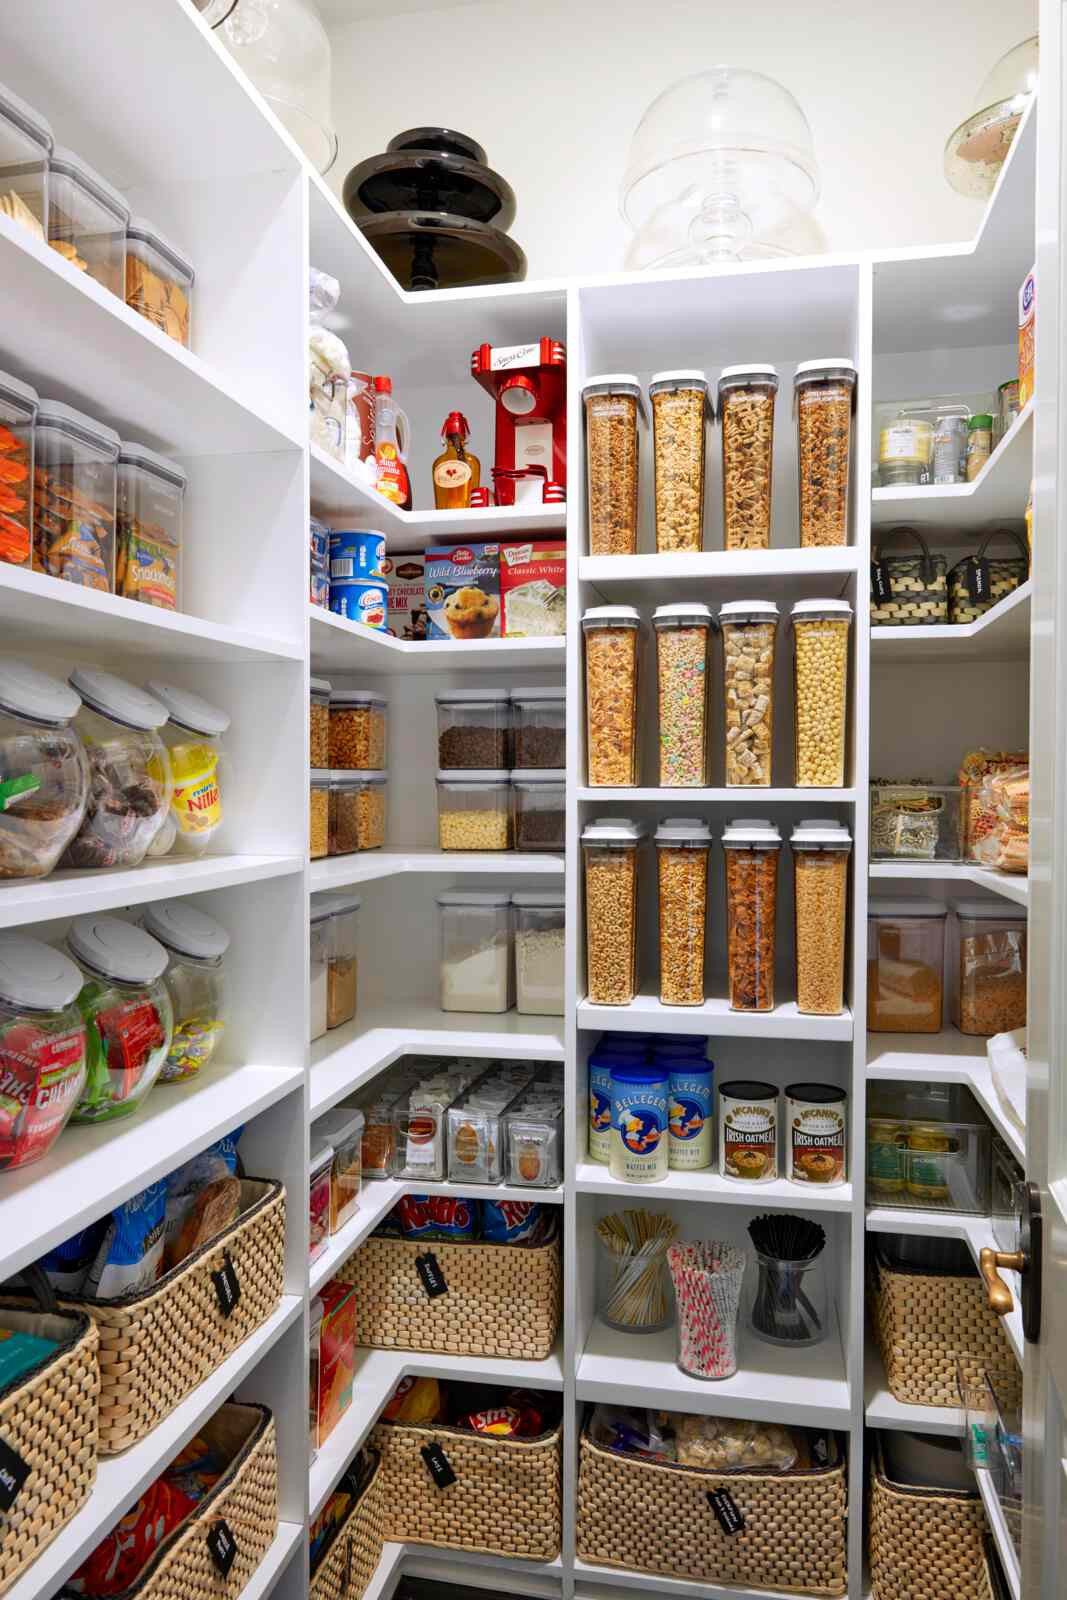
Illustrative image
1. Remove all can packaging from your food storage area
Professional organizer Jessica Litman of The Organed Mama says the first step in organizing cans in your food storage area is to remove.
This allows you to accurately assess and discard anything that is unusable or not serving you. It also makes your food storage cabinet back into a spacious one and starts a new organizing journey.
2. Sort, then discard or donate
Professional organizer Leslie Lehr advises you to discard the following:
– Expired items
– Damaged items
– Items that are no longer favorites
– Items that may expire before you have a chance to utilize them
– Anything you can’t use within 6 months
Lehr says: “Remove expired items and set aside the canned goods to be discarded. Unexpired canned goods are ideal for donation. You can donate them to a local food bank or any charitable organization that collects food.”
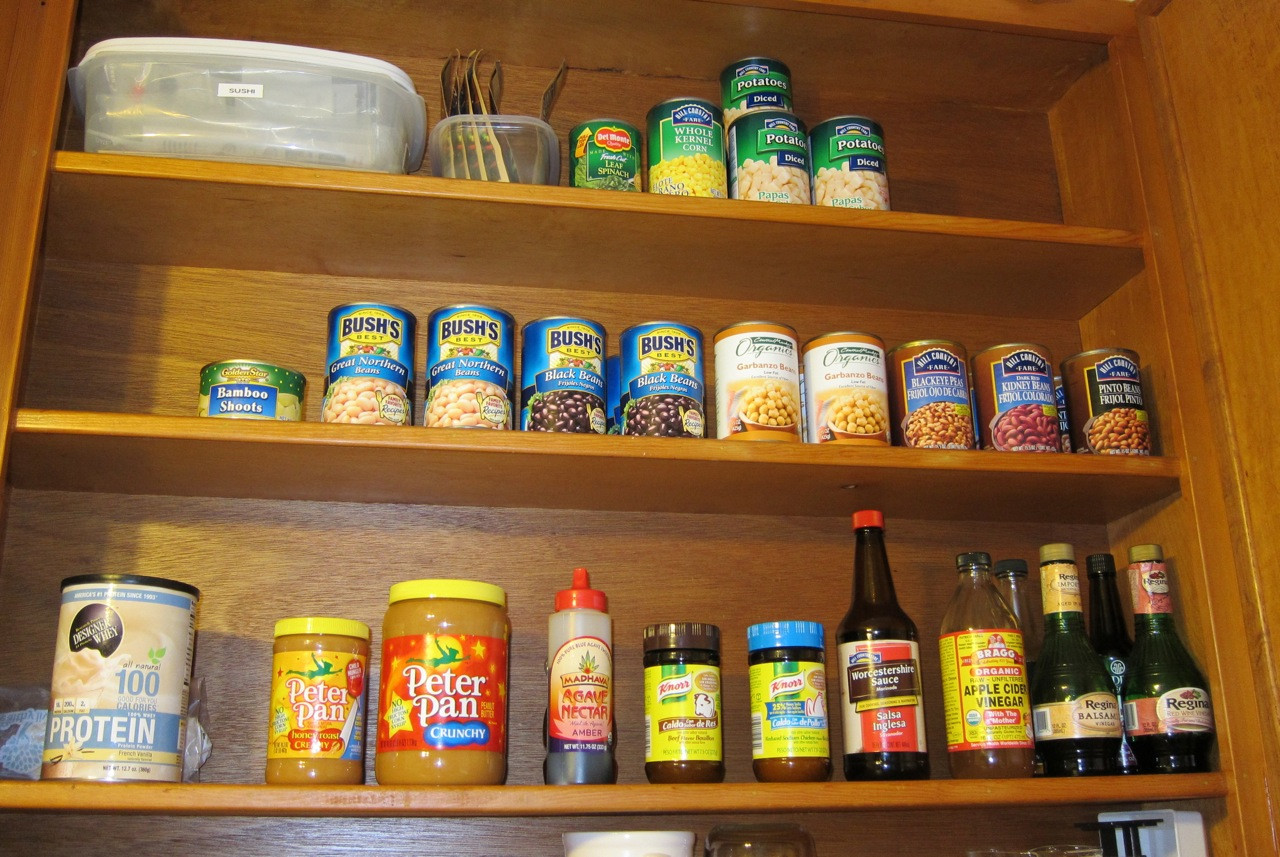
Sorting everything by category is what you need to do. Illustrative image
3. Organize everything you are keeping
Once you’ve sorted, take some time to organize everything into categories. Lehr recommends organizing into the following categories:
– Fruits
– Vegetables
– Sauces
– Meat/fish
She says this sorting allows you to determine how much capacity you need and which storage solutions will work best.
You can also evaluate if you need to purchase additional containers to replace expired items or eliminate any extra containers if you realize you have too many.
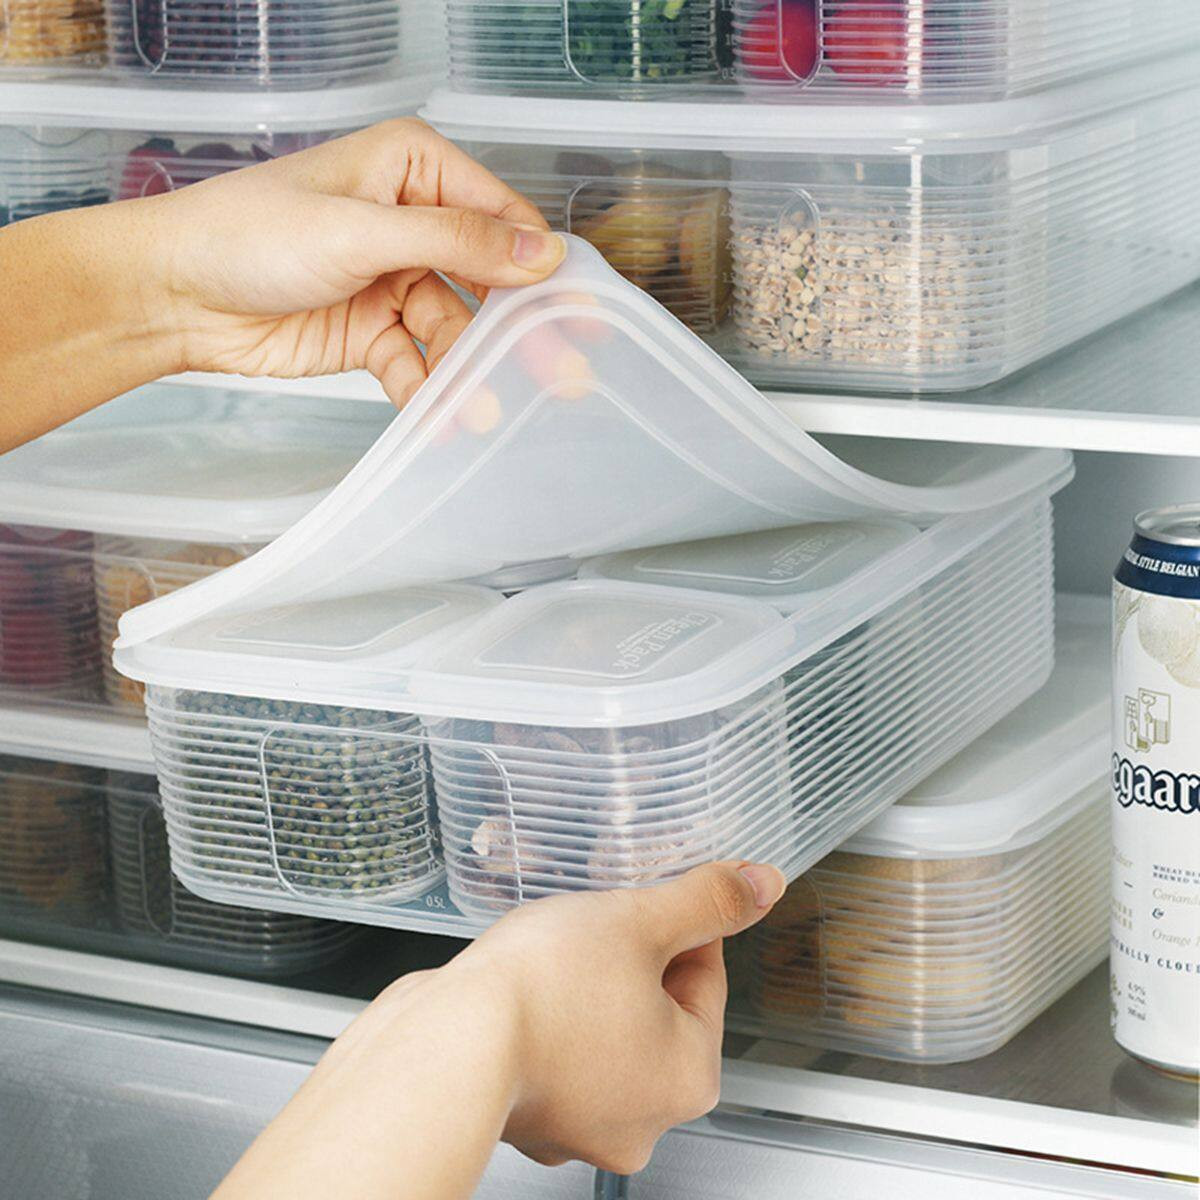
4. Purchase the best container organizer based on your needs
With a clear understanding of how many storage containers you’ll be utilizing at any given time within your food storage cabinet, you can proceed to purchase storage solutions.
Litman says: “Choosing the right storage organizer depends on the space and number of containers you have. If you have a limited amount of canned goods and a good can rack will work well, then you’ll have more space to store items.”
Illustrative image
5. Return the cans to your food storage cabinet
With the approved stack of cans and proper storage solutions for the job, it’s time to start returning everything to your food storage cabinet.
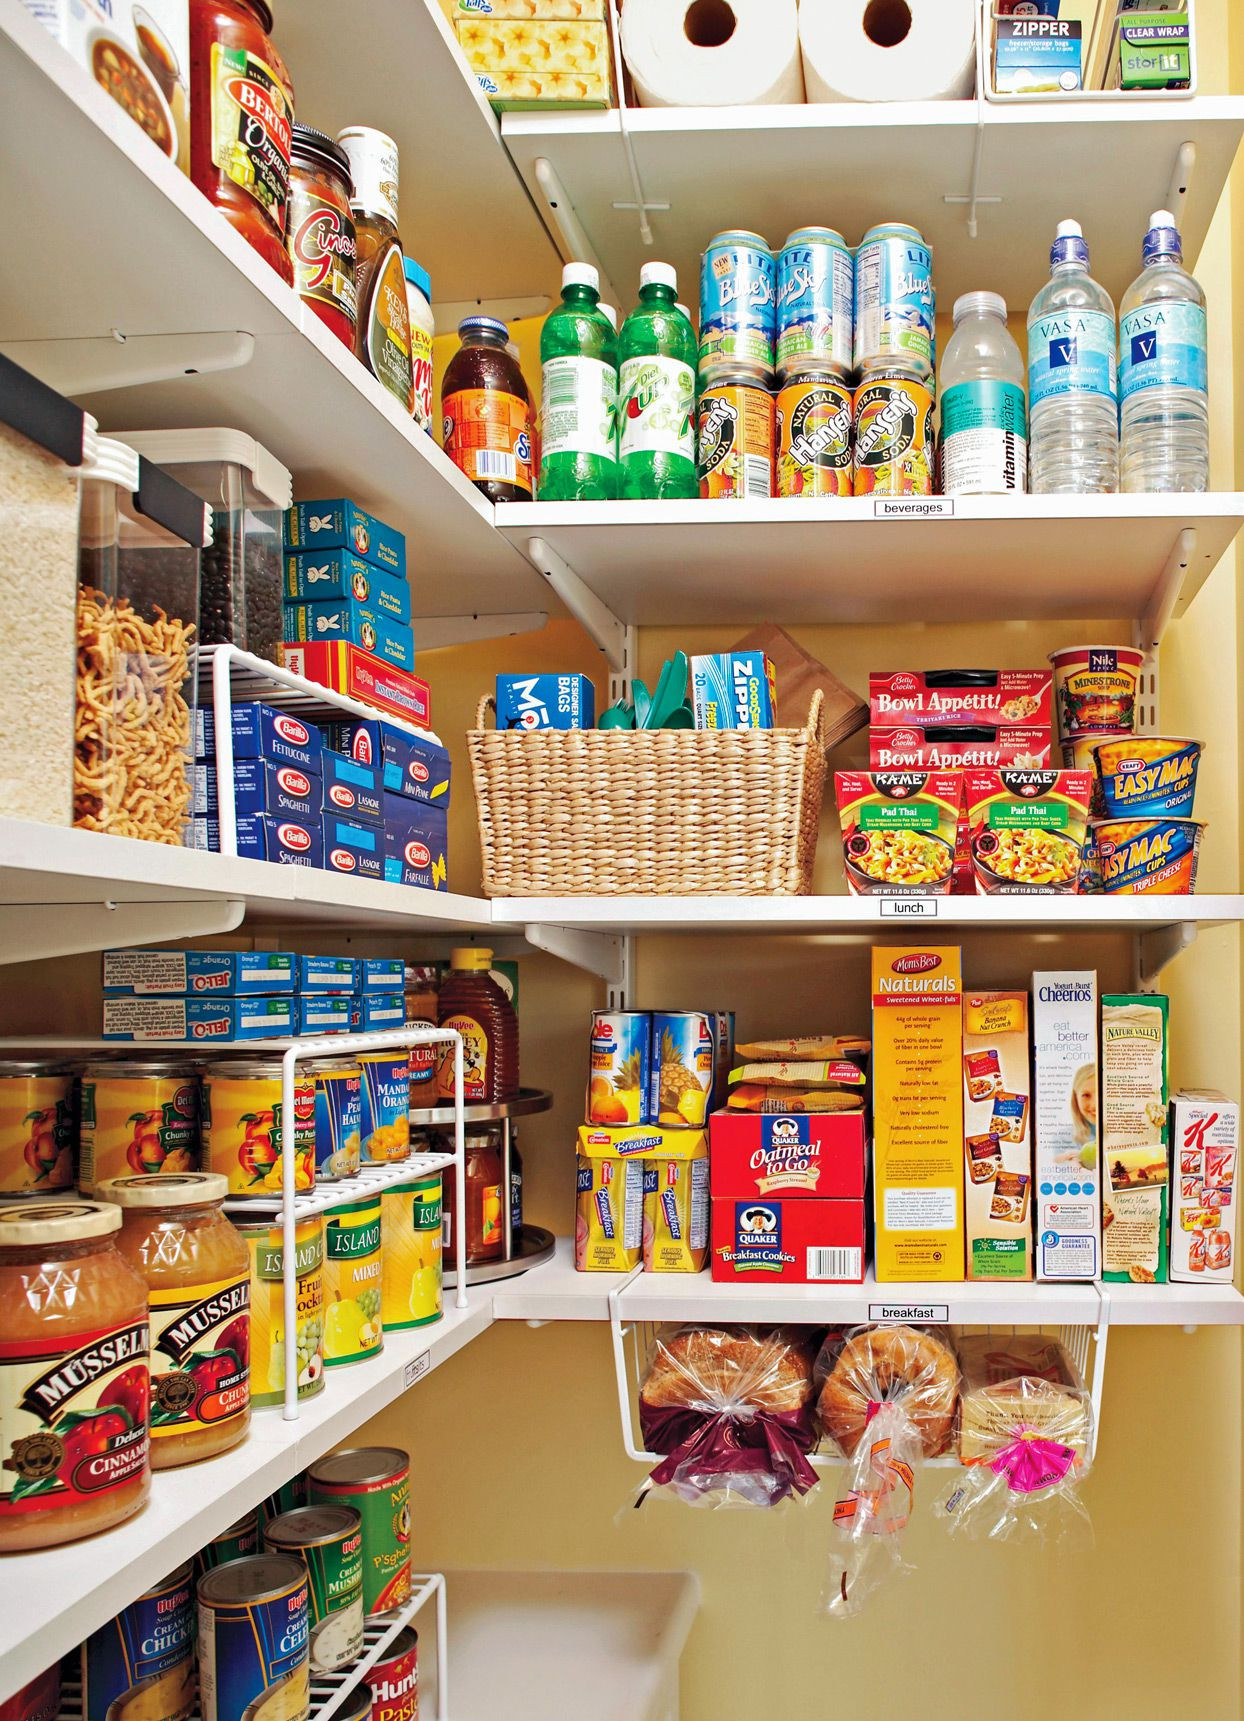
ShelfGenie’s Director of Training and Product Development Steve O’Hara suggests: “Consider organizing the cans from left to right in food groups to help locate them easily. Arrange the cans from front to back based on expiration dates, placing the closest expiration items in the front and the newest purchases at the back.”
You can also organize the canned goods according to the frequency you access a particular item. Make sure to place the most frequently used items towards the front for easy access.
Illustrative image
6. How to keep everything tidy?
Once you have organized the cans, you definitely want to maintain that result in the long run. Dedicate about 30 to 60 minutes every quarter to take stock of the items in your kitchen. O’Hara suggests the following steps in your refreshing process:
– Check the expiration dates of each item and discard any that have expired.
– Donate any unexpired items that you haven’t used in the last 6 months and won’t use in the next 6 months.
– Reevaluate how you are organizing your food storage cabinet based on changing usage patterns, seasons, or the needs of your family.
– Clean up to ensure items are placed back in their designated locations and deep clean the space if necessary.
Source: Phụ nữ Việt Nam (Vietnamese Women)

6 simple ways to keep your bedroom tidy
8 ways to store spices for a clean and organized family kitchen
