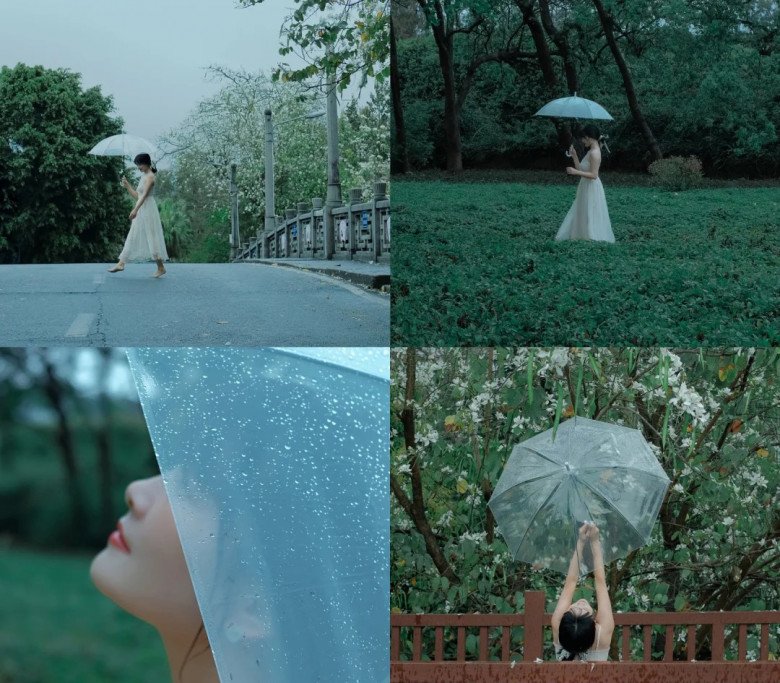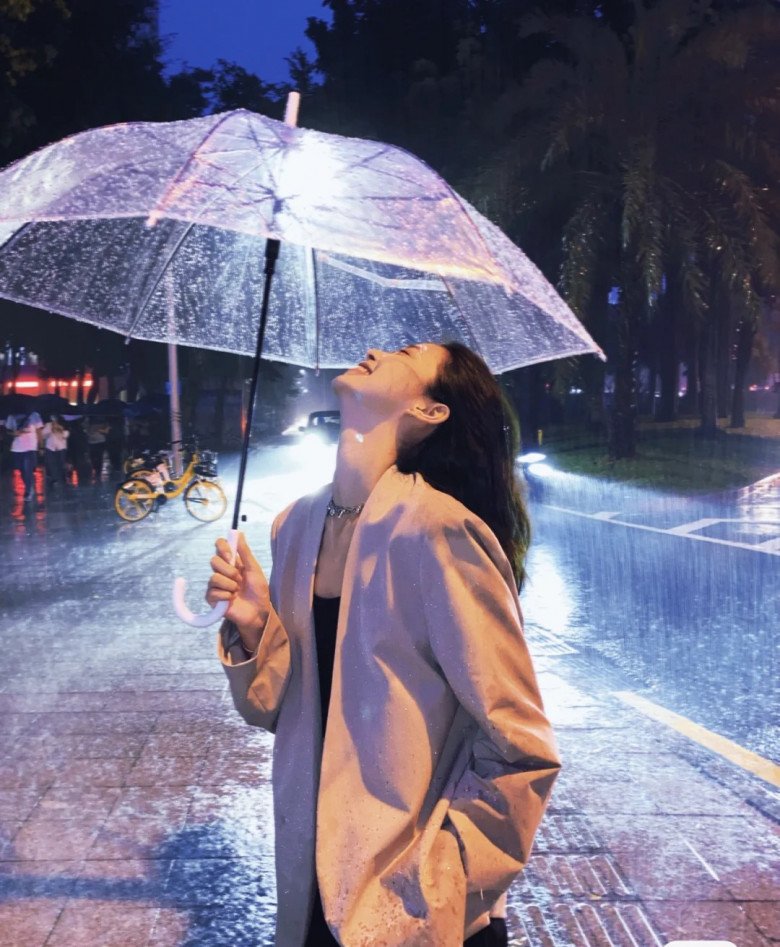
There’s something undeniably dreamy about a woman twirling in a beautiful dress, holding a transparent umbrella as she walks through a gentle rain. It’s a scene that many women would love to capture in their photos.
Shooting in the rain adds a touch of romance and a narrative, poetic quality to your images. However, without the right editing techniques, your photos may end up looking dull, dark, and washed out. But fear not! With these super-easy tips and tricks for shooting and editing rainy day photos on your phone, you’ll be able to create stunning, ethereal images that pop.

Without the right editing techniques, your rainy-day photos may end up looking dull and lackluster. But with a few simple adjustments to your camera angles and edits to hues and lighting, you can create artistic, film-like photos with just your phone.
Tips for Taking Rainy Day Photos with Your Phone
The combination of a light drizzle, a transparent umbrella, and a delicate floral dress evokes the romantic atmosphere of youth-oriented campus movies. However, when trying to recreate this scene in real life, it often falls short of the cinematic ideal. The secret to success lies in finding the right angles and poses!
Check out these tips to capture stunning photos that rival those of on-screen muses!
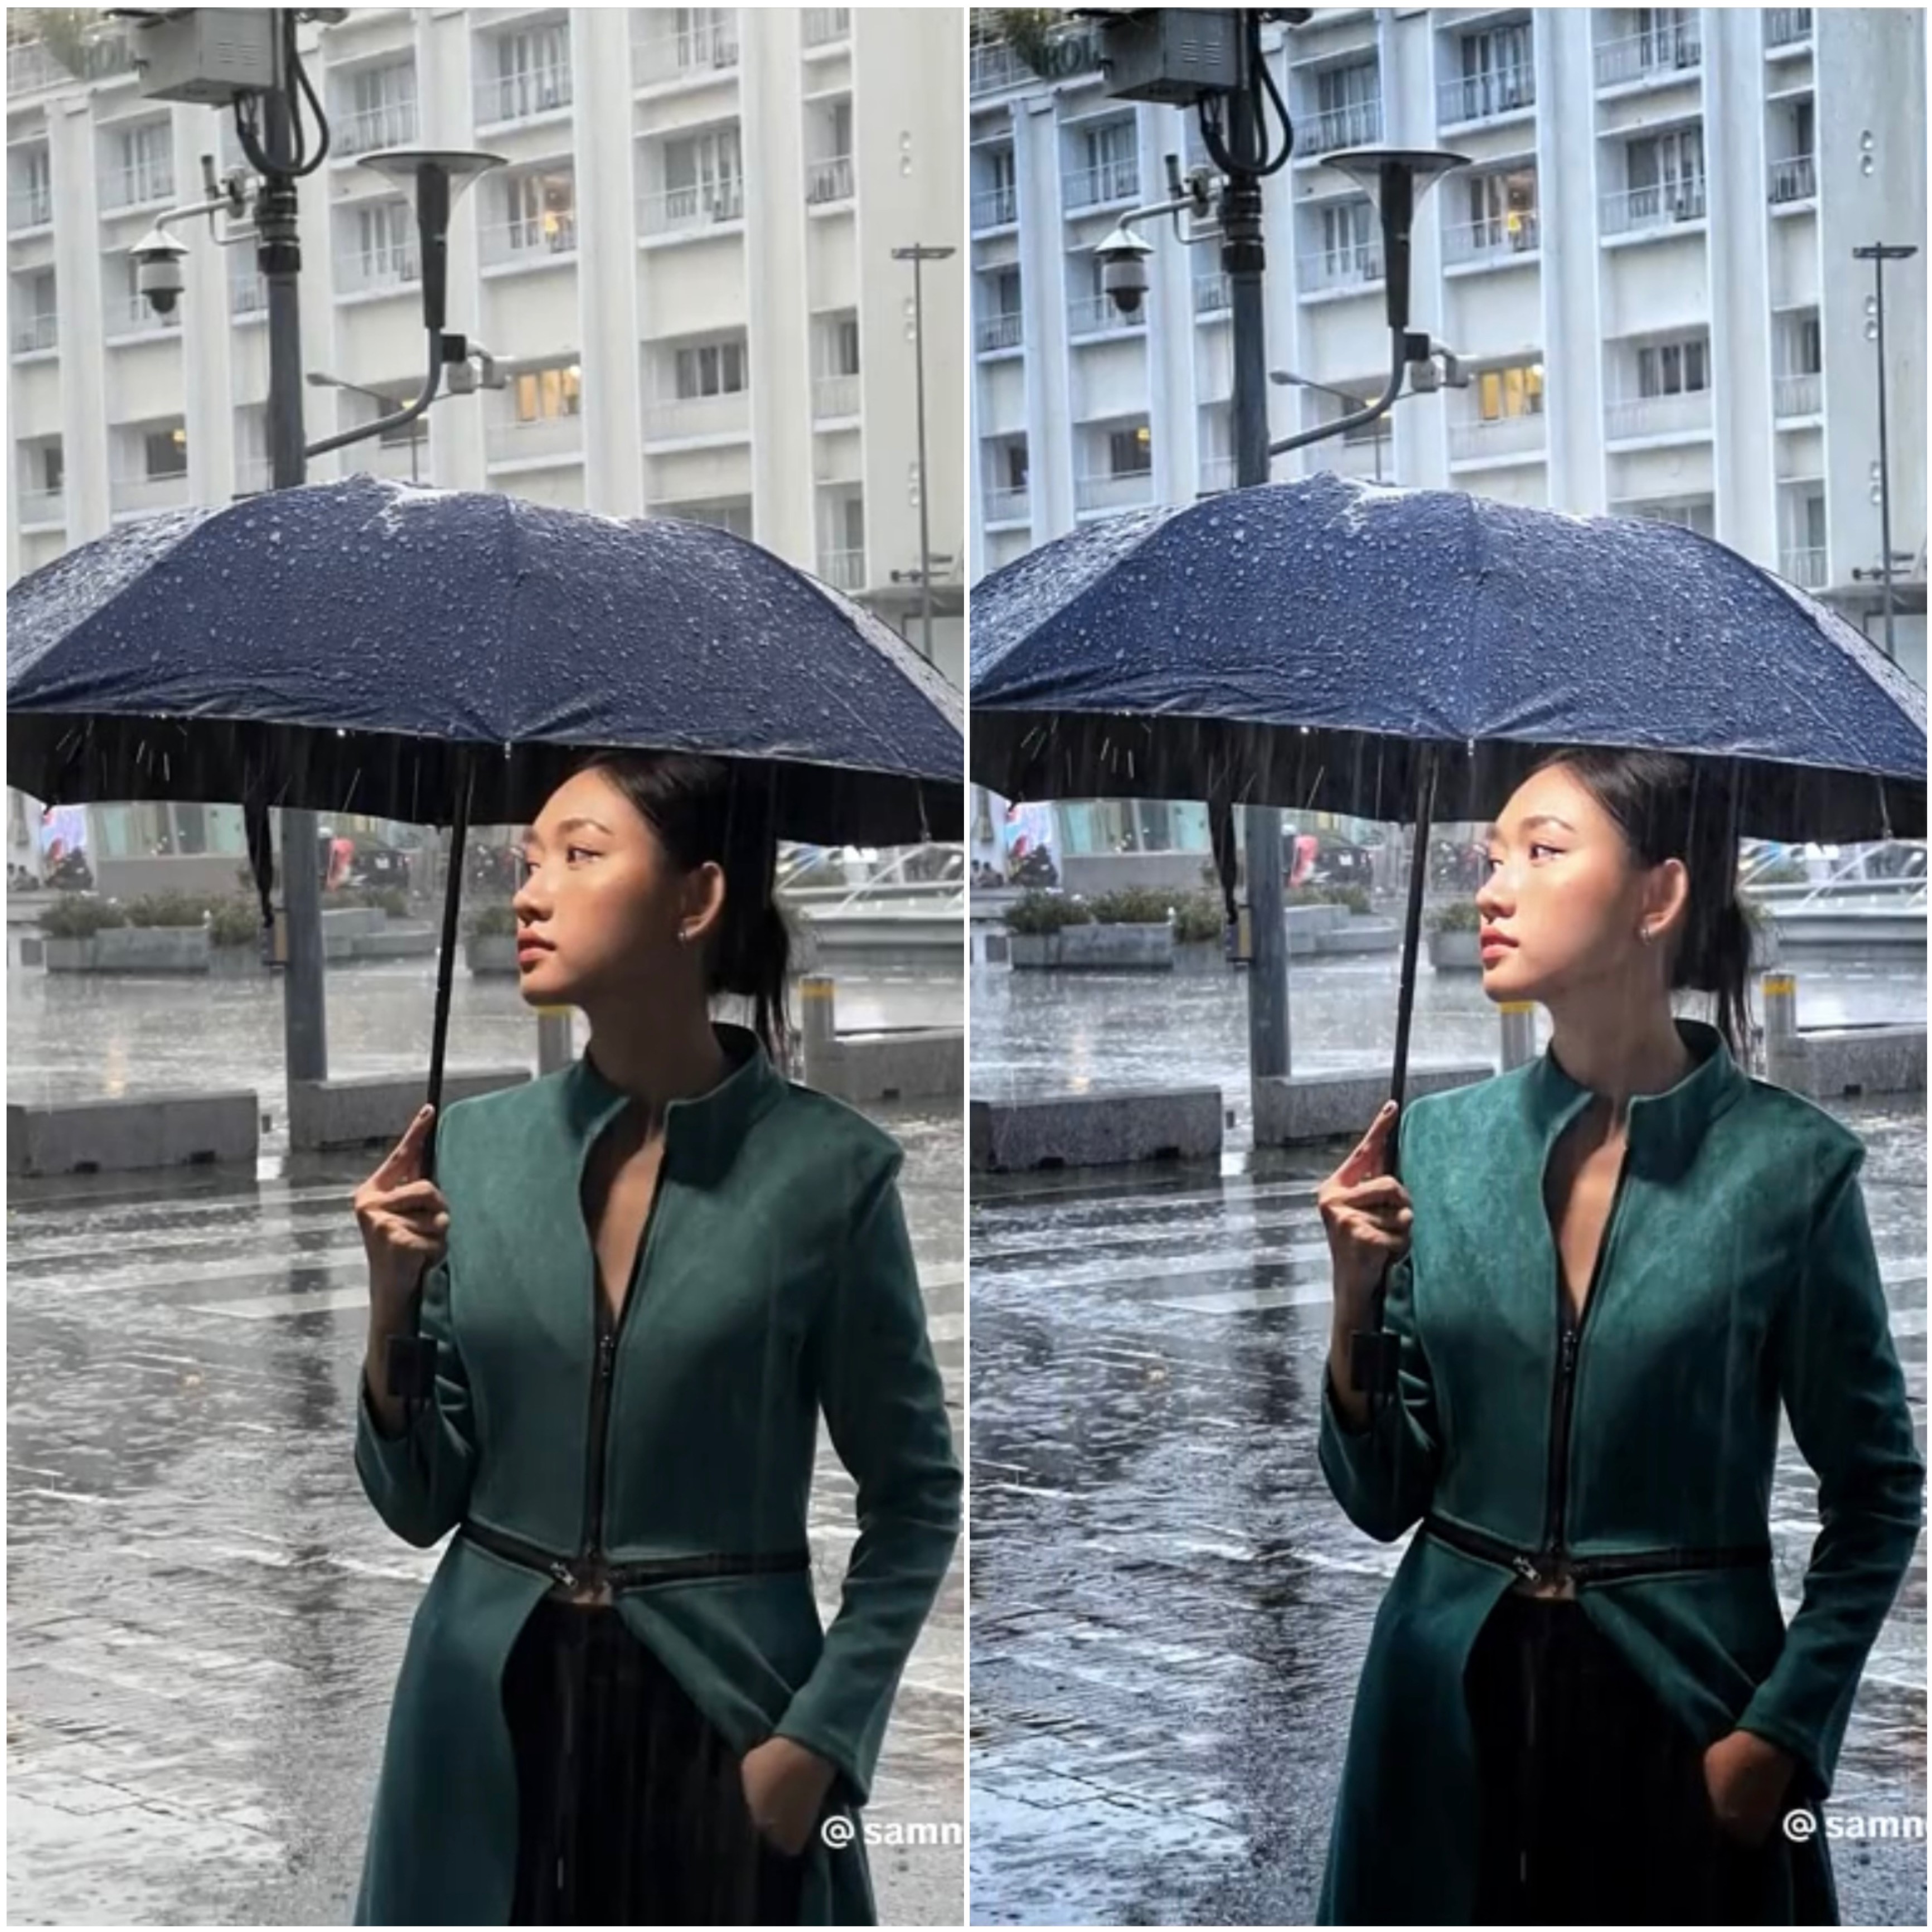
Easy Steps to Edit Rainy Day Photos for Free with Snapseed
With Snapseed, you can edit your photos for free. Follow these simple steps to create artistic, film-like images for this rainy season:

– Step 1: Open Snapseed, tap the plus sign, and select the photo you want to edit.
– Step 2: Choose STYLE > Pop to enhance the colors.
– Step 3: Select TOOLS > White Balance. Drag the Temperature slider to the left to -16 for a cooler tone.
– Step 4: Choose Portrait. Drag the Face Spotlight slider to the right to +36 to enhance the subject’s features.
– Step 5: Select Color Contrast. Drag the Highlights slider to the right to +33 for a crisper, more vibrant look.
– Step 6: Choose Lens Blur. Move the circle to select a subject as the focal point. Drag the Outer Brightness slider to the left to -74 to darken the edges and add depth to your image.
– Step 7: Select Image Tuning > Warmth. Drag the Warmth slider to the right to +3 for a warmer tone.
– Step 8: Choose Export > Save to save your edited photo.
Here’s a detailed look at the Snapseed rainy day photo editing formula.
Rainy Day Photo Editing Formula for iPhone
Don’t overlook the built-in photo editing features on your iPhone. Even without specialized apps, you can create stunning images. Check out this simple yet effective editing formula for rainy day photos:
Editing Formula for Rainy Scenery Photos
Photos of rainy scenes, especially those capturing raindrops, can often turn out blurry and dark when taken with a phone. Fix them up with these easy steps:
Follow this formula to edit your rainy day photos on your iPhone.
Adjust the following settings to edit rainy day photos on your iPhone:
– Exposure: 100
– Brilliance: 30
– Highlights: 90
– Shadows: 30
– Warmth: 7
– Vignette: 39
Editing Formula for Rainy Day Portrait Photos
If you’re traveling during the rainy season and your photos are looking dull and gray, try this editing formula:
Watch this detailed video tutorial on how to edit rainy day photos on your iPhone.
Here’s a specific formula for you to follow:
– Brilliance: 60
– Highlights: -60
– Shadows: -15
– Contrast: 15
– Brightness: 50
– Blacks: -15
– Saturation: 15
– Vibrance: 50
– Warmth: -25
– Tint: 10
– Sharpness: 10
– Exposure: -30
The Ultimate Guide to Posing for Group Photos that will Blow Everyone’s Mind
Are you looking to capture group photos to preserve memorable moments while hanging out, traveling, or at reunions…especially with digital technology advancing day by day. But how can you create beautiful, unique poses that impress everyone? Let’s explore the secrets to taking “million likes” group photos!


