How to Clean Clams: A Step-by-Step Guide to Ensuring Fresh and Delicious Seafood
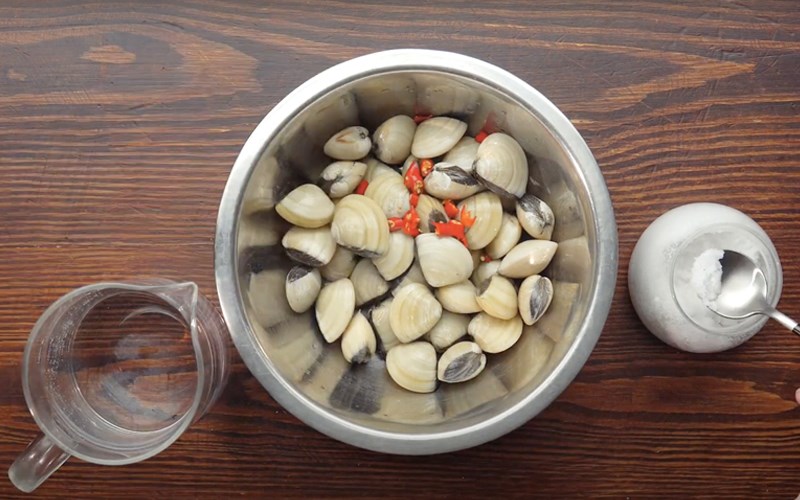
The first step to ensuring your clams are clean and safe to eat is to give them a quick rinse under cool, running water. Fill a large bowl with a small amount of salt and add 2-3 chopped chillies. This creates a brine solution that will help draw out any sand or grit from the clams.
Place the clams in this brine solution and let them soak for about an hour. You’ll be amazed at how effectively this simple technique causes the clams to expel any unwanted particles.
Finally, give the clams a final rinse and they’re ready for cooking! This two-step process ensures your clams are clean and safe to consume.
A Little Oil and Salt Go a Long Way: Soaking Clams in Oil and Salt Water
The combination of oil and salt may seem unusual, but it triggers a fascinating reaction in the clams. The salt stimulates the clam’s stomach to contract, causing it to drink and expel water repeatedly, which results in the clam opening up and releasing any sand or grit.
Start by filling a bowl with enough water to submerge the clams. Add 2-3 tablespoons of salt and stir until it’s completely dissolved. Then, add your clams and a couple of drops of oil. Let them soak for about an hour, and they’ll be free of any impurities.
The Power of Alcohol: Using Wine to Help Clams Release Sand
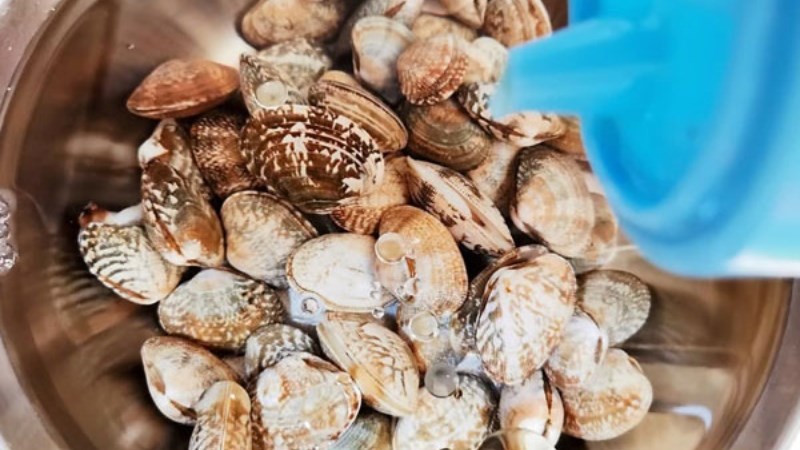
Begin by soaking the clams in a dilute salt water solution for about an hour. Then, give them a vigorous stir to ensure the shells are free of sand. Transfer the clams to a container with a tight-fitting lid and add just enough white wine to submerge half of the clams. Securely fasten the lid and give the container a good shake for a few minutes. The clams will “get drunk” and open their shells wide, releasing any remaining sand.
As a final step, give the clams one last soak in fresh water for about 15 minutes. This ensures they’re free of any impurities and helps reduce the wine’s aroma.
Warm Water to the Rescue: A Time-Saving Technique for Cleaning Clams
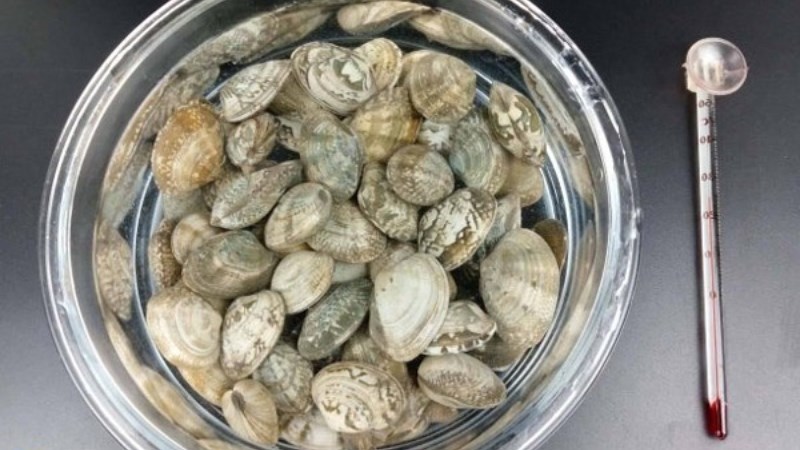
If you’re short on time, you can speed up the cleaning process by soaking the clams in warm water. This method requires precision; the water temperature should be around 50 degrees Celsius. Anything hotter, and you risk cooking the clams. At 50 degrees, the clams sense danger and respond by absorbing more water, which expedites the sand-expelling process.
Within just 10 minutes, you’ll have a batch of clean clams ready for cooking.
The Shake Method: A Unique but Effective Way to Clean Clams
For this method, use regular cold water. Place the clams and water in a bowl and then cover it with another bowl of equal or larger size. Shake the bowls vigorously to dislodge any sand from the clams. You can work in batches to avoid fatigue. While it may seem unconventional, this technique is surprisingly effective.
Source: Giadinh.net


