For a spooky and fun Halloween, a witch’s hat is a must-have accessory. We’ll show you how to make a simple paper witch’s hat that’s easy to create. Let’s get started!
1 DIY Paper Witch’s Hat for Halloween
Materials for the Witch’s Hat
-
2 sheets of A4 orange paper
-
1 sheet of A4 black paper
-
1
-
1
-
Double-sided tape
How to Make the Witch’s Hat
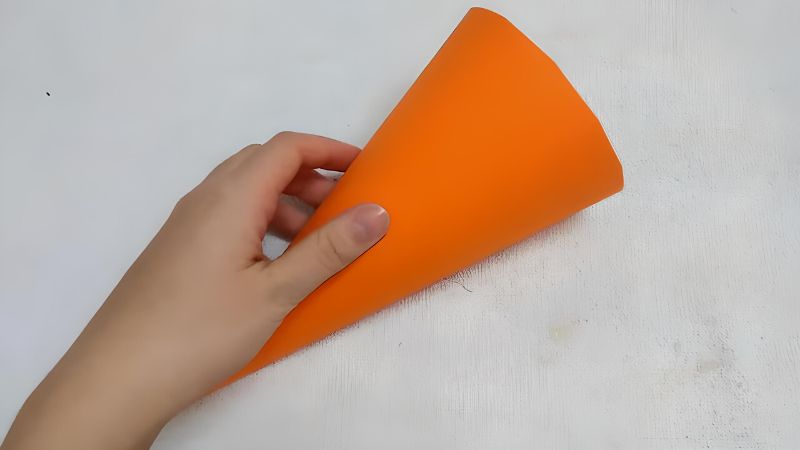 Create the Cone Shape
Take one sheet of the orange A4 paper and twist it into a sharp cone shape. Adjust the size to fit your head and cut off any excess paper at the base to create a flat and even bottom.
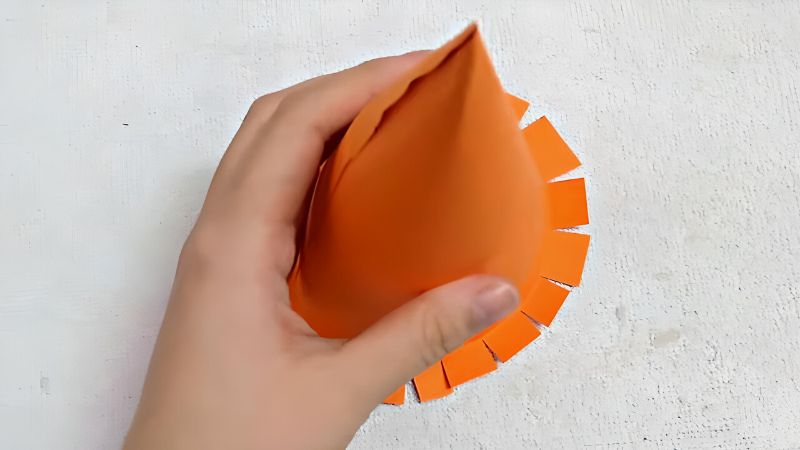 Create the Tassels
Cut tassels at the base of the cone, about 1cm long, evenly spaced at 1cm or 2cm intervals. Once you’re done cutting, fold the tassels outward from the inside.
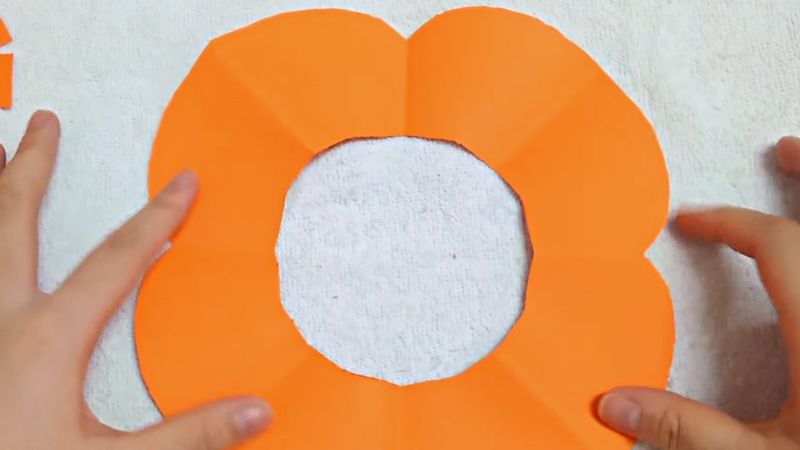 Make the Hat Brim
Using the second sheet of orange A4 paper, measure the diameter of the hat brim and mark it with an orange pen. Fold and cut the brim to size.
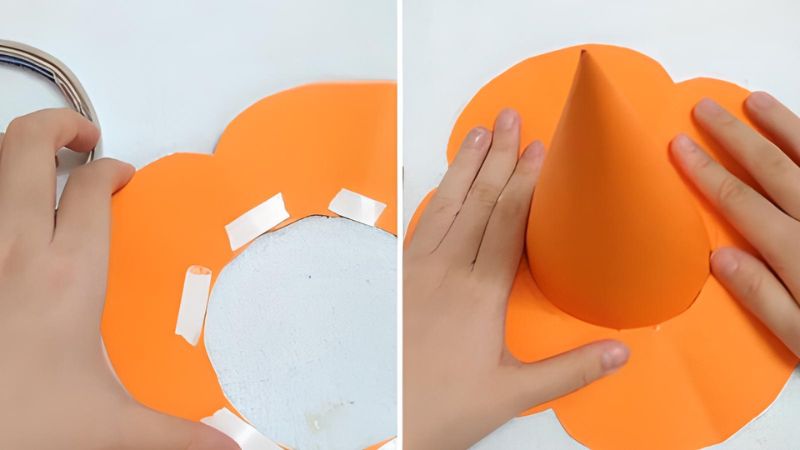 Attach the Hat Brim
After cutting the brim, apply double-sided tape around the inner edge. Then, flip the taped side down and attach it to the tassels.
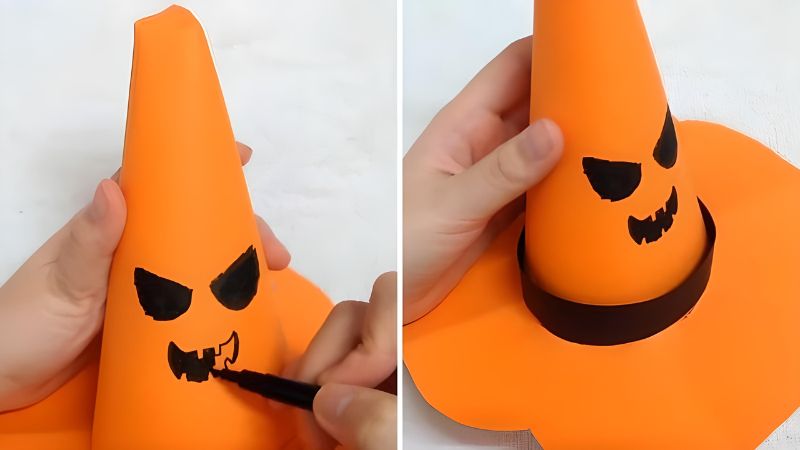 Decorate the Witch’s Hat
Gently bend the top of the cone to give it a more witch-like shape. Use a black pen to draw two eyes and a mouth on the hat.
Cut a strip of black paper and attach it as a decorative band around the hat.
For more ideas: 10 Easy and Adorable DIY Halloween Costumes
The Finished Witch’s Hat
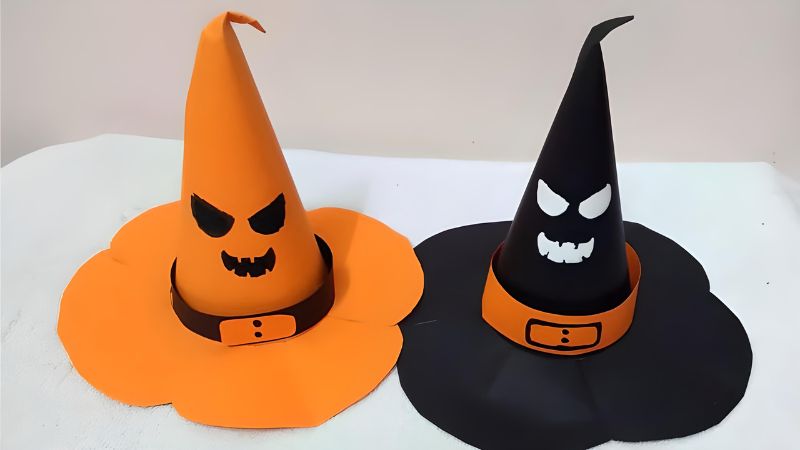 The Finished Witch’s Hat
This impressive-looking witch’s hat is easy to make and will surely captivate everyone this Halloween.
YouTube Link:

2 Pictures of Beautiful and Unique Witch’s Hats for Halloween
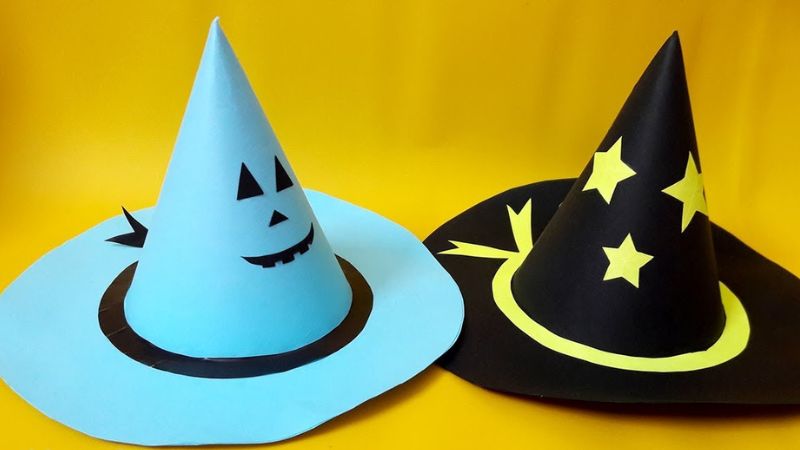 Cute Witch’s Hat
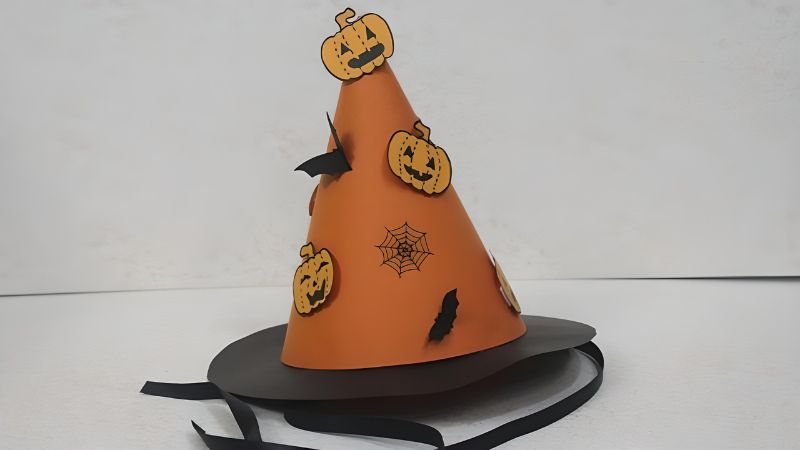 Uniquely Decorated Witch’s Hat
 Unusual Witch’s Hat
 Adorable Mini Witch’s Hat


