Chili peppers are an essential ingredient in many dishes, adding a delicious kick of flavor. Growing chili peppers at home is easy and makes for a vibrant garden, plus it’s convenient as you won’t need to run to the store for this spice anymore! Let’s learn how to grow chili peppers from seeds right at home.
1 Tools and Seeds
- Seeds
- Potting soil
- Other tools: seed-starting tray, small pots
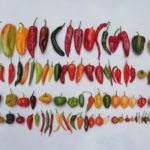
Just like with other plants, there are many varieties of chili peppers to choose from. Depending on your culinary needs, such as using them for decoration (bell peppers) or as a spicy ingredient (bird’s eye chilies, jalapenos), select the type of chili pepper that suits your preferences.
Next, you can purchase seeds from gardening stores or extract them from ripe chilies of your chosen variety. If you’re extracting seeds yourself, remember to soak them in hydrogen peroxide to disinfect before planting.
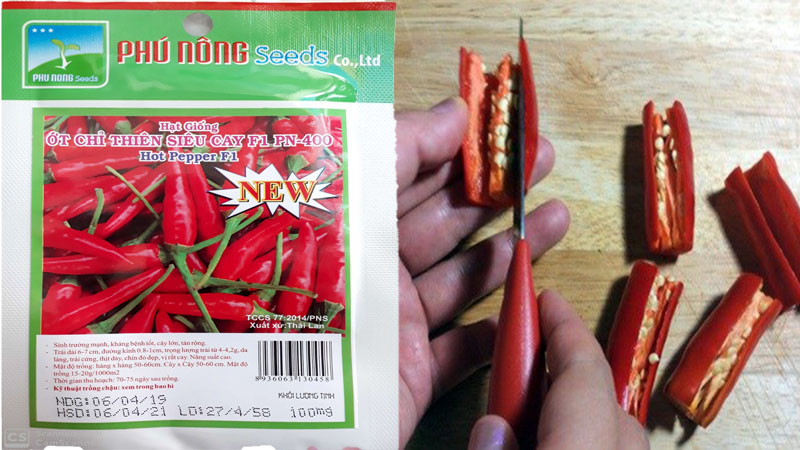 Prepare the potting soil
Chili pepper seeds are quite adaptable and can grow in various types of soil, such as loamy or clay soil. It’s best to opt for well-aerated, well-drained soil to ensure the seeds have the best chance of thriving.
When you get your soil, don’t use it right away; instead, clear any weeds, and water the soil to ensure it’s moist and has good oxygen levels. Additionally, add a layer of lime and NPK base fertilizer to disinfect the soil and boost its nutrient content.
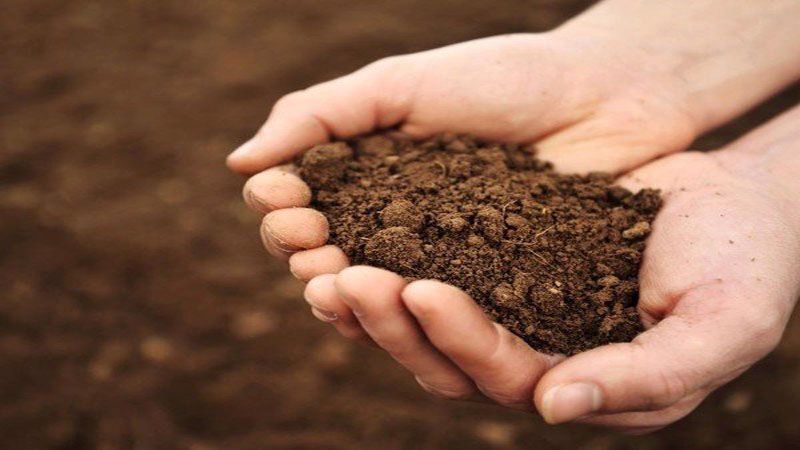 Prepare the potting soil
Small pots or seed-starting trays with dimensions of around 15x20cm will be ideal for growing your chili pepper seeds. Get as many as you need based on your desired yield!
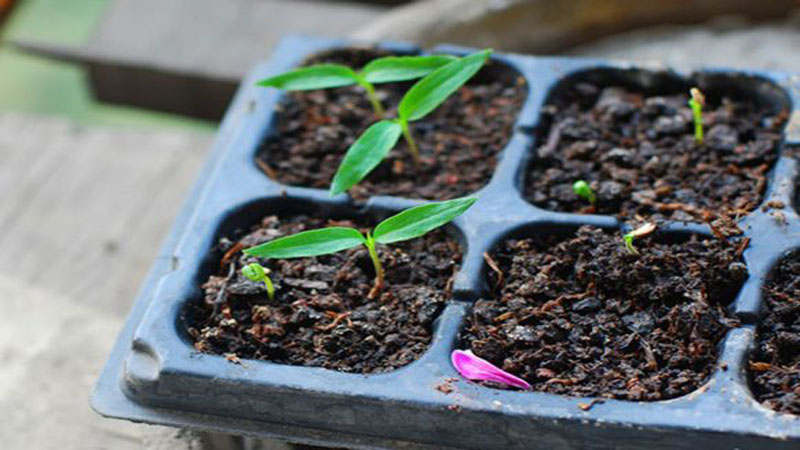 Seed-starting tray
2 Growing Chili Peppers from Seeds
Step 1 Soak the Seeds
Before planting, soak the seeds in warm water at around 50 degrees Celsius (mix two parts boiling water with three parts cold water) for 2 to 8 hours. This enhances their germination potential. After soaking, remove the seeds and sun-dry them.
Note: If you notice the chili seeds swelling, this is the perfect condition for planting.
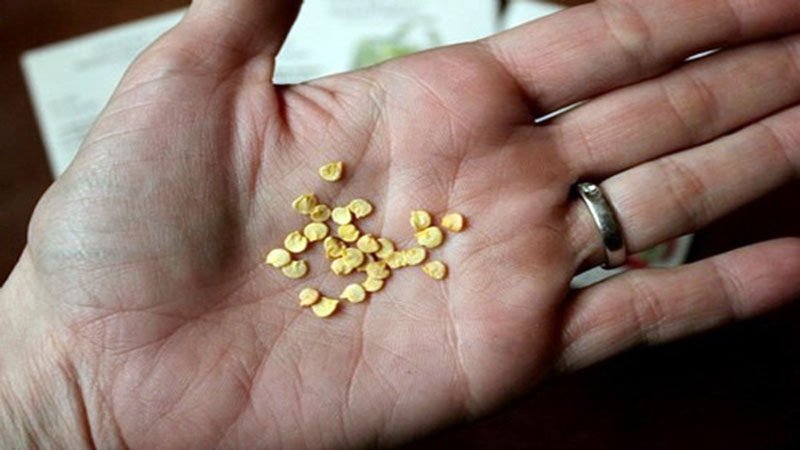 Soaking the seeds
Step 2 Plant the Seeds
Fill your seed-starting tray or small pots with the prepared potting soil. Plant as many seeds as you need, and cover them with a thin layer of soil.
Water the seeds daily to maintain moisture, and place the containers in a sunny spot or use a grow light to provide warmth on cloudy days.
 Planting the seeds
Step 3 Transplanting Seedlings
Once your seedlings reach about 10 to 15cm in height, it’s time to transfer them from the tray to individual pots filled with fresh potting soil. Select the healthiest seedlings and plant one per pot, or two if they’re weaker.
If you’re planting in a larger container or garden bed, space the plants about 20 to 30cm apart to ensure they have room to grow.
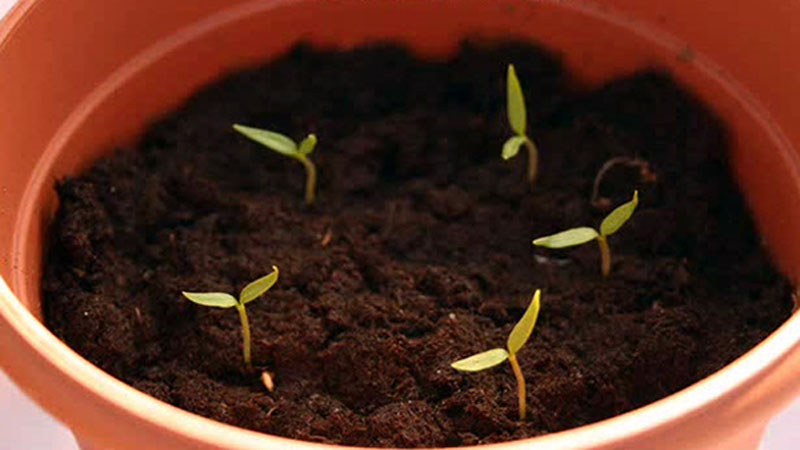 Transplanting seedlings
Gradually introduce your seedlings to outdoor conditions by placing them outside in a sunny spot for a few hours each day, increasing the duration over time until they’re fully acclimated.
3 Caring for Your Chili Pepper Plants
Pruning
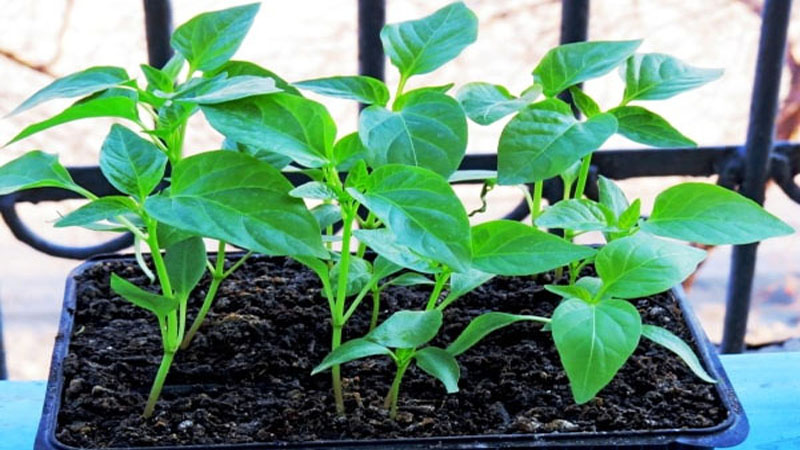 Pruning the plants
When your chili pepper plants reach around 20cm in height, it’s time to prune them. Remove any branches or stems below the point of branching to encourage air circulation and allow the leaves to spread out.
Additionally, keep the area around the plants free of weeds, loosen the soil, and remove any pests to promote healthy growth.
Watering
Water your plants once a day during dry spells or if the soil drains well. If the soil retains moisture, water every other day to prevent overwatering.
4 Harvesting Chili Peppers
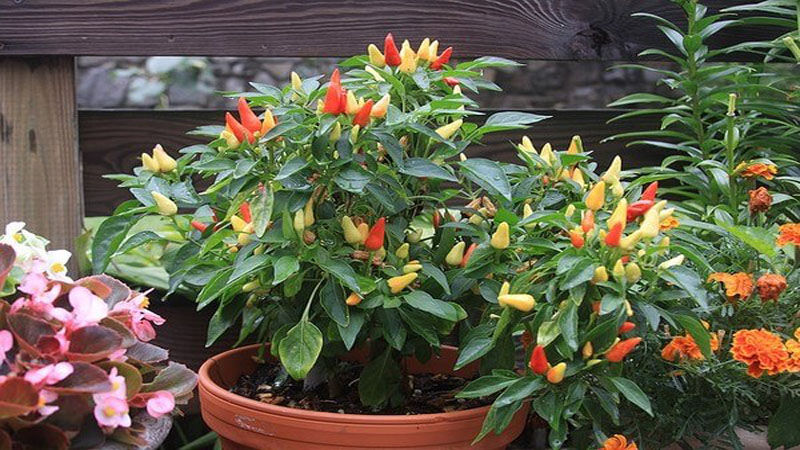 Harvesting chili peppers
After about 2 to 3 months of care, your plants will start to flower and bear fruit. You can display these colorful chili pepper plants on your balcony or patio to add a decorative touch to your home.
When the chilies are about 35 to 40 days old and fully red, it’s time to harvest them for the best quality. Cut the peppers, leaving the stems intact, and harvest every other day to encourage continuous growth.
Tip: To store your chili peppers, remove the seeds and place them in a bag in your refrigerator’s vegetable drawer. Alternatively, wash and soak them in a brine solution or vinegar to enjoy fresh chilies daily.
Now you know how to grow chili peppers from seeds at home! We wish you a bountiful harvest and hope you enjoy these spicy additions to your meals.


