


Coconut jam is a delicious treat that appeals to many with its sweet, nutty, and crunchy flavors. However, with the current food safety concerns, nothing is safer than making your own jar of delicious coconut jam at home. Follow this article to learn how to make super delicious and safe coconut jam.
1. How to Make Coconut Jam with Continuous Fibers
Preparation
30 minutes Processing
30 minutes Servings
4 people
Ingredients for Coconut Jam with Continuous Fibers
- 500g coconut flesh
- 250g granulated sugar
Method for Coconut Jam with Continuous Fibers
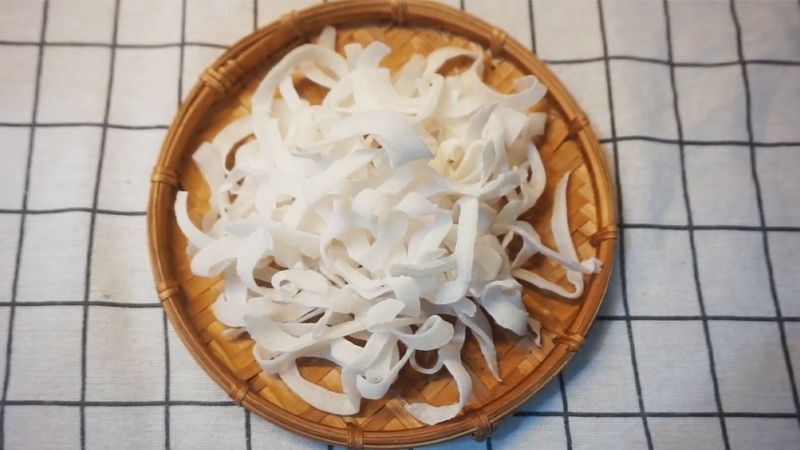
Use a knife to shred the coconut flesh into long, thin strips. It is recommended to choose young coconuts that are not too mature for a softer jam.
Note: Choose coconuts that are not too young or too mature for a softer jam.
 Shred the coconut
Place the shredded coconut in a bowl and soak it in water. Stir the mixture until the water becomes cloudy, then discard the water and repeat the process until the water remains clear and the coconut fibers are no longer slippery. This step helps remove the oil from the coconut, allowing the sugar to adhere better during cooking.
Allow the coconut to air-dry naturally; do not use a towel to pat it dry to avoid breaking the coconut fibers.
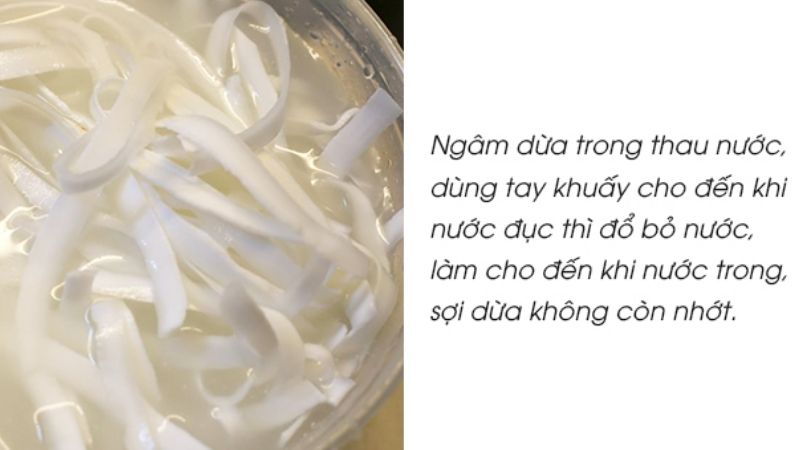 Soak the coconut
In a pot, combine the drained coconut with 250g of granulated sugar and let it marinate for about 1-2 hours until the sugar dissolves completely. Gently mix the coconut with the sugar to ensure an even coating, avoiding the use of chopsticks to stir to prevent breaking the coconut fibers.
Tip: If you want to add color or flavor to your jam, such as coffee or matcha, you can add it at this stage and mix well.
 Marinate the coconut
Place the pot with the marinated coconut on the stove and cook over medium-high heat. Do not stir to avoid breaking the coconut fibers. Once the mixture starts to thicken, reduce the heat to low.
When small bubbles appear in the pot, lower the heat to the lowest setting and gently stir the coconut every few minutes to ensure even cooking. To check if the jam is ready, join two chopsticks together, dip them into the mixture, and slowly pull them apart. If the sugar forms a thin, continuous thread without breaking easily, let the jam cook for another 1-2 minutes before turning off the heat.
Continue to stir gently with chopsticks, separating any stuck-together coconut fibers. Keep stirring until the sugar dries and crystallizes into a fine, powdery coating, and the jam becomes dry and hard.
Coconut jam is a popular treat during the Tet holiday. With just a few simple ingredients—young coconut flesh, sugar, and vanilla—you can easily make this delicious treat at home. The final product will have a sweet, nutty, and crunchy texture, perfect to enjoy with a cup of bitter tea while chatting with family and friends.
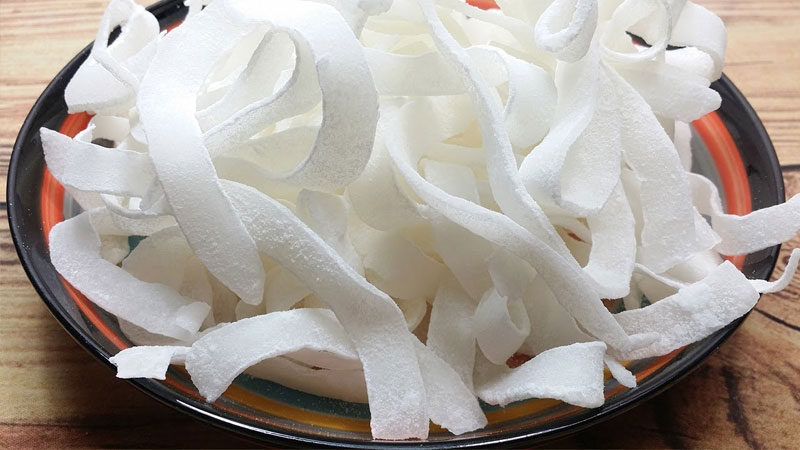 Coconut Jam
2. How to Make Coconut Jam in Triangle Pieces
Preparation
30 minutes Processing
30 minutes Servings
4 people
Ingredients for Coconut Triangle Jam
- 300g young coconut flesh
- 200g granulated sugar
- 1 teaspoon vanilla extract
- 20g lemon juice
Method for Coconut Triangle Jam
After grating the young coconut flesh, cut it into long strips and then into small triangle-shaped pieces.
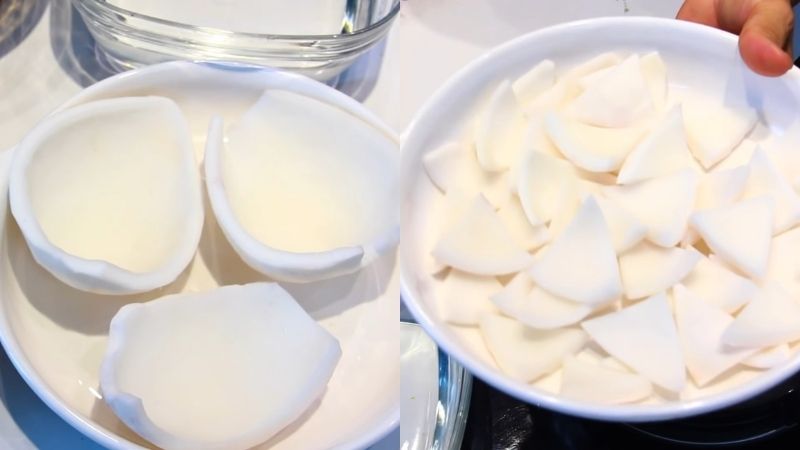 Prepare the coconut flesh
In a pot, combine 1 liter of water, 1 teaspoon of salt, and 20g of lemon juice and bring it to a boil. Once the water is boiling, blanch the coconut pieces for about 5 minutes.
Afterward, rinse the coconut pieces with cold water 2-3 times until the water runs clear, then drain and set aside.
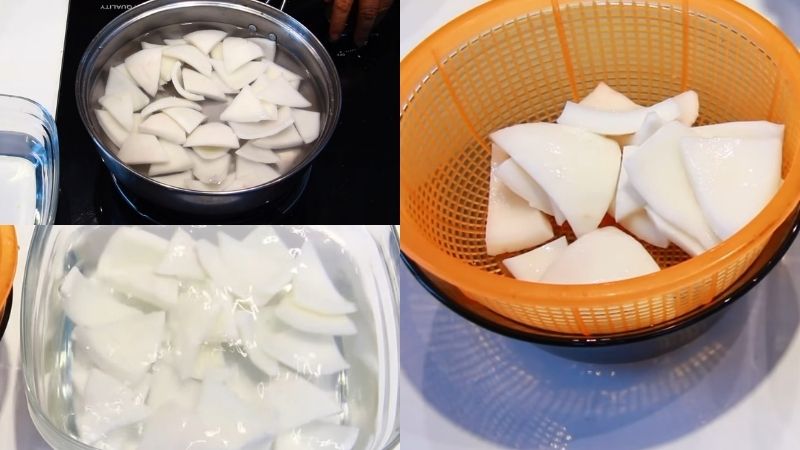 Blanch the coconut
In a bowl, combine the blanched coconut with 200g of granulated sugar and let it marinate for about 30 minutes to allow the sugar to dissolve and infuse into the coconut.
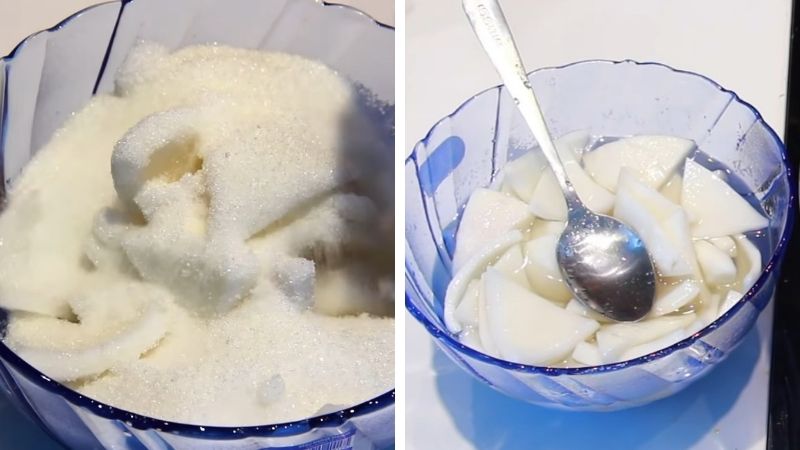 Marinate the coconut
In a non-stick pan, heat the marinated coconut mixture over medium heat. Stir quickly until the sugar syrup boils, then reduce the heat to medium-low and continue stirring until the syrup thickens. Keep stirring until the sugar starts to crystallize and form a coating, then turn off the heat.
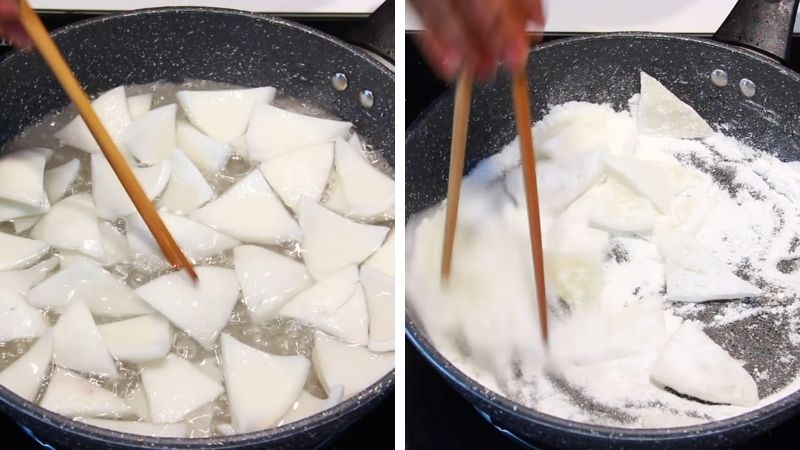 Cook the coconut jam
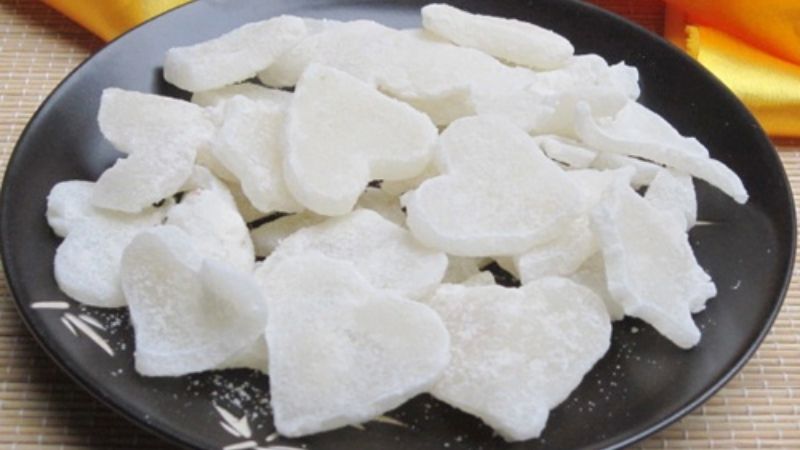
The triangle-shaped coconut jam has a sweet and delicate flavor, with the richness of coconut that will keep you coming back for more. It’s easy to make, so give it a try in your kitchen!
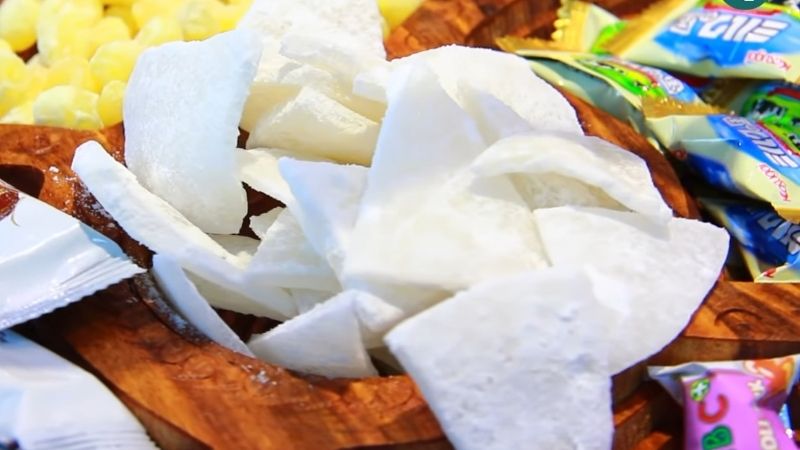 Coconut Triangle Jam
3. Tips for Making Dry Coconut Jam
 Tips for Making Dry Coconut Jam
To make dry and delicious coconut jam that lasts longer, it is crucial to properly prepare the coconut during the initial stages.
After grating the coconut, rinse it with water to remove any excess oil. If the coconut is not thoroughly cleaned, the jam will become dull and moist, reducing its shelf life. To ensure all the oil is released, you can blanch the coconut in boiling water with a pinch of salt for about 3 minutes.
If the coconut jam is still moist after cooking, you can sun-dry it or use a fan to speed up the drying process until it is completely dry. Additionally, if the jam is not dry enough or the sugar has not crystallized, you can dissolve some sugar in water and add it to the pot, stirring continuously until the jam is dry.
In case the coconut jam starts to release water, do not discard it. Instead, return it to the pan and cook it until it is completely dry. This way, you can extend the shelf life of the jam.
To store the coconut jam for an extended period, wait until it is completely cool and dry, then shake off any excess sugar and place it in a sealed ziplock bag or airtight container. Store it in a cool, dry place, and it should last for 3-4 weeks.
Do not waste the leftover sugar; instead, use it to create delicious dishes such as , , and ..
 Storing Coconut Jam for Tet Holiday
We hope that after reading this article, you feel confident in making your own jar of coconut jam to share with your loved ones.
The Ultimate Guide to Making Mouth-Watering Salt and Pepper Chicken Feet: A Flavor Explosion You’ll Crave

With just a few simple steps, you can treat your family to a delicious and mouth-watering dish of crispy, salted duck feet. This flavorful treat will surely be a crowd-pleaser and is easy to make, so you can enjoy it any time.
The Ultimate Guide to Taking Your Boiled Pork Belly to the Next Level: Unveiling the Secret Ingredient for a Flavor Explosion

If you’re tired of the same old boiled pork, it’s time to elevate your taste buds with a twist! Discover the ultimate guide to cooking mouth-watering pork with a handful of simple ingredients. It’s time to transform your everyday meal into something extraordinary.
The Ultimate Guide to Mastering the Art of Tomato Egg Soup: A Delicate Balance of Flavors

Anyone can make tomato egg soup, but most people overlook a crucial step in the cooking process. This one step is the key to achieving that perfect, silky texture and those beautiful ripples in the eggs.
The Ultimate Guide to Authentic Hoi An Chicken Rice

Hoi An chicken rice is renowned for its delectable flavors. The dish boasts tender, sweet chicken seasoned to perfection, accompanied by fragrant rice that is cooked to a delightful consistency. The secret to the golden hue of the rice lies in its preparation, as it is carefully cooked in the broth made from boiling the chicken, infusing it with a rich aroma and a beautiful, sunny color.
The Ultimate Guide to Keeping Tofu Fresh and Delicious for Up to a Week

Although tofu is perishable, there are some nifty ways to keep it fresh and safe for longer than you might think.


