Join VietNamNet in exploring how to make Christmas trees, snowflakes, gingerbread houses, and decorative wooden boards with Ms. Ngo Phuong Anh (born in 1989, Hanoi).
- • How to make snowflakes from bread bags
- • How to make an inexpensive yet beautiful Christmas tree
- • How to create a fancy wooden board for Christmas decoration
How to Make Snowflakes from Bread Bags

Materials:
Get 8 clean paper bags, preferably the kind used for bread (or similar paper bags).
You’ll also need a pen, scissors, and glue.
Instructions:
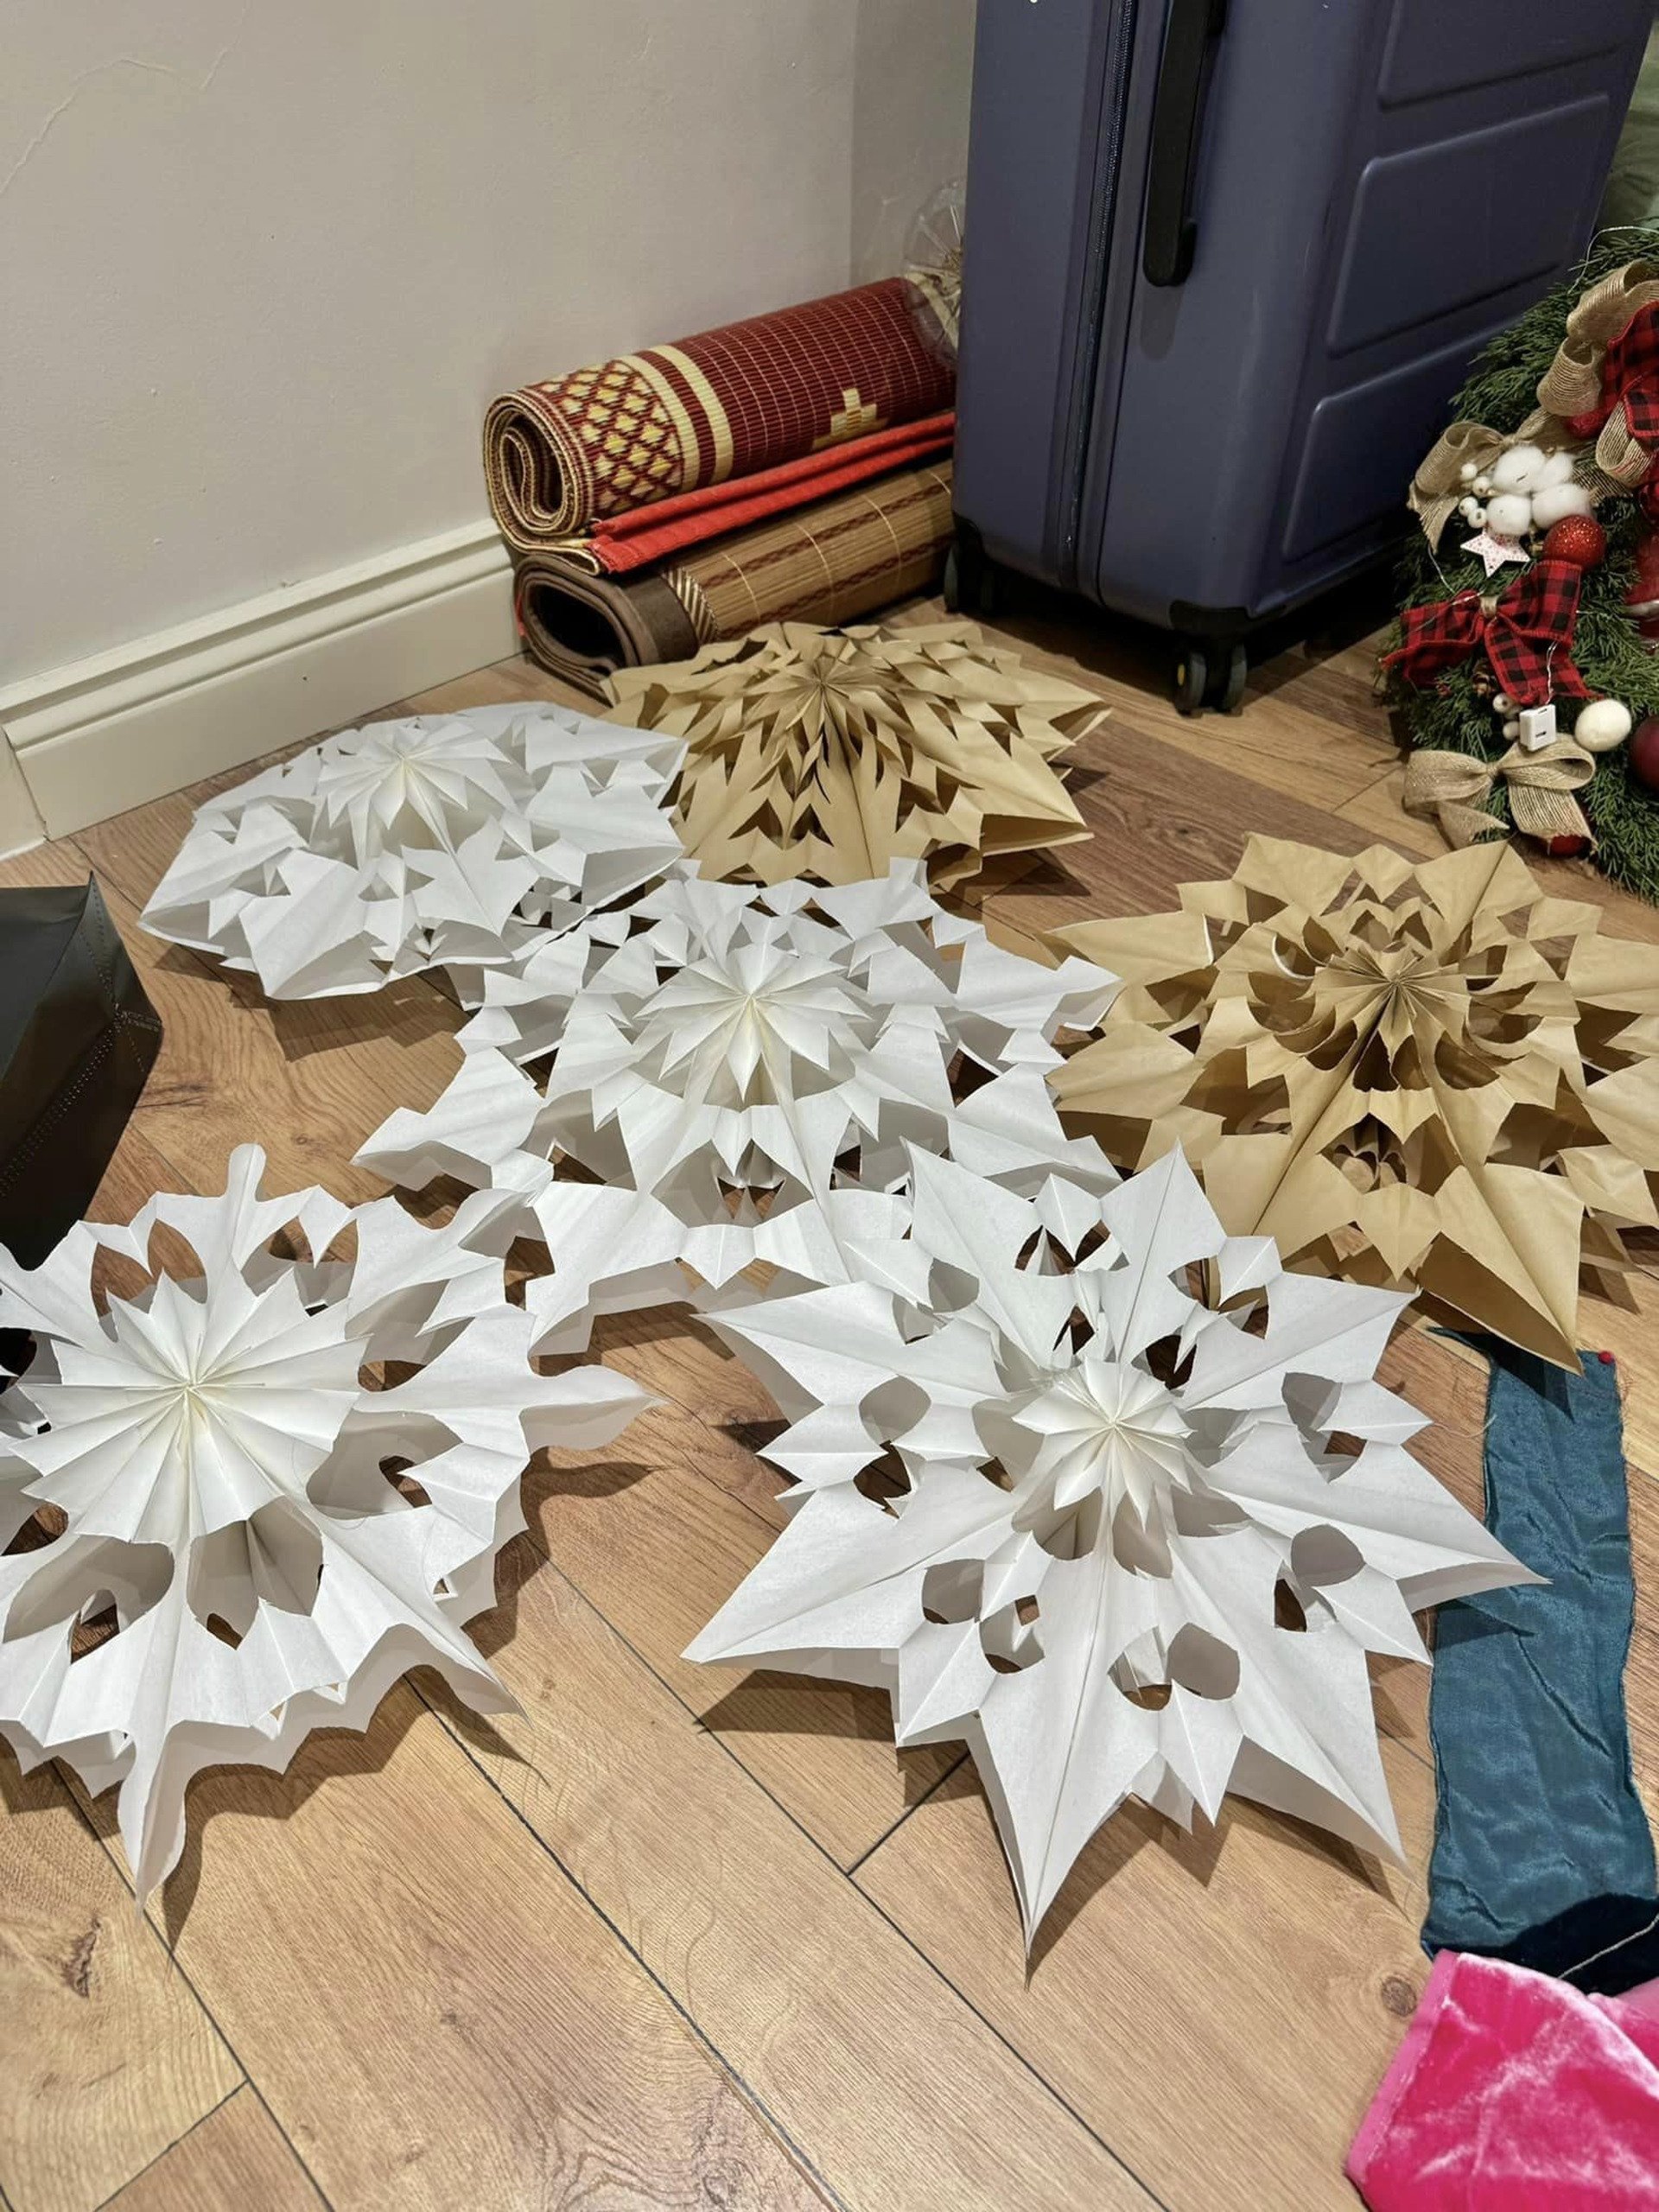
Creating these snowflakes is simple. Use a glue gun or regular glue to draw an inverted “T” shape along the length of each bag. Stack the bags on top of each other and draw your desired pattern. (Pro tip: symmetry and sharp points create prettier snowflakes.)
Use scissors to cut away the excess paper outside the snowflake pattern. Then, separate the layers to form circles. Glue the two edges of the snowflake together, and you’ve got yourself a beautiful snowflake made from recycled bread bags!
Detailed video tutorial on how to make paper snowflakes by Ms. Phuong Anh
Inexpensive Yet Beautiful Christmas Tree
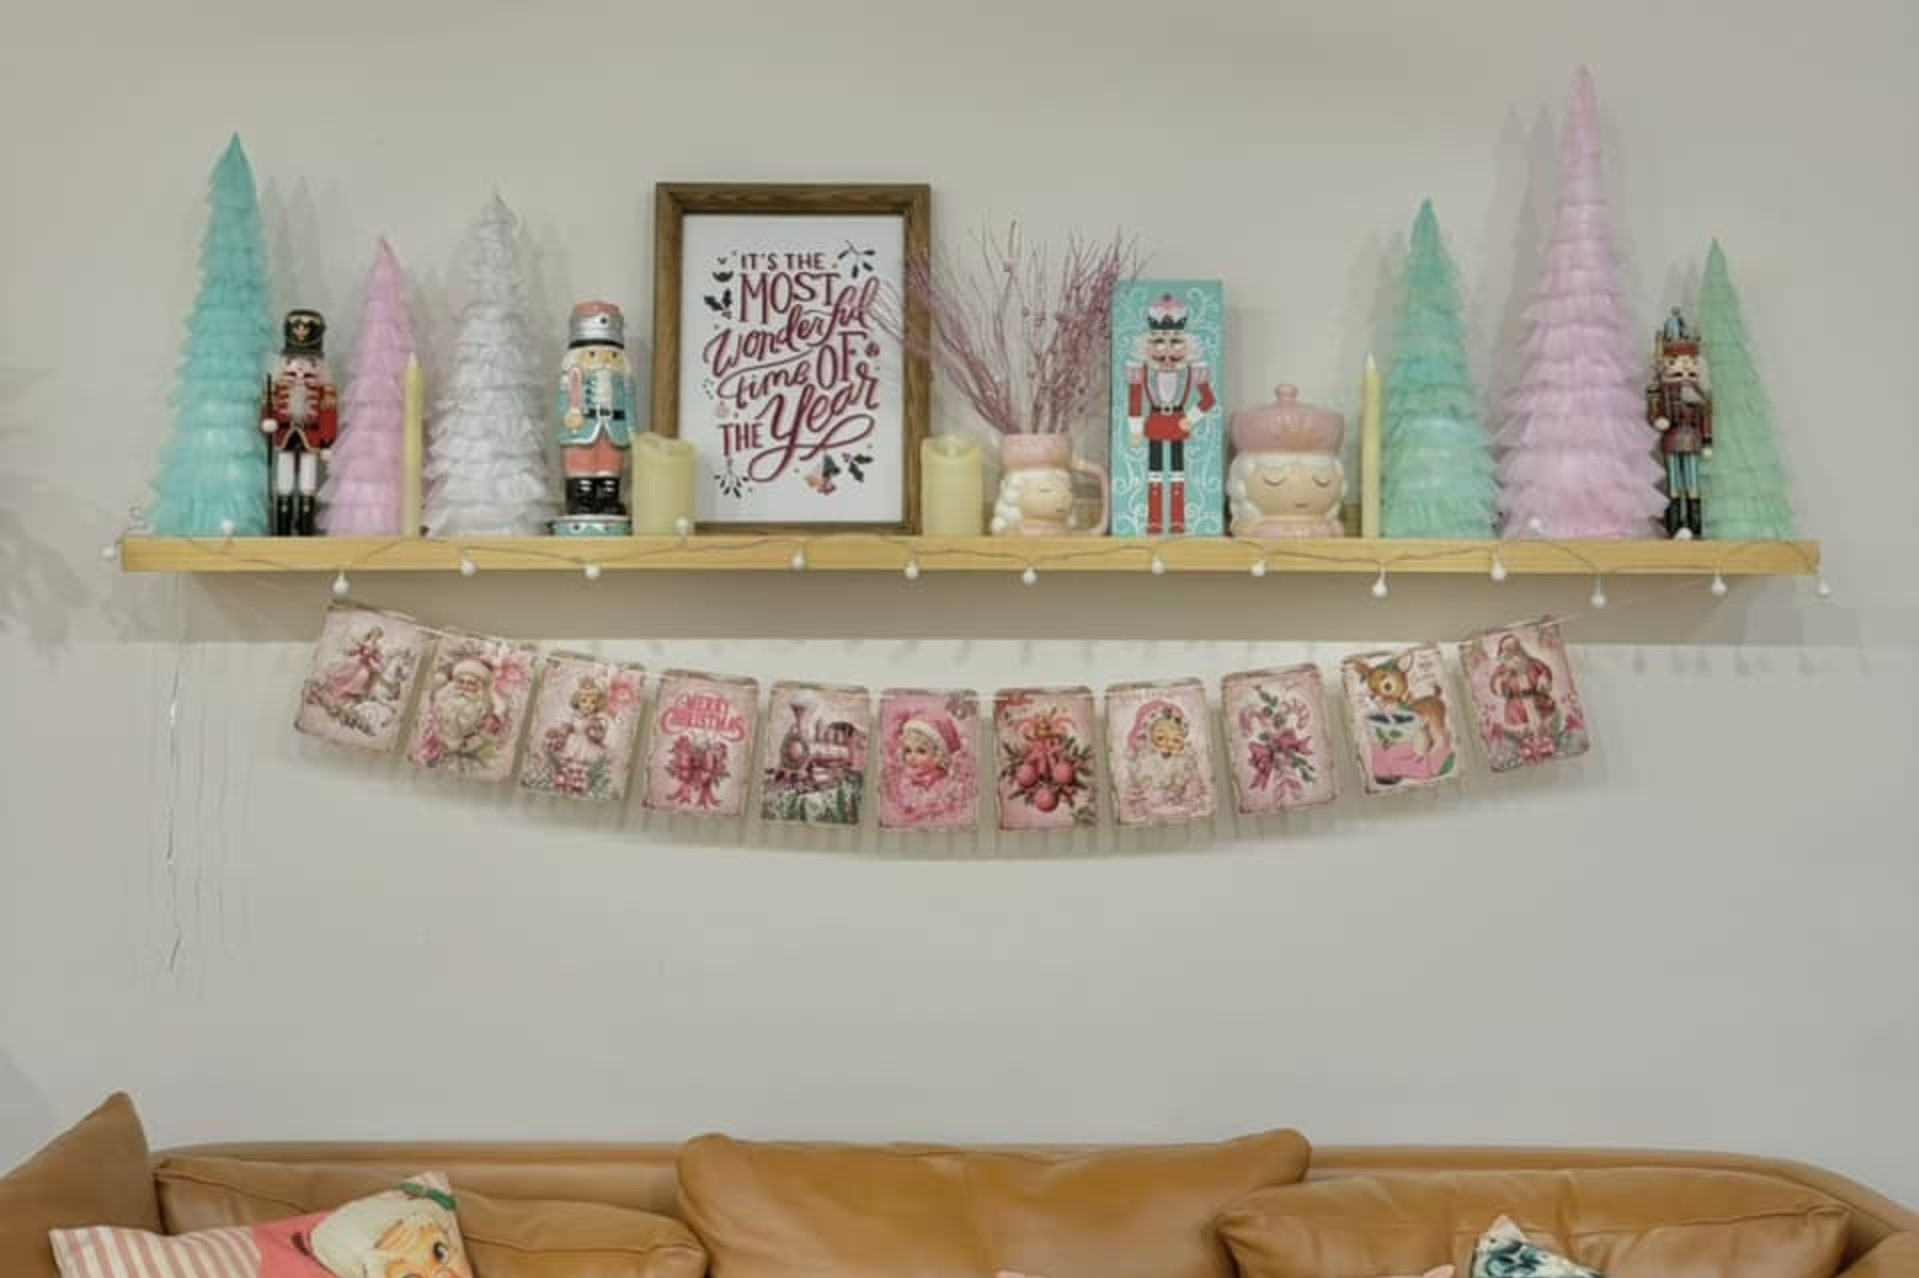
With just two large pieces of cardboard, ten sheets of mech paper (commonly used for flower wrapping), glue gun, scissors, and a pen, you can create six unique and beautiful Christmas trees in various sizes: 60cm, 50cm, and 40cm.

First, draw a quarter-circle with radii of 60cm, 50cm, and 40cm on the two pieces of cardboard. Cut them out and roll them into cone shapes, securing them with glue to form the tree structure.
Next, cut the mech paper into long strips, approximately 5cm wide.
To create the tree’s layers, glue the strips of paper from the base of the cone to the top, fanning them out as you go. Remember to glue and arrange the paper in a way that creates a fluffy, full effect. The more you fan and layer the paper, the prettier your tree will be.
Repeat this process for each layer, making sure to overlap the previous layer by about 2cm to hide the core. And there you have it—a stunning Christmas tree made from paper and cardboard for just VND 30,000!
Video demonstrating the process of making the mech paper and cardboard Christmas tree
Fancy Wooden Board for Christmas Decoration
Materials:
– Decorative wooden board (priced between VND 70,000 and 200,000, depending on size)
– Acrylic paint in tubes and acrylic paint pens
– Ribbon and scissors
Instructions:

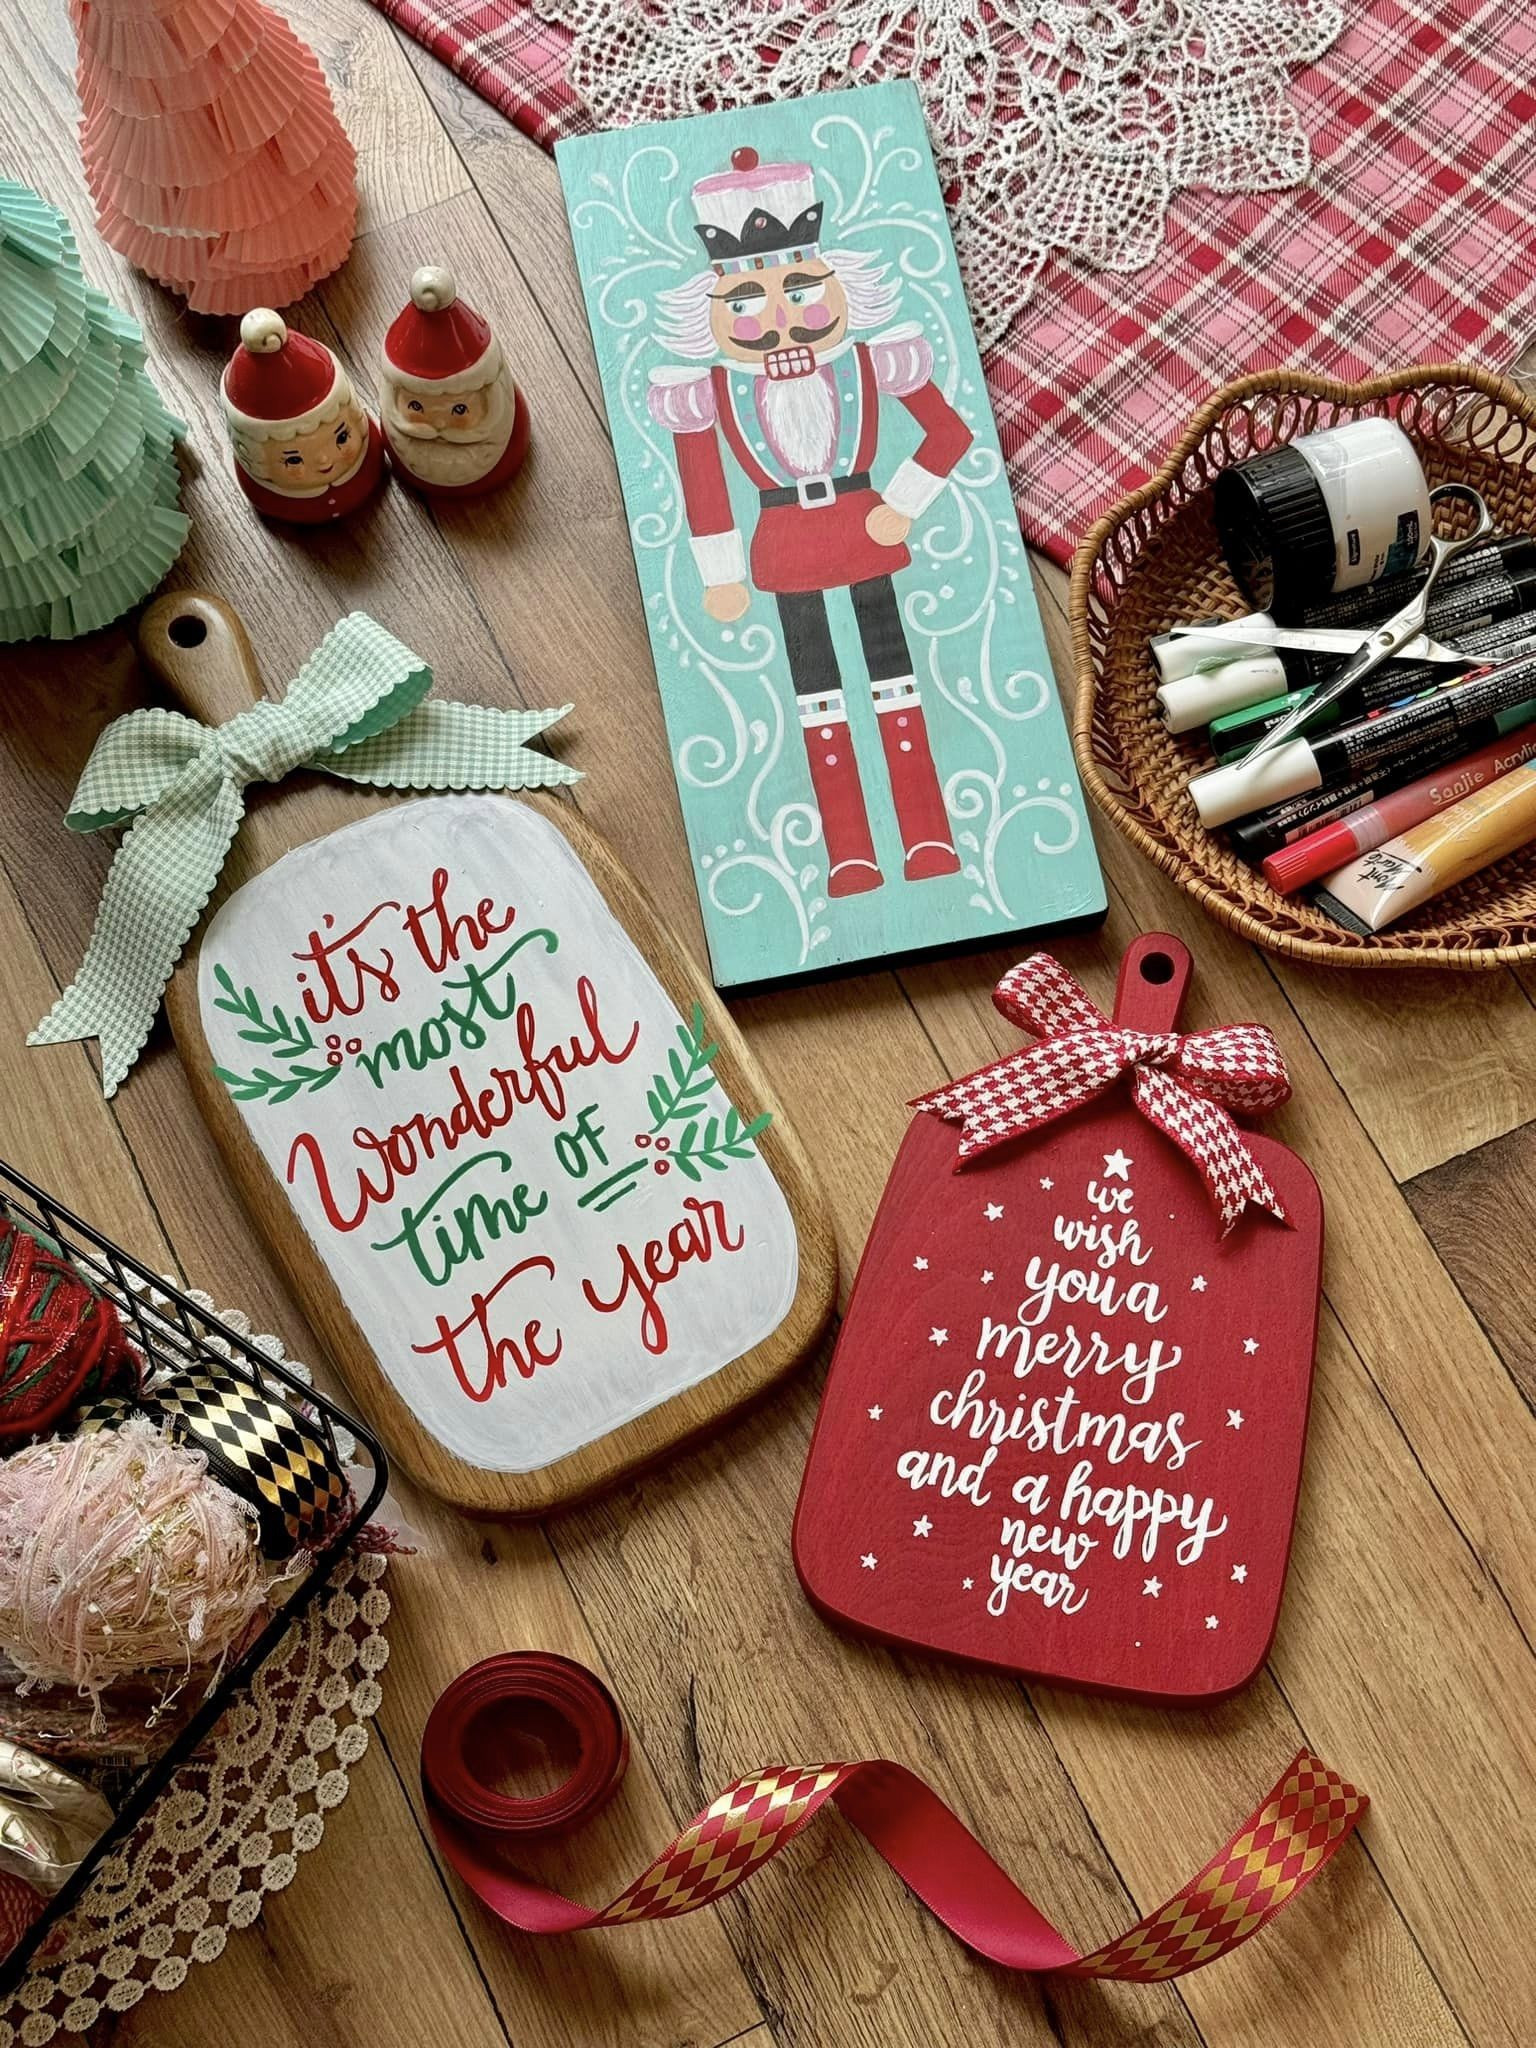
Start by painting the wooden board with a base color. Red and white are great choices for the Christmas theme and are also beginner-friendly colors that won’t highlight any imperfections.
If you want the paint to dry quickly, use a hairdryer to speed up the process. Once the base color is dry, use a pencil to sketch out your design and divide it into sections for writing. Then, go over the pencil lines with the acrylic paint pens for a neat finish. If you’re not confident in your calligraphy skills, simple block letters will also make your decoration stand out. Remember, the right color choice and layout are the keys to a successful project.
Finish it off with a ribbon bow, and your Christmas decoration is ready to display!
Ms. Phuong Anh’s stunning wooden board designs
Images and clips: NVCC

Origin, Meaning, and Timing of Christmas 2023


